warning light Mercury Mystique 1998 Owner's Manuals
[x] Cancel search | Manufacturer: MERCURY, Model Year: 1998, Model line: Mystique, Model: Mercury Mystique 1998Pages: 196, PDF Size: 1.65 MB
Page 2 of 196
Introduction
2ICONS
Indicates a warning. Read the
following section on
Warnings for
a full explanation.
Indicates that vehicle information
related to recycling and other
environmental concerns will follow.
We must all play our part in
protecting the environment.
Correct vehicle usage and the
authorized disposal of waste
cleaning and lubrication materials
are significant steps toward this
aim.
BREAKING IN YOUR VEHICLE
There are no particular breaking-in
rules for your vehicle. Simply avoid
driving too fast during the first
1600 km (1000 miles). Vary
speeds frequently. This is
necessary to give the moving parts
a chance to break in.
WARNINGS
How can you reduce the risk of
personal injury and prevent
possible damage to others, your
vehicle and its equipment?
In this owner’s guide, answers to
such questions are contained in
comments highlighted by the
warning triangle symbol.
CDW II_A1_en MM 5/15/97 7:41 PM Page 2
Page 7 of 196
Instrumentation
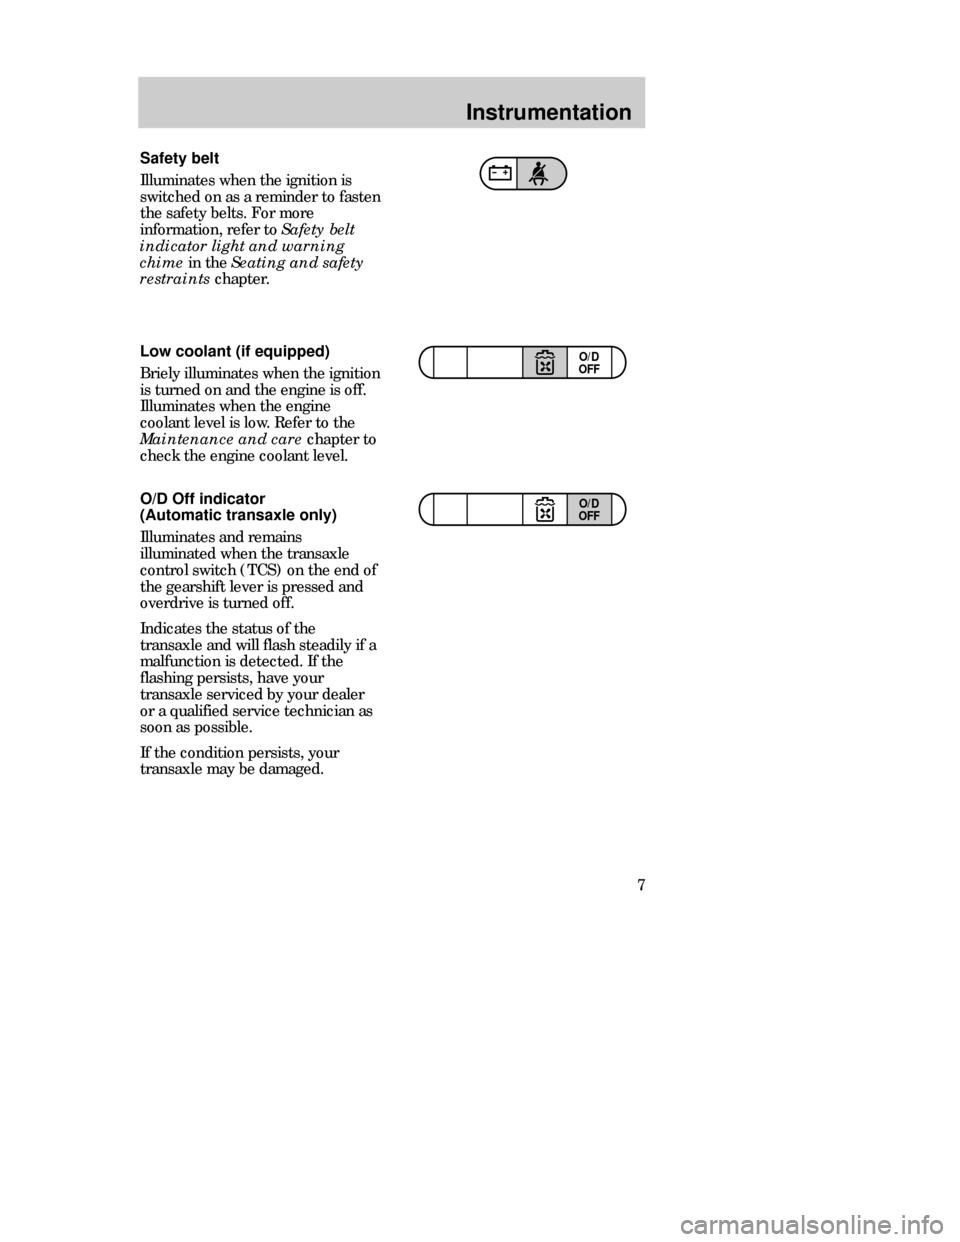
7 Safety belt
Illuminates when the ignition is
switched on as a reminder to fasten
the safety belts. For more
information, refer to
Safety belt
indicator light and warning
chime in the Seating and safety
restraints chapter.
O/D Off indicator
(Automatic transaxle only)
Illuminates and remains
illuminated when the transaxle
control switch (TCS) on the end of
the gearshift lever is pressed and
overdrive is turned off.
Indicates the status of the
transaxle and will flash steadily if a
malfunction is detected. If the
flashing persists, have your
transaxle serviced by your dealer
or a qualified service technician as
soon as possible.
If the condition persists, your
transaxle may be damaged.
TRACTION
CONTROLO/D
OFF
TRACTION
CONTROLO/D
OFF
Low coolant (if equipped)
Briely illuminates when the ignition
is turned on and the engine is off.
Illuminates when the engine
coolant level is low. Refer to the
Maintenance and care chapter to
check the engine coolant level.
CDW IIA2Instrum_en MM 5/15/97 7:43 PM Page 7
Page 9 of 196
Instrumentation
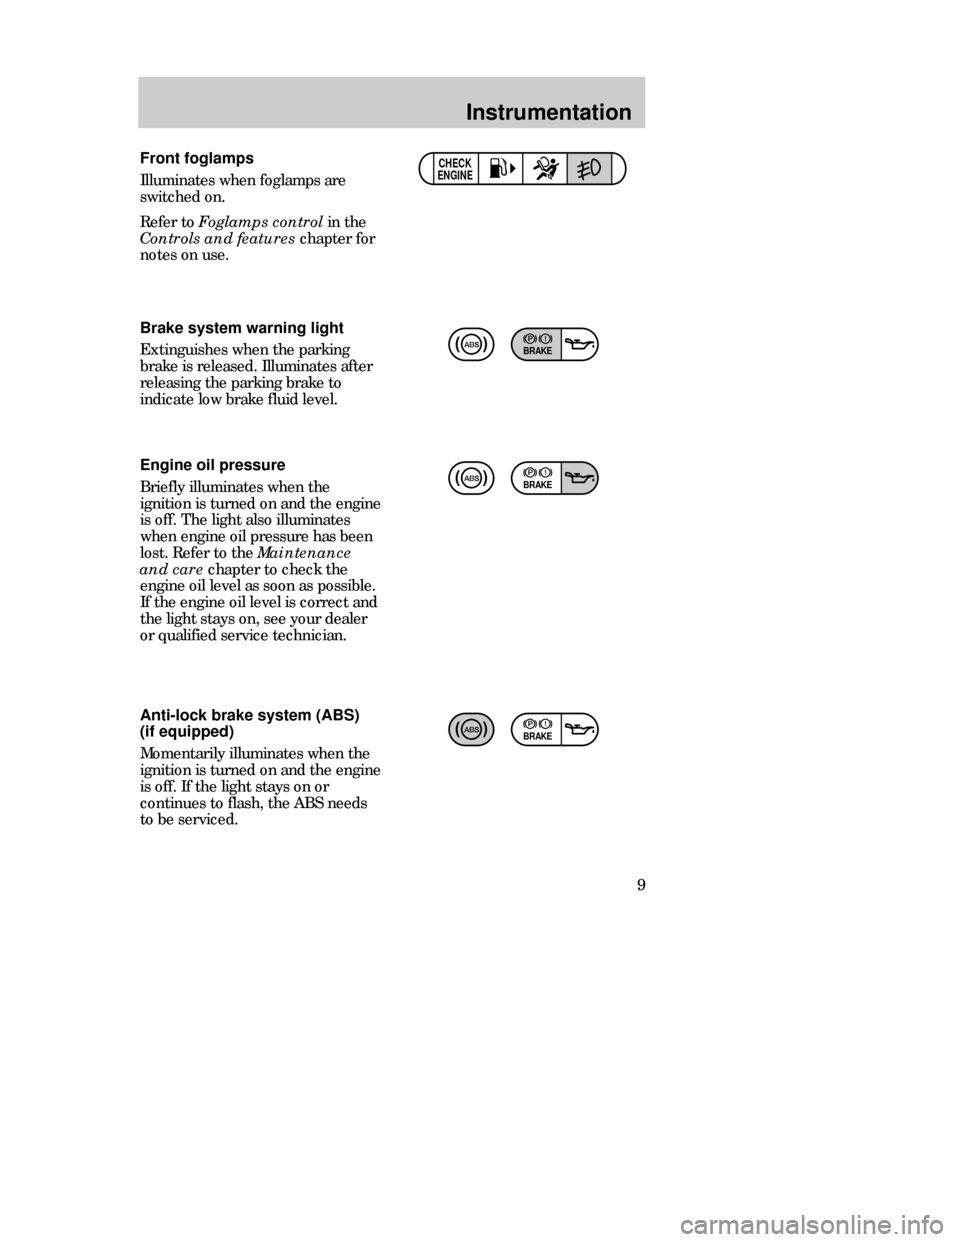
9 Front foglamps
Illuminates when foglamps are
switched on.
Refer to Foglamps controlin the
Controls and features chapter for
notes on use.
CHECK
ENGINE
Brake system warning light
Extinguishes when the parking
brake is released. Illuminates after
releasing the parking brake to
indicate low brake fluid level.
Anti-lock brake system (ABS)
(if equipped)
Momentarily illuminates when the
ignition is turned on and the engine
is off. If the light stays on or
continues to flash, the ABSneeds
to be serviced. Engine oil pressure
Briefly illuminates when the
ignition is turned on and the engine
is off. The light also illuminates
when engine oil pressure has been
lost. Refer to the Maintenance
and carechapter to check the
engine oil level as soon as possible.
If the engine oil level is correct and
the light stays on, see your dealer
or qualified service technician.
BRAKE
BRAKE
BRAKE
CDW IIA2Instrum_en MM 5/15/97 7:43 PM Page 9
Page 10 of 196
Instrumentation
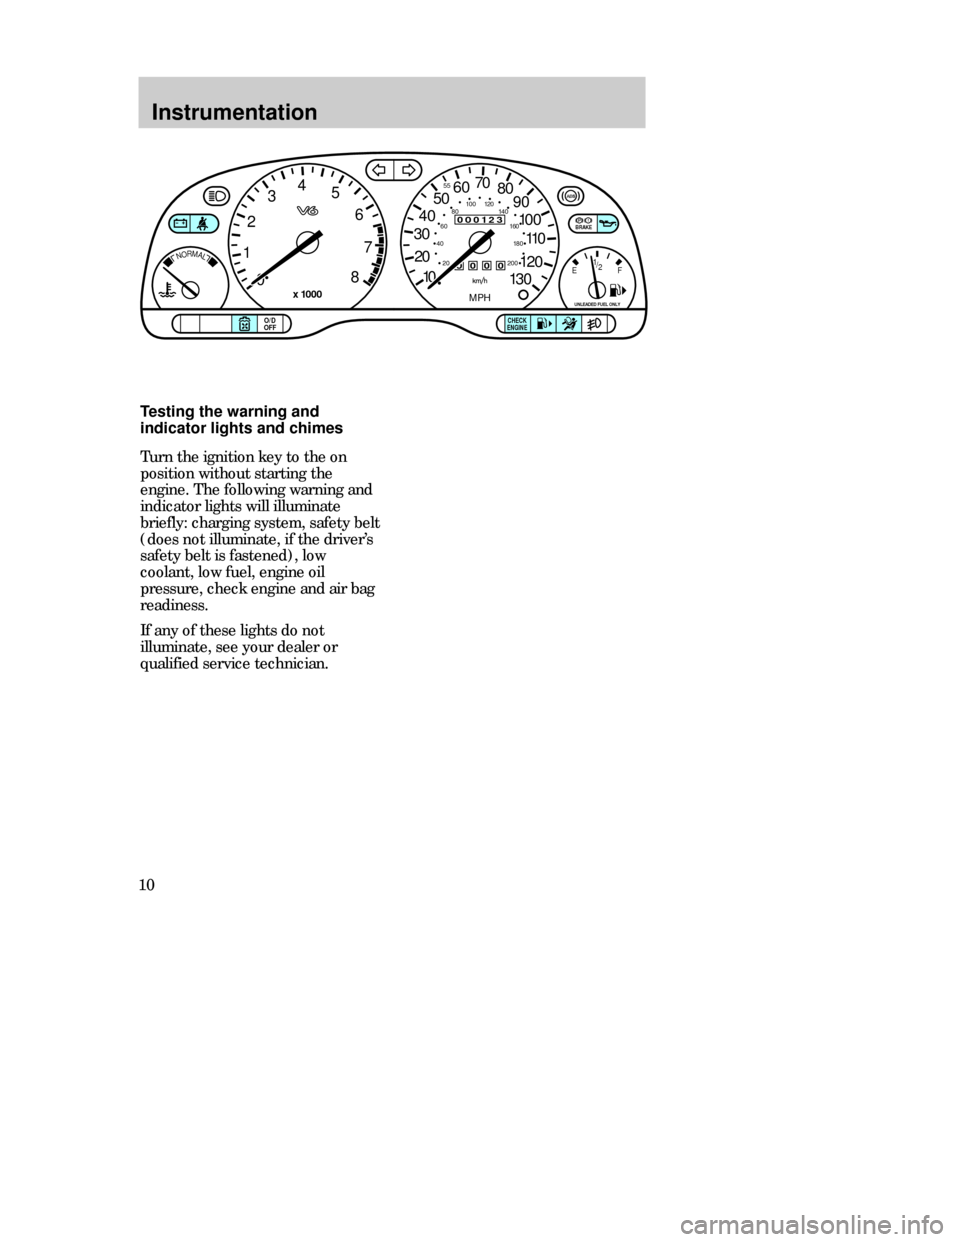
10Testing the warning and
indicator lights and chimes
Turn the ignition key to the on
position without starting the
engine. The following warning and
indicator lights will illuminate
briefly: charging system, safety belt
(does not illuminate, if the driver’s
safety belt is fastened), low
coolant, low fuel, engine oil
pressure, check engine and air bag
readiness.
If any of these lights do not
illuminate, see your dealer or
qualified service technician.
000123
000010 20 3040506070
80
90
110
120
130
MPH
20 4060
55
80120 100
140
160
180
200100
EF 1
/
2
UNLEADED FUEL ONLY
12
03
x 1000
4
5
6
7
8
NORMAL
BRAKE
CHECK
ENGINE TRACTION
CONTROLO/D
OFF
CDW IIA2Instrum_en MM 5/15/97 7:43 PM Page 10
Page 24 of 196
Controls and features
24STEERING COLUMN
CONTROLS
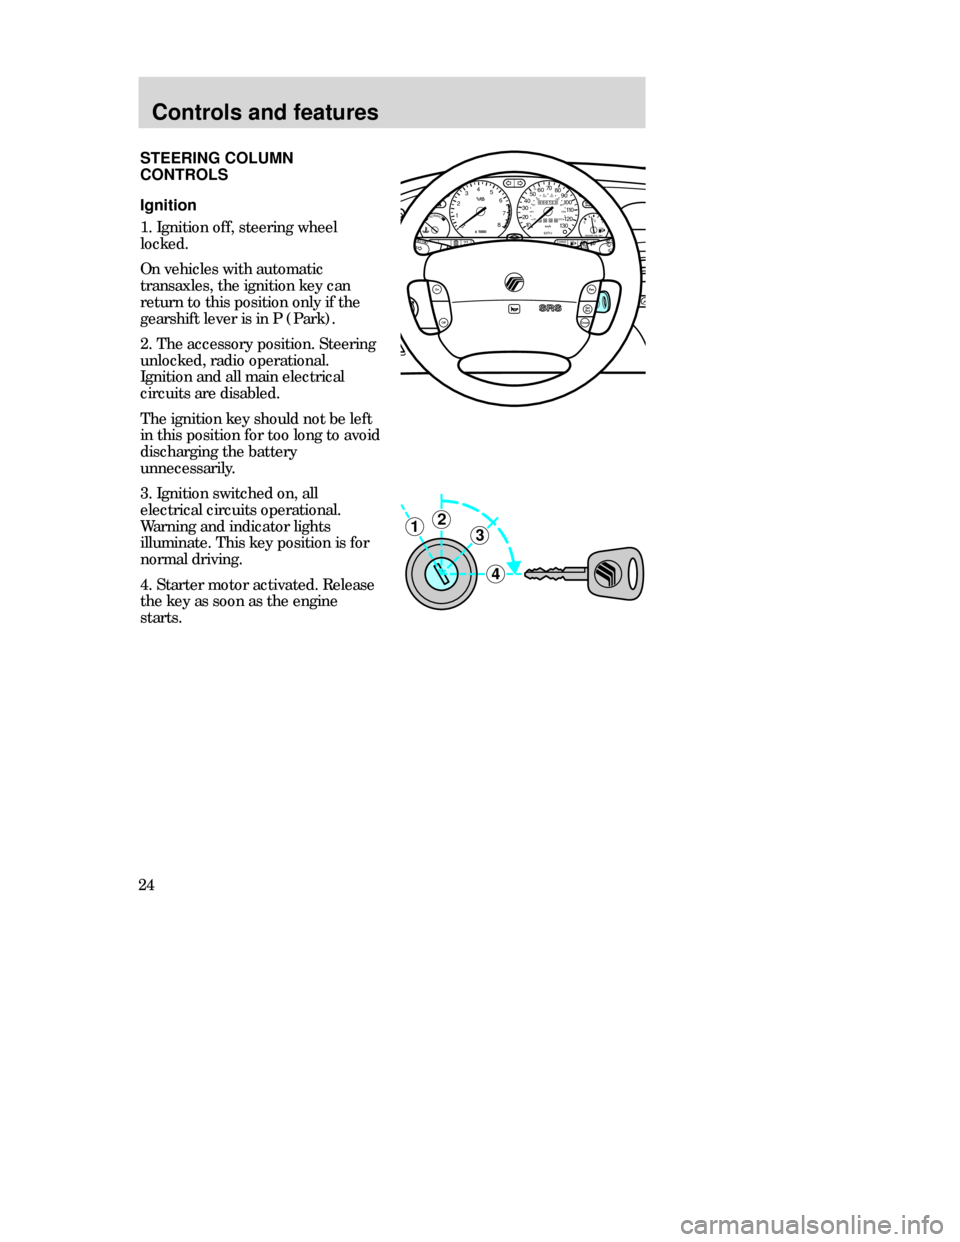
Ignition
1. Ignition off, steering wheel
locked.
On vehicles with automatic
transaxles, the ignition key can
return to this position only if the
gearshift lever is in P (Park).
2. The accessory position. Steering
unlocked, radio operational.
Ignition and all main electrical
circuits are disabled.
The ignition key should not be left
in this position for too long to avoid
discharging the battery
unnecessarily.
3. Ignition switched on, all
electrical circuits operational.
Warning and indicator lights
illuminate. This key position is for
normal driving.
4. Starter motor activated. Release
the key as soon as the engine
starts.
3
4
21
MIRRORS
000123
000010 20 3040506070
80
90
100
110
120
130MPH20 406055
80120 100
140
160
180
200EF 1
/
2UNLEADED FUEL ONLY
12
03x 1000
4
5
6
7
8
NORMALBRAKE
CHECK
ENGINE TRACTION
CONTROLO/D
OFF
Off
Res
Set
AccCoast
On
CDW IIIC3Cont en MM 5/15/97 7:45 PM Page 24
Page 43 of 196
Controls and features
43 Key coding
Replacement keys or a maximum of
15duplicate keys can be coded.
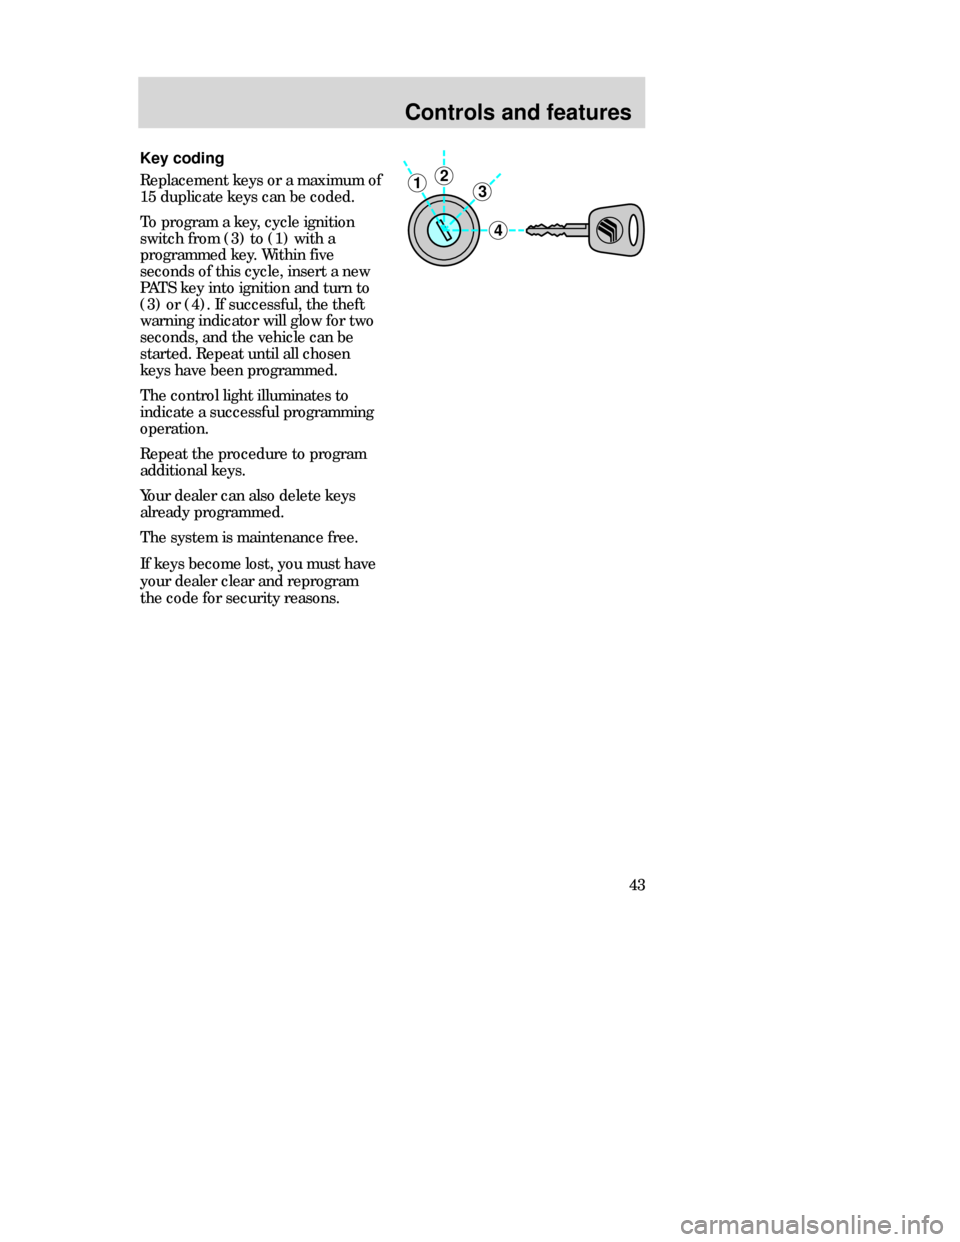
To program a key, cycle ignition
switch from (3) to (1) with a
programmed key. Within five
seconds of this cycle, insert a new
PATS key into ignition and turn to
(3) or (4). If successful, the theft
warning indicator will glow for two
seconds, and the vehicle can be
started. Repeat until all chosen
keys have been programmed.
The control light illuminates to
indicate a successful programming
operation.
Repeat the procedure to program
additional keys.
Your dealer can also delete keys
already programmed.
The system is maintenance free.
If keys become lost, you must have
your dealer clear and reprogram
the code for security reasons.
3
4
21
CDW IIIC3Cont en MM 5/15/97 7:45 PM Page 43
Page 52 of 196

Seating and safety restraints
52
Safety belt indicator light and
warning chime
Illuminates in the instrument
cluster and a chime sounds to
remind the occupants to fasten
their safety belts.
Center position three-point
safety belts
If the lower end of the belt has
been unbuckled, pull the belt
steadily from the reel and insert
the small tongue into the small
buckle until a distinct “click” is
heard.
This buckle should be left buckled
except when the seatback is folded
down and cargo that might damage
the seatbelt or get it dirty is being
hauled.
Pull the seat belt across the hips
and insert the big (sliding) tongue
into the appropriate buckle until a
distinct “click” is heard.
Should the center rear belt need to
be unlatched from its anchorage, a
thin probe is required to be
inserted into the hole located on
the underside of the floor mounted
buckle. If the buckle and tongue
are not reconnected, then the belt
is not save to be used.
CDW IIID Seat en MM 5/15/97 7:48 PM Page 52
Page 53 of 196

Seating and safety restraints
53
Safety belt extension assembly
The safety belt may be too short
even when fully extended.
Approximately 20 cm (8 inches)
may be added to the length of the
belt with a safety belt extension
(part number 611C22). Safety belt
extensions are available at no cost
from your dealer.
Only use extensions manufactured
by the same supplier as the safety
belt. Manufacturer identification is
on the label located at the end of
the webbing.
Do not use the extension to change
the fit of the shoulder belt across
the torso.
Conditions of operation
If the driver’s safety belt is not
buckled before the ignition key is
turned to on, the safety belt
indicator illuminates for
1-2 minutes and the warning chime
sounds for 4-8 seconds.
If the driver’s safety belt is buckled
while the indicator light is
illuminated and the reminder
chime is sounding, the safety belt
indicator light and reminder turn
off.
CDW IIID Seat en MM 5/15/97 7:48 PM Page 53
Page 81 of 196

Starting
81 3. Turn the key to the onposition
(without turning the key to start).
Make sure the following lights
illuminate briefly. If a light fails to
illuminate, have the vehicle
serviced by your dealer or a
qualified service technician.
•If the driver’s safety belt is
fastened the warning light does
not illuminate.
BRAKE
CHECK
ENGINE
CDW IVA1_2 Starting en MM 5/15/97 7:50 PM Page 81
Page 103 of 196

Driving
103 Using a hitch
Do not use hitches that:
•Clamp onto the vehicle bumper.
•Attach to the axle.
Distribute the load so that only 10
to 15% of the total weight of the
trailer is on the tongue. Tie down
the load so that it does not shift
and change weight on the hitch.
Follow the instructions of a
reputable rental agency.
Using trailer lamps
See your local trailer retailer or
rental agency for proper
instructions and equipment for
hooking up trailer lamps.
Do not hook the trailer lamps
directly into the vehicle’s wiring
system. If the trailer lamps are not
working properly, the warning
lights in the instrument cluster may
not work properly.
CDW IVB1-10Driving en MM 5/15/97 7:51 PM Page 103