display Mercury Mystique 1999 Owner's Manuals
[x] Cancel search | Manufacturer: MERCURY, Model Year: 1999, Model line: Mystique, Model: Mercury Mystique 1999Pages: 244, PDF Size: 2.15 MB
Page 19 of 244

Instrumentation
19
Trip odometer
The trip odometer can register the
mileage of individual journeys. To
reset, depress the button.
000123
0000
10 20 3040506070
80
90
110
120
13 0
MPH
20 4060
55
80120 10 0
14 0
160
18 0
20010 0
Speedometer
Odometer
Trip odometer Reset button
EF
Fuel gauge
The fuel gauge displays the
approximate level of usable fuel left
in the fuel reservoir.
Tachometer
Indicates the engine speed in
revolutions per minute (rpm).
12
03
x 1000
4
5
6
7
8
Speedometer
Indicates the current vehicle
speed.
Odometer
Registers the total mileage of the
vehicle.
12MInen 4/13/99 2:11 PM Page 19
Page 41 of 244
Controls and features
41
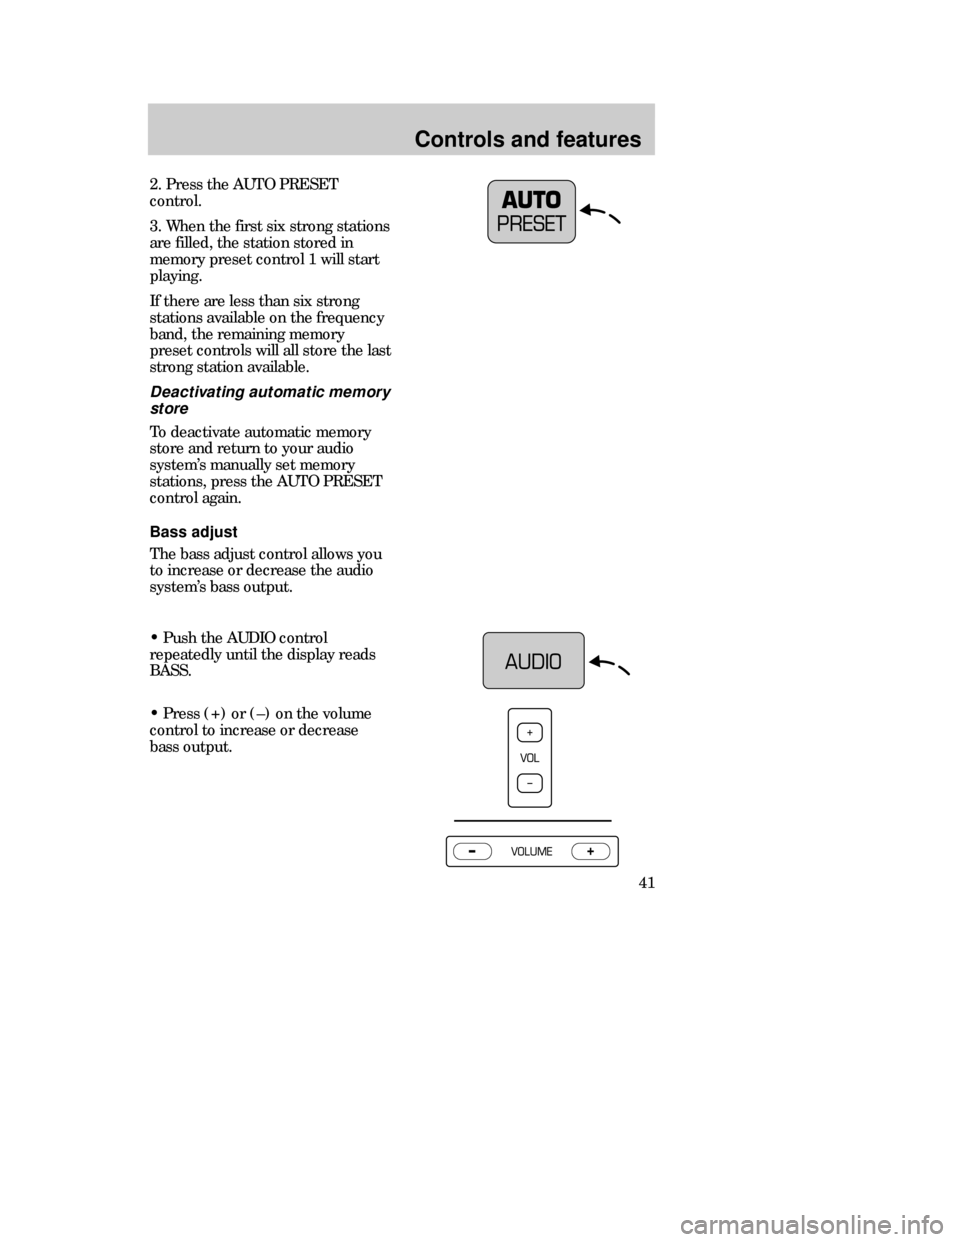
2. Press the AUTO PRESET
control.
3. When the first six strong stations
are filled, the station stored in
memory preset control 1 will start
playing.
If there are less than six strong
stations available on the frequency
band, the remaining memory
preset controls will all store the last
strong station available.
Deactivating automatic memory
store
To deactivate automatic memory
store and return to your audio
systemÕs manually set memory
stations, press the AUTO PRESET
control again.
Bass adjust
The bass adjust control allows you
to increase or decrease the audio
systemÕs bass output.
¥ Push the AUDIO control
repeatedly until the display reads
BASS.
¥ Press (+) or (Ð) on the volume
control to increase or decrease
bass output.
13MCten 4/13/99 3:35 PM Page 41
Page 42 of 244
Controls and features
42
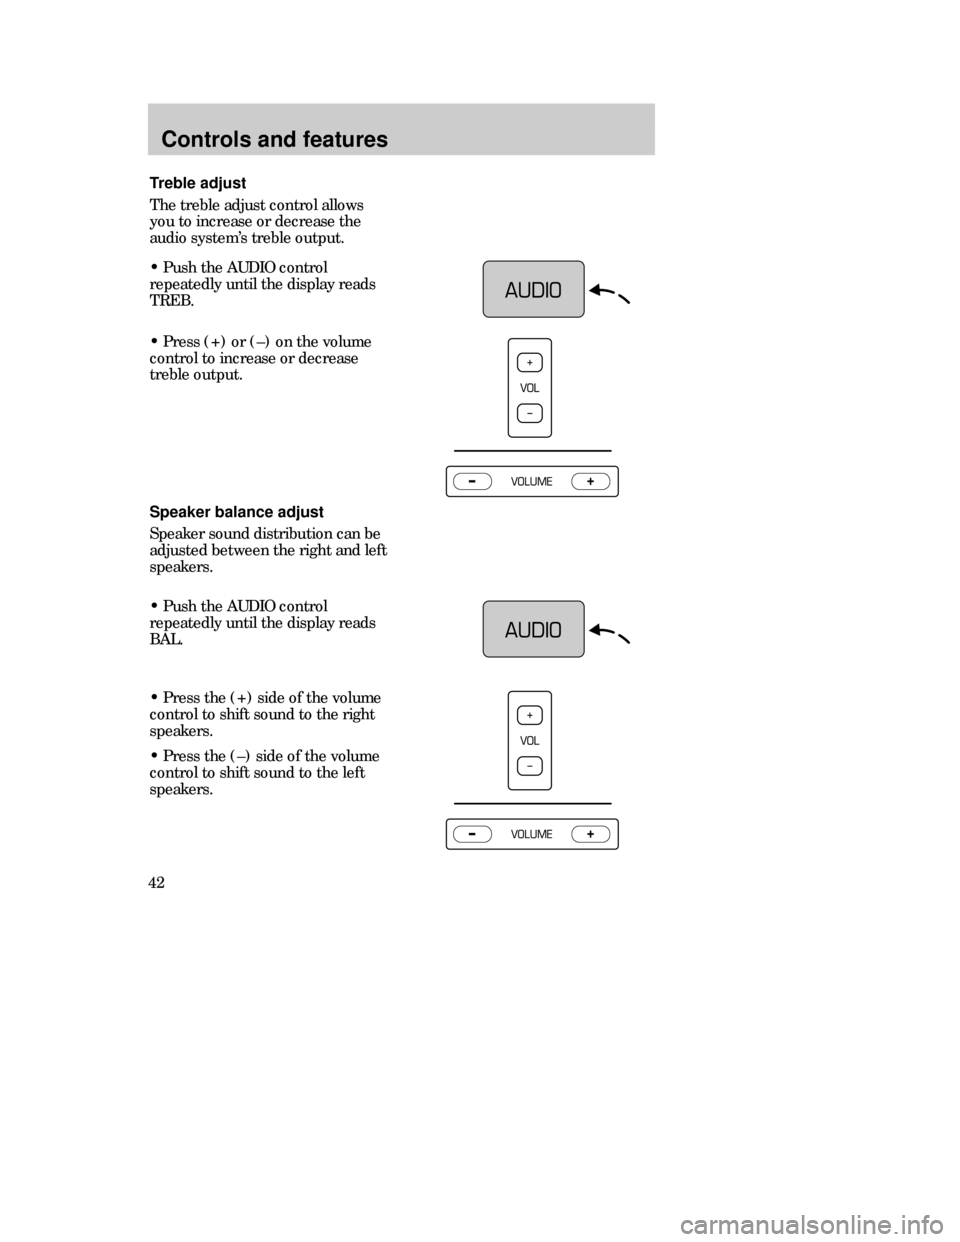
¥ Press (+) or (Ð) on the volume
control to increase or decrease
treble output.
Speaker balance adjust
Speaker sound distribution can be
adjusted between the right and left
speakers.
Treble adjust
The treble adjust control allows
you to increase or decrease the
audio systemÕs treble output.
¥ Push the AUDIO control
repeatedly until the display reads
TREB.
¥ Push the AUDIO control
repeatedly until the display reads
BAL.
¥ Press the (+) side of the volume
control to shift sound to the right
speakers.
¥ Press the (Ð) side of the volume
control to shift sound to the left
speakers.
13MCten 4/13/99 3:35 PM Page 42
Page 43 of 244
Controls and features
43
Speaker fade adjust
Speaker sound distribution can be
adjusted between the front and
rear speakers.
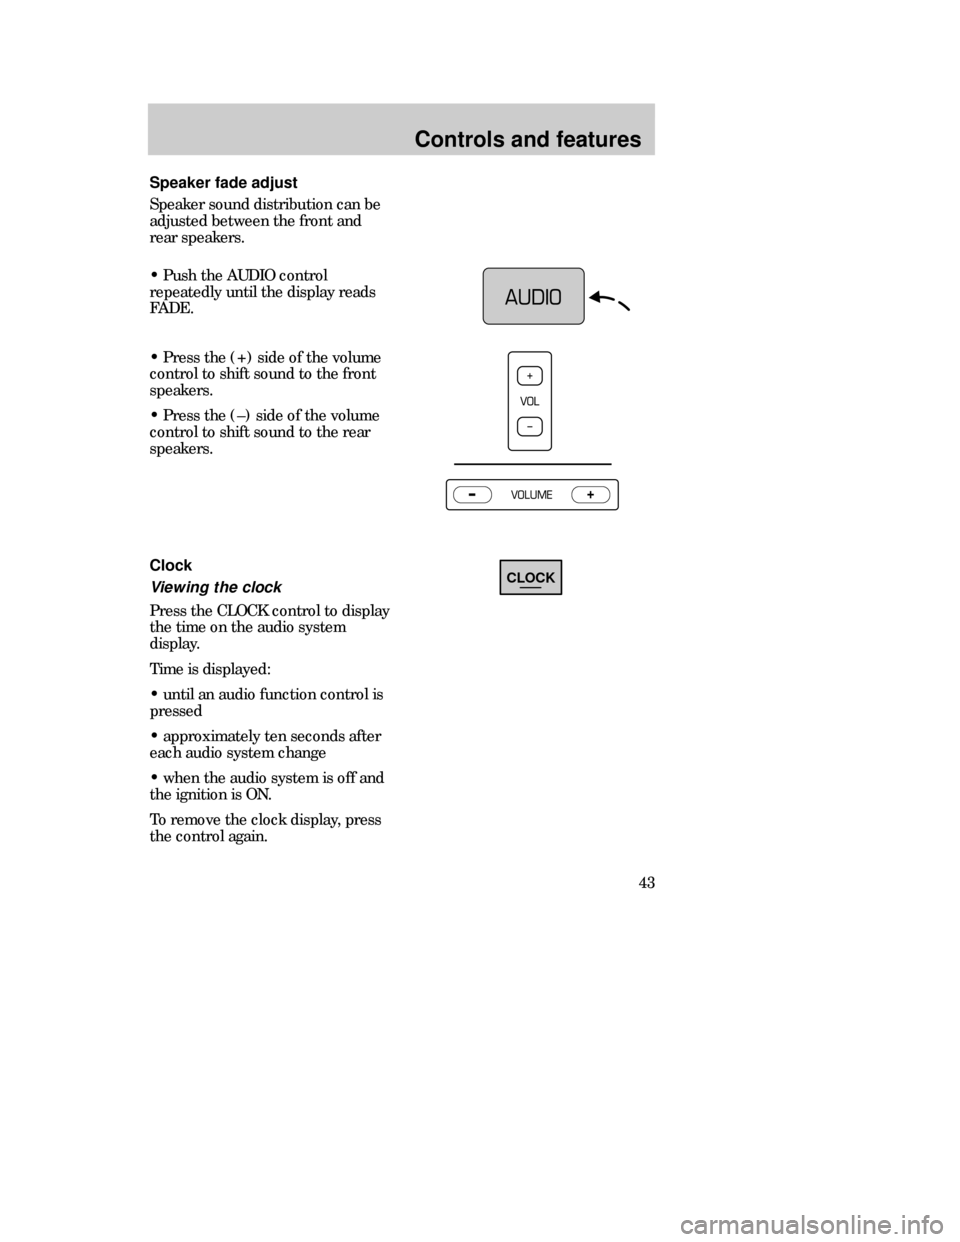
¥ Push the AUDIO control
repeatedly until the display reads
FADE.
¥ Press the (+) side of the volume
control to shift sound to the front
speakers.
¥ Press the (Ð) side of the volume
control to shift sound to the rear
speakers.
Clock
Viewing the clock
Press the CLOCK control to display
the time on the audio system
display.
Time is displayed:
¥ until an audio function control is
pressed
¥ approximately ten seconds after
each audio system change
¥ when the audio system is off and
the ignition is ON.
To remove the clock display, press
the control again.
CLOCK
13MCten 4/13/99 3:35 PM Page 43
Page 44 of 244
Controls and features
44
Setting the clock
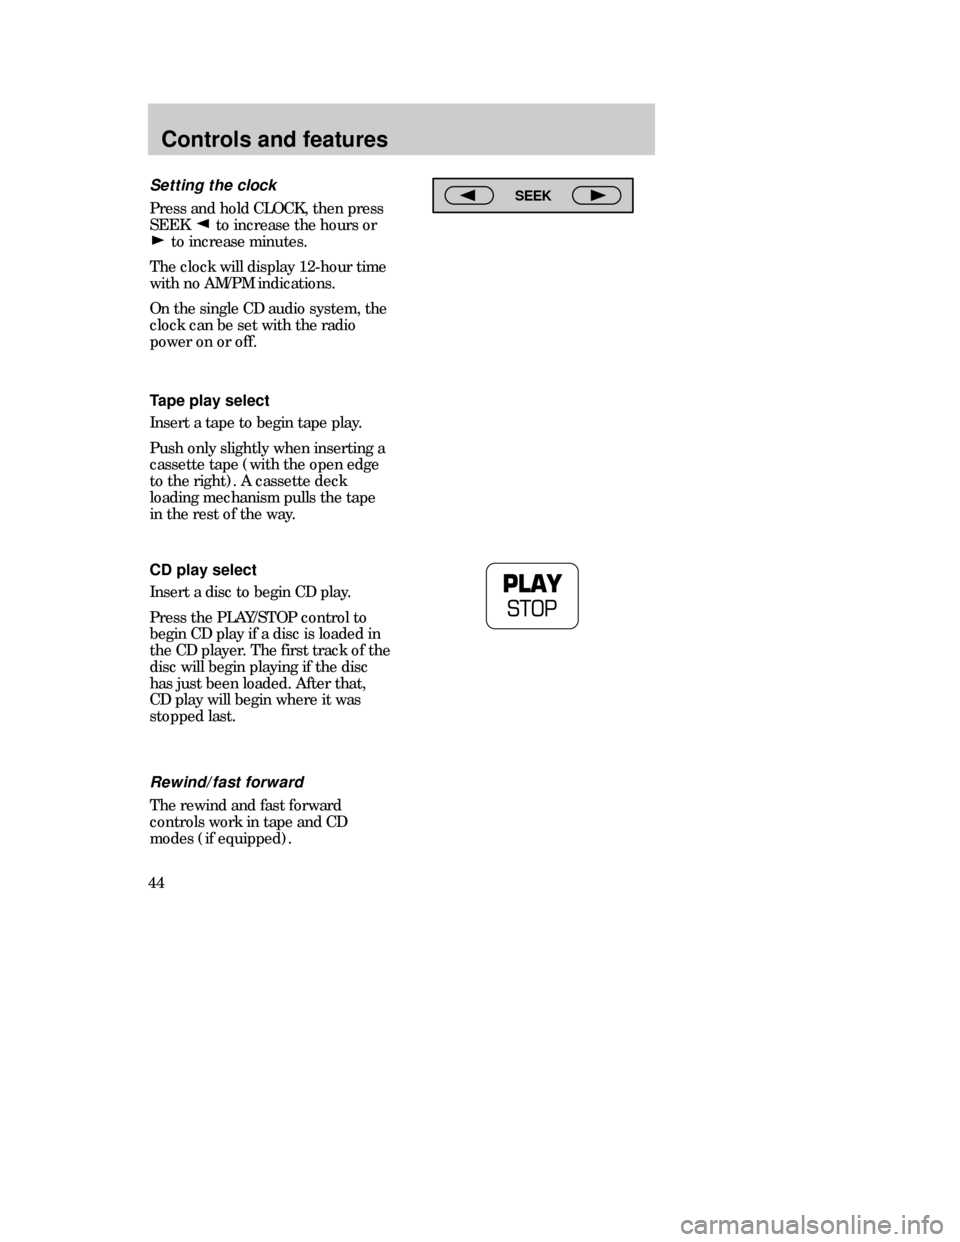
Press and hold CLOCK, then press
SEEK to increase the hours or
to increase minutes.
The clock will display 12-hour time
with no AM/PM indications.
On the single CD audio system, the
clock can be set with the radio
power on or off.
Tape play select
Insert a tape to begin tape play.
Push only slightly when inserting a
cassette tape (with the open edge
to the right). A cassette deck
loading mechanism pulls the tape
in the rest of the way.
CD play select
Insert a disc to begin CD play.
Press the PLAY/STOP control to
begin CD play if a disc is loaded in
the CD player. The first track of the
disc will begin playing if the disc
has just been loaded. After that,
CD play will begin where it was
stopped last.
Rewind/fast forward
The rewind and fast forward
controls work in tape and CD
modes (if equipped).
SEEK
13MCten 4/13/99 3:35 PM Page 44
Page 47 of 244
Controls and features
47
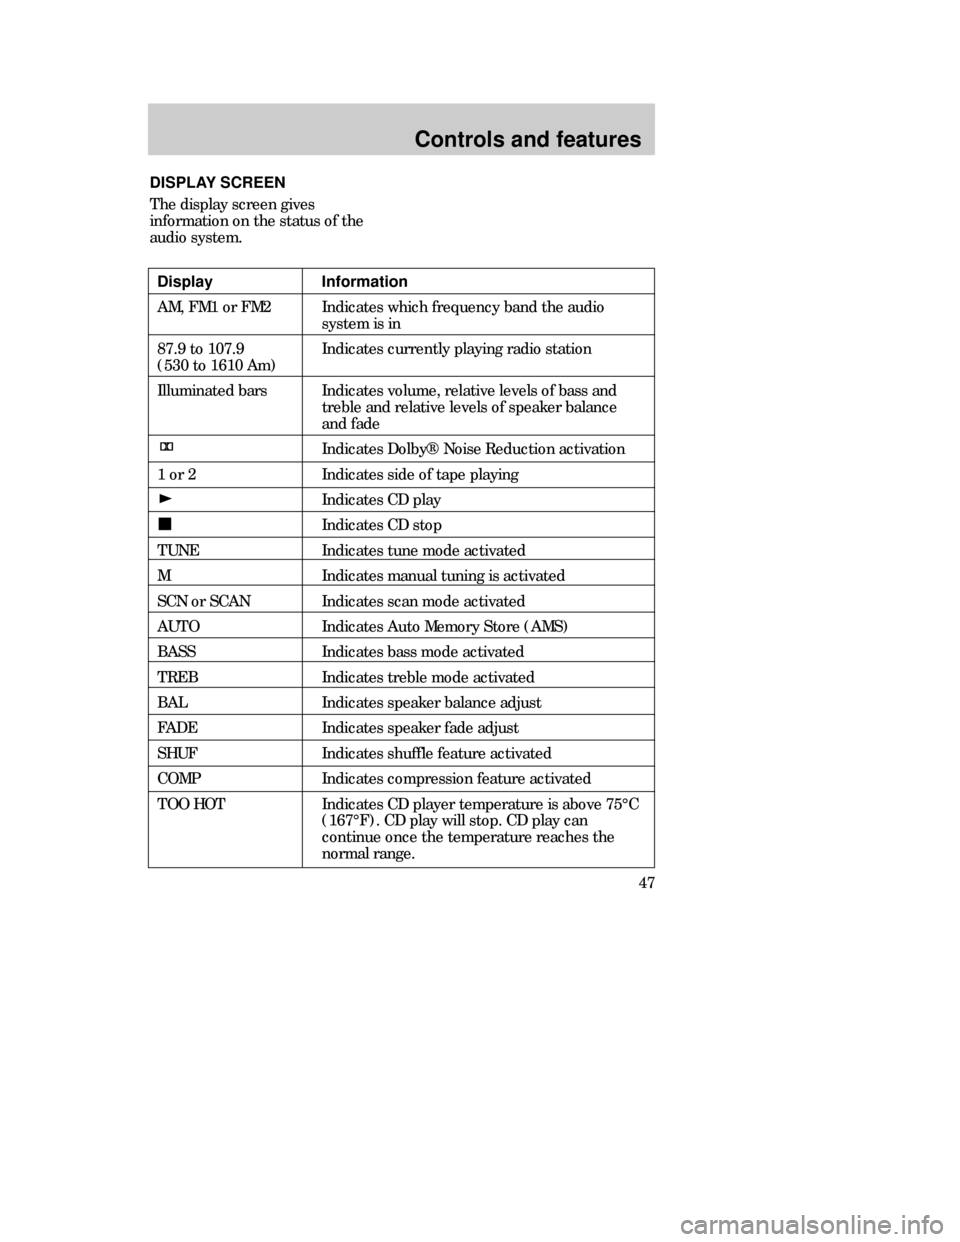
DISPLAY SCREEN
The display screen gives
information on the status of the
audio system.
Display Information
AM, FM1 or FM2 Indicates which frequency band the audio
system is in
87.9 to 107.9 Indicates currently playing radio station
(530 to 1610 Am)
Illuminated bars Indicates volume, relative levels of bass and
treble and relative levels of speaker balance
and fade
Indicates Dolby¨ Noise Reduction activation
1 or 2 Indicates side of tape playing
Indicates CD play
Indicates CD stop
TUNE Indicates tune mode activated
M Indicates manual tuning is activated
SCN or SCAN Indicates scan mode activated
AUTO Indicates Auto Memory Store (AMS)
BASS Indicates bass mode activated
TREB Indicates treble mode activated
BAL Indicates speaker balance adjust
FADE Indicates speaker fade adjust
SHUF Indicates shuffle feature activated
COMP Indicates compression feature activated
TOO HOT Indicates CD player temperature is above 75¡C
(167¡F). CD play will stop. CD play can
continue once the temperature reaches the
normal range.
13MCten 4/13/99 3:36 PM Page 47
Page 51 of 244
Controls and features
51
¥Terrain.Hills, mountains and tall
buildings between your vehicleÕs
antenna and the radio station
signal can cause FM reception
problems. Static can be caused on
AM stations by power lines, electric
fences, traffic lights and
thunderstorms. Moving away from
an interfering structure (out of its
ÒshadowÓ) returns your reception
to normal.
¥
Station overload.Weak signals
are sometimes captured by
stronger signals when you pass a
broadcast tower. A stronger signal
may temporarily overtake a weaker
signal and play while the weak
station frequency is displayed.
The audio system automatically
switches to single channel
reception if it will improve the
reception of a station normally
received in stereo.
AUDIO SYSTEM WARRANTIES
AND SERVICE
Refer to the ÒWarranty GuideÓ for
audio system warranty information.
If service is necessary, see your
dealer or a qualified technician.
13MCten 4/13/99 3:36 PM Page 51
Page 120 of 244

Driving
120
¥D (Overdrive)
Note that the vehicleÕs gearshift is
console-mounted on the floor. The
transaxle control switch (TCS) is
located on the gearshift handle.
The transaxle control indicator
light (O/D light) is located on the
instrument panel.
Overdrive is not shown on the
display, but is the default mode for
the D gearshift position. This is the
normal driving mode for the best
fuel economy. The transaxle
operates in gears one through four.
The O/D light is off (not
illuminated) during normal vehicle
operation.
Overdrive can be deactivated by
pressing the transaxle control
switch (TCS) located on the
gearshift handle. The O/D OFF
indicator light will illuminate in the
instrument cluster.
¥N(Neutral)
The wheels of the transaxle are not
locked. Your vehicle will roll freely,
even on the slightest incline, unless
the parking brake or brakes are on.
22MDren 4/13/99 3:40 PM Page 120