reset Mercury Mystique 1999 Owner's Manuals
[x] Cancel search | Manufacturer: MERCURY, Model Year: 1999, Model line: Mystique, Model: Mercury Mystique 1999Pages: 244, PDF Size: 2.15 MB
Page 19 of 244

Instrumentation
19
Trip odometer
The trip odometer can register the
mileage of individual journeys. To
reset, depress the button.
000123
0000
10 20 3040506070
80
90
110
120
13 0
MPH
20 4060
55
80120 10 0
14 0
160
18 0
20010 0
Speedometer
Odometer
Trip odometer Reset button
EF
Fuel gauge
The fuel gauge displays the
approximate level of usable fuel left
in the fuel reservoir.
Tachometer
Indicates the engine speed in
revolutions per minute (rpm).
12
03
x 1000
4
5
6
7
8
Speedometer
Indicates the current vehicle
speed.
Odometer
Registers the total mileage of the
vehicle.
12MInen 4/13/99 2:11 PM Page 19
Page 36 of 244

Controls and features
36
Power control
Press the control to turn the audio
system on or off.
Volume control
Press the control to raise or lower
volume.
If the volume is set above a certain
level and the ignition is turned off,
the volume will come back on at a
ÒnominalÓ listening level when the
ignition switch is turned back on.
AM/FM select
The AM/FM select control works in
radio mode and allows you to select
AM or FM frequency bands.
Press the control to switch
between AM, FM1 or FM2 memory
preset stations.
Tune adjust
The tune control works in radio
mode.
13MCten 4/13/99 3:35 PM Page 36
Page 39 of 244

Controls and features
39
Scan function
The scan function works in radio
and CD mode (if equipped).
Scan function with electronic
stereo cassette radio
Press the SCAN control to hear a
brief sampling of all listenable
stations on the frequency band.
Press the control again to stop the
scan mode.
Scan function with compact
disc radio
¥ Press the SCAN/TUNE control
once.
Radio station memory preset
The radio is equipped with six
station memory preset controls.
These controls can be used to
select up to six preset AM stations
and twelve FM stations (six in FM1
and six in FM2).
¥ Push on the SEEK control to
hear a brief sampling of listenable
stations up the frequency band.
¥ Push to hear a brief sampling
of listenable stations down the
frequency band.
13MCten 4/13/99 3:35 PM Page 39
Page 40 of 244

Controls and features
40
3. Press and hold a memory preset
control until the sound returns,
indicating the station is held in
memory on the control you
selected.
If the battery is disconnected, the
memory preset stations will need
to be reset.
Automatic memory store
(if equipped)
Automatic memory store allows
you to set strong radio stations
without losing your original
manually set preset stations. This
feature is helpful on trips when you
travel between cities with different
radio stations.
Setting memory preset stations
1. Select the frequency band with
the AM/FM select control.
2. Select a station. Refer to
Tune
adjust
or Seek functionfor more
information on selecting a station.
Starting automatic memory
store (if equipped)
1. Select a frequency using the
AM/FM select control.
13MCten 4/13/99 3:35 PM Page 40
Page 41 of 244

Controls and features
41
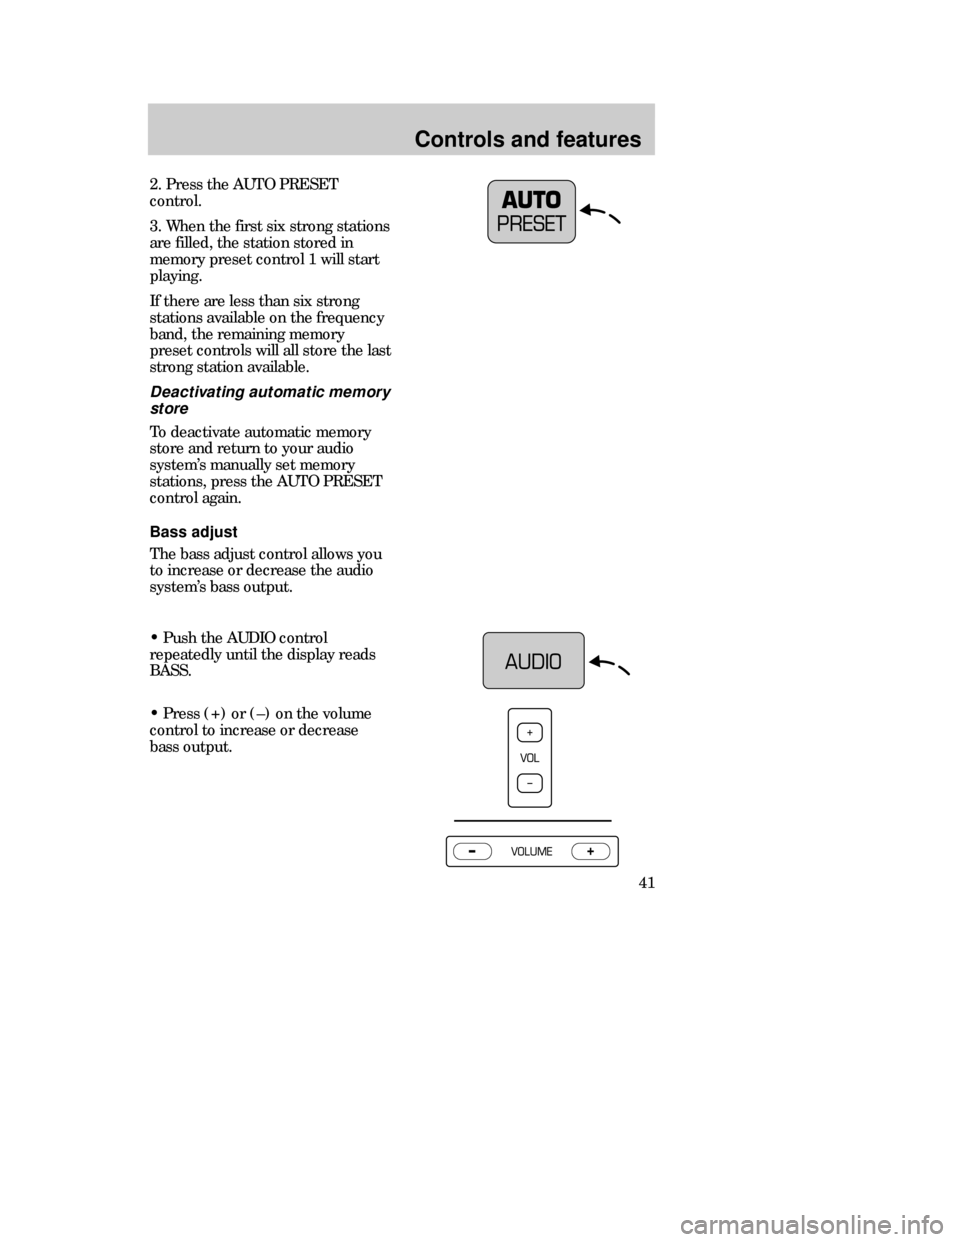
2. Press the AUTO PRESET
control.
3. When the first six strong stations
are filled, the station stored in
memory preset control 1 will start
playing.
If there are less than six strong
stations available on the frequency
band, the remaining memory
preset controls will all store the last
strong station available.
Deactivating automatic memory
store
To deactivate automatic memory
store and return to your audio
systemÕs manually set memory
stations, press the AUTO PRESET
control again.
Bass adjust
The bass adjust control allows you
to increase or decrease the audio
systemÕs bass output.
¥ Push the AUDIO control
repeatedly until the display reads
BASS.
¥ Press (+) or (Ð) on the volume
control to increase or decrease
bass output.
13MCten 4/13/99 3:35 PM Page 41
Page 137 of 244

Roadside emergencies
137
HAZARD FLASHER CONTROL
Use only in an emergency to warn
traffic of vehicle breakdown or
approaching danger. Depress to
activate. Depress again to switch
off. The hazard lights can be
operated when the ignition is off.
Off
ResSet
AccCoast
On
FUEL PUMP SHUT-OFF SWITCH
If the engine cranks, but does not
start or does not start after a
collision, the fuel pump shut-off
switch may have been activated.
The shut-off switch is a device
intended to stop the electric fuel
pump when your vehicle has been
involved in a substantial jolt.
Once the shut-off switch is
activated, you must reset the
switch by hand before you can start
your vehicle. The switch is located
on the side panel in front of the
driverÕs side door.
23MREen 4/13/99 3:41 PM Page 137
Page 138 of 244

Roadside emergencies
138
If your engine cranks but does not
start after a collision or substantial
jolt:
1. Turn the ignition key to the off
position.
2. Check under the vehicle for
leaking fuel.
3. If you do not see or smell fuel,
push the red reset button down. If
the button is already set, you may
have a different mechanical
problem.
4. Turn the ignition key to the on
position for a few seconds, then
turn it to the off position.
5. Check under the vehicle again
for leaking fuel. If you see or smell
fuel, do not start your vehicle
again. If you do not see or smell
fuel, you can try to start your
vehicle again.
If you see or smell fuel, do
not reset the switch or try to
start your vehicle. Have all the
passengers get out of the vehicle
and call the local fire department
or a towing service.
23MREen 4/13/99 3:41 PM Page 138
Page 139 of 244

Roadside emergencies
139
Even after a fuse is replaced, it will
continue to blow if the cause of the
overload is not identified and
corrected. If the fuse continues to
blow, have the vehicleÕs electrical
system checked by your dealer or a
qualified service technician.
To reset a circuit breaker press the
reset button.
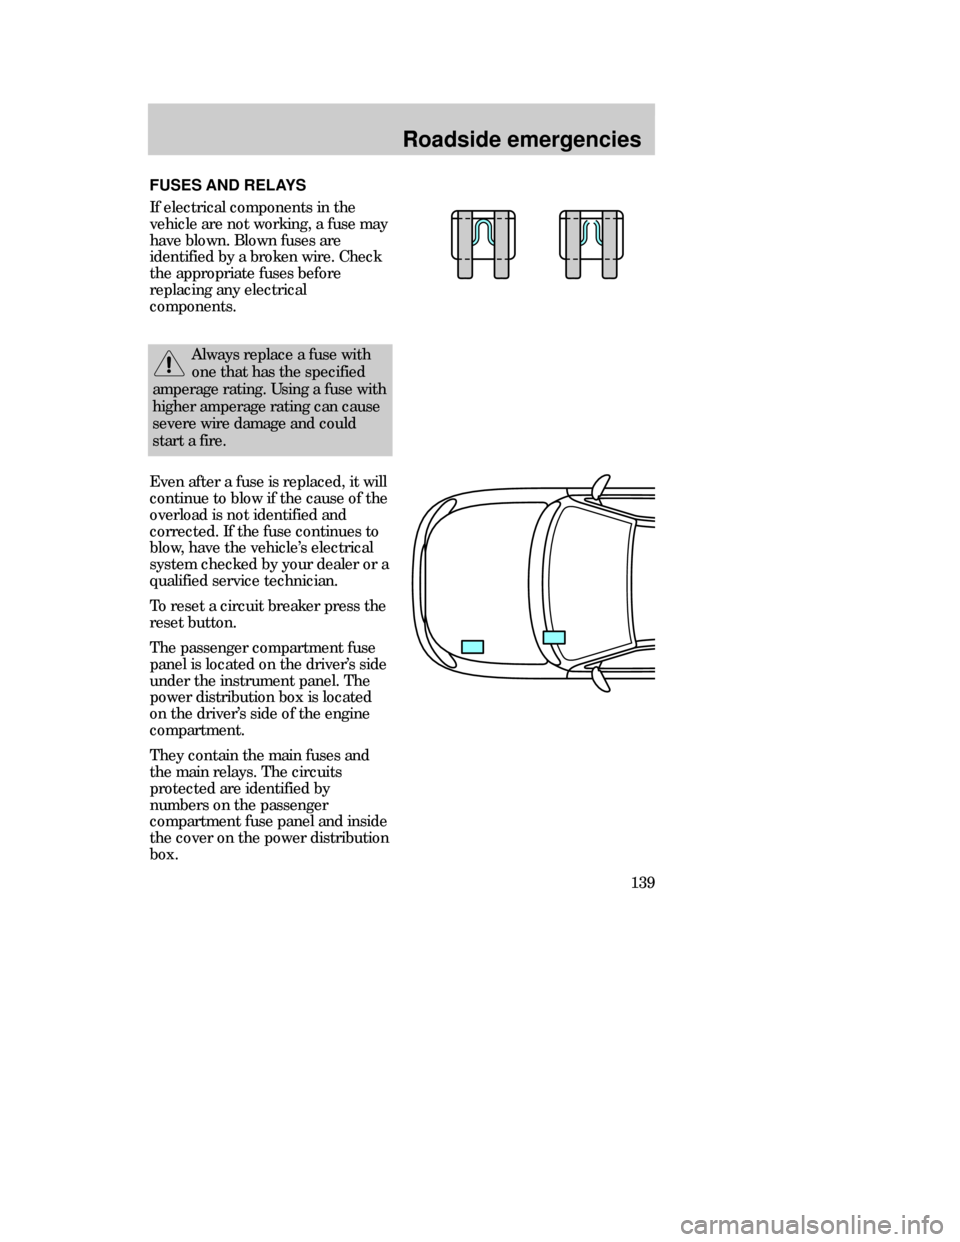
The passenger compartment fuse
panel is located on the driverÕs side
under the instrument panel. The
power distribution box is located
on the driverÕs side of the engine
compartment.
They contain the main fuses and
the main relays. The circuits
protected are identified by
numbers on the passenger
compartment fuse panel and inside
the cover on the power distribution
box.
FUSES AND RELAYS
If electrical components in the
vehicle are not working, a fuse may
have blown. Blown fuses are
identified by a broken wire. Check
the appropriate fuses before
replacing any electrical
components.
Always replace a fuse with
one that has the specified
amperage rating. Using a fuse with
higher amperage rating can cause
severe wire damage and could
start a fire.
23MREen 4/13/99 3:42 PM Page 139
Page 179 of 244

Maintenance and care
179
Relearning the idle function
Because your vehicleÕs engine is
electronically controlled, some
control conditions are maintained
by power from the battery. When
the battery is disconnected or a
new battery is installed, the
computer must ÒrelearnÓ its idle
conditions before your vehicle can
drive properly. To begin this
process:
1. Put the automatic transaxle
gearshift in P (Park). Put the
manual transaxle gearshift in
neutral.
2. Turn off all accessories and start
the vehicle.
3. Let the engine idle for at least
one minute.
4. The ÒrelearningÓ process will
automatically complete as you
drive the vehicle.
¥ If you do not allow the engine to
ÒrelearnÓ its idle, the idle quality of
your vehicle may be adversely
affected until the idle is eventually
ÒrelearnedÓ.
¥ If the battery has been
disconnected or if a new battery
has been installed, the clock and
preset radio stations must be reset
once the battery is reconnected.
31MMCen 4/13/99 2:17 PM Page 179
Page 199 of 244

Maintenance and care
199
If the vehicleÕs powertrain system
or its battery has just been
serviced, the OBD-II system is
reset to a Ònot ready for I/M testÒ
condition. To ready the OBD-II
system for I/M testing, a minimum
of 30 minutes of city and highway
driving is necessary as described
below:
¥ First, at least 10 minutes of
driving on an expressway or
highway.
¥ Next, at least 20 minutes of
driving in stop and go, city-type
traffic with at least four idle
periods.
Allow the vehicle to sit for at least
eight hours without starting the
engine. Then, start the engine and
complete the above driving cycle.
The engine must warm up to its
normal operating temperature.
Once started, do not turn off the
engine until the above driving cycle
is complete.
31MMCen 4/13/99 2:17 PM Page 199