clock Mercury Mystique 2000 s User Guide
[x] Cancel search | Manufacturer: MERCURY, Model Year: 2000, Model line: Mystique, Model: Mercury Mystique 2000Pages: 248, PDF Size: 2.2 MB
Page 59 of 248

Controls and features
59
Do not use the speed control
in heavy traffic or on roads
that are winding, slippery, or
unpaved.
Off
On
Speed control (if equipped)
To turn speed control off
• Press Off, or
• turn off the vehicle ignition.
Once the speed control is switched
off, the previously programmed set
speed will be erased.
To turn speed control on
• Press On.
MIRRORS
OFF LO PNL/FLR
PANEL
A/CFLOOR
DEF FLR
DEF
MAX
A/C HI/
POWER AUDIO AM/FM
SCAN
SEEK 31245ANSSIDE 1-2EJECTVOLUME
000123
000010 20 3040506070
80
90
10 0
110
120
13 0MPH20 406055
80120 10 0
14 0
160
18 0
200EF12
03
x 1000
4
5
6
7
8
BRAKE
CHECK
ENGINE TRACTION
CONTROLO/D
OFF
CLOCK
Res
Set
AccCoastOff
On
TRACTION
TROL
CH
13MCfen 24.6.99 15:06 Uhr Seite 59
Page 71 of 248

Controls and features
71 PASSIVE ANTI-THEFT SYSTEM
(if equipped)
The Passive Anti-Theft system
(PATS) is an engine immobilization
system. It is an additional theft
protection feature that prevents
the engine from being started
unless a coded key is used..
This system is only available with
2.5 litre engines.
OFF LO PNL/FLR
PANEL
A/CFLOOR
DEF FLR
DEF
MAX
A/C HI/
POWER AUDIO AM/FM
SCAN
SEEK 31245ANSSIDE 1-2EJECTVOLUME
12 3
00
0
80
90
10 0
110
120
13 0
PH
120
14 0
160
18 0
200
EF
BRAKE
CHECK
ENGINE
CLOCK
Automatic arming
The system is armed five seconds
after switching off the ignition.
The armed status is indicated when
the control light flashes every
two seconds.
Automatic disarming
Switching on the ignition disarms
the system if the correct code is
recognized.
Keys
Your vehicle is supplied with two
coded keys.
Only these keys can be used to
start your vehicle.
13MCfen 24.6.99 15:07 Uhr Seite 71
Page 87 of 248

Seating and safety restraints
87 Important supplemental
restraint system (SRS)
precautions
The supplemental restraint system
(SRS) is designed to work with the
safety belt to help protect the
driver and right front passenger
from certain upper body injuries.
AIR BAG SUPPLEMENTAL
RESTRAINT SYSTEM (SRS)
MIRRORS
OFF LO PNL/FLR
PANEL
A/CFLOOR
DEF FLR
DEF
MAX
A/C HI/
POWER AUDIO AM/FM
SCAN
SEEK 31245ANSSIDE 1-2EJECTVOLUME
000123000010 20 3040506070
80
90
10 0
110
120
13 0MPH20 406055
80120 10 0
14 0
160
18 0
200EF12
03x 1000
4
5
6
7
8BRAKE
CHECK
ENGINEO/D
OFF
CLOCK
TRACTION
TROLCH
Always transport children
12 years old and under in
the back seat and always use
appropriate child restraints.
All occupants of the vehicle
including the driver should
always properly wear their safety
belts even when air bag SRS is
provided.
NHTSA recommends a
minimum distance of at least
25 cm (ten [10] inches) between
an occupant’s chest and the air
bag module.
14MSSen 24.6.99 15:15 Uhr Seite 87
Page 153 of 248

Roadside emergencies
153 Replacing a tire
1. Push the spare tire onto the
wheel studs.
2. Screw on the wheel nuts,
ensuring the tapered end of the
wheel nuts are facing the wheel,
and secure in a clockwise direction.
3. Lower the vehicle and remove
the jack by turning the handle
counterclockwise.
4. Fully tighten the wheel nuts in a
crosswise pattern.
5. Align the hub cap with the valve
and push firmly into position with
the ball of the hand.
6. Stow the jack and damaged tire
in the luggage compartment by
reversing the spare tire removal
instructions.
3
42 1
23MREen 24.6.99 15:28 Uhr Seite 153
Page 176 of 248

Maintenance and care
176
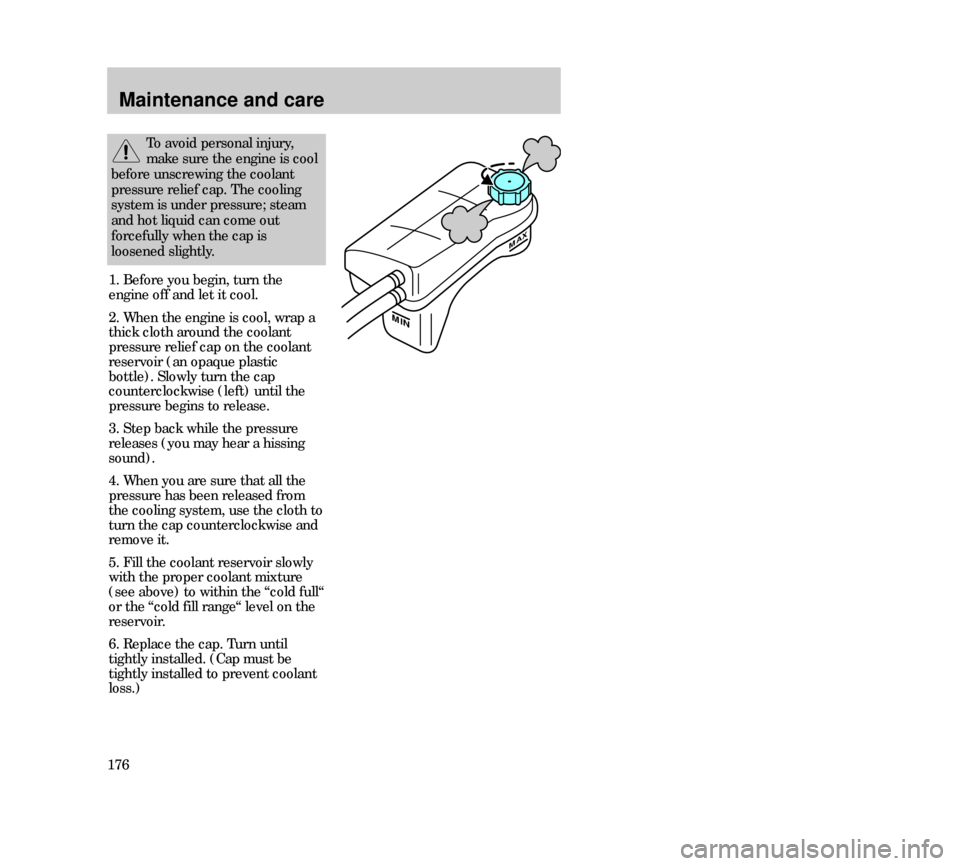
MAX
MIN
1. Before you begin, turn the
engine off and let it cool.
2. When the engine is cool, wrap a
thick cloth around the coolant
pressure relief cap on the coolant
reservoir (an opaque plastic
bottle). Slowly turn the cap
counterclockwise (left) until the
pressure begins to release.
3. Step back while the pressure
releases (you may hear a hissing
sound).
4. When you are sure that all the
pressure has been released from
the cooling system, use the cloth to
turn the cap counterclockwise and
remove it.
5. Fill the coolant reservoir slowly
with the proper coolant mixture
(see above) to within the “cold full“
or the “cold fill range“ level on the
reservoir.
6. Replace the cap. Turn until
tightly installed. (Cap must be
tightly installed to prevent coolant
loss.)
To avoid personal injury,
make sure the engine is cool
before unscrewing the coolant
pressure relief cap. The cooling
system is under pressure; steam
and hot liquid can come out
forcefully when the cap is
loosened slightly.
31MMCen 24.6.99 15:30 Uhr Seite 176
Page 185 of 248

Maintenance and care
185 Relearning the idle function
Because your vehicle’s engine is
electronically controlled, some
control conditions are maintained
by power from the battery. When
the battery is disconnected or a
new battery is installed, the
computer must “relearn” its idle
conditions before your vehicle can
drive properly. To begin this
process:
1. Put the automatic transaxle
gearshift in P (Park). Put the
manual transaxle gearshift in
neutral.
2. Turn off all accessories and start
the vehicle.
3. Let the engine idle for at least
one minute.
4. The “relearning” process will
automatically complete as you
drive the vehicle.
• If you do not allow the engine to
“relearn” its idle, the idle quality of
your vehicle may be adversely
affected until the idle is eventually
“relearned”.
• If the battery has been
disconnected or if a new battery
has been installed, the clock and
preset radio stations must be reset
once the battery is reconnected.
31MMCen 24.6.99 15:31 Uhr Seite 185
Page 208 of 248

Maintenance and care
208Front turn signal/side lamps
Pull the socket out. Pull the bulb
out and replace it.
Foglamps (if equipped)
1. Turn the bulb counterclockwise
and pull it out of the light assembly.
2. Remove the electrical connector.
3. Fit the new bulb in reverse order
(do not touch the glass part of the
bulb).
31MMCen 24.6.99 15:31 Uhr Seite 208
Page 209 of 248

Maintenance and care
209
License plate lamp
Unscrew the bulb holder with a
screwdriver. Remove the bulb from
the clip holder.
Replace the new bulb in reverse
sequence. Brake/turn signal/tail lamps
1. Disconnect the electrical
connector.
2. Turn the socket
counterclockwise and pull it out.
3. Turn the bulb counterclockwise
and pull it out.
4. To install, fit the new bulb in
reverse order.
Backup lamps
The backup lamps are located in
the trunk lid. Replacement
instructions are the same as for the
brake/turn signal/tail lamps.
31MMCen 24.6.99 15:31 Uhr Seite 209
Page 210 of 248

Maintenance and care
210
High-mounted brake lamp
Enter the rear seat compartment.
1. Remove the high-mounted stop
lamp assembly.
2. Remove the red bulb cover.
3. Remove inoperative stop lamp
bulb.
To install, fit the new bulb in
reverse sequence.
On vehicles equipped with a rear
spoiler, the high-mounted brake
lamp is included in the spoiler.
See your dealer for repair.
Luggage compartment lamp
Pry out the light assembly from the
holder with a flat screwdriver. Turn
the spherical bulb under slight
pressure counterclockwise and
remove.
31MMCen 24.6.99 15:31 Uhr Seite 210
Page 221 of 248

Maintenance and care
221 Cleaning the interior fabric
Remove dust and loose dirt with a
whisk broom or a vacuum cleaner.
Remove fresh spots immediately.
Follow the directions that come
with the cleaner.
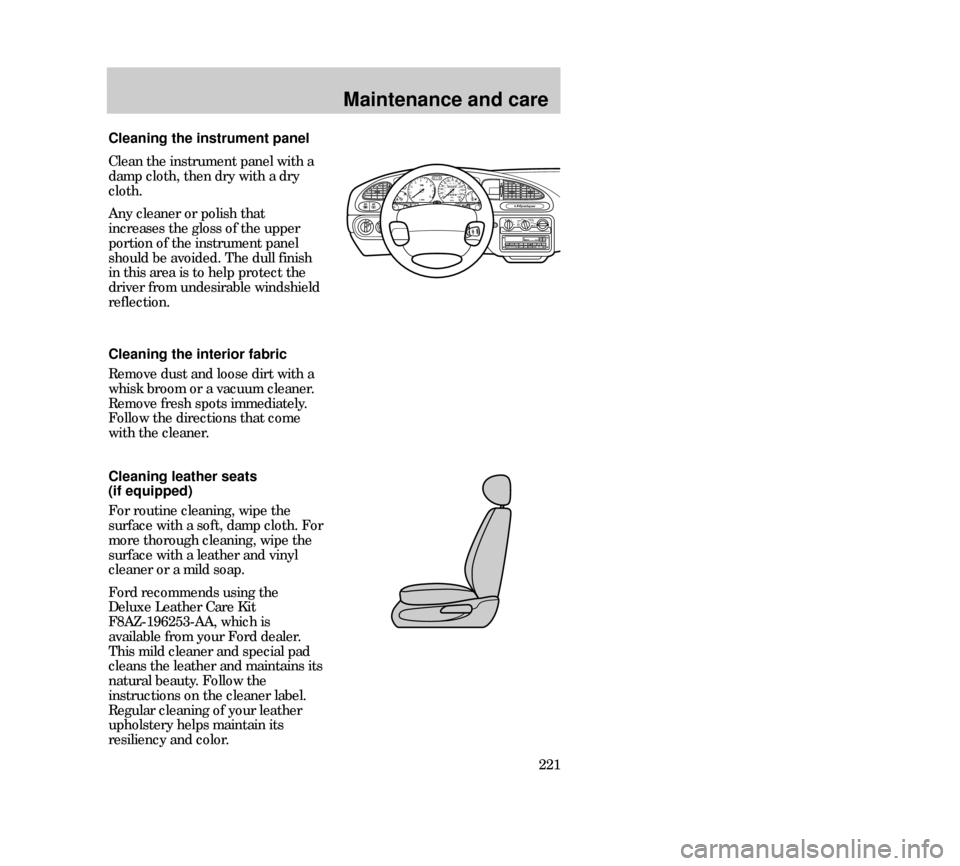
Cleaning the instrument panel
OFF LO PNL/FLR
PANEL
A/CFLOOR
DEF FLR
DEF
MAX
A/C HI/
POWER AUDIO AM/FM
SCAN
SEEK 31245ANSSIDE 1-2EJECTVOLUME
000123000010 20 3040506070
80
90
10 0
110
120
13 0MPH20 406055
80120 10 0
14 0
160
18 0
200EF12
03x 1000
4
5
6
7
8
CHECK
ENGINE TRACTION
CONTROLO/D
OFF
MIRRORS
CLOCK
H C
Clean the instrument panel with a
damp cloth, then dry with a dry
cloth.
Any cleaner or polish that
increases the gloss of the upper
portion of the instrument panel
should be avoided. The dull finish
in this area is to help protect the
driver from undesirable windshield
reflection.
Cleaning leather seats
(if equipped)
For routine cleaning, wipe the
surface with a soft, damp cloth. For
more thorough cleaning, wipe the
surface with a leather and vinyl
cleaner or a mild soap.
Ford recommends using the
Deluxe Leather Care Kit
F8AZ-196253-AA, which is
available from your Ford dealer.
This mild cleaner and special pad
cleans the leather and maintains its
natural beauty. Follow the
instructions on the cleaner label.
Regular cleaning of your leather
upholstery helps maintain its
resiliency and color.
31MMCen 24.6.99 15:31 Uhr Seite 221