spare wheel Mercury Sable 1997 Owner's Manuals
[x] Cancel search | Manufacturer: MERCURY, Model Year: 1997, Model line: Sable, Model: Mercury Sable 1997Pages: 167, PDF Size: 1.59 MB
Page 105 of 167

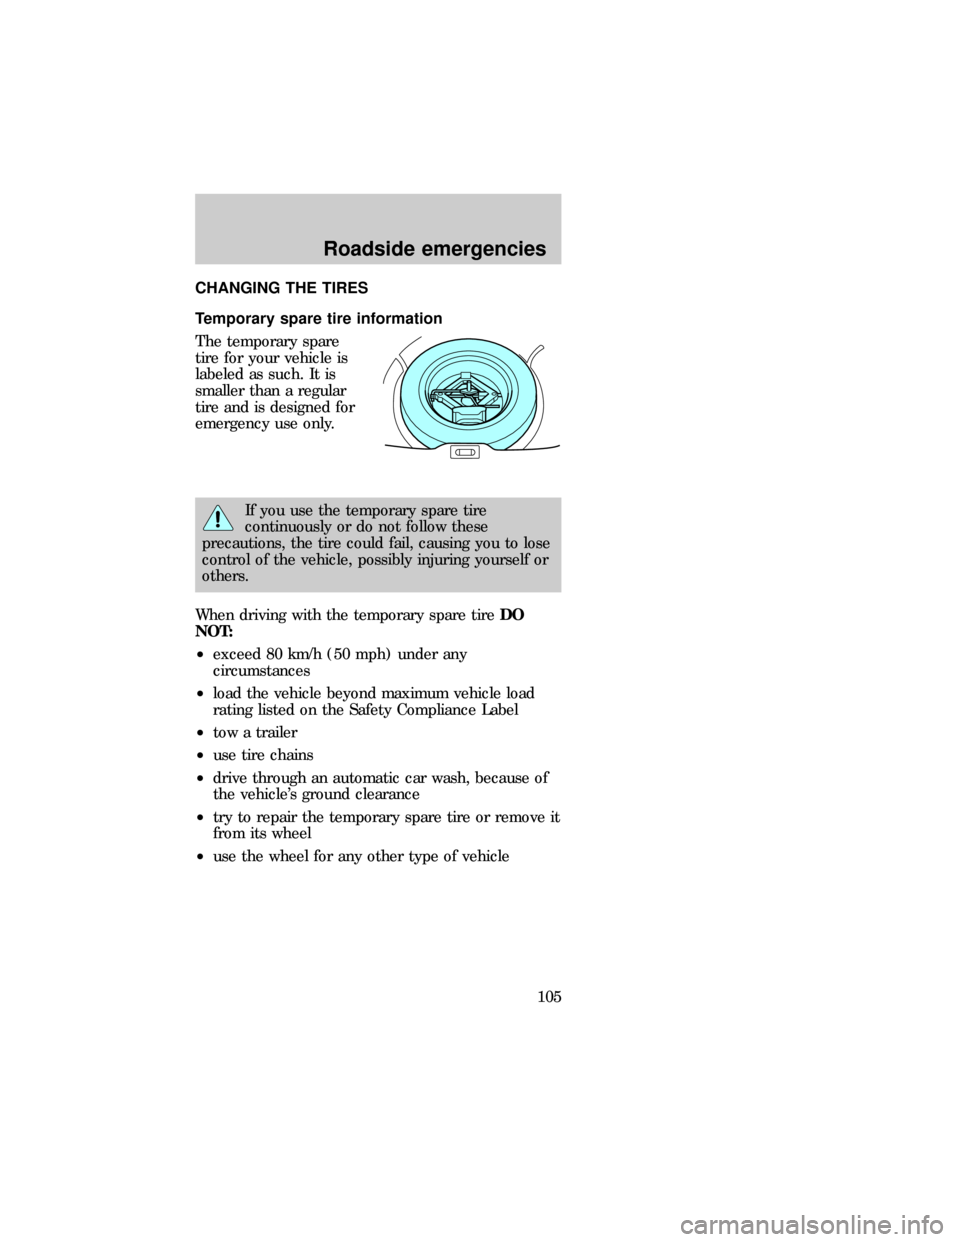
CHANGING THE TIRES
Temporary spare tire information
The temporary spare
tire for your vehicle is
labeled as such. It is
smaller than a regular
tire and is designed for
emergency use only.
If you use the temporary spare tire
continuously or do not follow these
precautions, the tire could fail, causing you to lose
control of the vehicle, possibly injuring yourself or
others.
When driving with the temporary spare tireDO
NOT:
²exceed 80 km/h (50 mph) under any
circumstances
²load the vehicle beyond maximum vehicle load
rating listed on the Safety Compliance Label
²tow a trailer
²use tire chains
²drive through an automatic car wash, because of
the vehicle's ground clearance
²try to repair the temporary spare tire or remove it
from its wheel
²use the wheel for any other type of vehicle
dno_spare-tire
dno_change-tire
Roadside emergencies
105
Page 106 of 167

Tire change procedure
1. Park on a level
surface, activate hazard
flashers and set
parking brake.
2. Place gearshift lever in P (Park), block the
diagonally opposite wheel, then remove the spare
tire, jack and lug wrench.
In the sedan, these are
located in the trunk
under the floor carpet.
In the wagon, they are
stored in the left side
rear trim panel.
BRAKE RELEASE
Roadside emergencies
106
Page 107 of 167

3. Loosen each wheel
lug nut one-half turn
counterclockwise but
do not remove them
until the wheel is
raised off the ground.
4. Put the jack in the
jack notch next to the
door of the tire you are
changing. Turn the jack
handle clockwise until
the wheel is completely
off the ground.
5. Remove the lug nuts with the lug wrench.
6. Replace the flat tire with the spare tire, making
sure the valve stem is facing outward. Reinstall lug
nuts until the wheel is snug against the hub. Do not
fully tighten the lug nuts until the wheel has been
lowered.
7. Lower the wheel by turning the jack handle
counterclockwise.
8. Remove the jack and
fully tighten the lug
nuts in the order
shown.
1
4
2
5 3
Roadside emergencies
107
Page 109 of 167

2. Remove the center
bolt on the wheel cover
with the lug wrench
tip.
3. To remove the wheel
cover, pry it loose by
inserting the tapered
end of the lug wrench
between the wheel
cover and wheel.
To replace the wheel cover:
1. One of the windows on the wheel cover is
identified with a valve stem logo on the back side of
the wheel cover. Install the wheel over the wheel
with the window at the valve stem.
2. Hold the wheel cover in this position and press
the cover onto the wheel with the palm of your
hand. Do not force or hammer the cover.
3. Attach the bolt to the pedestal through the center
hole on the cover with the lug wrench.
4. Align the legs of the center ornament with the
slots of the wheel cover. Reinstall the ornament by
pressing with the palm of your hand. Do not
hammer or force the cover.
Anti-theft lug nuts (if equipped)
If your vehicle is
equipped with this
feature, one of the lug
nuts on each wheel
must be removed and replaced with a special key.
The key and registration card are attached to the lug
wrench and stored with the spare tire. If you lose
dno_lug-nuts
Roadside emergencies
109
Page 165 of 167

arming and disarming
the anti-theft
system ..................... 42
locking/unlocking
doors ................... 41,42
opening the trunk ... 41
panic alarm ............. 42
replacement/additional
transmitters ............. 43
replacing the
batteries .................. 43
Reporting safety
defects ..................... 162
Safety restraints
automatic locking
mode (retractor) 53,54
center rear lap belt 55
extension assembly 58
for children ............. 64
for second row bench
seats ............... 71,72,74
lap and shoulder
belts ......................... 52
maintenance ............ 60
proper use ............... 52
warning light and
chime ....................... 59
Safety seats for children
attaching with tether
straps .................. 69,70
automatic locking
mode (retractor) .... 67
tether anchorage
hardware ................. 70
Seats
adjusting the seat,
manual ..................... 48
adjusting the seat,
power ....................... 49
folding rear seats .... 50
head restraints ........ 48Servicing your
vehicle ...................... 114
precautions when
servicing ................ 114
Spare tire ................. 105
Speed control ............ 22
Speedometer ............. 10
Starting your vehicle 77
preparing to start your
vehicle ..................... 76
starting a warm
engine ...................... 78
Storage
compartments ........... 35
Tachometer
mechanical cluster . 11
Tilt steering wheel .... 27
Tires ......................... 132
changing ................ 106
checking the
pressure ................. 132
replacing ................ 133
rotating .................. 132
snow tires and
chains .................... 133
tire grades ............. 130
treadwear .............. 130
Towing your vehicle 113
Trailer towing ............ 91
tips ........................... 94
Transaxle ................... 83
automatic
operation ...... 84,85,86,
87,88,89
fluid, checking and
adding
(automatic) ... 125,126,
127
Trip odometer ........... 12
Trunk
using the remote entry
system to open ....... 34
Turn signal ................ 25
Index
165