belt Mercury Sable 1998 s Owner's Guide
[x] Cancel search | Manufacturer: MERCURY, Model Year: 1998, Model line: Sable, Model: Mercury Sable 1998Pages: 190, PDF Size: 1.29 MB
Page 80 of 190

BUILT-IN CHILD SEATS
Built-in child safety seat (if equipped)
The rear seat may include a built-in child seat. This
child seat conforms to all Federal and local motor
vehicle safety standards. Read the labels located on
the child seat cushion and shoulder belt for
information on the built-in child seat.
Use the built-in child seatonlyif the child is at least
9 months old, weighs 9±27 kg (20±60 lb) and the
child's shoulders (top) are below the shoulder
harness slots in the built-in child seat.
Children not meeting these requirements should be
secured in an approved aftermarket seat. Refer to
Children and infant or child safety seatsin this
chapter.
Built-in child seat retractors
The belts on built-in child seats are equipped with a
retractor that locks when both tongues are latched
into the crotch safety belt buckle. The retractor will
automatically snug the belts around the child. If the
belts do not remain snug, take the vehicle to the
dealer for child seat repair. The belts will not snug
during a collision.
Placing your child in the built-in child seat
Failure to follow all of the instructions on
the use of this child restraint system can
result in your child striking the vehicle's interior
during a sudden stop or crash.
Seating and safety restraints
80
Page 81 of 190

Never use the Built-In Child Seat as a
booster cushion with the adult safety belts.
A child using the adult belts could slide forward
and out from under the safety belts.
The rear seatback must be fully locked
before operating the child restraint system.
1. Grasp the child seat
at the top of the
seatback and pull the
top forward to release
the latch.
2. Continue to unfold
the child seat until it
rests on the seat.
Seating and safety restraints
81
Page 82 of 190

3. Read all information
and warnings on the
child seat cushion and
shoulder safety belt.
Make sure the child is
not too large for the
child seat.
4. If connected, squeeze the top and the bottom of
the right half of the chest clip and pull to separate
both halves.
5. Place the child on the child seat and position the
shoulder belts over each shoulder.
6. Insert either the left
or the right safety belt
tongue into the single
opening of the crotch
safety belt buckle (it
doesn't matter which
tongue is inserted
first). Insert other
tongue. The color
green must appear in the indicator window on the
crotch safety belt buckle when buckled. Allow belts
to retract and fit snugly.
7. Fasten both halves
of the chest clip below
the child's shoulders
and adjust it to
comfortably hold the shoulder belts in place on the
child's chest. The color green must appear in the
indicator window when fastened.
8. Pull the shoulder belts toward you to make sure
the crotch safety belt buckle is properly fastened
and the retractor is locked.
Seating and safety restraints
82
Page 83 of 190

9. If the belts become too tight, unbuckle the crotch
safety belt buckle to unlock the retractors, then
reinsert both belt tongues.
Removing your child from the built-in child seat
1. Squeeze the tabs on the top and the bottom of
the chest clip and pull the halves apart to open the
chest clip.
2. Press the release button on the crotch safety belt
buckle.
3. Slide the shoulder belts off the child's shoulders
and remove the child.
To stow the built-in child seat
Return the child seat
cushion to the upright
position, then press
firmly in the center and
top of the child seat.
Inspecting the built-in child seat after a collision
Inspect all built-in child restraints, including seats,
buckles, retractors, seat latches. Interlocks and
attaching hardware should be inspected by a
qualified technician after any collision. If the child
seat was in use during a collision, Ford recommends
replacing it. Built-in child restraints not in use
during a collision should be inspected and replaced
if either damage or improper operation is noted.
Seating and safety restraints
83
Page 85 of 190

If you smell exhaust fumes inside your
vehicle, have your dealer inspect your
vehicle immediately. Do not drive if you smell
exhaust fumes.
Important safety precautions
A computer system controls the engine's idle
revolutions per minute (RPM). When the engine
starts, the idle RPM runs faster to warm the engine.
If the engine idle speed does not slow down
automatically, have the vehicle checked. Do not
allow the vehicle to idle for more than ten minutes.
Before starting the vehicle:
1. Make sure all vehicle occupants have buckled
their safety belts. For more information on safety
belts and their proper usage, refer to theSeating
and safety restraintschapter.
2. Make sure the headlamps and vehicle accessories
are off.
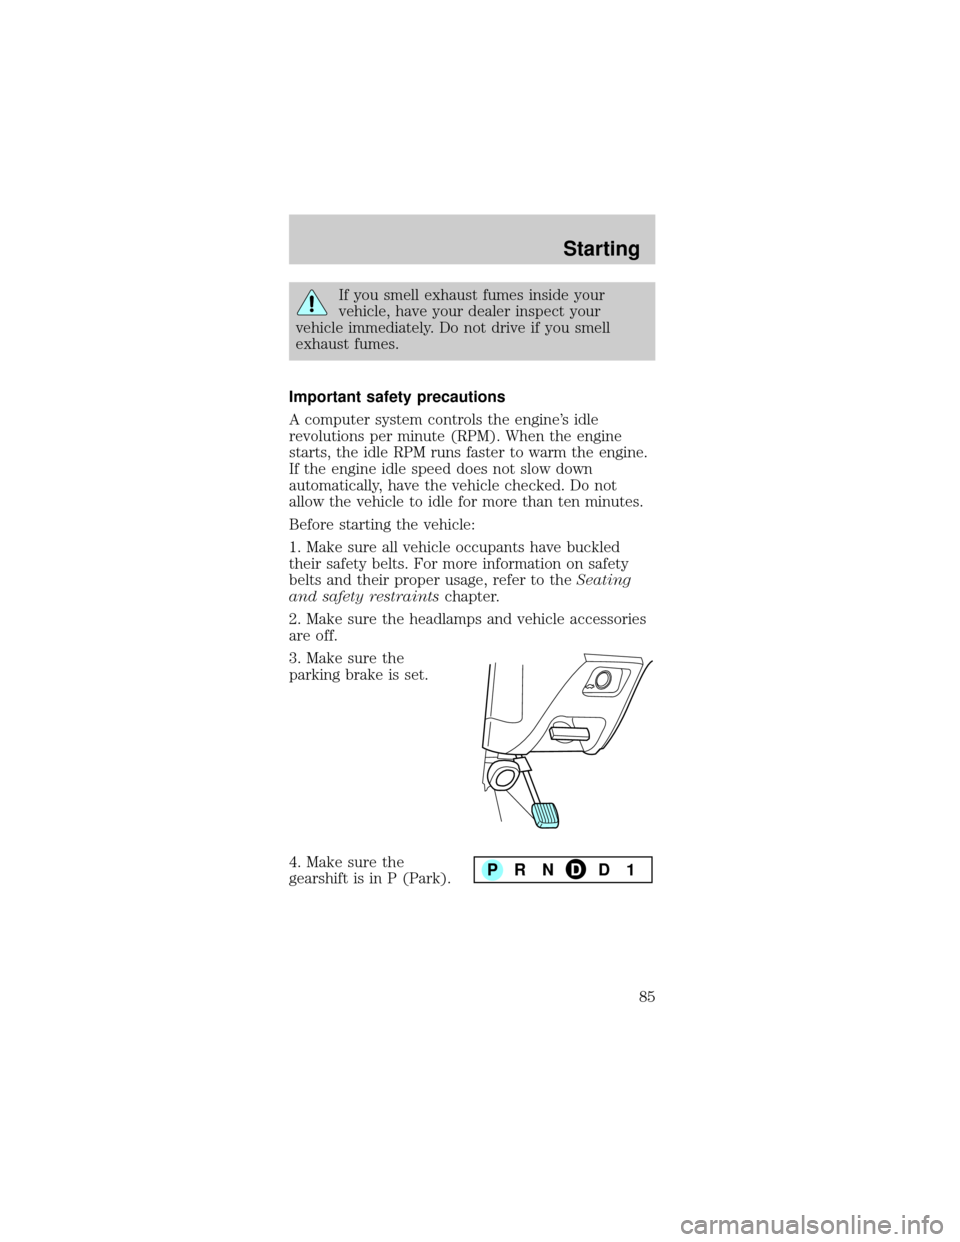
3. Make sure the
parking brake is set.
4. Make sure the
gearshift is in P (Park).
PRNDD1
Starting
85
Page 86 of 190

5. Turn the key to 4
(ON) without turning
the key to 5 (START).
Make sure the corresponding lights illuminate
briefly. If a light fails to illuminate, have the vehicle
serviced.
²If the driver's safety belt is fastened, the light
(
) will not illuminate.
STARTING THE ENGINE
1. Turn the key to 5
(START) without
pressing the
accelerator pedal and
release as soon as the
engine starts. The key
will return to 4 (ON).
2. If the temperature is above ±12É C (10É F) and
the engine does not start within five seconds on the
first try, turn the key to OFF, wait ten seconds and
try again.
3. If the temperature is below -12ÉC (10ÉF) and the
engine does not start in fifteen seconds on the first
try, turn the key OFF and wait ten seconds and try
1
23
4
5
CRUISE
RPMx1000
0 1234
5
6
7EFC H
FUEL DOOR>
SERVICE
ENGINE
SOONP!
BRAKEABS
+ –
UNLEADED FUEL ONLY
THEFT LOW
COOLANTO/D
OFF102030405060
70
80
90
100
1202060100
140
180
P R N D 2 1MPH km/h
00
000
00000
110
1
23
4
5
Starting
86
Page 123 of 190

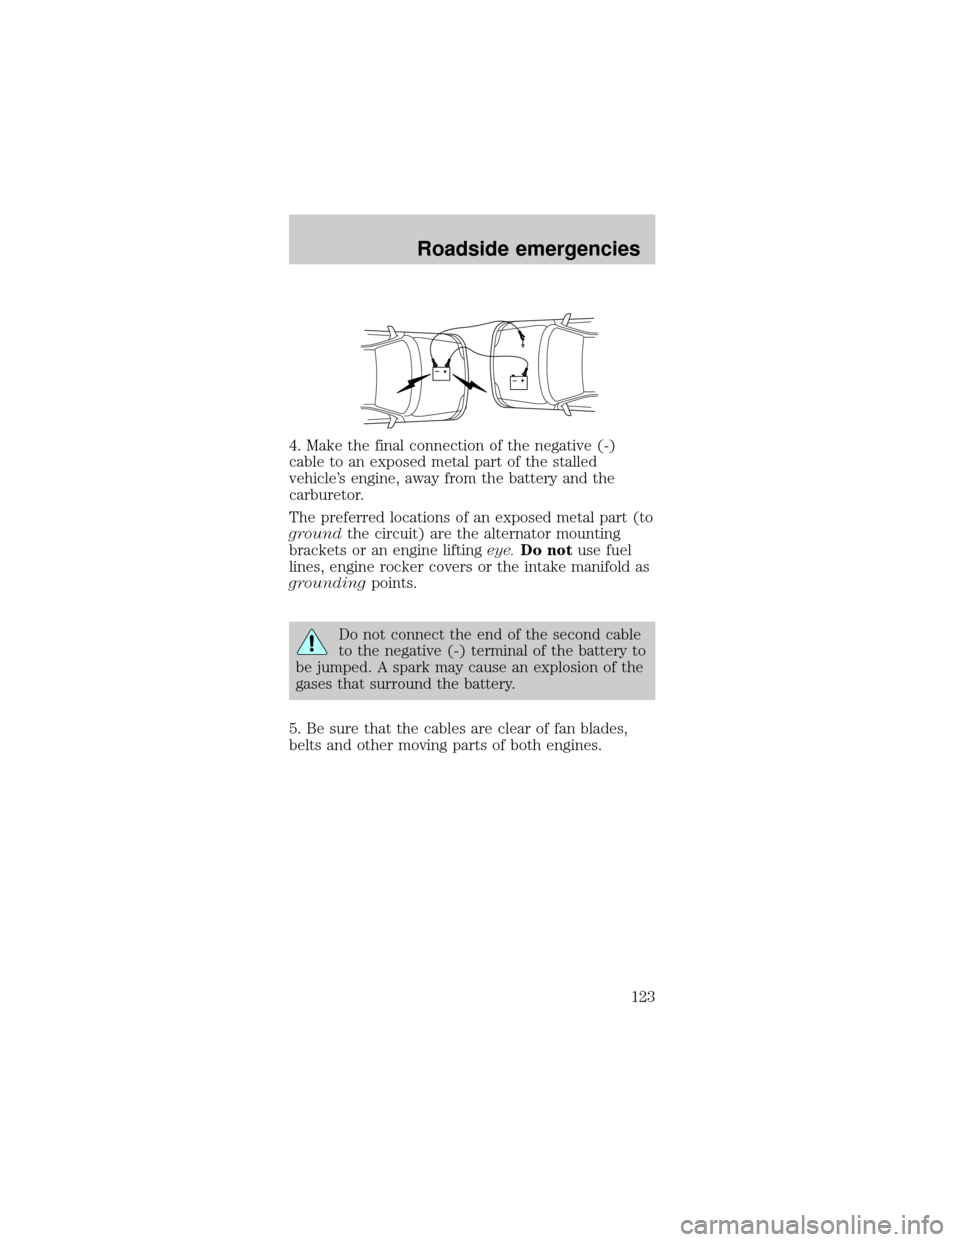
4. Make the final connection of the negative (-)
cable to an exposed metal part of the stalled
vehicle's engine, away from the battery and the
carburetor.
The preferred locations of an exposed metal part (to
groundthe circuit) are the alternator mounting
brackets or an engine liftingeye.Do notuse fuel
lines, engine rocker covers or the intake manifold as
groundingpoints.
Do not connect the end of the second cable
to the negative (-) terminal of the battery to
be jumped. A spark may cause an explosion of the
gases that surround the battery.
5. Be sure that the cables are clear of fan blades,
belts and other moving parts of both engines.
+–+–
Roadside emergencies
123
Page 172 of 190

contact with leather upholstery. If this occurs,
the leather should be cleaned immediately to
avoid permanent staining.
ªTanners Preserve Leather Cleanerº (product
number AS-300) is available from ªFirst Brandsº by
calling 1±800±726±1001. This product may also be
available at many local automotive after market
stores.
3M ªType Tº Clean And Finish Scrubbing Pads (UPC
04011±01276) are available through your local 3M
distributor. Call 1±800±742±9649 for the nearest
distributor in your area.
PART NUMBER PART NAME
(Obtain Locally) Tanners Preserve Leather
Cleaner
(Obtain Locally) 3M9Type T9Clean and Finish
Scrubbing Pads
Cleaning and maintaining the safety belts
Clean the safety belts with a mild soap solution
recommended for cleaning upholstery or carpets. Do
not bleach or dye the belts, because these actions
may weaken the belt webbing.
Check the safety belt system periodically to make
sure there are no nicks, wear or cuts. If your vehicle
has been involved in an accident, refer to theSafety
belt maintenancesection in theSeating and safety
restraintschapter.
Cleaning the built-in child seat (if equipped)
Clean with mild soap and water. Do not use
household cleaning products because they may
weaken the safety belt webbing or damage the vinyl
parts of the seat.
The child seat liner is removable and may be
machine-washed and air dried.
Maintenance and care
172
Page 183 of 190

running out of
fuel ......................... 157
safety information
relating to automotive
fuels ....................... 153
Fuses ................. 109,110
Hazard flashers ....... 108
Head restraints ......... 54
Headlamps
high beam ............... 15
Heating ...................... 17
heating and air
conditioning
system ........... 17,18,20
Hood ........................ 128
Ignition ..................... 177
Inspection/maintenance
(I/M) testing ............ 159
Instrument panel
cleaning ................. 170
Keyless entry system
autolock .............. 51,52
keypad ..................... 49
locking and unlocking
doors ........................ 51
programming entry
code ......................... 50
Keys
key in ignition chime 11
positions of the
ignition .................... 28
Lamps ...................... 160
autolamp system ..... 16
daytime running
light .......................... 15
headlamps ............... 15
headlamps, flash to
pass .......................... 16
instrument panel,
dimming ................... 16
interior lamps ....... 164replacing
bulbs ............... 161,163
Lane change indicator
(see Turn signal) ...... 32
Liftgate ...................... 44
remote release ........ 40
Lights, warning and
indicator
air bag ...................... 11
anti-lock brakes
(ABS) ........................ 9
anti-theft ................... 9
brake ........................ 10
charging system ...... 10
cruise indicator ....... 10
door ajar .................... 6
low coolant ................ 8
low fuel ...................... 8
oil pressure ............. 10
overdrive off .............. 9
safety belt ................. 6
service engine soon .. 7
speed control .......... 31
turn signal
indicator .................... 6
Locks .......................... 53
childproof ................ 38
Luggage rack ........... 107
Lumbar support,
seats ...................... 55,56
Mirrors
heated ...................... 38
side view mirrors
(power) ................... 37
Moon roof .................. 34
Motorcraft parts ...... 158
Octane rating .......... 156
Odometer ................... 13
Overdrive .............. 94,95
Panic alarm feature,
remote entry
system ........................ 44
Index
183
Page 184 of 190

Parking brake ............ 91
Power distribution box
(see Fuses) ............. 112
Power door locks ...... 36
Power steering .......... 92
fluid, checking and
adding ............. 138,139
Relays ............... 109,115
Remote entry system 43
illuminated entry .... 45
locking/unlocking
doors ................... 43,44
replacement/additional
transmitters ............. 45
replacing the
batteries .................. 46
Safety restraints ........ 62
cleaning the safety
belts .................. 66,172
extension
assembly .................. 64
for children ........ 72,73
lap belt ............... 61,62
warning light and
chime .................. 11,65
Seat belts (see Safety
restraints) ... 57,58,59,60
Seats .......................... 54
child safety seats .... 74
cleaning .......... 171,172
Servicing your
vehicle ...................... 127
Spark plugs,
specifications ........... 173
Specification chart,
lubricants ................. 175
Speed control ............ 28
Speedometer ............. 12
Starting your
vehicle .............. 84,85,86jump
starting .... 121,122,124
Steering wheel
tilting ....................... 33
Tires .................. 148,150
changing ................ 118
checking the
pressure ................. 150
replacing ................ 151
rotating .................. 151
snow tires an
d chains ................. 152
treadwear .............. 149
Towing
wrecker .................. 126
Transaxle
fluid, refill
capacities ............... 174
Transmission ........... 140
fluid, checking and
adding
(automatic) .... 140,141
Trip odometer ........... 14
Trunk
remote releas
e lever ...................... 40
Vehicle dimensions . 177
Vehicle Identification
Number (VIN) ......... 180
Vehicle loading ........ 100
Ventilating your
vehicle ........................ 88
Warning chimes ........... 6
Washer fluid ............ 134
Wheels
anti-theft lug
nuts ................. 117,118
Windows ............... 35,36
rear wiper/washer ... 32
Index
184