lights Mercury Sable 1999 Owner's Manuals
[x] Cancel search | Manufacturer: MERCURY, Model Year: 1999, Model line: Sable, Model: Mercury Sable 1999Pages: 216, PDF Size: 1.33 MB
Page 6 of 216

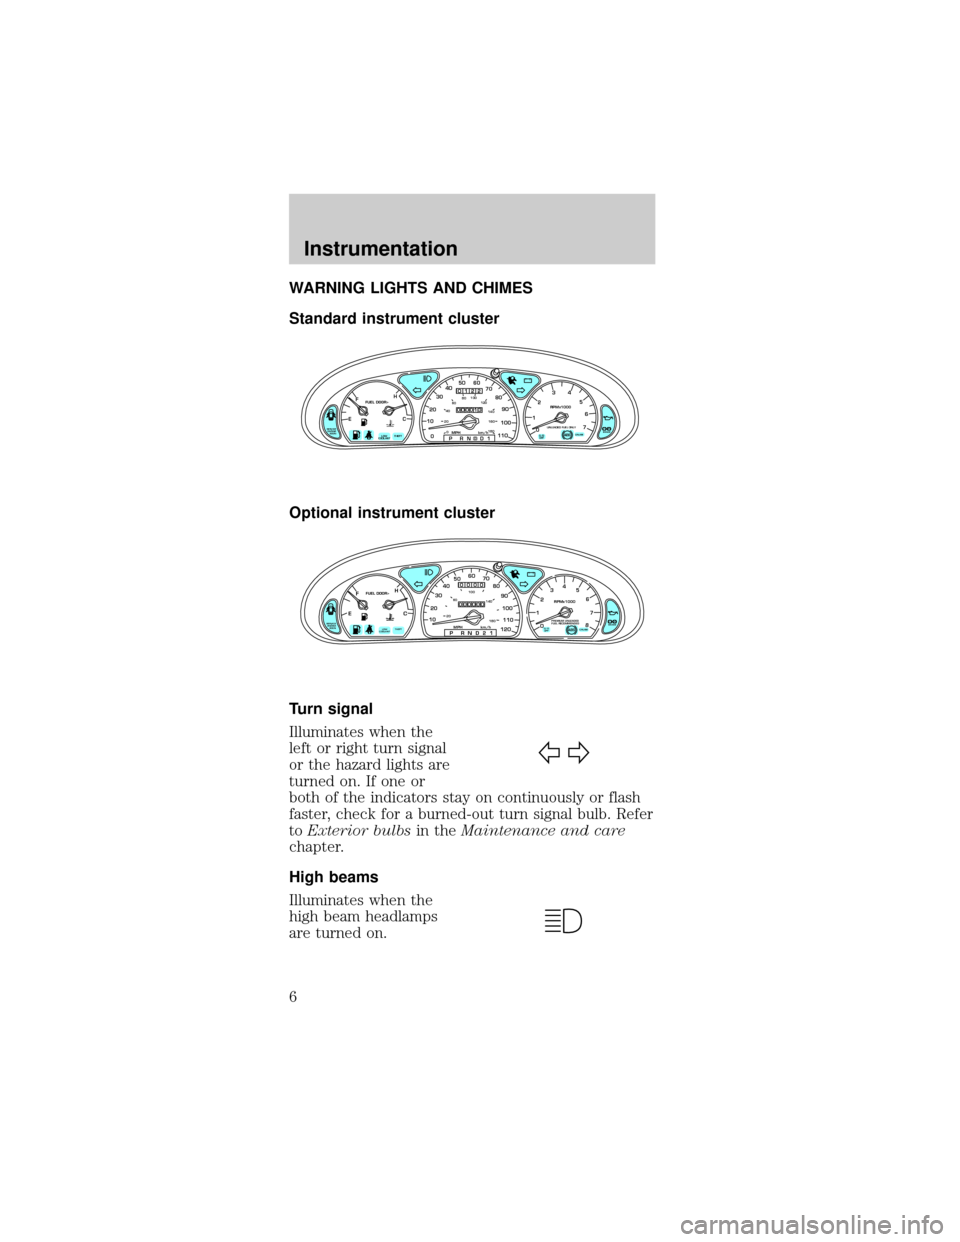
WARNING LIGHTS AND CHIMES
Standard instrument cluster
Optional instrument cluster
Turn signal
Illuminates when the
left or right turn signal
or the hazard lights are
turned on. If one or
both of the indicators stay on continuously or flash
faster, check for a burned-out turn signal bulb. Refer
toExterior bulbsin theMaintenance and care
chapter.
High beams
Illuminates when the
high beam headlamps
are turned on.
CRUISE
RPMx1000
0 1234
5
6
7EFC H
FUEL DOOR>
SERVICE
ENGINE
SOON1020304050 60
70
80
90
100
110
00 20406080100
120
140
160
180P R N D D 1MPH km/h
00
122
00013
P!
BRAKEABS
+ –
UNLEADED FUEL ONLY
THEFT LOW
COOLANTO/D
OFF
EFC H
FUEL DOOR>
SERVICE
ENGINE
SOON
THEFT102030405060
70
80
90
100
1202060100
140
180
P R N D 2 1MPH km/h
00
000
00000
P!
BRAKELOW
COOLANT
+ –
110CRUISE
RPMx1000
ABSO/D
OFFPREMIUM UNLEADED
FUEL RECOMMENDED0 1234
5
6
78
Instrumentation
6
Page 17 of 216

Flash to pass
Pull toward you to
activate and release to
deactivate.
PANEL DIMMER CONTROL
Use to adjust the
brightness of the
instrument panel
during headlamp and
parklamp operation.
²Rotate up to
brighten.
²Rotate down to dim.
²Rotate to full down position to turn off.
AUTOLAMP CONTROL
The autolamp system
provides light sensitive
automatic on-off
control of the exterior
lights normally
controlled by the
headlamp control.
The autolamp system also keeps the lights on for a
preselected period of time after the ignition switch
is turned to OFF.
PPANEL
DIMAUTO
LAMP
PPANEL
DIMAUTO
LAMP
Controls and features
17
Page 40 of 216

modulation.º Signal modulation is a process radio
stations use to increase their strength/volume
relative to other stations.
²Terrain.Hills, mountains and tall buildings
between your vehicle's antenna and the radio
station signal can cause FM reception problems.
Static can be caused on AM stations by power
lines, electric fences, traffic lights and
thunderstorms. Moving away from an interfering
structure (out of its ªshadowº) returns your
reception to normal.
²Station overload.Weak signals are sometimes
captured by stronger signals when you pass a
broadcast tower. A stronger signal may
temporarily overtake a weaker signal and play
while the weak station frequency is displayed.
The audio system automatically switches to single
channel reception if it will improve the reception of
a station normally received in stereo.
Audio system warranties and service
Refer to the ªWarranty Guideº for audio system
warranty information.
If service is necessary, see your dealer or a qualified
technician.
POSITIONS OF THE IGNITION
1. ACCESSORY, allows
the electrical
accessories such as the
radio to operate while
the engine is not
running.
2. LOCK, locks the
steering wheel,
automatic transmission gearshift lever and allows
key removal.
3. OFF, shuts off the engine and all accessories
without locking the steering wheel.
1
23
4
5
Controls and features
40
Page 41 of 216

4. ON, all electrical circuits operational. Warning
lights illuminated. Key position when driving.
5. START, cranks the engine. Release the key as
soon as the engine starts.
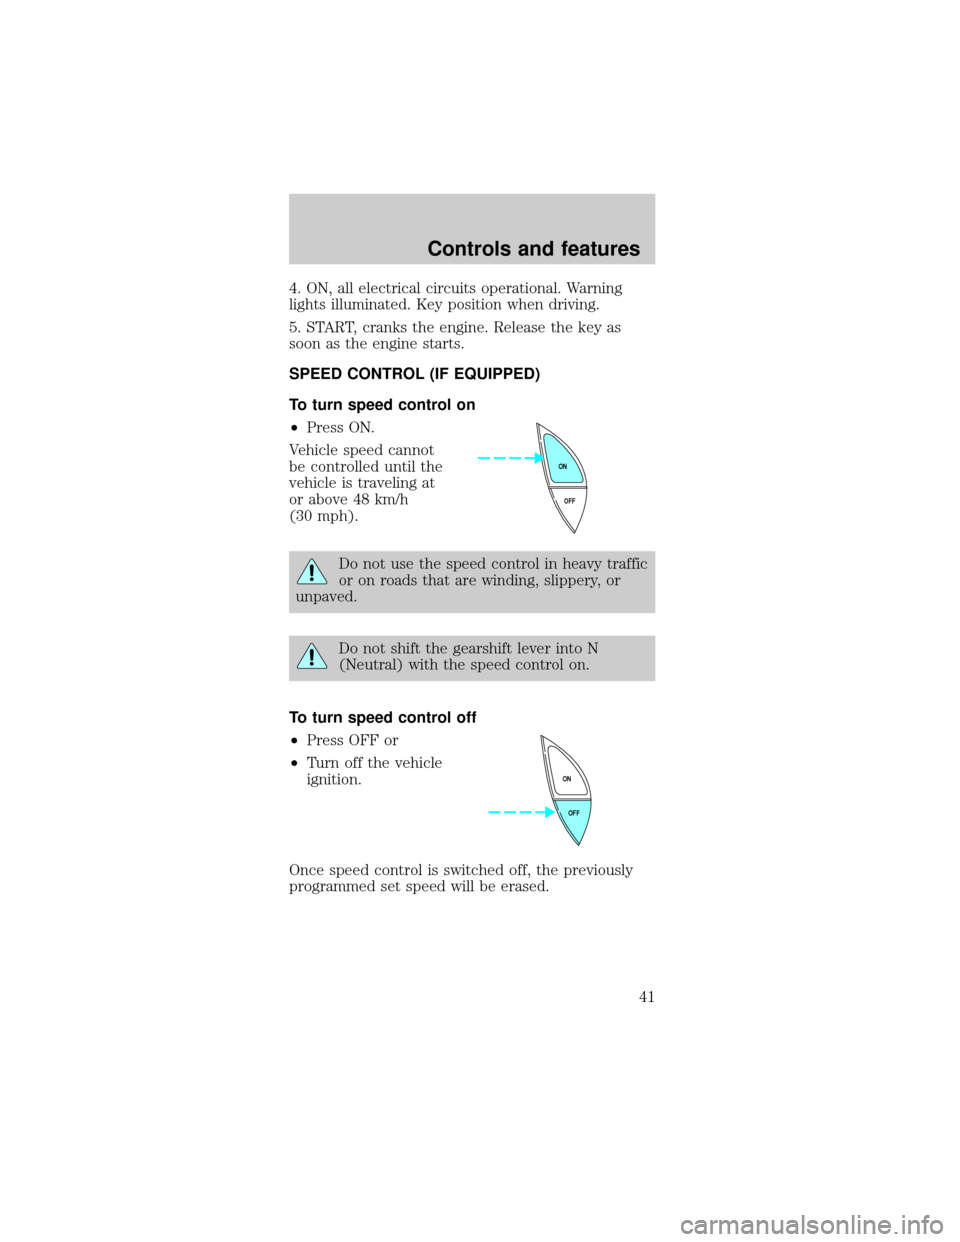
SPEED CONTROL (IF EQUIPPED)
To turn speed control on
²Press ON.
Vehicle speed cannot
be controlled until the
vehicle is traveling at
or above 48 km/h
(30 mph).
Do not use the speed control in heavy traffic
or on roads that are winding, slippery, or
unpaved.
Do not shift the gearshift lever into N
(Neutral) with the speed control on.
To turn speed control off
²Press OFF or
²Turn off the vehicle
ignition.
Once speed control is switched off, the previously
programmed set speed will be erased.
OFF ON
OFF ON
Controls and features
41
Page 58 of 216

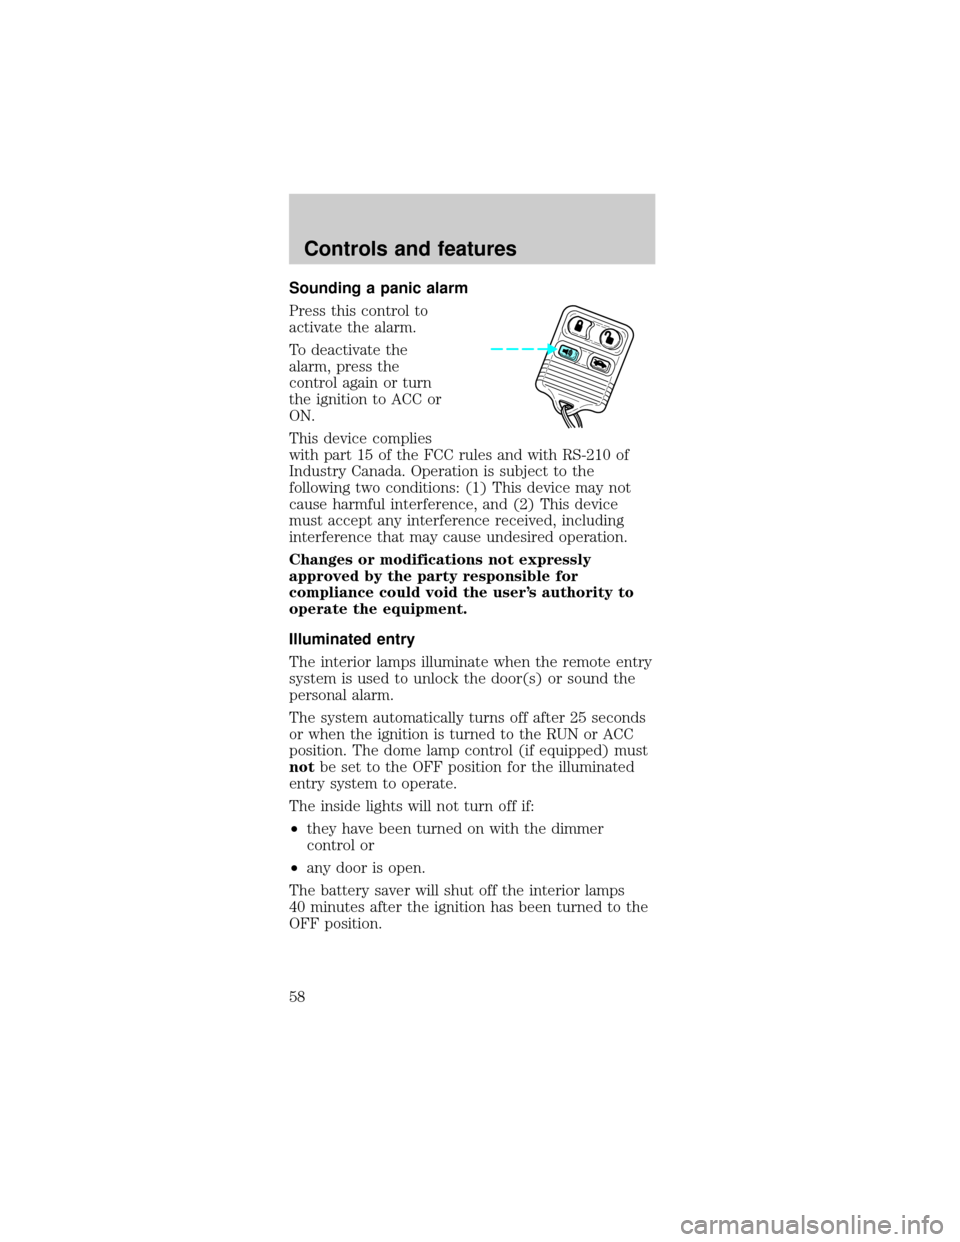
Sounding a panic alarm
Press this control to
activate the alarm.
To deactivate the
alarm, press the
control again or turn
the ignition to ACC or
ON.
This device complies
with part 15 of the FCC rules and with RS-210 of
Industry Canada. Operation is subject to the
following two conditions: (1) This device may not
cause harmful interference, and (2) This device
must accept any interference received, including
interference that may cause undesired operation.
Changes or modifications not expressly
approved by the party responsible for
compliance could void the user's authority to
operate the equipment.
Illuminated entry
The interior lamps illuminate when the remote entry
system is used to unlock the door(s) or sound the
personal alarm.
The system automatically turns off after 25 seconds
or when the ignition is turned to the RUN or ACC
position. The dome lamp control (if equipped) must
notbe set to the OFF position for the illuminated
entry system to operate.
The inside lights will not turn off if:
²they have been turned on with the dimmer
control or
²any door is open.
The battery saver will shut off the interior lamps
40 minutes after the ignition has been turned to the
OFF position.
Controls and features
58
Page 98 of 216

Make sure the corresponding lights illuminate briefly.
If a light fails to illuminate, have the vehicle
serviced.
²If the driver's safety belt is fastened, the
light
may not illuminate.
STARTING THE ENGINE
1. Turn the key to 5
(START) without
pressing the
accelerator pedal and
release as soon as the
engine starts. The key
will return to 4 (ON).
2. If the temperature is above ±12É C (10É F) and
the engine does not start within five seconds on the
first try, turn the key to OFF, wait ten seconds and
try again.
3. If the temperature is below -12ÉC (10ÉF) and the
engine does not start in fifteen seconds on the first
try, turn the key OFF and wait ten seconds and try
again. If the engine does not start in two attempts,
depress the accelerator and start the engine while
holding the accelerator down to the floor. Release
the accelerator when the engine starts.
4. After idling for a few seconds, apply the brake
and release the parking brake.
CRUISE
RPMx1000
0 1234
5
6
7EFC H
FUEL DOOR>
SERVICE
ENGINE
SOONP!
BRAKEABS
+ –
UNLEADED FUEL ONLY
THEFT LOW
COOLANTO/D
OFF102030405060
70
80
90
100
1202060100
140
180
P R N D 2 1MPH km/h
00
000
00000
110
1
23
4
5
Starting
98
Page 118 of 216

HAZARD FLASHER
Use only in an emergency to warn traffic of vehicle
breakdown, approaching danger, etc. The hazard
flashers can be operated when the ignition is off.
²The hazard lights
control is located on
top of the steering
column.
²Depress hazard
lights control to
activate all hazard
flashers
simultaneously.
²Depress control again to turn the flashers off.
RESETTING THE FUEL SHUT-OFF SWITCH
After a collision, if the engine cranks but does not
start, the fuel pump shut-off switch may have been
activated. The shut-off switch is a device intended to
stop the electric fuel pump when your vehicle has
been involved in a substantial jolt. Use the following
procedure to reset the fuel pump shut-off switch.
1. Turn the ignition to the OFF position.
2. Check the fuel system for leaks.
3. If no fuel leak is apparent, reset the Resetting the
fuel shut-off switch by pushing in the reset button.
4. Turn the ignition to the ON position. Pause for a
few seconds and return the key to the OFF position.
5. Make a further check for leaks in the fuel system.
Roadside emergencies
118
Page 168 of 216

Information about your vehicle's emission system is
on the Vehicle Emission Control Information Decal
located on or near the engine. This decal identifies
engine displacement and gives some tune up
specifications.
Please consult your ªWarranty Guideº for complete
emission warranty information.
Readiness for Inspection/Maintenance (I/M)
testing
In some localities, it may be a legal requirement to
pass an I/M test of the on-board diagnostics system.
If your ªCheck Engine/Service Engine Soonº light is
on, refer to the description in theWarning Lights
and Chimessection of theInstrumentation
chapter. Your vehicle may not pass the I/M test with
the ªCheck Engine/Service Engine Soonº light on.
If the vehicle's powertrain system or its battery has
just been serviced, the on-board diagnostics system
is reset to a ªnot ready for I/M testº condition. To
ready the on-board diagnostics system for I/M
testing, a minimum of 30 minutes of city and
highway driving is necessary as described below:
²First, at least 10 minutes of driving on an
expressway or highway.
²Next, at least 20 minutes driving in stop-and-go,
city-type traffic with at least four idle periods.
Allow the vehicle to sit for at least eight hours
without starting the engine. Then, start the engine
and complete the above driving cycle. The engine
must warm up to its normal operating temperature.
Once started, do not turn off the engine until the
above driving cycle is complete.
Maintenance and care
168
Page 173 of 216

Function Trade Number
High-mount brake lamp 912
Rear side marker lamp 168
Cargo lamp (wagon) 211-2
Dome lamp 211-2
Dome/map lamp 578
Dome lamp/moon roof 208
Visor vanity lamp
(passenger/driver)74-194
Floor console 194
Luggage compartment lamp 906
I/P ashtray lamp 194
To replace all instrument panel lights - see your
dealer.
AIMING THE HEADLAMPS
Your vehicle is equipped with a Vehicle Headlamp
Aim Device (VHAD) on each headlamp body. Each
headlamp may be properly aimed in the horizontal
direction (left/right) and the vertical position
(up/down) using your VHAD system. The headlamps
on your vehicle are properly aimed at the assembly
plant.
A bubble (vertical indicator) that is not centered
between the two black lines does not necessarily
indicate out-of-aim headlamps. If your vehicle is not
positioned on a level surface, the slope will be
included in the level indicator. Therefore, vertical
and horizontal headlamp adjustment should be
performed only when beam direction appears to be
incorrect.
You will need one 7 mm wrench or socket with
ratchet to make the adjustments.
If the vehicle has been in an accident, the vehicle's
front structure should be properly aligned before
aiming the headlamps.
Maintenance and care
173
Page 200 of 216

Travel equipment
Console
Console armrest
Daytime running lights
Factory luggage rack
Factory luggage rack adaptors
Fog lights
Framed luggage covers
Heavy-duty battery
Neutral towing transfer case kit (Explorer 4.0L only)
Off road lights
Pickup box rails
Removable luggage rack
Removable luggage rack adapters
Retractable bed hooks and loops
Running boards
Snow traction cables
Soft luggage cover
Speed control
Towing mirrors
Trailer hitch
Trailer hitch bars and balls
Trailer hitch wiring adaptor
Protection and appearance equipment
Air bag anti-theft locks
Bed mat/bedliner tailgate covers
Bed mats
Bedliners
Car/truck covers
Cargo liners, interior
Customer assistance
200