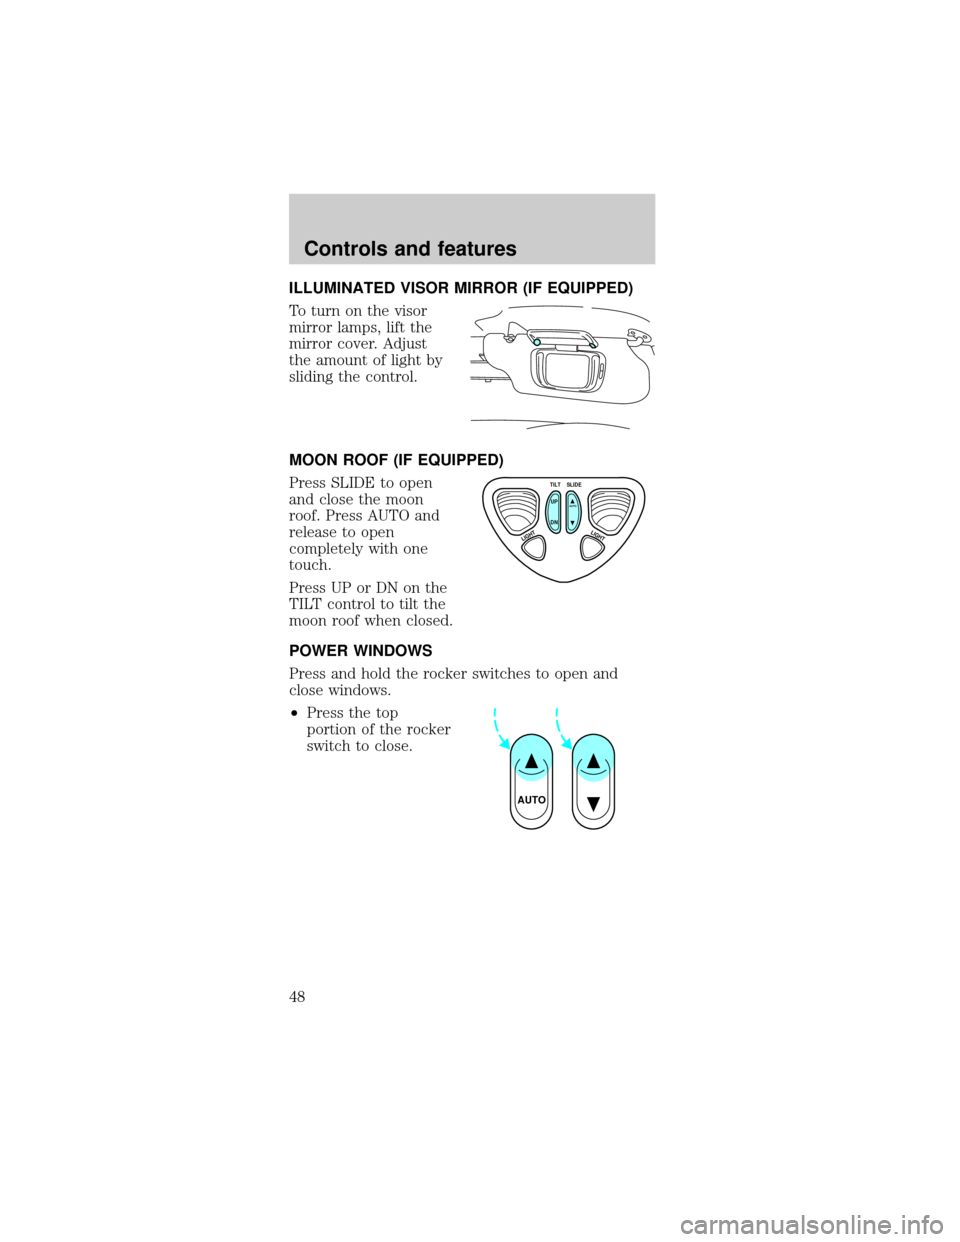
ILLUMINATED VISOR MIRROR (IF EQUIPPED)
To turn on the visor
mirror lamps, lift the
mirror cover. Adjust
the amount of light by
sliding the control.
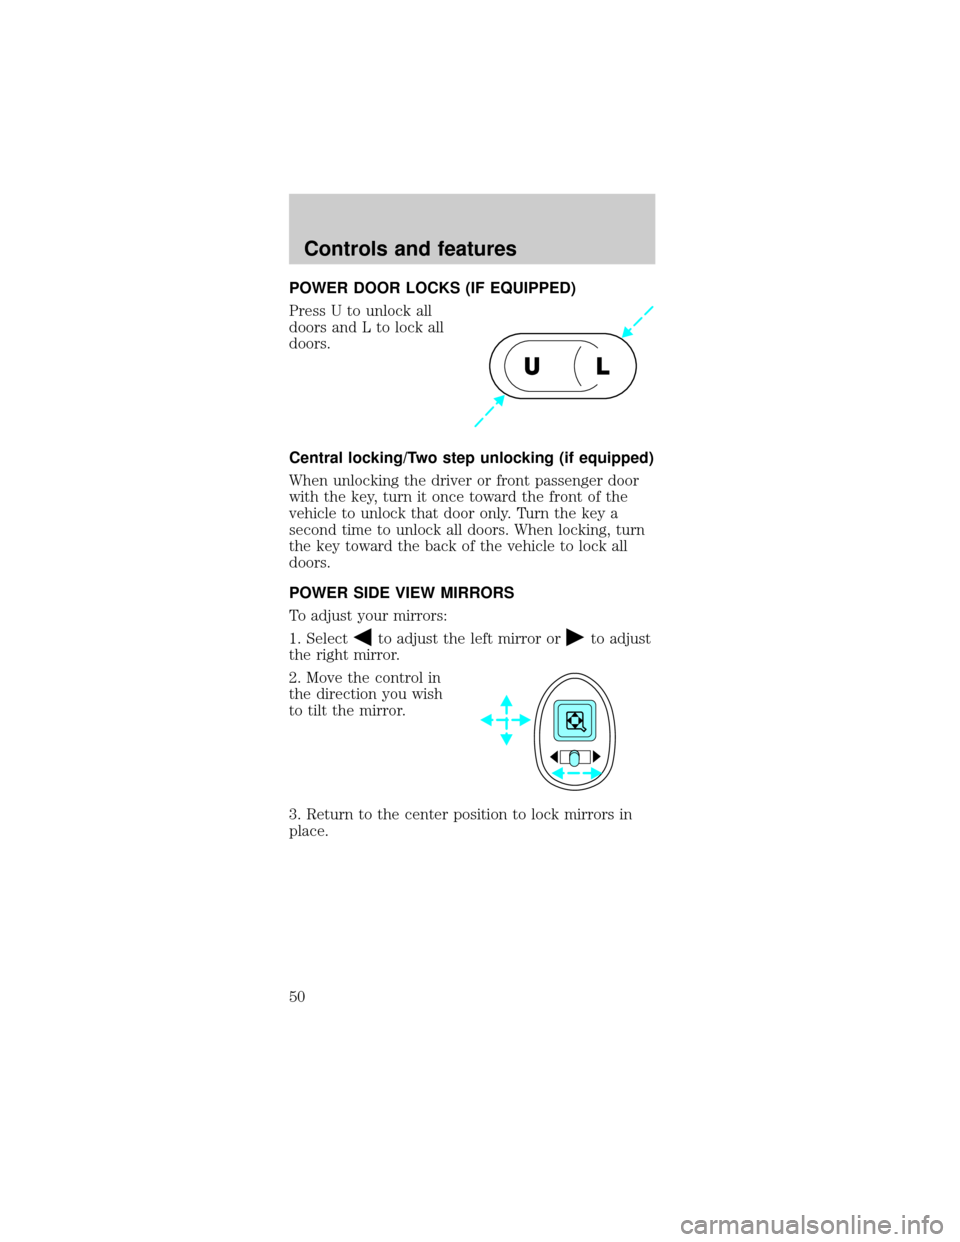
MOON ROOF (IF EQUIPPED)
Press SLIDE to open
and close the moon
roof. Press AUTO and
release to open
completely with one
touch.
Press UP or DN on the
TILT control to tilt the
moon roof when closed.
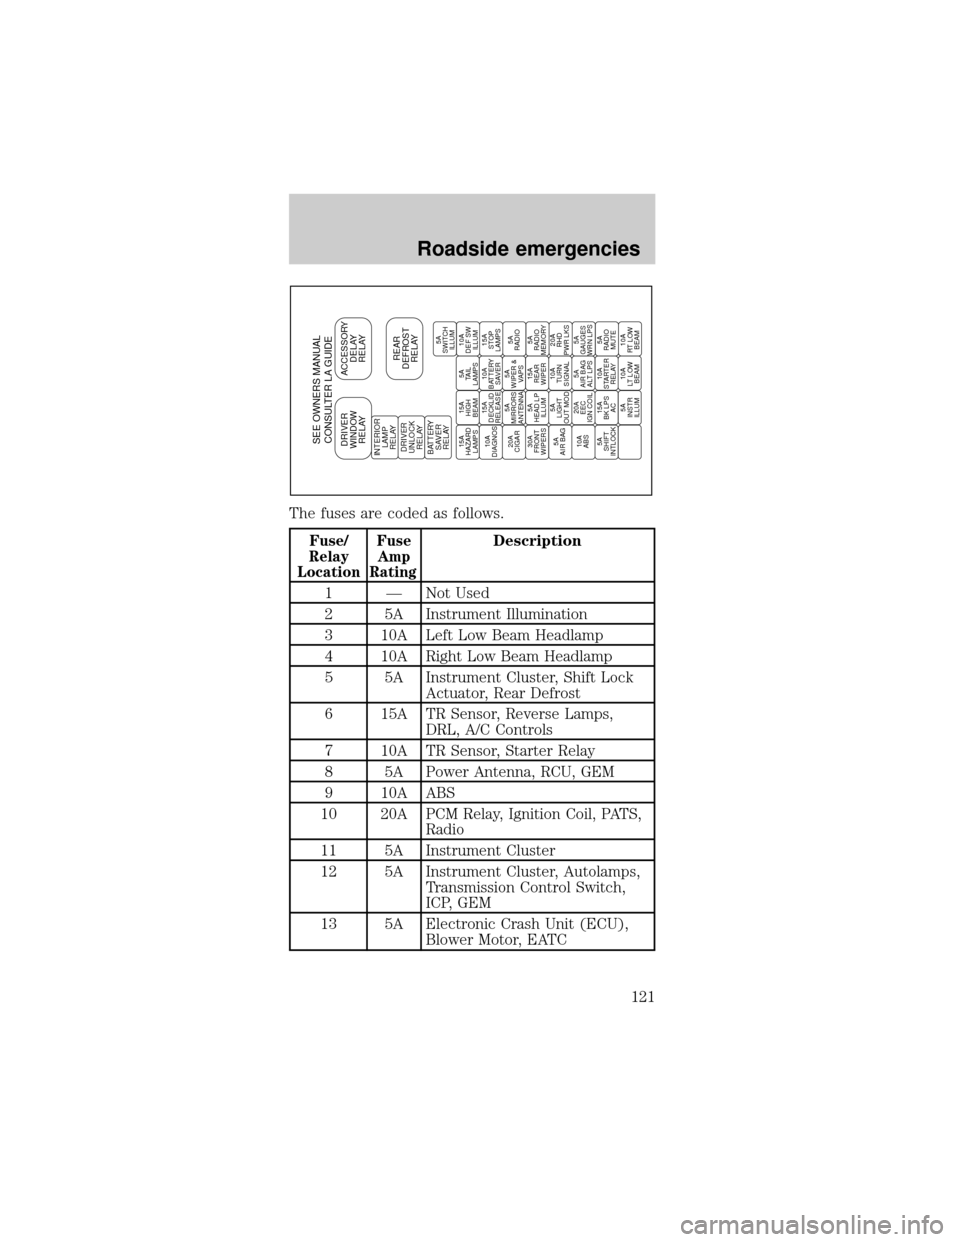
POWER WINDOWS
Press and hold the rocker switches to open and
close windows.
²Press the top
portion of the rocker
switch to close.
TILT
UP
LIGHTLIGHT
AUTO
DNSLIDE
AUTO
Controls and features
48
POWER DOOR LOCKS (IF EQUIPPED)
Press U to unlock all
doors and L to lock all
doors.
Central locking/Two step unlocking (if equipped)
When unlocking the driver or front passenger door
with the key, turn it once toward the front of the
vehicle to unlock that door only. Turn the key a
second time to unlock all doors. When locking, turn
the key toward the back of the vehicle to lock all
doors.
POWER SIDE VIEW MIRRORS
To adjust your mirrors:
1. Select
to adjust the left mirror orto adjust
the right mirror.
2. Move the control in
the direction you wish
to tilt the mirror.
3. Return to the center position to lock mirrors in
place.
UL
Controls and features
50
Heated outside mirrors (if equipped)
Both mirrors are
heated automatically to
remove ice, mist and
fog when the rear
window defrost is
activated.
Do not remove ice
from the mirrors with a
scraper or attempt to readjust the mirror glass if it is
frozen in place. These actions could cause damage
to the glass and mirrors.
CHILDPROOF DOOR LOCKS
When these locks are
set, the rear doors
cannot be opened from
the inside. The rear
doors can be opened
from the outside when
the doors are unlocked.
The childproof locks
are located on rear
edge of each rear door
and must be set
separately for each
door. Setting the lock
for one door will not
automatically set the
lock for both doors.
Move lock control up to engage the lock. Move
control down to disengage childproof locks.
Controls and features
51
The fuses are coded as follows.
Fuse/
Relay
LocationFuse
Amp
RatingDescription
1 Ð Not Used
2 5A Instrument Illumination
3 10A Left Low Beam Headlamp
4 10A Right Low Beam Headlamp
5 5A Instrument Cluster, Shift Lock
Actuator, Rear Defrost
6 15A TR Sensor, Reverse Lamps,
DRL, A/C Controls
7 10A TR Sensor, Starter Relay
8 5A Power Antenna, RCU, GEM
9 10A ABS
10 20A PCM Relay, Ignition Coil, PATS,
Radio
11 5A Instrument Cluster
12 5A Instrument Cluster, Autolamps,
Transmission Control Switch,
ICP, GEM
13 5A Electronic Crash Unit (ECU),
Blower Motor, EATC
SEE OWNERS MANUAL
CONSULTER LA GUIDEDRIVER
WINDOW
RELAYACCESSORY
DELAY
RELAY
REAR
DEFROST
RELAYINTERIOR
LAMP
RELAY
DRIVER
UNLOCK
RELAY
BATTERY
SAVER
RELAY15A
HAZARD
LAMPS15A
HIGH
BEAM5A
TAIL
LAMPS10A
DEF SW
ILLUM
10A
DIAGNOS15A
DECKLID
RELEASE10A
BATTERY
SAVER15A
STOP
LAMPS
20A
CIGAR5A
MIRRORS
ANTENNA5A
WIPER &
VAPS5A
RADIO
30A
FRONT
WIPERS5A
HEAD LP
ILLUM15A
REAR
WIPER5A
RADIO
MEMORY
5A
AIR BAG5A
LIGHT
OUT MOD10A
TURN
SIGNAL20A
RHD
PWR LKS
10A
ABS20A
EEC
IGN COIL5A
AIR BAG
ALT LPS5A
GAUGES
WRN LPS
5A
SHIFT
INTLOCK15A
BK LPS
AC10A
STARTER
RELAY5A
RADIO
MUTE
5A
INSTR
ILLUM10A
LT LOW
BEAM10A
RT LOW
BEAM5A
SWITCH
ILLUM
Roadside emergencies
121


