ignition Mercury Sable 2000 s User Guide
[x] Cancel search | Manufacturer: MERCURY, Model Year: 2000, Model line: Sable, Model: Mercury Sable 2000Pages: 232, PDF Size: 2.09 MB
Page 23 of 232

Turning the EATC off
Press OFF. The Outside
Temperature function will continue
to operate until the ignition is
turned off.
Automatic operation
Press AUTO and select the desired temperature. The selected
temperature and the word AUTO will appear in the display window. The
EATC system will either heat or cool to achieve the selected
temperature. The system will automatically determine fan speed, airflow
location and if outside air or recirculated air is required. Fan speed
remains automatic unless the fan speed control is pressed.
When in AUTO and weather conditions require heat, air will be sent to
the floor. However, if the engine is not warm enough to provide heat, the
fan will be at a low speed and the air will be directed to the windshield.
In 3
1¤2minutes or less, the fan speed will start to increase and the airflow
location will change to the floor area.
If unusual conditions exist (i.e.-window fogging, etc.), the manual
override controls allow you to select airflow locations and the fan control
allows you to adjust fan speed as necessary.
Temperature selection
The display window indicates the
selected temperature, function
(AUTO or one of the override
controls) and manual control of fan
speed (
) if automatic fan speed
is not desired.
AUTO
TEMPOFF
MAX
A/CTEMP
OUTSIDE
F
AUTO
FAN• • •
Controls and features
23
Page 29 of 232

Volume/power control
Press the control to turn the audio
system on or off.
Turn control to raise or lower
volume.
If the volume is set above a certain level and the ignition is turned off,
the volume will come back on at a ªnominalº listening level when the
ignition switch is turned back on. If you wish to maintain your preset
volume level, turn the audio system off with the power control before
switching off the ignition.
AM/FM select
The AM/FM select control works in
radio mode. Press the AM or FM
control to enter radio mode.
AM/FM select in radio mode
This control allows you to select AM or FM frequency bands. Press the
control to switch between AM, FM1 or FM2 memory preset stations.
Pressing the AM or FM controls when the ignition is turned on will also
enable the radio.
Tune adjust
The tune control works in radio
mode.
Controls and features
29
Page 32 of 232

MACHTAudio System with AM/FM Stereo/Cassette
Volume/power control
Press the control to turn the audio
system on or off.
Turn control to raise or lower
volume.
If the volume is set above a certain level and the ignition is turned off,
the volume will come back on at a ªnominalº listening level when the
ignition switch is turned back on. If you wish to maintain your preset
volume level, turn the audio system off with the power control before
switching off the ignition.
Controls and features
32
Page 33 of 232

AM/FM select
The AM/FM select control works in
radio, tape and CD modes (if
equipped). Press the AM or FM
control to enter into radio mode.
AM/FM select in radio mode
This control allows you to select AM or FM frequency bands. Press the
control to switch between AM, FM1 or FM2 memory preset stations.
Pressing the AM or FM controls when the ignition is turned on will also
engage the radio.
AM/FM select in tape mode
Press this control to stop tape play and begin radio play.
AM/FM select in CD mode
Press this control to stop CD play and begin radio play.
You can switch from CD play to tape play by simply inserting a tape into
the cassette deck.
Tune disc adjust
The tune control works in radio or
CD mode.
Tune adjust in radio mode
²Pressto move to the next frequency down the band (whether or
not a listenable station is located there). Hold the control to move
through the frequencies quickly.
²Press
to move to the next frequency up the band (whether or not
a listenable station is located there). Hold for quick movement.
Tune adjust for CD mode
²Press theto select the previous disc in the CD changer. (Play will
begin on the first track of the disc unless the CD changer is in shuffle
mode. Refer toShuffle featurefor more information. Hold the control
to continue reversing through the disc.
Controls and features
33
Page 36 of 232

²Speaker sound can be adjusted
between the front and rear
speakers.
Inserting a tape
Push only slightly when inserting a
cassette tape (with the open edge
to the right). A cassette deck
loading mechanism pulls the tape in the rest of the way.
You can switch from CD to tape play by inserting a tape into the cassette
deck.
Tape/CD select
²Pressing the TAPE or CD control
when the ignition is on will
engage the system if a tape or CD
is present in the audio system.
²To begin tape play (with a tape loaded into the audio system) while in
the radio or CD mode, press the TAPE control. Press the control
during rewind or fast forward to stop the rewind or fast forward
function.
²To begin CD play (if CDs are loaded in the CD changer), press the CD
button. The first track of the first disc will begin playing. After that
CD play will begin where it stopped last.
Rewind
The rewind control works in tape
and CD modes.
²In tape mode, radio play will
continue until rewind is stopped (with the TAPE or REW control) or
the beginning of the tape is reached.
²In CD mode, pressing the REW control for less than three seconds
results in a slow reverse. Pressing the control for more than three
seconds results in fast reverse.
Fast forward
The fast forward control works in
tape and CD modes.
²In the tape mode, tape direction
will automatically reverse when the end of the tape is reached.
Controls and features
36
Page 43 of 232

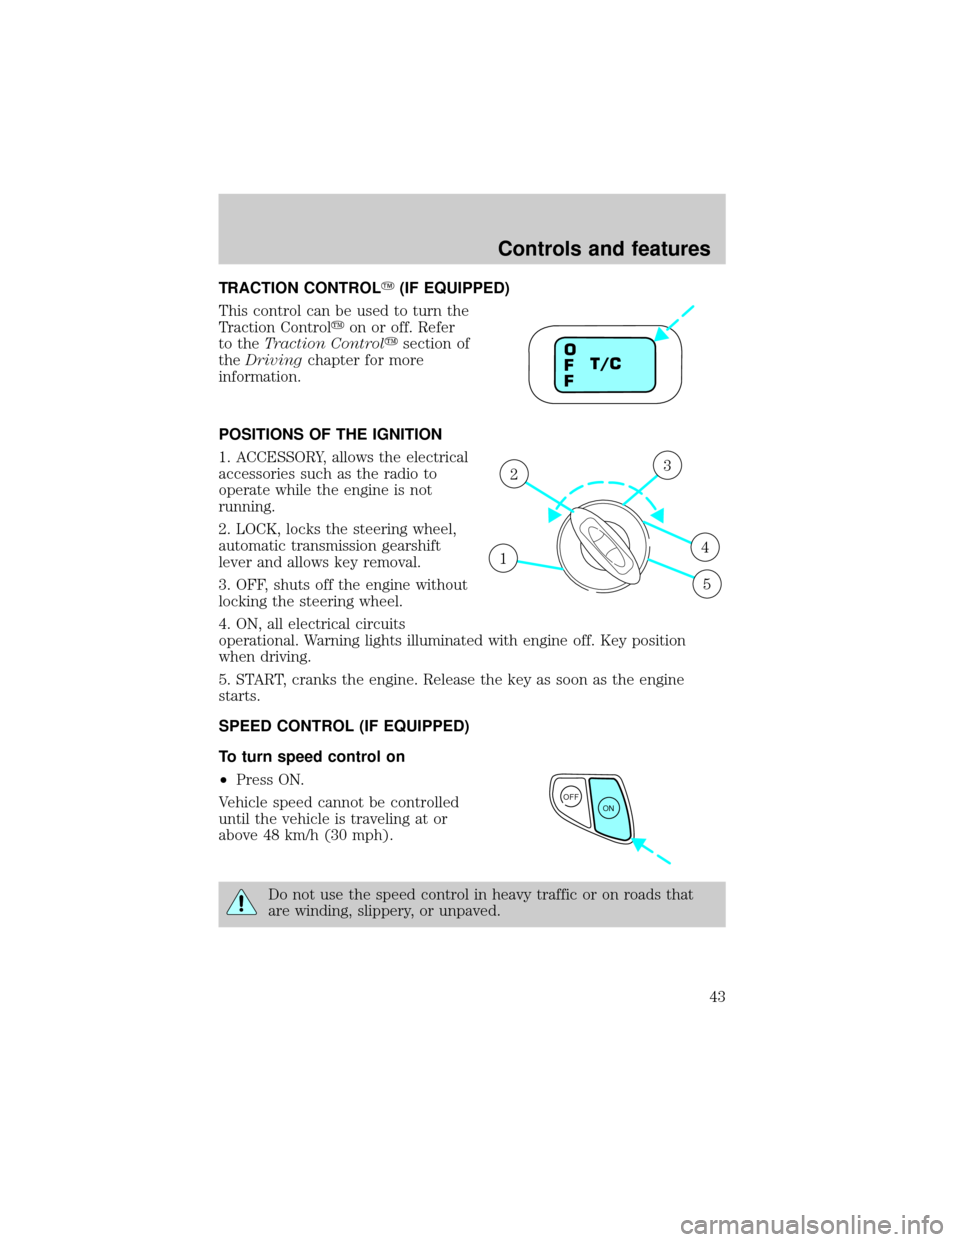
TRACTION CONTROLY(IF EQUIPPED)
This control can be used to turn the
Traction Controlyon or off. Refer
to theTraction Controlysection of
theDrivingchapter for more
information.
POSITIONS OF THE IGNITION
1. ACCESSORY, allows the electrical
accessories such as the radio to
operate while the engine is not
running.
2. LOCK, locks the steering wheel,
automatic transmission gearshift
lever and allows key removal.
3. OFF, shuts off the engine without
locking the steering wheel.
4. ON, all electrical circuits
operational. Warning lights illuminated with engine off. Key position
when driving.
5. START, cranks the engine. Release the key as soon as the engine
starts.
SPEED CONTROL (IF EQUIPPED)
To turn speed control on
²Press ON.
Vehicle speed cannot be controlled
until the vehicle is traveling at or
above 48 km/h (30 mph).
Do not use the speed control in heavy traffic or on roads that
are winding, slippery, or unpaved.
T/C O
F
F
1
23
4
5
OFF
ON
Controls and features
43
Page 44 of 232

Do not shift the gearshift lever into N (Neutral) with the speed
control on.
To turn speed control off
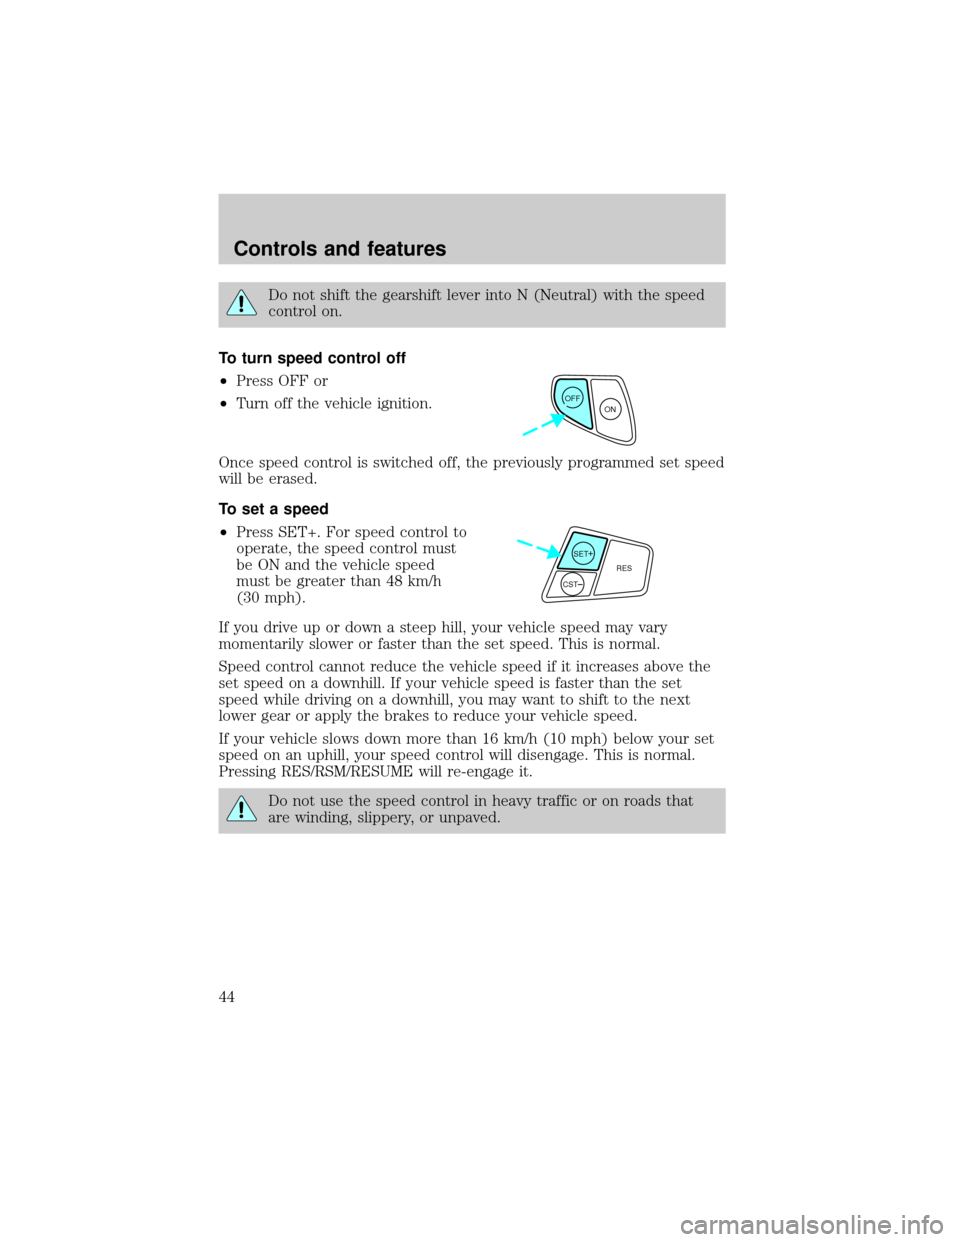
²Press OFF or
²Turn off the vehicle ignition.
Once speed control is switched off, the previously programmed set speed
will be erased.
To set a speed
²Press SET+. For speed control to
operate, the speed control must
be ON and the vehicle speed
must be greater than 48 km/h
(30 mph).
If you drive up or down a steep hill, your vehicle speed may vary
momentarily slower or faster than the set speed. This is normal.
Speed control cannot reduce the vehicle speed if it increases above the
set speed on a downhill. If your vehicle speed is faster than the set
speed while driving on a downhill, you may want to shift to the next
lower gear or apply the brakes to reduce your vehicle speed.
If your vehicle slows down more than 16 km/h (10 mph) below your set
speed on an uphill, your speed control will disengage. This is normal.
Pressing RES/RSM/RESUME will re-engage it.
Do not use the speed control in heavy traffic or on roads that
are winding, slippery, or unpaved.
OFF
ON
SET+RES
CST
Controls and features
44
Page 46 of 232

Pressing OFF will erase the
previously programmed set speed.
To return to a previously set speed
²Press RES/RSM/RESUME. For
RES/RSM/RESUME to operate,
the vehicle speed must be faster
than 48 km/h (30 mph).
Indicator light
This light comes on when either the
SET ACC/SET ACCEL or RES/RSM/
RESUME controls are pressed. It
turns off when the speed control OFF control is pressed, the brake is
applied or the ignition is turned to the OFF position.
TURN SIGNAL CONTROL
²Push down to activate the left
turn signal.
²Push up to activate the right turn
signal.
WINDSHIELD WIPER/WASHER CONTROLS
Rotate the windshield wiper control
to the desired interval, low or high
speed position.
The bars of varying length are for
intermittent wipers. When in this
position rotate the control upward
for fast intervals and downward for
slow intervals.
OFF
ON
SET+RES
CST
CRUISE
Controls and features
46
Page 49 of 232

The map lamp controls (if
equipped) are located on the dome
lamp. Press the controls on either
side of each lens on each map lamp
to activate the lamps.
If equipped with a moon roof, the
map lamps are located on the moon
roof control panel. Press the
controls on either side of each map
lamp to activate the lamps.
REAR DOME LAMP (IF EQUIPPED)
The dome lamp lights when:
²any door is opened with the
control in the middle position.
²the instrument panel dimmer
switch is held up until the
courtesy lamps come on.
²any of the remote entry controls
are pressed and the ignition is
OFF.
²the lamp control is moved to the passenger side position.
With the ignition key in the ACC or ON position, the rear dome lamp can
be turned ON or OFF by sliding the control.
Controls and features
49
Page 53 of 232

Window lock
The window lock feature allows only
the driver to operate the power
windows.
To lock out all the window controls
except for the driver's press the left
side of the control. Press the right side to restore the window controls.
Accessory delay (if equipped)
With accessory delay, the window switches may be used for up to ten
minutes after the ignition switch is turned to the OFF position or until
any door is opened.
POWER DOOR LOCKS (IF EQUIPPED)
Press control to unlock or lock all
doors.
CHILDPROOF DOOR LOCKS
When these locks are set, the rear
doors cannot be opened from the
inside. The rear doors can be
opened from the outside when the
doors are unlocked.
The childproof locks are located on
rear edge of each rear door and
must be set separately for each
door. Setting the lock for one door
will not automatically set the lock
for both doors.
Move lock control up to engage the childproof lock. Move control down
to disengage childproof locks.
Controls and features
53