change time Mercury Sable 2001 Owner's Manuals
[x] Cancel search | Manufacturer: MERCURY, Model Year: 2001, Model line: Sable, Model: Mercury Sable 2001Pages: 240, PDF Size: 2.22 MB
Page 3 of 240

WARNINGS
Warnings provide information which may reduce the risk of personal
injury and prevent possible damage to others, your vehicle and its
equipment.
BREAKING-IN YOUR VEHICLE
There are no particular breaking-in rules for your vehicle. During the
first 1 600 km (1 000 miles) of driving, vary speeds frequently. This is
recommended to give the moving parts a chance to break in.
INFORMATION ABOUT THIS GUIDE
The information found in this guide was in effect at the time of printing.
Ford may change the contents without notice and without incurring
obligation.
EMISSION WARRANTY
The New Vehicle Limited Warranty includes Bumper to Bumper
Coverage, Safety Restraint Coverage, Corrosion Coverage, and 7.3L
Power Stroke Diesel Engine Coverage. In addition, your vehicle is eligible
for Emissions Defect and Emissions Performance Warranties. For a
detailed description of what is covered and what is not covered, refer to
theWarranty Guidethat is provided to you along with your Owner's
Guide.
Introduction
3
Page 25 of 240
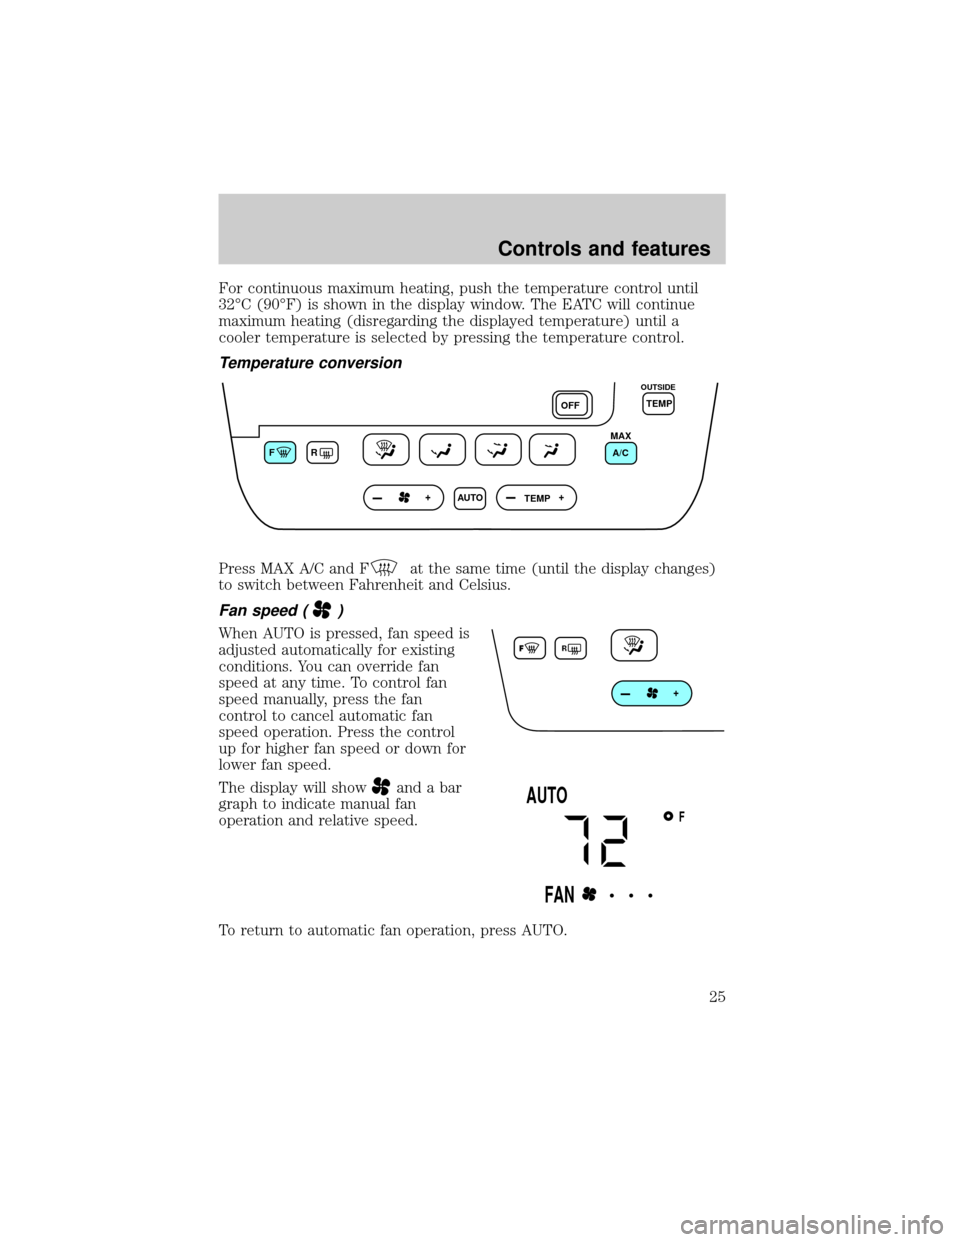
For continuous maximum heating, push the temperature control until
32ÉC (90ÉF) is shown in the display window. The EATC will continue
maximum heating (disregarding the displayed temperature) until a
cooler temperature is selected by pressing the temperature control.
Temperature conversion
Press MAX A/C and Fat the same time (until the display changes)
to switch between Fahrenheit and Celsius.
Fan speed ()
When AUTO is pressed, fan speed is
adjusted automatically for existing
conditions. You can override fan
speed at any time. To control fan
speed manually, press the fan
control to cancel automatic fan
speed operation. Press the control
up for higher fan speed or down for
lower fan speed.
The display will show
and a bar
graph to indicate manual fan
operation and relative speed.
To return to automatic fan operation, press AUTO.
FR
AUTO
TEMPOFFTEMP
MAX
A/C
OUTSIDE
F
AUTO
FAN• • •
Controls and features
25
Page 27 of 240
²(Floor)-Allows for maximum heating by distributing outside air
through the floor ducts. However, the air cannot be cooled below the
outside temperature because the air conditioning does not operate in
this mode.
²
(Panel and floor) -Distributes outside air through the instrument
panel registers and the floor ducts. Heating and air conditioning
capabilities are provided in this mode. The air will be heated or cooled
based on the temperature selection. For added customer comfort, the
air distributed through the floor ducts will be slightly warmer than the
air sent to the instrument panel registers.
²
(Panel)-Distributes outside air through the instrument panel
registers. However, the air cannot be cooled below the outside
temperature because the air conditioning does not operate in this
mode.
²MAX A/C-Uses recirculated air to cool the vehicle. The temperature
will remain unchanged and air will be cooled based on the selected
temperature. To exit, press AUTOMATIC or any other override
controls. MAX A/C is noisier than normal A/C but more economical
and will cool the inside of the vehicle faster. Airflow is from the
instrument panel registers. This mode can also be used to prevent
undesirable odors from entering the vehicle.
²OFF-Outside air is shut out and the fan will not operate. For short
periods of time only, use this mode to reduce undesirable odors from
entering the vehicle.
Displaying outside temperature
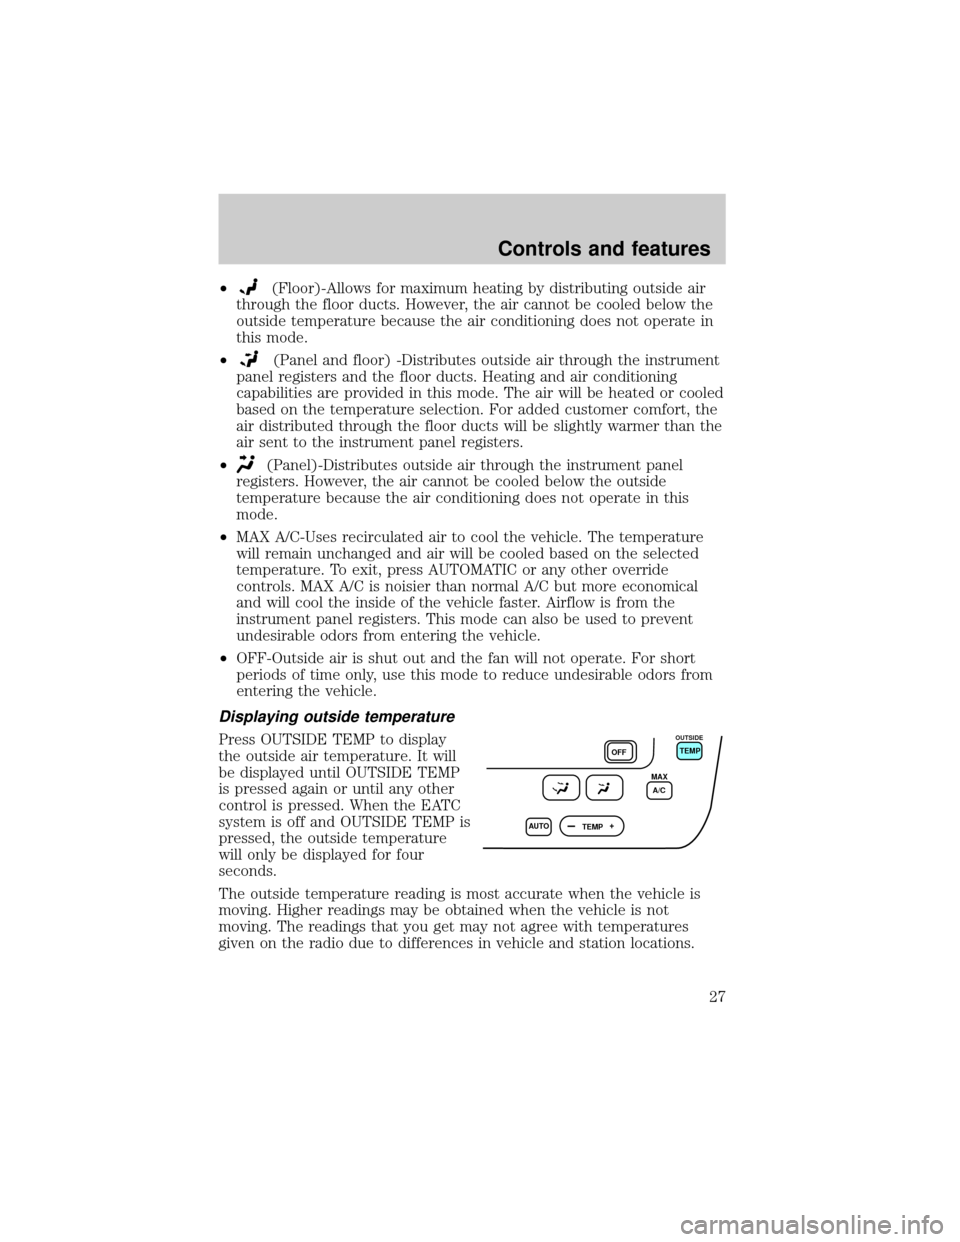
Press OUTSIDE TEMP to display
the outside air temperature. It will
be displayed until OUTSIDE TEMP
is pressed again or until any other
control is pressed. When the EATC
system is off and OUTSIDE TEMP is
pressed, the outside temperature
will only be displayed for four
seconds.
The outside temperature reading is most accurate when the vehicle is
moving. Higher readings may be obtained when the vehicle is not
moving. The readings that you get may not agree with temperatures
given on the radio due to differences in vehicle and station locations.
AUTO
TEMPOFFTEMP
MAX
A/C
OUTSIDE
Controls and features
27
Page 35 of 240
DolbyTnoise reduction
Dolbytnoise reduction operates
only in tape mode. Dolbytnoise
reduction reduces the amount of
hiss and static during tape playback.
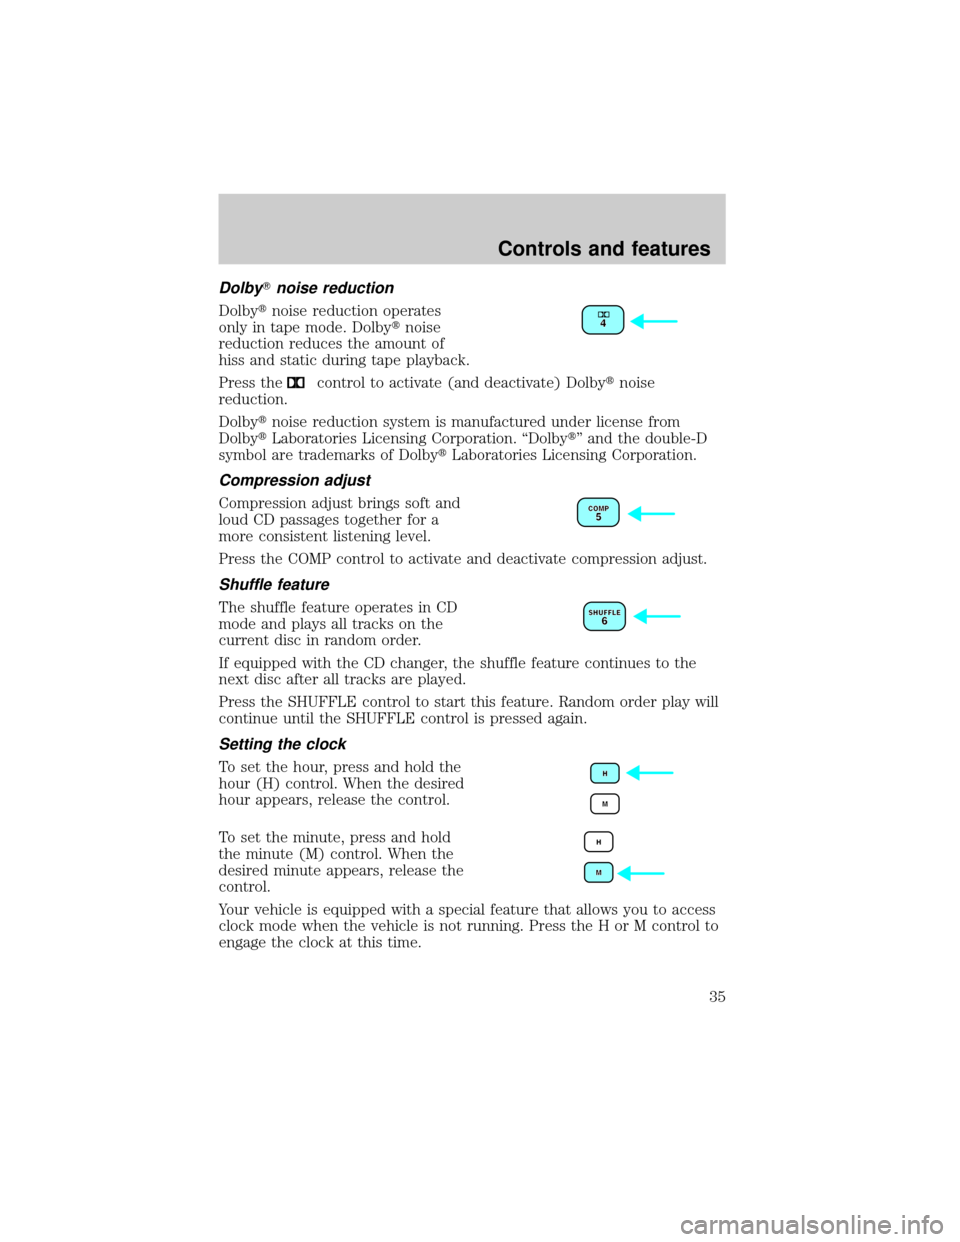
Press the
control to activate (and deactivate) Dolbytnoise
reduction.
Dolbytnoise reduction system is manufactured under license from
DolbytLaboratories Licensing Corporation. ªDolbytº and the double-D
symbol are trademarks of DolbytLaboratories Licensing Corporation.
Compression adjust
Compression adjust brings soft and
loud CD passages together for a
more consistent listening level.
Press the COMP control to activate and deactivate compression adjust.
Shuffle feature
The shuffle feature operates in CD
mode and plays all tracks on the
current disc in random order.
If equipped with the CD changer, the shuffle feature continues to the
next disc after all tracks are played.
Press the SHUFFLE control to start this feature. Random order play will
continue until the SHUFFLE control is pressed again.
Setting the clock
To set the hour, press and hold the
hour (H) control. When the desired
hour appears, release the control.
To set the minute, press and hold
the minute (M) control. When the
desired minute appears, release the
control.
Your vehicle is equipped with a special feature that allows you to access
clock mode when the vehicle is not running. Press the H or M control to
engage the clock at this time.
Controls and features
35
Page 41 of 240
²In CD mode, pressing the control for less than three seconds results in
slow forward action. Pressing the control for more than three seconds
results in fast forward action.
²You can cancel the fast forward mode by pressing TAPE, or the FF
control.
Compression adjust
Compression adjust brings soft and
loud CD passages together for a
more consistent listening level.
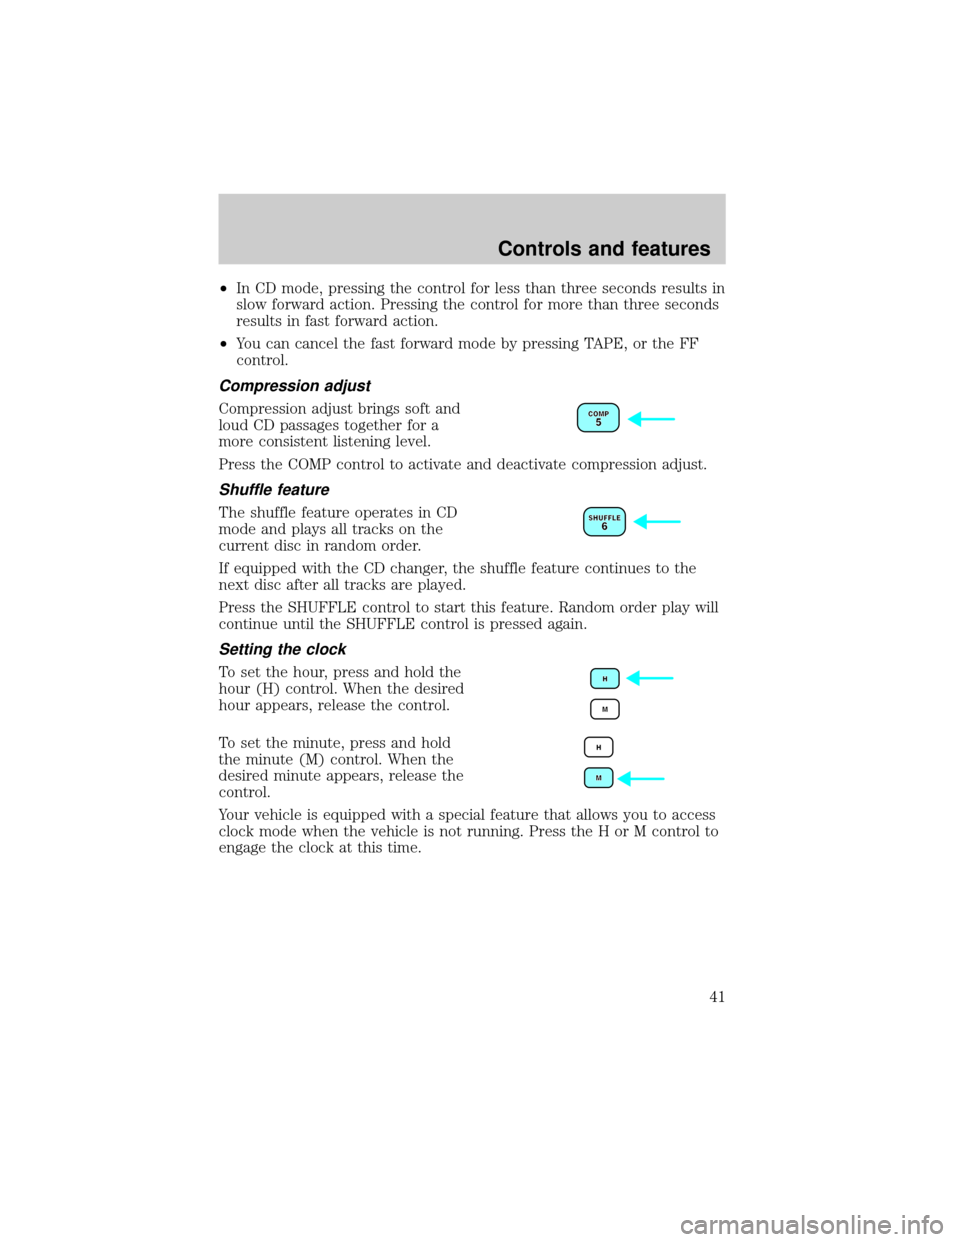
Press the COMP control to activate and deactivate compression adjust.
Shuffle feature
The shuffle feature operates in CD
mode and plays all tracks on the
current disc in random order.
If equipped with the CD changer, the shuffle feature continues to the
next disc after all tracks are played.
Press the SHUFFLE control to start this feature. Random order play will
continue until the SHUFFLE control is pressed again.
Setting the clock
To set the hour, press and hold the
hour (H) control. When the desired
hour appears, release the control.
To set the minute, press and hold
the minute (M) control. When the
desired minute appears, release the
control.
Your vehicle is equipped with a special feature that allows you to access
clock mode when the vehicle is not running. Press the H or M control to
engage the clock at this time.
Controls and features
41
Page 44 of 240

ONLY use the magazine supplied with the CD changer, other types will
damage the unit.
Keep the CD changer door closed. Coins and foreign objects will damage
the CD player and void your audio system warranty.
Do not insert any promotional (odd shaped or sized) discs, or
discs with removable labels into the CD player as jamming may
occur.
Troubleshooting the CD changer (if equipped)
The laser beam used in the compact disc player is harmful to the
eyes. Do not attempt to disassemble the case.
If sound skips:
²You may be traveling on a rough road, playing badly scratched discs or
the disc may be dirty. Skipping will not scratch the discs or damage
the player.
If your changer does not work, it may be that:
²A disc is already loaded where you want to insert a disc.
²The disc is inserted with the label surface downward.
²The disc is dusty or defective.
²The player's internal temperature is above 60ÉC (140ÉF). Allow the
player to cool down before operating.
²A disc with format and dimensions not within industry standards is
inserted.
Cleaning compact discs
Inspect all discs for contamination before playing. If necessary, clean
discs only with an approved CD cleaner and wipe from the center out to
the edge. Do not use circular motion.
CD and CD changer care
²Handle discs by their edges only. Never touch the playing surface.
²Do not expose discs to direct sunlight or heat sources for extended
periods of time.
²Do not insert more than one disc into each slot of the CD changer
magazine.
Controls and features
44
Page 63 of 240
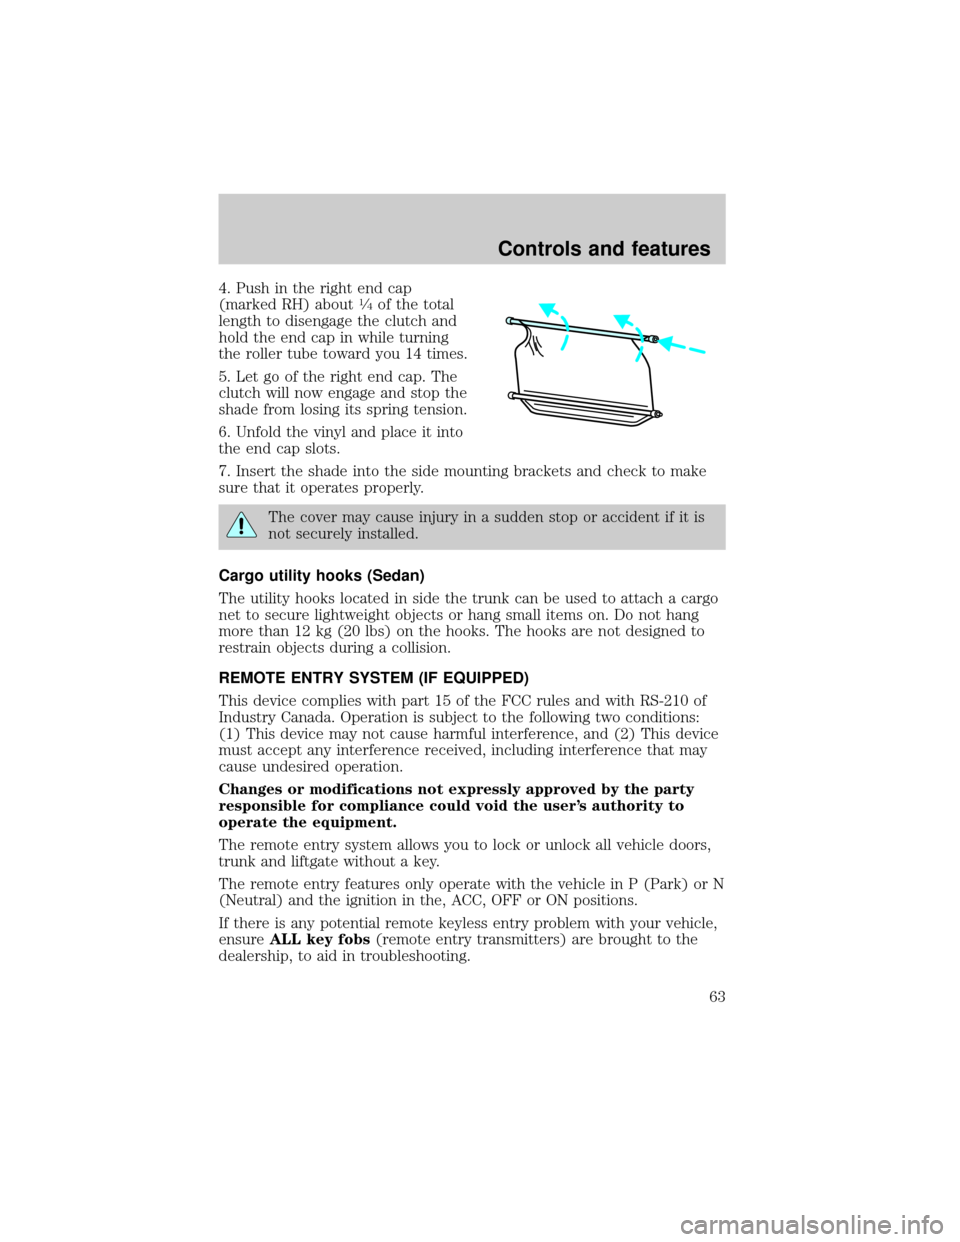
4. Push in the right end cap
(marked RH) about1¤4of the total
length to disengage the clutch and
hold the end cap in while turning
the roller tube toward you 14 times.
5. Let go of the right end cap. The
clutch will now engage and stop the
shade from losing its spring tension.
6. Unfold the vinyl and place it into
the end cap slots.
7. Insert the shade into the side mounting brackets and check to make
sure that it operates properly.
The cover may cause injury in a sudden stop or accident if it is
not securely installed.
Cargo utility hooks (Sedan)
The utility hooks located in side the trunk can be used to attach a cargo
net to secure lightweight objects or hang small items on. Do not hang
more than 12 kg (20 lbs) on the hooks. The hooks are not designed to
restrain objects during a collision.
REMOTE ENTRY SYSTEM (IF EQUIPPED)
This device complies with part 15 of the FCC rules and with RS-210 of
Industry Canada. Operation is subject to the following two conditions:
(1) This device may not cause harmful interference, and (2) This device
must accept any interference received, including interference that may
cause undesired operation.
Changes or modifications not expressly approved by the party
responsible for compliance could void the user's authority to
operate the equipment.
The remote entry system allows you to lock or unlock all vehicle doors,
trunk and liftgate without a key.
The remote entry features only operate with the vehicle in P (Park) or N
(Neutral) and the ignition in the, ACC, OFF or ON positions.
If there is any potential remote keyless entry problem with your vehicle,
ensureALL key fobs(remote entry transmitters) are brought to the
dealership, to aid in troubleshooting.
Controls and features
63
Page 188 of 240

²Use the same side of the same pump and have the vehicle facing the
same direction each time you fill up.
²Have the vehicle loading and distribution the same every time.
Your results will be most accurate if your filling method is consistent.
Calculating fuel economy
1. Fill the fuel tank completely and record the initial odometer reading
(in kilometers or miles).
2. Each time you fill the tank, record the amount of fuel added (in liters
or gallons).
3. After at least three to five tank fill-ups, fill the fuel tank and record
the current odometer reading.
4. Subtract your initial odometer reading from the current odometer
reading.
5. Follow one of the simple calculations in order to determine fuel
economy:
Multiply liters used by 100, then divide by total kilometers
traveled.
Divide total miles traveled by total gallons used.
Keep a record for at least one month and record the type of driving (city
or highway). This will provide an accurate estimate of the vehicle's fuel
economy under current driving conditions. Additionally, keeping records
during summer and winter will show how temperature impacts fuel
economy. In general, lower temperatures give lower fuel economy.
Driving style Ð good driving and fuel economy habits
Give consideration to the lists that follow and you may be able to change
a number of variables and improve your fuel economy.
Habits
²Smooth, moderate operation can yield up to 10% savings in fuel.
²Steady speeds without stopping will usually give the best fuel
economy.
²Idling for long periods of time (greater than one minute) may waste
fuel.
²Anticipate stopping; slowing down may eliminate the need to stop.
Maintenance and care
188
Page 217 of 240

Ford Extended Service Plan
You can get more protection for your new car or light truck by
purchasing Ford Extended Service Plan (Ford ESP) coverage. Ford ESP
is an optional service contract which is backed by Ford Motor Company
or Ford Motor Service Company (in the U.S.) and Ford of Canada (in
Canada). It provides the following:
²benefits during the warranty period depending on the plan you
purchase (such as: reimbursement for rentals; coverage for certain
maintenance and wear items)
²protection against covered repair costs after your Bumper to Bumper
Warranty expires
You may purchase Ford ESP from any participating Ford and Lincoln
Mercury and Ford of Canada dealer. There are several plans available in
various time, distance and deductible combinations which can be tailored
to fit your own driving needs. Ford ESP also offers reimbursement
benefits for towing and rental coverage.
When you buy Ford ESP, you receive Peace-of-Mind protection
throughout the United States and Canada, provided by a network of
more than 5,000 participating Ford or Lincoln Mercury and Ford of
Canada dealers.
If you did not take advantage of the Ford Extended Service Plan at the
time of purchasing your vehicle, you may still be eligible. Please contact
your dealer for further information. Since this information is subject to
change, please ask your dealer for complete details about Ford Extended
Service Plan coverage options, or visit the Ford ESP website at
www.ford-esp.com.
Getting the service you need
At home
Ford Motor Company and Ford of Canada have authorized dealerships to
service your vehicle. When you need warranty repairs your selling dealer
would like you to return to it for that service, but you may also take your
vehicle to another Ford Motor Company or Ford of Canada dealership
authorized for warranty repairs. Certain warranty repairs require special
training though, so not all dealers are authorized to perform all warranty
repairs. That means that depending on the warranty repair needed, the
vehicle may need to be taken to another dealer. If a particular dealership
can not assist you, then contact the Customer Relationship Center.
Customer assistance
217
Page 234 of 240

high beam .............................8, 17
replacing bulbs .......................193
turning on and off ....................17
warning chime ..........................13
Heating ........................................19
heating and
air conditioning system ............19
Hood ..........................................154
I
Ignition .................................47, 213
Infant seats
(see Safety seats) .....................105
Inspection/maintenance
(I/M) testing ..............................191
Instrument panel
cleaning ...................................208
cluster ..................................8, 208
lighting up
panel and interior .....................18
location of components ..............8
J
Jack ............................................143
positioning ...............................143
storage .....................................143
Jump-starting your vehicle ......147
K
Keyless entry system .................69
autolock .....................................71
keypad .......................................69
locking and unlocking doors ....71
programming entry code .........70
Keys .......................................73, 75
key in ignition chime ...............13positions of the ignition ...........47
L
Lamps
autolamp system .......................18
bulb replacement
specifications chart ................201
cargo lamps ...............................18
daytime running light ...............17
fog lamps ...................................18
headlamps .................................17
headlamps, flash to pass ..........17
instrument panel, dimming .....18
interior lamps .............52±53, 201
replacing
bulbs ........192±193, 195±197, 200
Lane change indicator
(see Turn signal) ........................50
Liftgate ..................................60, 64
Lights, warning and indicator ......8
air bag ........................................13
anti-lock brakes (ABS) ....11, 119
anti-theft ...................................11
brake ..........................................12
charging system ........................13
check coolant ............................12
cruise indicator .........................12
door ajar ......................................9
fuel cap light ...............................9
high beam ...................................8
low coolant ................................11
low fuel ......................................11
oil pressure ...............................12
safety belt ...................................9
service engine soon ....................9
speed control ............................50
traction control active ................8
turn signal indicator ...................8
Load limits .................................128
Index
234