rear seat Mercury Sable 2001 Owner's Manuals
[x] Cancel search | Manufacturer: MERCURY, Model Year: 2001, Model line: Sable, Model: Mercury Sable 2001Pages: 240, PDF Size: 2.22 MB
Page 4 of 240

These are some of the symbols you may see on your vehicle.
Vehicle Symbol Glossary
Safety Alert
See Owner's Guide
Fasten Safety BeltAir Bag-Front
Air Bag-SideChild Seat
Child Seat Installation
WarningChild Seat Tether
Anchorage
Brake SystemAnti-Lock Brake System
Brake Fluid -
Non-Petroleum BasedTraction Control
Master Lighting SwitchHazard Warning Flasher
Fog Lamps-FrontFuse Compartment
Fuel Pump ResetWindshield Wash/Wipe
Windshield
Defrost/DemistRear Window
Defrost/Demist
Power Windows
Front/RearPower Window Lockout
Introduction
4
Page 46 of 240
²Station overload.Weak signals are sometimes captured by stronger
signals when you pass a broadcast tower. A stronger signal may
temporarily overtake a weaker signal and play while the weak station
frequency is displayed.
The audio system automatically switches to single channel reception if it
will improve the reception of a station normally received in stereo.
Audio system warranties and service
Refer to the ªWarranty Guideº for audio system warranty information.
If service is necessary, see your dealer or a qualified technician.
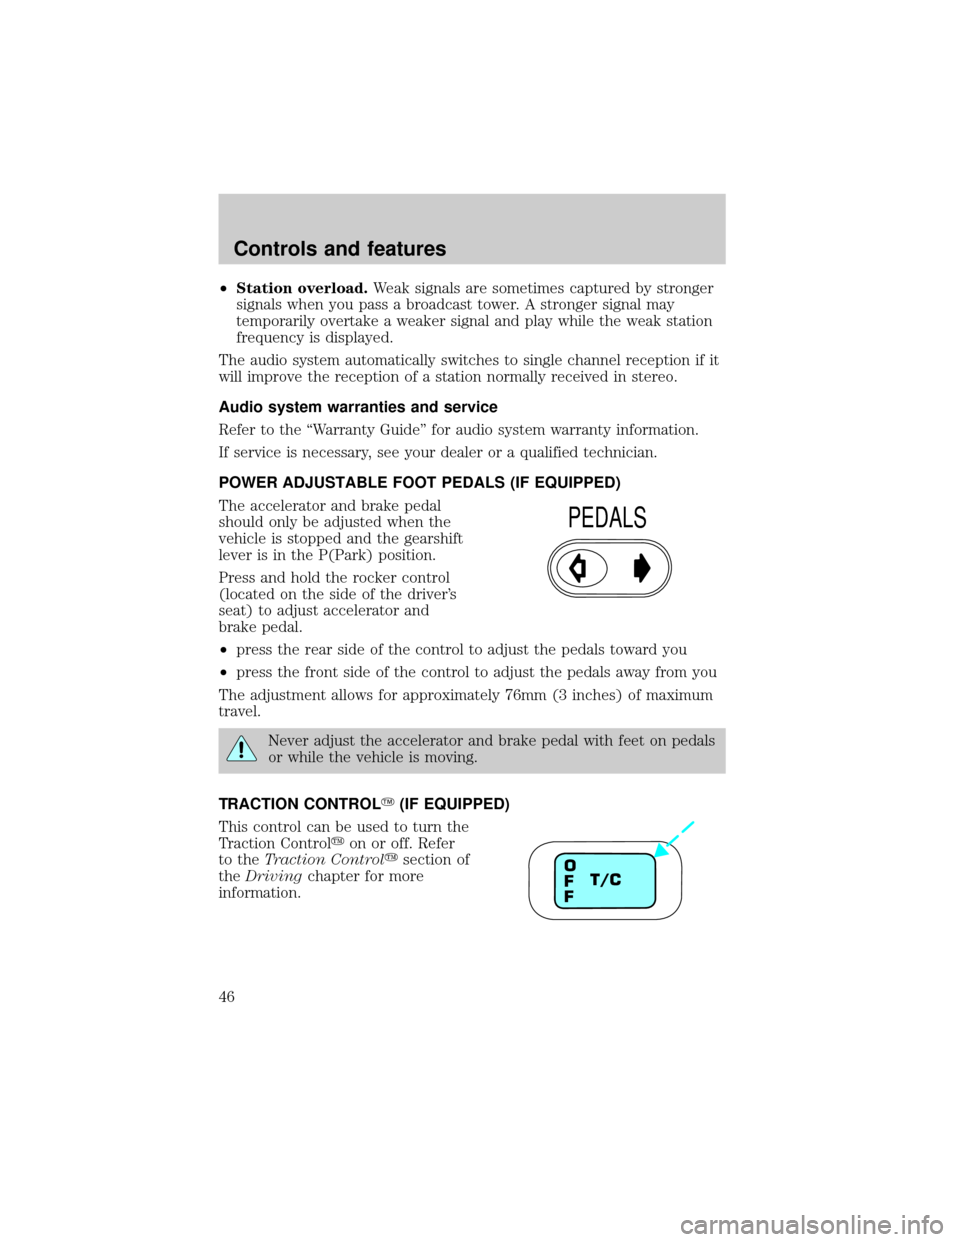
POWER ADJUSTABLE FOOT PEDALS (IF EQUIPPED)
The accelerator and brake pedal
should only be adjusted when the
vehicle is stopped and the gearshift
lever is in the P(Park) position.
Press and hold the rocker control
(located on the side of the driver's
seat) to adjust accelerator and
brake pedal.
²press the rear side of the control to adjust the pedals toward you
²press the front side of the control to adjust the pedals away from you
The adjustment allows for approximately 76mm (3 inches) of maximum
travel.
Never adjust the accelerator and brake pedal with feet on pedals
or while the vehicle is moving.
TRACTION CONTROLY(IF EQUIPPED)
This control can be used to turn the
Traction Controlyon or off. Refer
to theTraction Controlysection of
theDrivingchapter for more
information.
PEDALS
T/C O
F
F
Controls and features
46
Page 59 of 240

CENTER CONSOLE
Your vehicle may be equipped with a variety of console features. These
include:
²Utility compartment
²Bin mat (snap-in)
²Cupholders (front and rear)
²Coin holder slots
²Compact disc changer (if equipped)
²Tissue holder
²Rear A/C vent
²Rear ashtray (see your Ford, Lincoln Mercury dealer to obtain rear
ashtray
Use only soft cups in the cupholder. Hard objects can injure you
in a collision.
If your vehicle is equipped with the column shift and a bench seat, it has
a center console in the center front seating position.
The center console has similar features as the full console. To open the
storage compartment, raise the armrest and pull the strap on the seat up
and toward the front of the vehicle. The rear seat area is provided with
dual cupholders.
POSITIVE RETENTION FLOOR MAT
Position the floor mat so that the
eyelet is over the pointed end of the
retention post and rotate forward to
lock in. Make sure that the mat does
not interfere with the operation of
the accelerator or the brake pedal.
To remove the floor mat, reverse the
installation procedure.
Controls and features
59
Page 77 of 240
SEATING
Adjustable head restraints
Your vehicle's seats are equipped with head restraints which are
vertically adjustable. The purpose of these head restraints is to help limit
head motion in the event of a rear collision. To properly adjust your head
restraints, lift the head restraint so that it is located directly behind your
head or as close to that position as possible. Refer to the following to
raise and lower the head restraints.
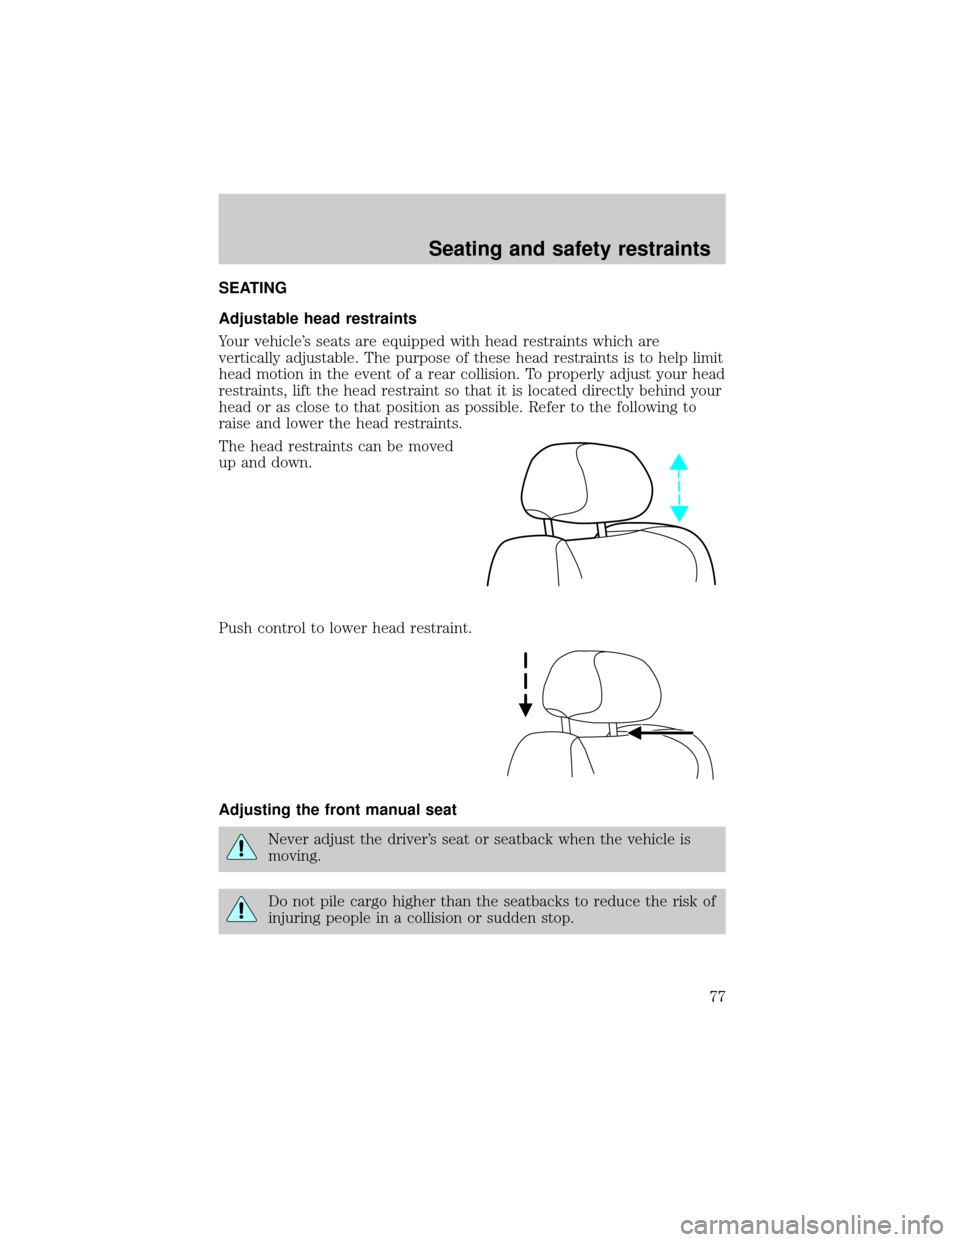
The head restraints can be moved
up and down.
Push control to lower head restraint.
Adjusting the front manual seat
Never adjust the driver's seat or seatback when the vehicle is
moving.
Do not pile cargo higher than the seatbacks to reduce the risk of
injuring people in a collision or sudden stop.
Seating and safety restraints
77
Page 79 of 240

Reclining the seatback can reduce the effectiveness of the seat's
safety belt in the event of a collision.
The control is located on the outboard side of the seat cushion.
Press front to raise or lower the
front portion of the seat cushion.
Press rear to raise or lower the rear
portion of the seat cushion.
Press the control to move the seat
forward, backward, up or down.
Using the manual lumbar support (if equipped)
The lumbar control is located on the
front of the seat cushion.
Turn to adjust lumbar support.
Seating and safety restraints
79
Page 80 of 240
REAR SEATS
2nd seat/Split-folding rear seat (if equipped)
One or both rear seatbacks can be folded down to provide additional
cargo space.
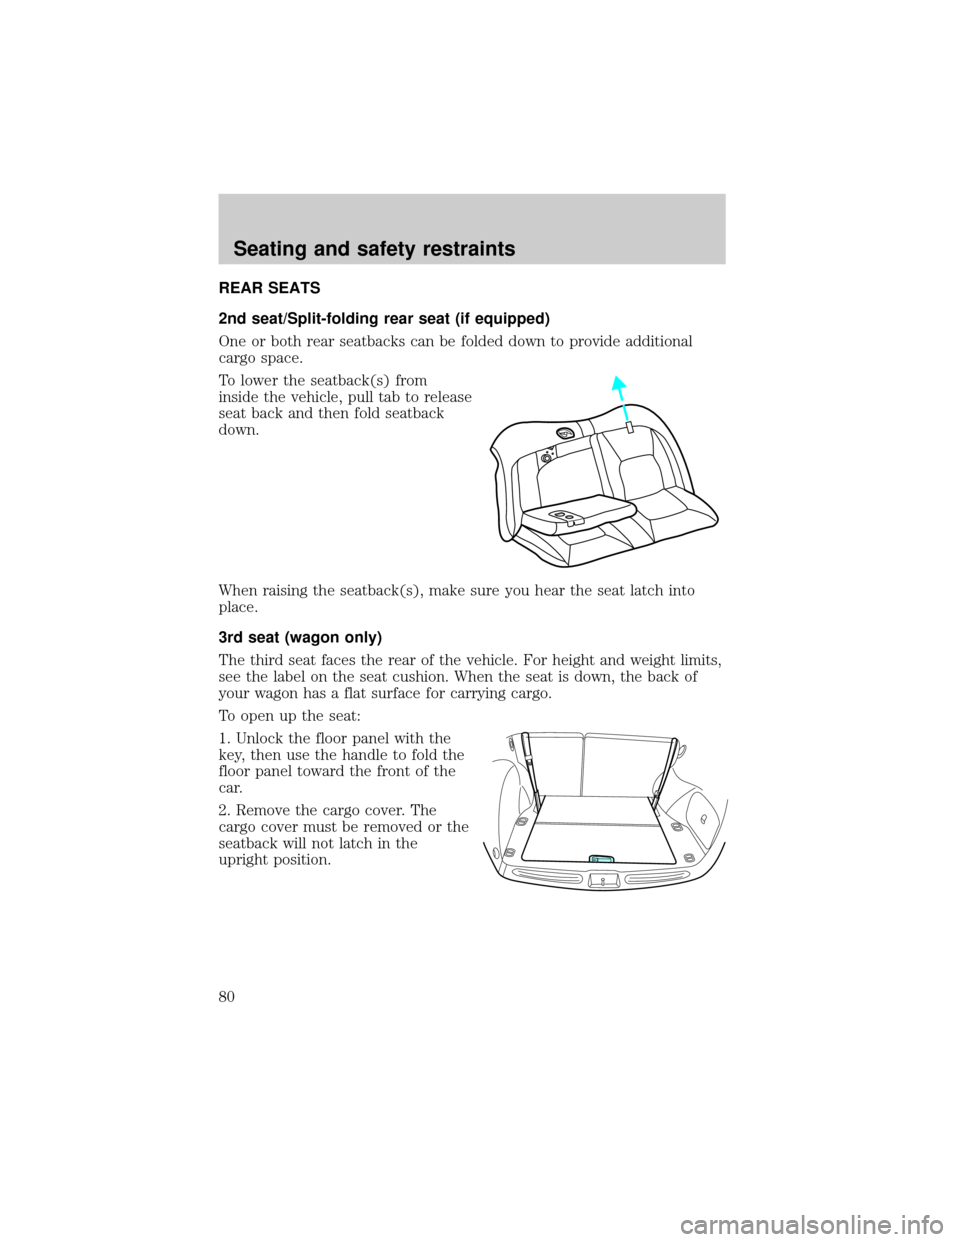
To lower the seatback(s) from
inside the vehicle, pull tab to release
seat back and then fold seatback
down.
When raising the seatback(s), make sure you hear the seat latch into
place.
3rd seat (wagon only)
The third seat faces the rear of the vehicle. For height and weight limits,
see the label on the seat cushion. When the seat is down, the back of
your wagon has a flat surface for carrying cargo.
To open up the seat:
1. Unlock the floor panel with the
key, then use the handle to fold the
floor panel toward the front of the
car.
2. Remove the cargo cover. The
cargo cover must be removed or the
seatback will not latch in the
upright position.
Seating and safety restraints
80
Page 83 of 240

²A series of five beeps will be heard. The tone pattern will repeat
periodically until the problem and indicator light are repaired.
If any of these things happen, even intermittently, have the Personal
Safety System serviced at your dealership or by a qualified technician
immediately. Unless serviced, the system may not function properly in
the event of a collision.
When are the front air bags and pretensioners deployed?
Front air bags and pretensioners are
designed to activate in frontal and
near-frontal collisions, not rollover,
side-impacts, or rear-impacts unless
the collision causes sufficient
longitudinal deceleration. The fact
that the pretensioners or air bags
did not activate in a collision does
not mean that something is wrong
with the system. Rather, it means
the Personal Safety System
determined the occupant conditions
or crash severity were not appropriate to activate these safety devices.
Safety belt precautions
Always drive and ride with your seatback upright and the lap
belt snug and low across the hips.
To reduce the risk of injury, make sure children sit where they
can be properly restrained.
Never let a passenger hold a child on his or her lap while the
vehicle is moving. The passenger cannot protect the child from
injury in a collision.
All occupants of the vehicle, including the driver, should always
properly wear their safety belts, even when an air bag SRS is
provided.
Seating and safety restraints
83
Page 85 of 240
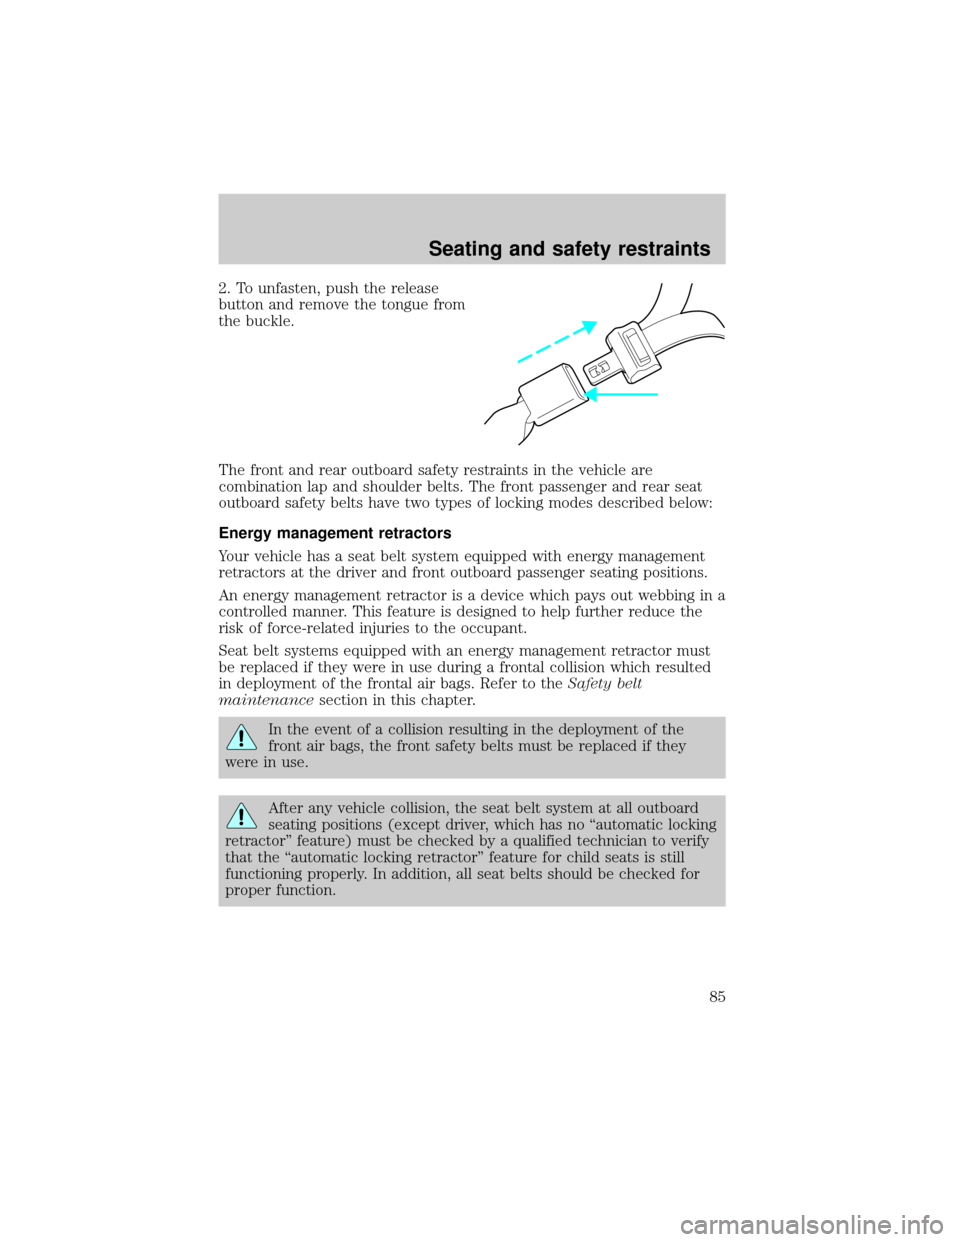
2. To unfasten, push the release
button and remove the tongue from
the buckle.
The front and rear outboard safety restraints in the vehicle are
combination lap and shoulder belts. The front passenger and rear seat
outboard safety belts have two types of locking modes described below:
Energy management retractors
Your vehicle has a seat belt system equipped with energy management
retractors at the driver and front outboard passenger seating positions.
An energy management retractor is a device which pays out webbing in a
controlled manner. This feature is designed to help further reduce the
risk of force-related injuries to the occupant.
Seat belt systems equipped with an energy management retractor must
be replaced if they were in use during a frontal collision which resulted
in deployment of the frontal air bags. Refer to theSafety belt
maintenancesection in this chapter.
In the event of a collision resulting in the deployment of the
front air bags, the front safety belts must be replaced if they
were in use.
After any vehicle collision, the seat belt system at all outboard
seating positions (except driver, which has no ªautomatic locking
retractorº feature) must be checked by a qualified technician to verify
that the ªautomatic locking retractorº feature for child seats is still
functioning properly. In addition, all seat belts should be checked for
proper function.
Seating and safety restraints
85
Page 86 of 240
BELT AND RETRACTOR ASSEMBLY MUST BE REPLACED if
the seat belt assembly ªautomatic locking retractorº feature or
any other seat belt function is not operating properly when checked
according to the procedures in Workshop Manual.
Failure to replace the Belt and Retractor assembly could
increase the risk of injury in collisions.
Vehicle sensitive mode
The vehicle sensitive mode is the normal retractor mode, allowing free
shoulder belt length adjustment to your movements and locking in
response to vehicle movement. For example, if the driver brakes
suddenly or turns a corner sharply, or the vehicle receives an impact of
approximately 8 km/h (5 mph) or more, the combination safety belts will
lock to help reduce forward movement of the driver and passengers.
Automatic locking mode
In this mode, the shoulder belt is automatically pre-locked. The belt will
still retract to remove any slack in the shoulder belt.
The automatic locking mode is not available on the driver safety belt.
When to use the automatic locking mode
²Anytimea child safety seat is installed in the vehicle. Children 12
years old and under should be properly restrained in the rear seat
whenever possible. Refer toSafety Restraints for ChildrenorSafety
Seats for Childrenlater in this chapter.
Seating and safety restraints
86
Page 90 of 240
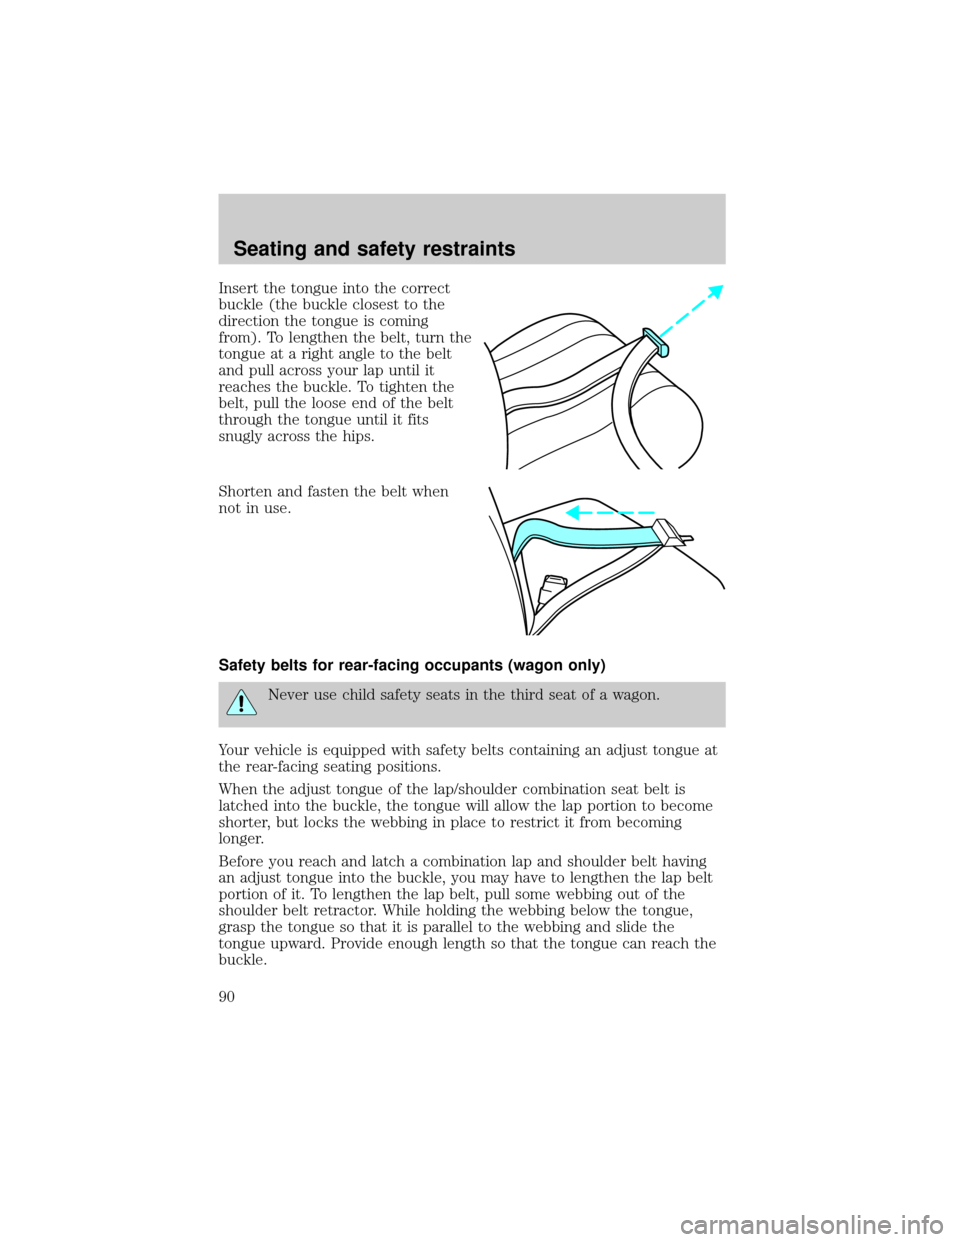
Insert the tongue into the correct
buckle (the buckle closest to the
direction the tongue is coming
from). To lengthen the belt, turn the
tongue at a right angle to the belt
and pull across your lap until it
reaches the buckle. To tighten the
belt, pull the loose end of the belt
through the tongue until it fits
snugly across the hips.
Shorten and fasten the belt when
not in use.
Safety belts for rear-facing occupants (wagon only)
Never use child safety seats in the third seat of a wagon.
Your vehicle is equipped with safety belts containing an adjust tongue at
the rear-facing seating positions.
When the adjust tongue of the lap/shoulder combination seat belt is
latched into the buckle, the tongue will allow the lap portion to become
shorter, but locks the webbing in place to restrict it from becoming
longer.
Before you reach and latch a combination lap and shoulder belt having
an adjust tongue into the buckle, you may have to lengthen the lap belt
portion of it. To lengthen the lap belt, pull some webbing out of the
shoulder belt retractor. While holding the webbing below the tongue,
grasp the tongue so that it is parallel to the webbing and slide the
tongue upward. Provide enough length so that the tongue can reach the
buckle.
Seating and safety restraints
90