ECU Mercury Villager 1999 Owner's Manuals
[x] Cancel search | Manufacturer: MERCURY, Model Year: 1999, Model line: Villager, Model: Mercury Villager 1999Pages: 264, PDF Size: 2.19 MB
Page 5 of 264
OFF REAR 1 2 3 4
1
MAX
A/C
A/C OFF2
3
4
OVERDRIVE
OFF/ON
FFREWSIDE1 - 2
BASS TREB BAL FADE
TAPE
AMSAM
FMCDCLKVOL - PUSH ON
SHUFFLE COMP CD
EJ
CDSCAN
DISCS
TUNESEEK
3 2 1456
DC
12V
SECURITYHAZARD
RR DEFOGRR WIPER
RR WASH
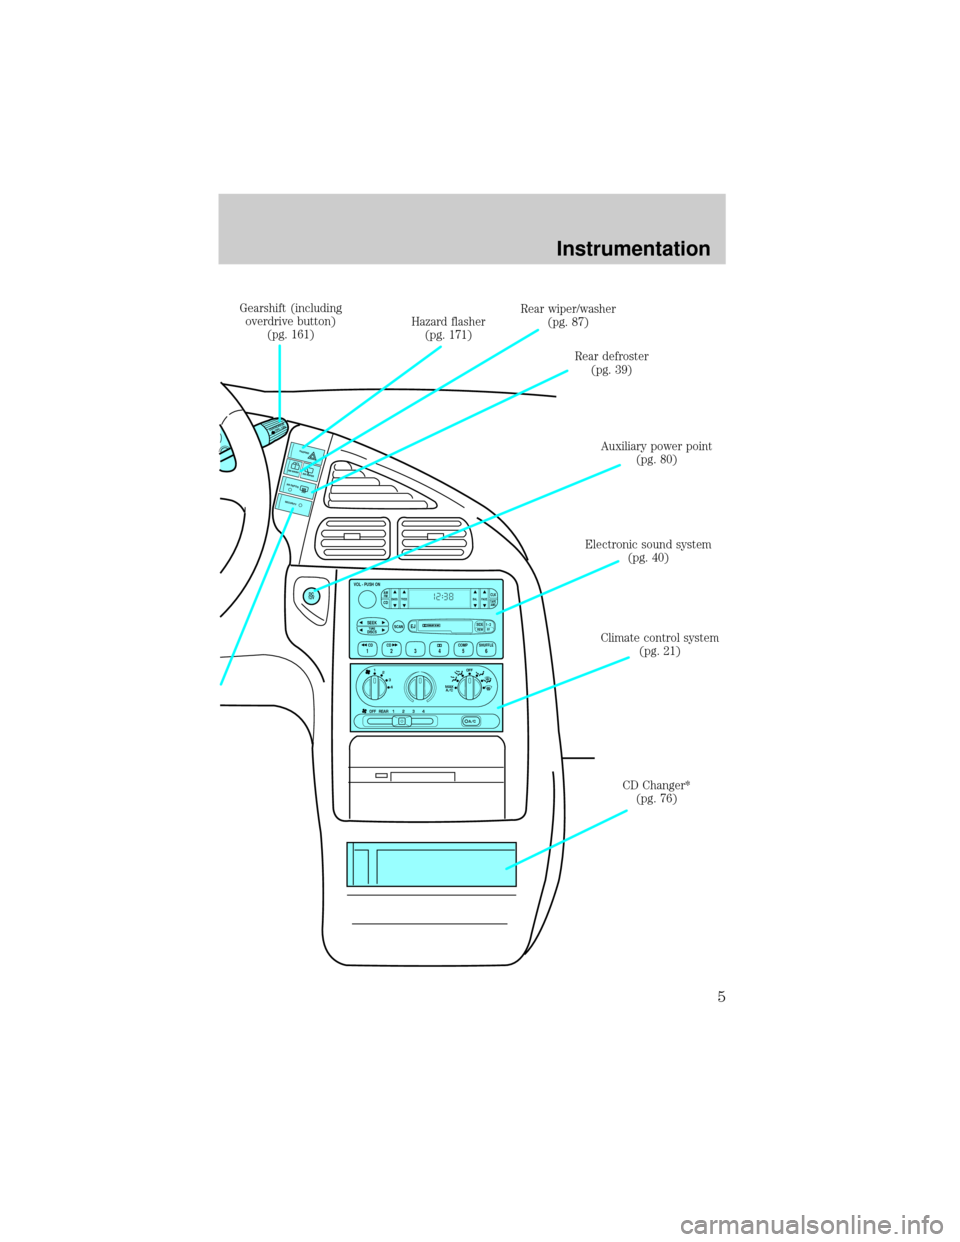
Gearshift (including
overdrive button)
(pg. 161)Hazard flasher
(pg. 171)Rear wiper/washer
(pg. 87)
Rear defroster
(pg. 39)
Auxiliary power point
(pg. 80)
Climate control system
(pg. 21) Electronic sound system
(pg. 40)
CD Changer*
(pg. 76)
Instrumentation
5
Page 9 of 264

Service engine soon
Your vehicle is equipped with a
computer that monitors the engine's
emission control system. This
system is commonly known as the
On Board Diagnostics System (OBD
II). The OBD II system protects the
environment by ensuring that your vehicle continues to meet
government emission standards. The OBD II system also assists the
service technician in properly servicing your vehicle.
TheService Engine Soonindicator light illuminates when the ignition is
first turned to the ON position to check the bulb. If it comes on after the
engine is started, one of the engine's emission control systems may be
malfunctioning. The light may illuminate without a driveability concern
being noted. The vehicle will usually be drivable and will not require
towing.
What you should do if the Service Engine Soon light illuminates
Light turns on solid:
This means that the OBD II system has detected a malfunction.
Temporary malfunctions may cause yourService Engine Soonlight to
illuminate. Examples are:
1. The vehicle has run out of fuel. (The engine may misfire or run
poorly.)
2. Poor fuel quality or water in the fuel.
3. The fuel cap may not have been properly installed and securely
tightened.
These temporary malfunctions can be corrected by filling the fuel tank
with good quality fuel and/or properly installing and securely tightening
the gas cap. After three driving cycles without these or any other
temporary malfunctions present, theService Engine Soonlight should
turn off. (A driving cycle consists of a cold engine startup followed by
mixed city/highway driving.) No additional vehicle service is required.
If theService Engine Soonlight remains on, have your vehicle serviced
at the first available opportunity.
SERVICE
ENGINE
SOON
Instrumentation
9
Page 39 of 264

turn the Rear Fan Control on the main climate control system to Rear
A/C and turn the Rear A/C Fan Control to 0.
For maximum cooling for the front seat passengers, set the rear fan
switch to the OFF (0) position.
Please note that the rear passenger air conditioning system is
designed for air conditioning purposes only, and does not heat the
rear compartment. Rear compartment heating is provided by the
underseat ducts. Refer to Rear Seat Heating.
REAR WINDOW DEFROSTER
The rear defroster control is located
on the instrument panel.
Press the rear defroster control to
clear the rear window of thin ice
and fog.
²The small LED will illuminate
when the rear defroster is
activated.
OFF REAR A/C 1 2 3 4
A/C
0
1
2
3
4REAR
A/C
SECURITYHAZARD
RR DEFOGRR WIPER
RR WASH
Controls and features
39
Page 77 of 264
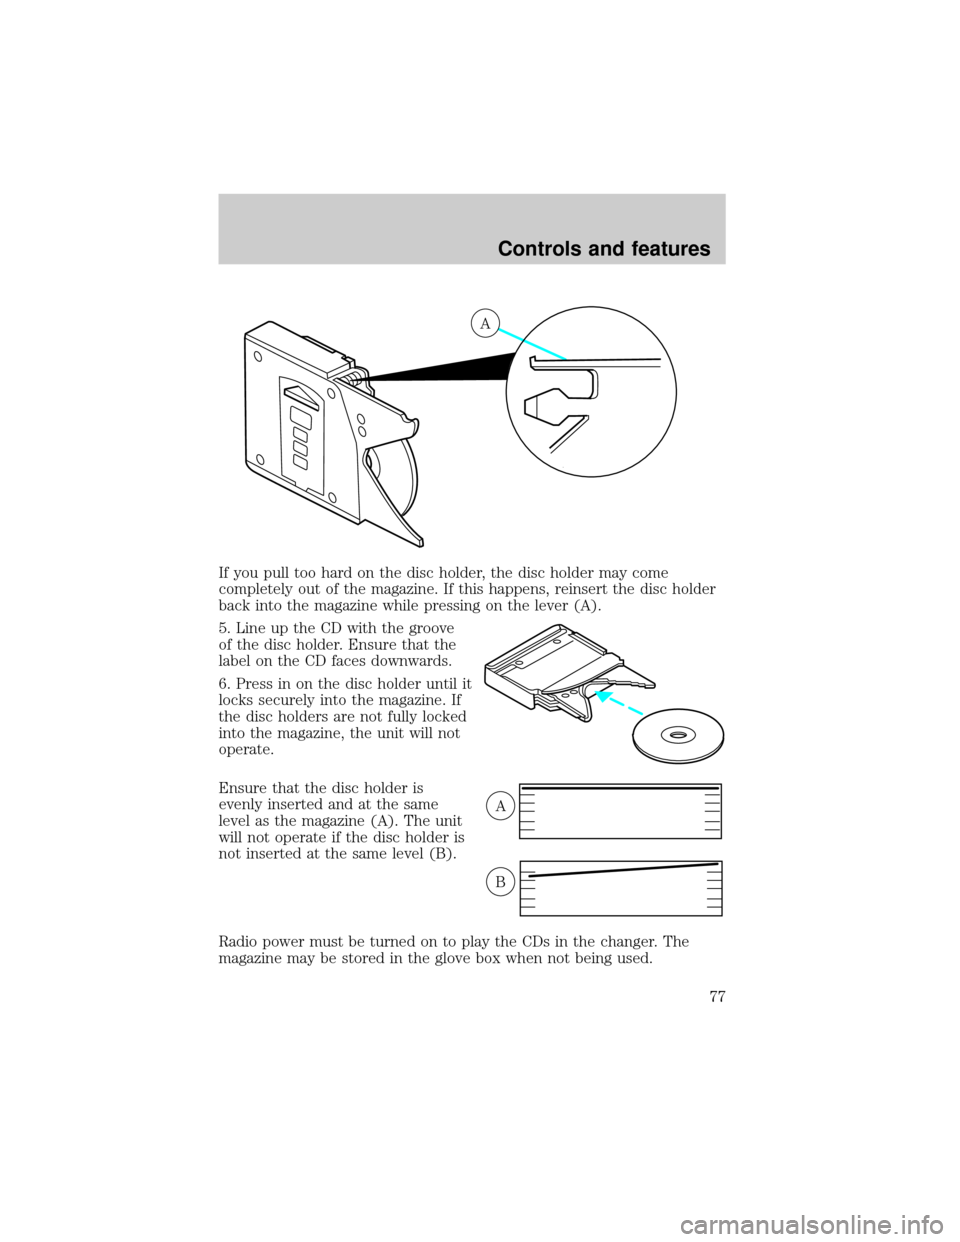
If you pull too hard on the disc holder, the disc holder may come
completely out of the magazine. If this happens, reinsert the disc holder
back into the magazine while pressing on the lever (A).
5. Line up the CD with the groove
of the disc holder. Ensure that the
label on the CD faces downwards.
6. Press in on the disc holder until it
locks securely into the magazine. If
the disc holders are not fully locked
into the magazine, the unit will not
operate.
Ensure that the disc holder is
evenly inserted and at the same
level as the magazine (A). The unit
will not operate if the disc holder is
not inserted at the same level (B).
Radio power must be turned on to play the CDs in the changer. The
magazine may be stored in the glove box when not being used.
A
A
B
Controls and features
77
Page 87 of 264

Rear window wiper and washer
Press the wiper control to activate
the rear wiper. Press again to turn
off the wiper. The wiper operates at
a pre-set interval.
Press the washer control to activate
the rear washer. The wiper will
come on when the washer control is
pressed, if it is not already on.
HAZARD FLASHER
For information on the hazard flasher control, refer toHazard flasherin
theRoadside emergencieschapter.
OVERDRIVE CONTROL
Activating overdrive
D (Overdrive) is the normal drive position for the best fuel economy.
The overdrive function allows automatic upshifts from third to fourth gear.
SECURITY HAZARD
RR DEFOGRR WIPER RR WASH
SECURITYHAZARD
RR DEFOGRR WIPER RR WASH
Controls and features
87
Page 93 of 264

HOMELINKTUNIVERSAL TRANSCEIVER WITH TRAVELNOTET
(IF EQUIPPED)
The HomeLinktUniversal Transceiver, located on the driver's visor,
provides a convenient way to replace up to three hand-held transmitters
with a single built-in device. This feature will learn the radio frequency
codes of most current transmitters to operate garage doors, entry gates,
security systems, entry door locks, and home or office lighting.
When programming your HomeLinktUniversal Transceiver, to a
garage door or gate be sure that people and objects are out of
the way to prevent potential harm or damage.
Do not use the HomeLinktUniversal Transceiver with any garage door
opener that lacks safety stop and reverse features as required by U.S.
federal safety standards (this includes any garage door opener model
manufactured before April 1, 1982). A garage door which cannot detect
an object, signaling the door to stop and reverse, does not meet current
U.S. federal safety standards. For more information on this matter, call
toll-free: 1±800±355±3515 or on the Internet atHomeLink.jci.com.
Programming
1. Prepare for programming the
HomeLinktUniversal Transceiver by
erasing the three factory default
codes by holding down the two
outside buttons until the red light
begins to flash after 20 seconds.
Release both buttons.
2. Hold the end of your hand-held
transmitter 5±14 cm (2±5 inches) away from the HomeLinktUniversal
Transceiver surface (located on your visor) while keeping the red light in
view.
3. Using both hands simultaneously
press and hold the hand-held
transmitter button and the desired
HomeLinktbutton. Do not release
the buttons until step 4 has been
completed.
REC DEL PLAY
REC DEL PLAY
Controls and features
93
Page 97 of 264
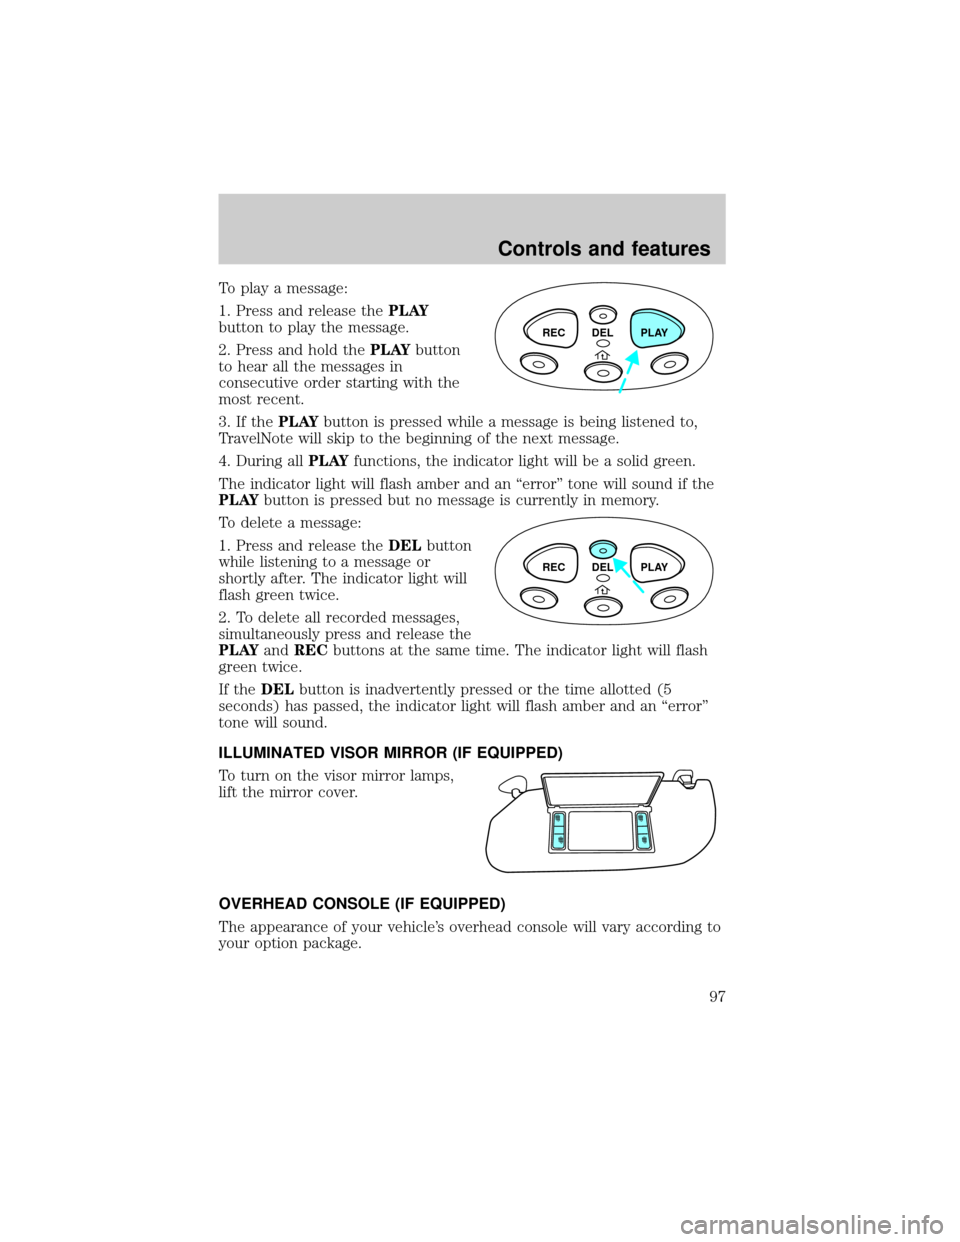
To play a message:
1. Press and release thePLAY
button to play the message.
2. Press and hold thePLAYbutton
to hear all the messages in
consecutive order starting with the
most recent.
3. If thePLAYbutton is pressed while a message is being listened to,
TravelNote will skip to the beginning of the next message.
4. During allPLAYfunctions, the indicator light will be a solid green.
The indicator light will flash amber and an ªerrorº tone will sound if the
PLAYbutton is pressed but no message is currently in memory.
To delete a message:
1. Press and release theDELbutton
while listening to a message or
shortly after. The indicator light will
flash green twice.
2. To delete all recorded messages,
simultaneously press and release the
PLAYandRECbuttons at the same time. The indicator light will flash
green twice.
If theDELbutton is inadvertently pressed or the time allotted (5
seconds) has passed, the indicator light will flash amber and an ªerrorº
tone will sound.
ILLUMINATED VISOR MIRROR (IF EQUIPPED)
To turn on the visor mirror lamps,
lift the mirror cover.
OVERHEAD CONSOLE (IF EQUIPPED)
The appearance of your vehicle's overhead console will vary according to
your option package.
REC DEL PLAY
REC DEL PLAY
Controls and features
97
Page 104 of 264
ANTI-THEFT SYSTEM (IF EQUIPPED)
When armed, the anti-theft system will help prevent your vehicle from
unauthorized entry.
If there is any potential perimeter anti-theft problem with your vehicle,
ensureALL key fobs(remote entry transmitters) are brought to the
dealership, to aid in troubleshooting.
Arming the system
When unauthorized entry occurs, the system will flash headlamp lamps,
tail lamps and the security indicator lamp, chirp the horn and disable the
starting system.
The system is ready to arm whenever the ignition is turned OFF. Any of
the following actions will prearm the alarm system:
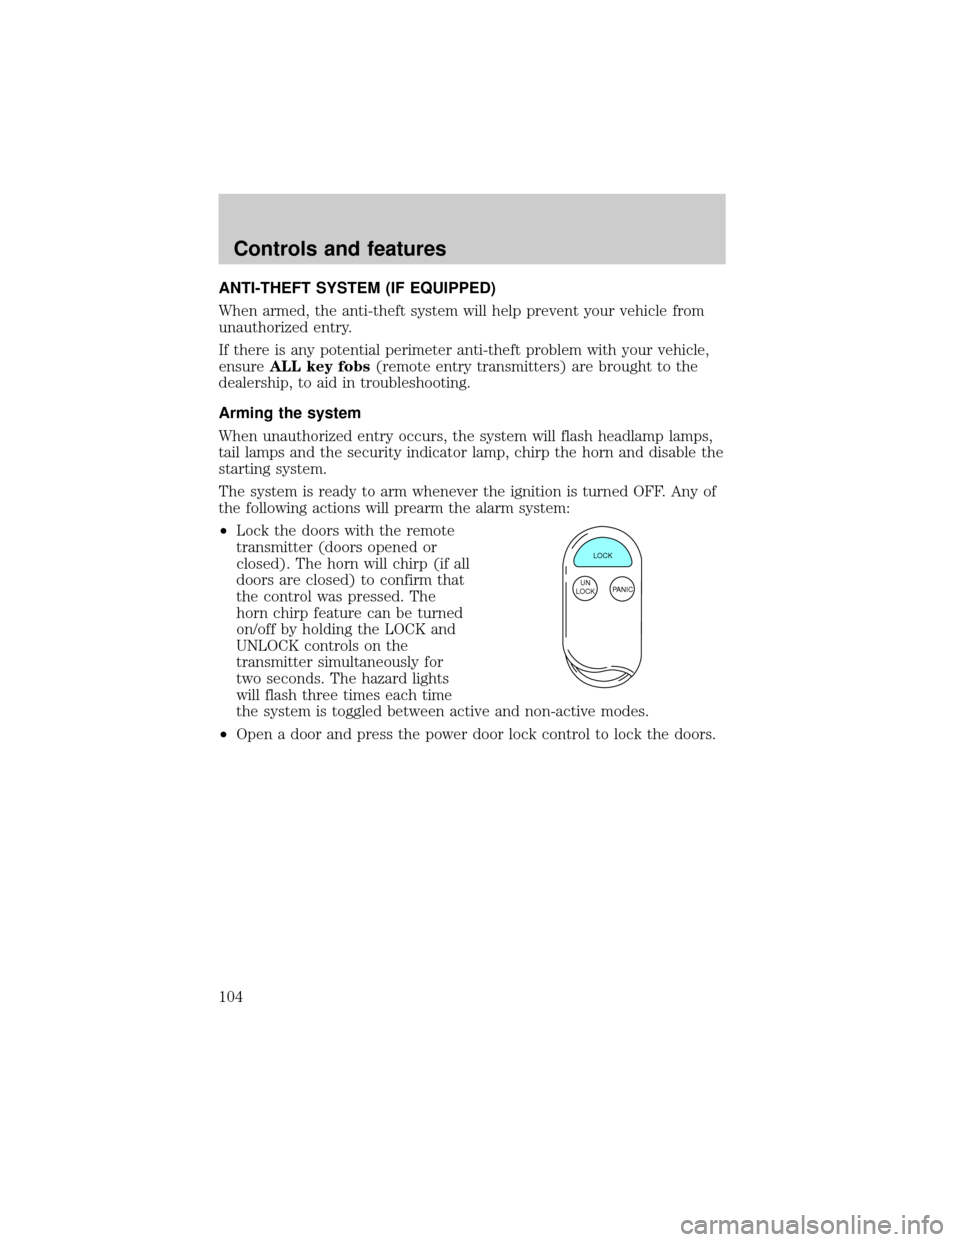
²Lock the doors with the remote
transmitter (doors opened or
closed). The horn will chirp (if all
doors are closed) to confirm that
the control was pressed. The
horn chirp feature can be turned
on/off by holding the LOCK and
UNLOCK controls on the
transmitter simultaneously for
two seconds. The hazard lights
will flash three times each time
the system is toggled between active and non-active modes.
²Open a door and press the power door lock control to lock the doors.
LOCK
PANIC UN
LOCK
Controls and features
104
Page 105 of 264
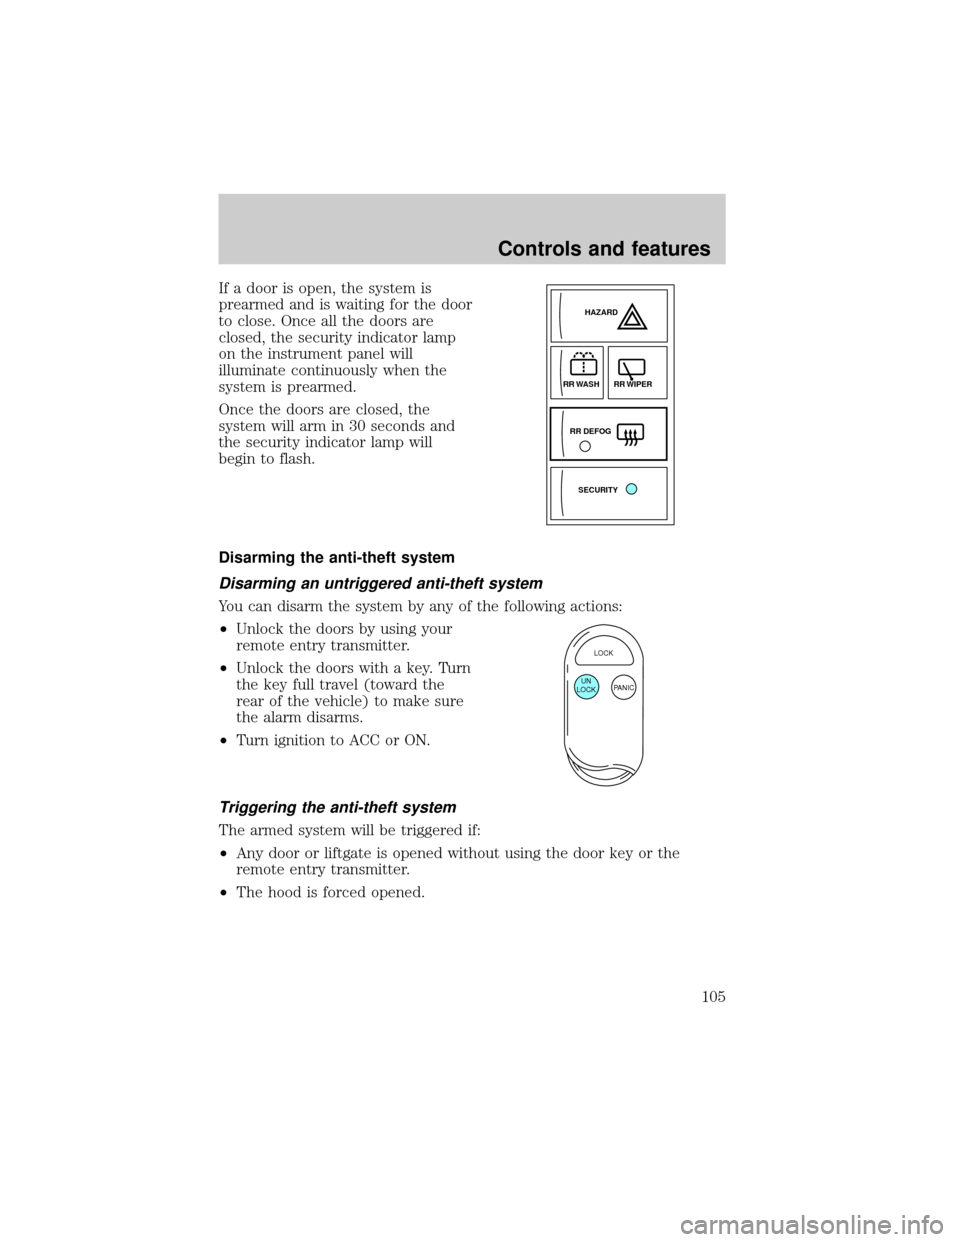
If a door is open, the system is
prearmed and is waiting for the door
to close. Once all the doors are
closed, the security indicator lamp
on the instrument panel will
illuminate continuously when the
system is prearmed.
Once the doors are closed, the
system will arm in 30 seconds and
the security indicator lamp will
begin to flash.
Disarming the anti-theft system
Disarming an untriggered anti-theft system
You can disarm the system by any of the following actions:
²Unlock the doors by using your
remote entry transmitter.
²Unlock the doors with a key. Turn
the key full travel (toward the
rear of the vehicle) to make sure
the alarm disarms.
²Turn ignition to ACC or ON.
Triggering the anti-theft system
The armed system will be triggered if:
²Any door or liftgate is opened without using the door key or the
remote entry transmitter.
²The hood is forced opened.
SECURITYHAZARD
RR DEFOGRR WIPER
RR WASH
LOCK
PANIC UN
LOCK
Controls and features
105
Page 107 of 264

Make sure that the liftgate door and/or window are closed to
prevent exhaust fumes from being drawn into the vehicle. This
will also prevent passengers and cargo from falling out. If you must
drive with the liftgate door or window open, keep the vents open so
outside air comes into the vehicle.
CARGO AREA FEATURES
Rear Cargo net
The cargo net helps stabilize lightweight objects in the cargo area.
Attach the net to the anchors provided. The cargo restrained in the net
must not exceed 22 kg (50 lbs.) or the net may not stay secured.
The cargo net is not designed to restrain objects during a
collision or heavy braking.
Controls and features
107