weight Mercury Villager 1999 Owner's Manuals
[x] Cancel search | Manufacturer: MERCURY, Model Year: 1999, Model line: Villager, Model: Mercury Villager 1999Pages: 264, PDF Size: 2.19 MB
Page 107 of 264

Make sure that the liftgate door and/or window are closed to
prevent exhaust fumes from being drawn into the vehicle. This
will also prevent passengers and cargo from falling out. If you must
drive with the liftgate door or window open, keep the vents open so
outside air comes into the vehicle.
CARGO AREA FEATURES
Rear Cargo net
The cargo net helps stabilize lightweight objects in the cargo area.
Attach the net to the anchors provided. The cargo restrained in the net
must not exceed 22 kg (50 lbs.) or the net may not stay secured.
The cargo net is not designed to restrain objects during a
collision or heavy braking.
Controls and features
107
Page 137 of 264

SAFETY SEATS FOR CHILDREN
Child and infant or child safety seats
Use a safety seat that is recommended for the size and weight of the
child. Carefully follow all of the manufacturer's instructions with the
safety seat you put in your vehicle. If you do not install and use the
safety seat properly, the child may be injured in a sudden stop or
collision.
When installing a child safety seat:
²Review and follow the information
presented in theAir Bag
Supplemental Restraint System
section in this chapter.
²Use the correct safety belt buckle
for that seating position.
²Insert the belt tongue into the
proper buckle until you hear a
snap and feel it latch. Make sure
the tongue is securely fastened in
the buckle.
²Keep the buckle release button pointing up and away from the safety
seat, with the tongue between the child seat and the release button,
to prevent accidental unbuckling.
²Place seat back in upright position.
²Put the safety belt in the automatic locking mode. Refer toAutomatic
locking mode(passenger side front and outboard rear seating
positions).
Seating and safety restraints
137
Page 165 of 264

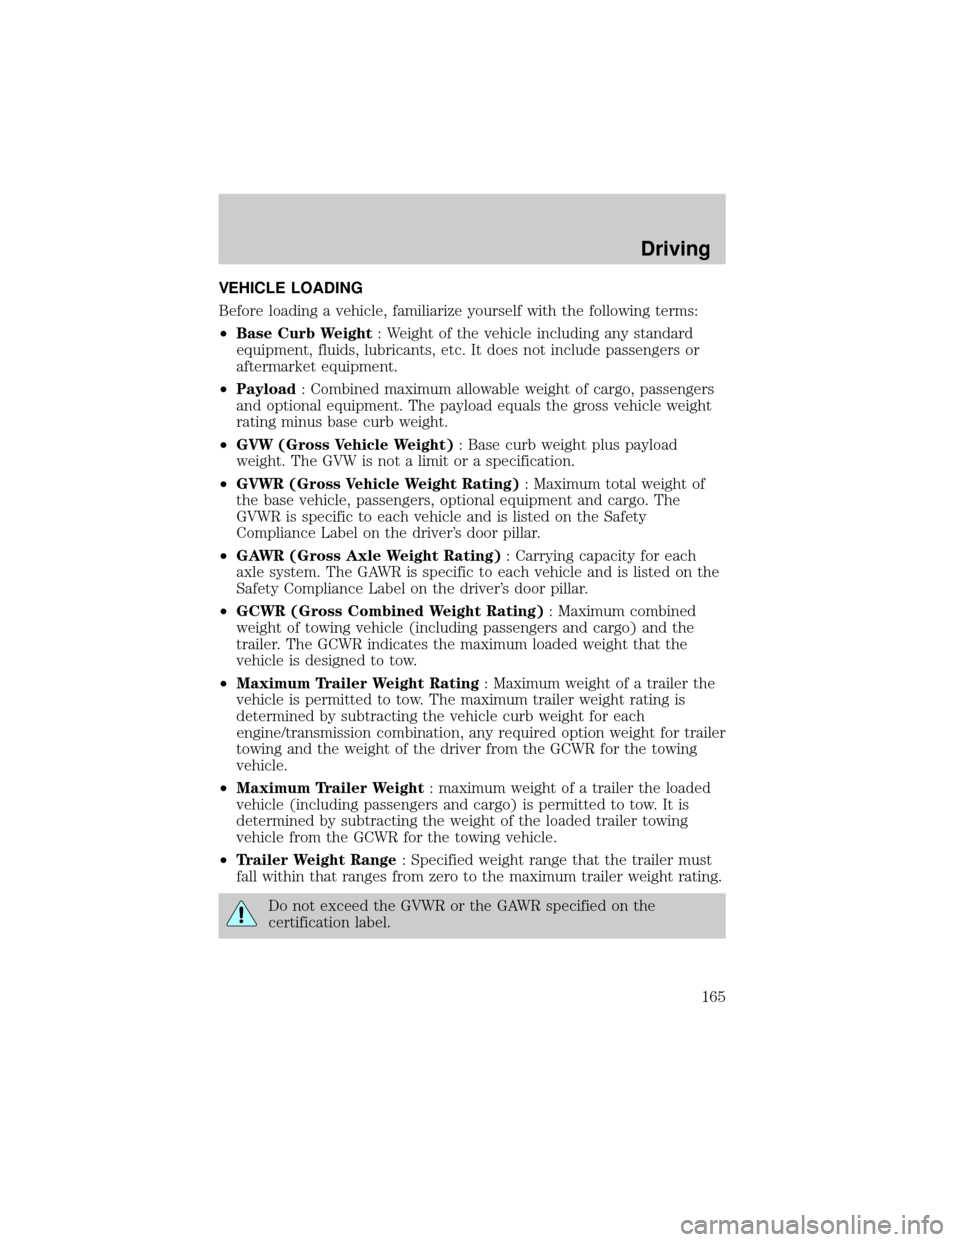
VEHICLE LOADING
Before loading a vehicle, familiarize yourself with the following terms:
²Base Curb Weight: Weight of the vehicle including any standard
equipment, fluids, lubricants, etc. It does not include passengers or
aftermarket equipment.
²Payload: Combined maximum allowable weight of cargo, passengers
and optional equipment. The payload equals the gross vehicle weight
rating minus base curb weight.
²GVW (Gross Vehicle Weight): Base curb weight plus payload
weight. The GVW is not a limit or a specification.
²GVWR (Gross Vehicle Weight Rating): Maximum total weight of
the base vehicle, passengers, optional equipment and cargo. The
GVWR is specific to each vehicle and is listed on the Safety
Compliance Label on the driver's door pillar.
²GAWR (Gross Axle Weight Rating): Carrying capacity for each
axle system. The GAWR is specific to each vehicle and is listed on the
Safety Compliance Label on the driver's door pillar.
²GCWR (Gross Combined Weight Rating): Maximum combined
weight of towing vehicle (including passengers and cargo) and the
trailer. The GCWR indicates the maximum loaded weight that the
vehicle is designed to tow.
²Maximum Trailer Weight Rating: Maximum weight of a trailer the
vehicle is permitted to tow. The maximum trailer weight rating is
determined by subtracting the vehicle curb weight for each
engine/transmission combination, any required option weight for trailer
towing and the weight of the driver from the GCWR for the towing
vehicle.
²Maximum Trailer Weight: maximum weight of a trailer the loaded
vehicle (including passengers and cargo) is permitted to tow. It is
determined by subtracting the weight of the loaded trailer towing
vehicle from the GCWR for the towing vehicle.
²Trailer Weight Range: Specified weight range that the trailer must
fall within that ranges from zero to the maximum trailer weight rating.
Do not exceed the GVWR or the GAWR specified on the
certification label.
Driving
165
Page 166 of 264

Do not use replacement tires with lower load carrying capacities than the
originals because they may lower the vehicle's GVWR and GAWR
limitations. Replacement tires with a higher limit than the originals do
not increase the GVWR and GAWR limitations.
The Certification Label, found on the inside pillar of the driver's door,
lists several important vehicle weight rating limitations. Before adding
any additional equipment, refer to these limitations. If you are adding
weight to the front of your vehicle, (potentially including weight added
to the cab), the weight added should not exceed the Front Axle Reserve
Capacity (FARC). Additional frontal weight may be added to the front
axle reserve capacity provided you limit your payload in other ways (i.e.
restrict the number of passengers or amount of cargo carried).
You may add equipment throughout your vehicle if the total weight
added is equal to or less than the Total Axle Reserve Capacity (TARC)
weight. You should NEVER exceed the Total Axle Reserve Capacity.
Always ensure that the weight of passengers, cargo and equipment being
carried is within the weight limitations that have been established for
your vehicle including both Gross Vehicle Weight and Front and Rear
Gross Axle Weight Rating limits. Under no circumstance should these
limitations be exceeded. Exceeding any vehicle weight rating limitation
could result in serious damage to the vehicle and/or personal injury.
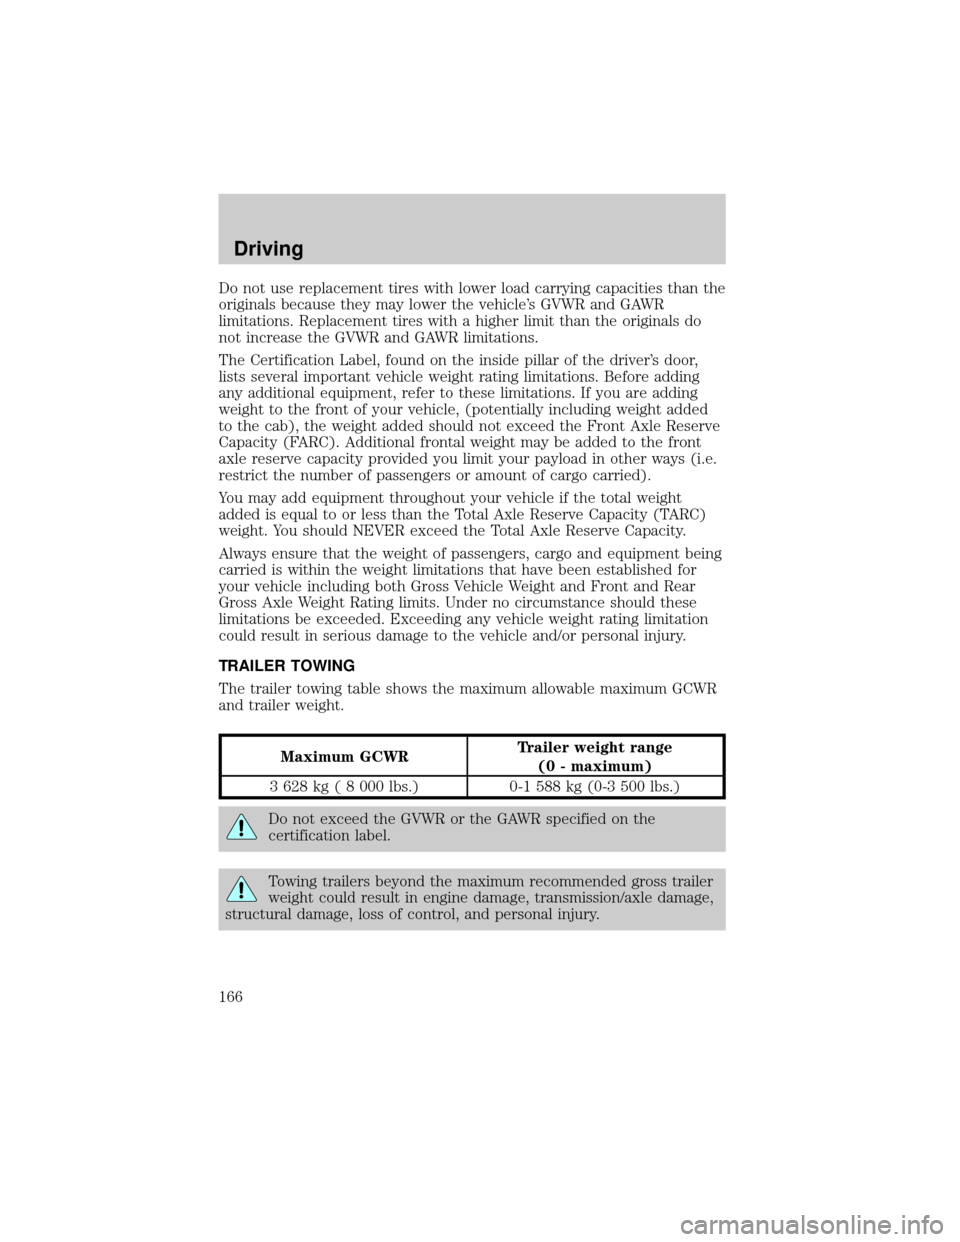
TRAILER TOWING
The trailer towing table shows the maximum allowable maximum GCWR
and trailer weight.
Maximum GCWRTrailer weight range
(0 - maximum)
3 628 kg ( 8 000 lbs.) 0-1 588 kg (0-3 500 lbs.)
Do not exceed the GVWR or the GAWR specified on the
certification label.
Towing trailers beyond the maximum recommended gross trailer
weight could result in engine damage, transmission/axle damage,
structural damage, loss of control, and personal injury.
Driving
166
Page 167 of 264

The optional Trailer Tow Prep Package is recommended for towing of
any trailer since it provides a heavy duty battery, conventional size spare
tire and wiring.
Trailer towing puts additional loads on your vehicle's engine,
transmission, axle, brakes, tires, and suspension. For your safety and to
maximize vehicle performance, be sure to use the proper equipment
while towing.
Follow these guidelines to ensure safe towing procedure:
²Stay within your vehicle's load limits. If exceeded, cargo should be
removed from the trailer and/or the vehicle until all weights are within
specified limits.
²Thoroughly prepare your vehicle for towing. Refer toPreparing to
towin this chapter.
²Use extra caution when driving while trailer towing. Refer toDriving
while you towin this chapter.
²Service your vehicle more frequently if you tow a trailer. Refer to the
severe duty schedule in the Scheduled Maintenance Guide.
²Do not tow a trailer until your vehicle has been driven at least 800 km
(500 miles).
²Refer to the instructions included with towing accessories for the
proper installation and adjustment specifications.
Trailer Tow Prep Package (if equipped)
The trailer tow prep package on your vehicle (if equipped) includes:
²Heavy duty battery
²Conventional size spare tire
²Trailer tow module and jumper harness
Using the jumper harness (if equipped)
²Remove the connector cap from the vehicle harness located behind
the rear bumper. Store the connector cap in the glove box for
reinstallation.
²Connect the tow harness to the vehicle harness located behind the
rear bumper.
²Connect the tow harness connector (SAE J1239) to your trailer.
²Confirm the proper vehicle and trailer stop/turn lamp operation.
Driving
167
Page 168 of 264

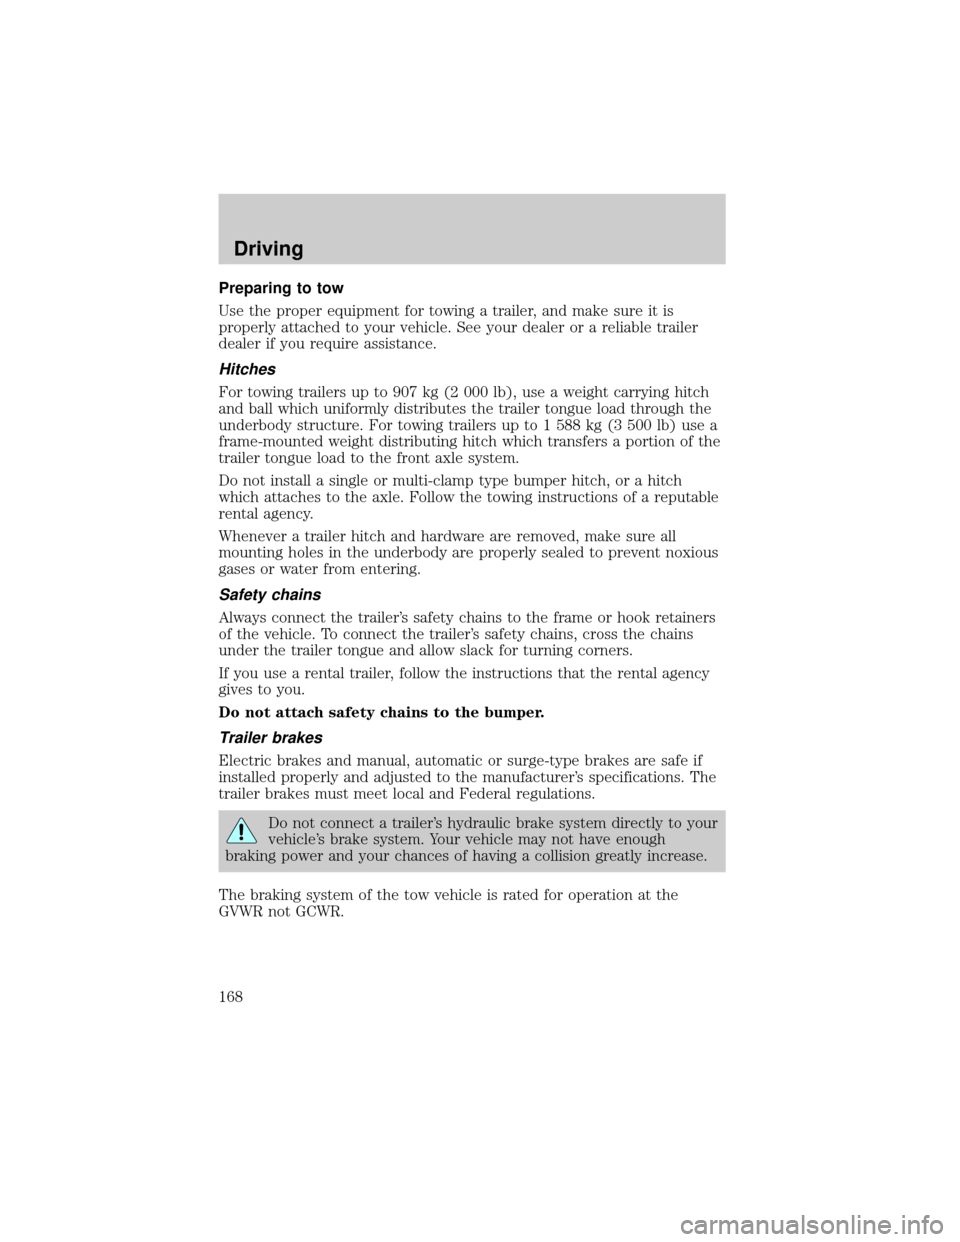
Preparing to tow
Use the proper equipment for towing a trailer, and make sure it is
properly attached to your vehicle. See your dealer or a reliable trailer
dealer if you require assistance.
Hitches
For towing trailers up to 907 kg (2 000 lb), use a weight carrying hitch
and ball which uniformly distributes the trailer tongue load through the
underbody structure. For towing trailers up to 1 588 kg (3 500 lb) use a
frame-mounted weight distributing hitch which transfers a portion of the
trailer tongue load to the front axle system.
Do not install a single or multi-clamp type bumper hitch, or a hitch
which attaches to the axle. Follow the towing instructions of a reputable
rental agency.
Whenever a trailer hitch and hardware are removed, make sure all
mounting holes in the underbody are properly sealed to prevent noxious
gases or water from entering.
Safety chains
Always connect the trailer's safety chains to the frame or hook retainers
of the vehicle. To connect the trailer's safety chains, cross the chains
under the trailer tongue and allow slack for turning corners.
If you use a rental trailer, follow the instructions that the rental agency
gives to you.
Do not attach safety chains to the bumper.
Trailer brakes
Electric brakes and manual, automatic or surge-type brakes are safe if
installed properly and adjusted to the manufacturer's specifications. The
trailer brakes must meet local and Federal regulations.
Do not connect a trailer's hydraulic brake system directly to your
vehicle's brake system. Your vehicle may not have enough
braking power and your chances of having a collision greatly increase.
The braking system of the tow vehicle is rated for operation at the
GVWR not GCWR.
Driving
168
Page 169 of 264

Trailer lamps
Trailer lamps are required on most towed vehicles. Make sure your
trailer lamps conform to local and Federal regulations. See your dealer or
trailer rental agency for proper instructions and equipment for hooking
up trailer lamps.
Driving while you tow
Do not drive faster than 88 km/h (55 mph) when towing a trailer.
Speed control may shut off if you are towing on long, steep grades.
When towing a trailer:
²Use a lower gear when towing up or down steep hills. This will
eliminate excessive downshifting and upshifting for optimum fuel
economy and transaxle cooling.
²Anticipate stops and brake gradually.
Exceeding the GCWR rating may cause internal transaxle damage
and void your warranty coverage.
Servicing after towing
If you tow a trailer for long distances, your vehicle will require more
frequent service intervals. Refer to your Scheduled Maintenance Guide
for more information.
Trailer towing tips
²Practice turning, stopping and backing up in an area before starting on
a trip to get the feel of the vehicle trailer combination. When turning,
make wider turns so the trailer wheels will clear curbs and other
obstacles.
²Allow more distance for stopping with a trailer attached.
²The trailer tongue weight should be 10% of the loaded trailer weight.
²After you have traveled 80 km (50 miles), thoroughly check your
hitch, electrical connections and trailer wheel lug nuts.
²When stopped in traffic for long periods of time in hot weather, place
the gearshift in P (Park) and increase idle speed. This aids engine
cooling and air conditioner efficiency.
²Vehicles with trailers should not be parked on a grade. If you must
park on a grade, place wheel chocks under the trailer's wheels.
Driving
169
Page 223 of 264
![Mercury Villager 1999 Owners Manuals ²Carrying unnecessary weight may reduce fuel economy (approximately
0.4 km/L [1 mpg] is lost for every 180 kg [400 lb] of weight carried).
²Adding certain accessories to your vehicle (for example bu Mercury Villager 1999 Owners Manuals ²Carrying unnecessary weight may reduce fuel economy (approximately
0.4 km/L [1 mpg] is lost for every 180 kg [400 lb] of weight carried).
²Adding certain accessories to your vehicle (for example bu](/img/33/11172/w960_11172-222.png)
²Carrying unnecessary weight may reduce fuel economy (approximately
0.4 km/L [1 mpg] is lost for every 180 kg [400 lb] of weight carried).
²Adding certain accessories to your vehicle (for example bug
deflectors, rollover/light bars, running boards, ski/luggage racks) may
reduce fuel economy.
²Using fuel blended with alcohol may lower fuel economy.
²Fuel economy may decrease with lower temperatures during the first
12±16 km (8±10 miles) of driving.
²Driving on flat terrain offers improved fuel economy as compared to
driving on hilly terrain.
²Transmissions give their best fuel economy when operated in the top
cruise gear and with steady pressure on the gas pedal.
²Close windows for high speed driving.
EPA window sticker
Every new vehicle should have the EPA window sticker. Contact your
dealer if the window sticker is not supplied with your vehicle. The EPA
window sticker should be your guide for the fuel economy comparisons
with other vehicles.
It is important to note the box in the lower left corner of the window
sticker. These numbers represent the Range of L/100 km (MPG)
expected on the vehicle under optimum conditions. Your fuel economy
may vary depending upon the method of operation and conditions.
EMISSION CONTROL SYSTEM
Your vehicle is equipped with various emission control components and a
catalytic converter which will enable your vehicle to comply with
applicable exhaust emission standards. To make sure that the catalytic
converter and other emission control components continue to work
properly:
²Use only unleaded fuel.
²Avoid running out of fuel.
²Do not turn off the ignition while your vehicle is moving, especially at
high speeds.
²Have the items listed in your Scheduled Maintenance Guide performed
according to the specified schedule.
Maintenance and care
223
Page 252 of 264

Tailgate lock
Tailgate protector
Tonneau covers
Touch-up paint
Universal floor mats
For maximum vehicle performance, keep the following information in
mind when adding accessories or equipment to your vehicle:
²When adding accessories, equipment, passengers and luggage to your
vehicle, do not exceed the total weight capacity of the vehicle or of
the front or rear axle (GVWR or GAWR as indicated on the Safety
compliance certification label). Consult your dealer for specific weight
information.
²The Federal Communications Commission (FCC) and Canadian Radio
Telecommunications Commission (CRTC) regulate the use of mobile
communications systems - such as two-way radios, telephones and
theft alarms - that are equipped with radio transmitters. Any such
equipment installed in your vehicle should comply with FCC or CRTC
regulations and should be installed only by a qualified service
technician.
²Mobile communications systems may harm the operation of your
vehicle, particularly if they are not properly designed for automotive
use or are not properly installed. When operated, such systems may
cause the engine to stumble or stall. In addition, such systems may be
damaged or their performance may be affected by operating your
vehicle. (Citizens band [CB] transceivers, garage door openers and
other transmitters with outputs of five watts or less will not ordinarily
affect your vehicle's operation.)
²Ford cannot assume responsibility for any adverse effects or damage
that may result from the use of such equipment.
Customer assistance
252
Page 256 of 264

Ford accessories for your
vehicle .....................................248
Ford Extended Service
Plan ..........................................242
Getting assistance outside the
U.S. and Canada .....................248
Getting roadside
assistance ................................241
Getting the service you
need .........................................243
Ordering additional owner's
literature .................................253
The Dispute Settlement
Board .......................................245
Defrost
rear window ..............................39
Dipstick
engine oil .................................194
Doors
door ajar warning .......................7
Driving under special
conditions
through water .........................164
Emergencies, roadside
jump-starting ..........................185
Emission control system ..........223
Engine .................................237,238
check engine/service engine
soon light ....................................9
coolant .....................................198
idle speed control ...................205
lubrication
specifications ...................236,237
refill capacities ........................235
service points ..........................193
starting after a collision .........171
Engine block heater .................155
Engine oil ..................................194
checking and adding .......194,195
dipstick ....................................194
filter, specifications .........196,235
recommendations ...................196refill capacities .................194,235
specifications .....194,196,236,237
Exhaust fumes ..........................155
Floor mats ...................................92
Fluid capacities .........................235
Fuel ............................................215
calculating fuel economy .......220
cap ...........................................217
capacity ...................................235
choosing the right fuel ...........218
comparisons with EPA fuel
economy estimates .................223
detergent in fuel .....................219
filling your vehicle with
fuel .............................215,217,220
filter, specifications .........220,235
fuel pump shut-off switch .....171
gauge .........................................13
improving fuel economy ........220
low fuel warning light ................8
octane rating .............219,237,238
quality ......................................219
running out of fuel .................219
safety information relating to
automotive fuels .....................215
Fuses ...................................172,173
Garage door opener ..........93,94,98
Gas cap (see Fuel cap) ............217
Gas mileage (see Fuel
economy) ...................................220
Gauges .........................................11
engine coolant temperature
gauge .........................................14
fuel gauge ..................................13
odometer ...................................13
speedometer .............................12
trip odometer ............................13
GAWR (Gross Axle Weight
Rating) .......................................165
definition .................................165
driving with a heavy load ......165
location ....................................165
Index
256