ECO mode Mercury Villager 2000 s Owner's Guide
[x] Cancel search | Manufacturer: MERCURY, Model Year: 2000, Model line: Villager, Model: Mercury Villager 2000Pages: 256, PDF Size: 2.21 MB
Page 103 of 256

Locking the doors
Press this control to lock all doors.
To confirm all doors are closed and
locked, the horn will chirp and the
lamps will flash. The horn chirp
feature can be turned on/off by
holding the LOCK and UNLOCK
controls on the transmitter
simultaneously for two seconds. The
hazard lights will flash three times
each time the system is toggled
between active and non-active
modes.
If any of the doors are ajar, the horn will not chirp and the lights will not
flash.
Sounding a panic alarm
To activate the alarm, press and
hold the PANIC control for longer
than 1.5 seconds. The horn will
sound and the headlamps and tail
lights will flash for thirty (30)
seconds.
To deactivate the alarm, press the
LOCK or UNLOCK or hold the
PANIC control down for longer than
1.5 seconds.
This device complies with part 15 of the FCC rules and with RS-210 of
Industry Canada. Operation is subject to the following two conditions:
(1) This device may not cause harmful interference, and (2) This device
must accept any interference received, including interference that may
cause undesired operation.
Changes or modifications not expressly approved by the party
responsible for compliance could void the user's authority to
operate the equipment.
Illuminated entry
The interior lamps illuminate when the remote entry system is used to
unlock the door(s) or sound the panic alarm.
Controls and features
103
Page 105 of 256

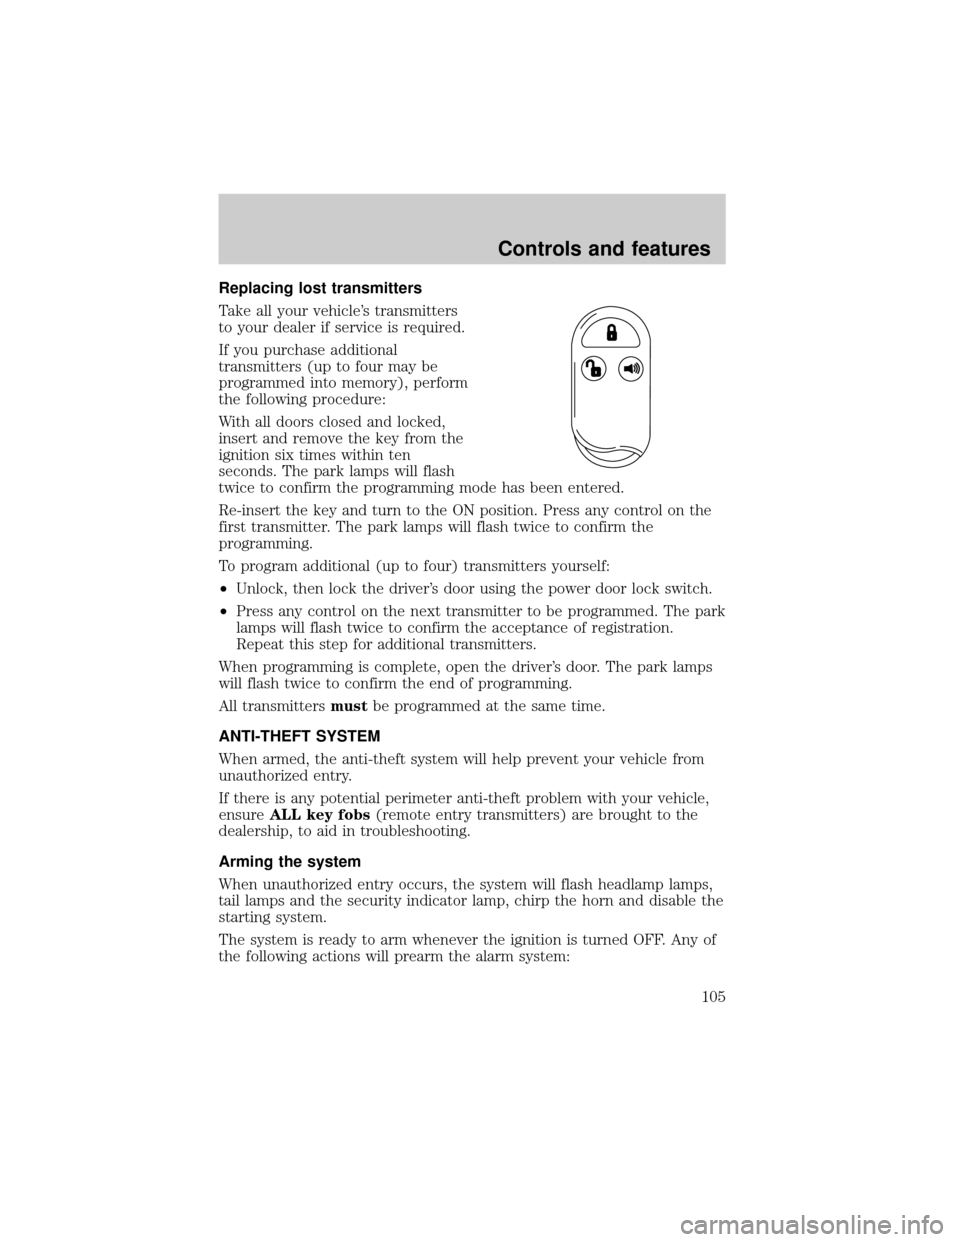
Replacing lost transmitters
Take all your vehicle's transmitters
to your dealer if service is required.
If you purchase additional
transmitters (up to four may be
programmed into memory), perform
the following procedure:
With all doors closed and locked,
insert and remove the key from the
ignition six times within ten
seconds. The park lamps will flash
twice to confirm the programming mode has been entered.
Re-insert the key and turn to the ON position. Press any control on the
first transmitter. The park lamps will flash twice to confirm the
programming.
To program additional (up to four) transmitters yourself:
²Unlock, then lock the driver's door using the power door lock switch.
²Press any control on the next transmitter to be programmed. The park
lamps will flash twice to confirm the acceptance of registration.
Repeat this step for additional transmitters.
When programming is complete, open the driver's door. The park lamps
will flash twice to confirm the end of programming.
All transmittersmustbe programmed at the same time.
ANTI-THEFT SYSTEM
When armed, the anti-theft system will help prevent your vehicle from
unauthorized entry.
If there is any potential perimeter anti-theft problem with your vehicle,
ensureALL key fobs(remote entry transmitters) are brought to the
dealership, to aid in troubleshooting.
Arming the system
When unauthorized entry occurs, the system will flash headlamp lamps,
tail lamps and the security indicator lamp, chirp the horn and disable the
starting system.
The system is ready to arm whenever the ignition is turned OFF. Any of
the following actions will prearm the alarm system:
Controls and features
105
Page 106 of 256

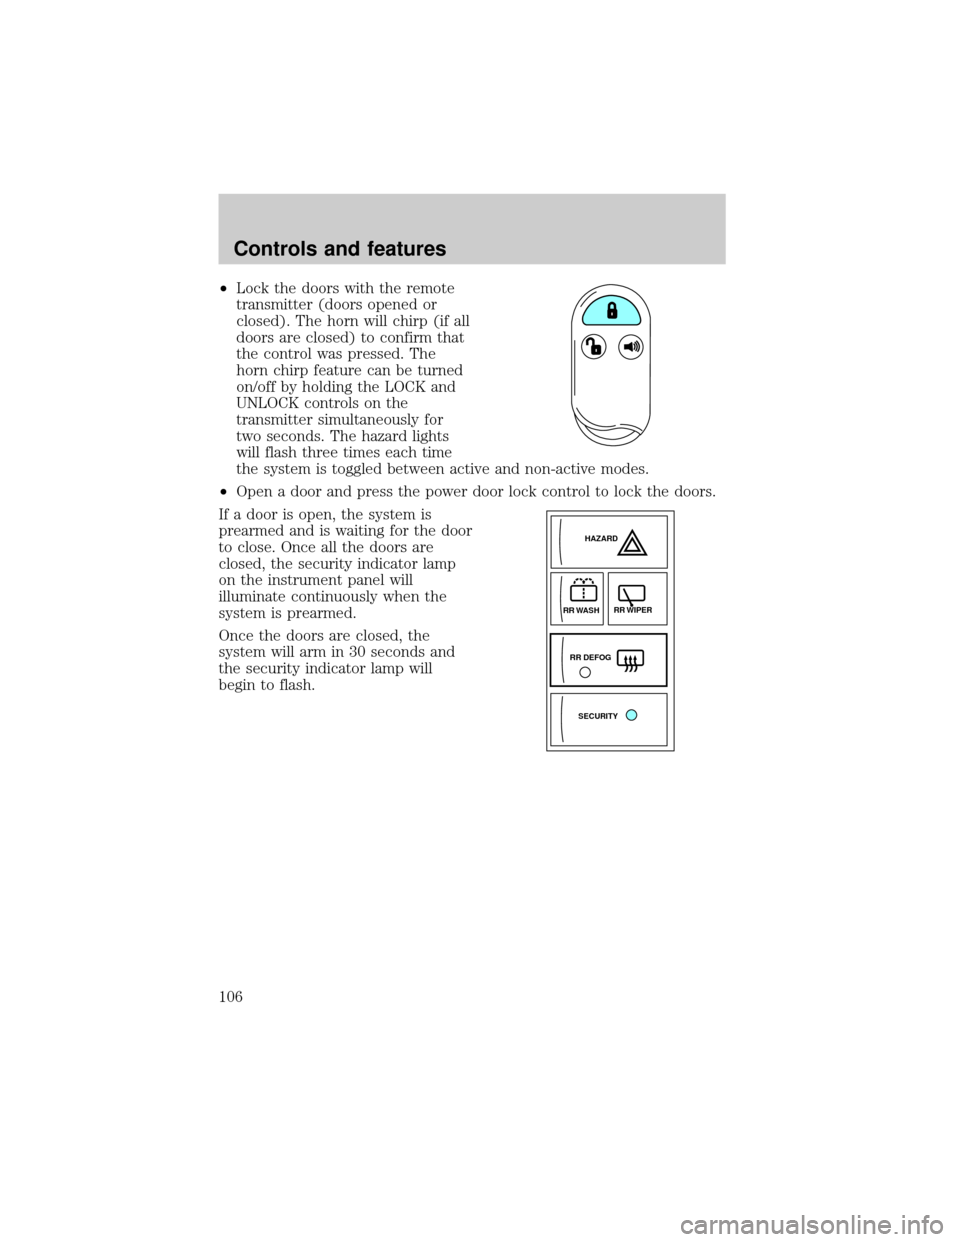
²Lock the doors with the remote
transmitter (doors opened or
closed). The horn will chirp (if all
doors are closed) to confirm that
the control was pressed. The
horn chirp feature can be turned
on/off by holding the LOCK and
UNLOCK controls on the
transmitter simultaneously for
two seconds. The hazard lights
will flash three times each time
the system is toggled between active and non-active modes.
²Open a door and press the power door lock control to lock the doors.
If a door is open, the system is
prearmed and is waiting for the door
to close. Once all the doors are
closed, the security indicator lamp
on the instrument panel will
illuminate continuously when the
system is prearmed.
Once the doors are closed, the
system will arm in 30 seconds and
the security indicator lamp will
begin to flash.
SECURITYHAZARD
RR DEFOGRR WIPER
RR WASH
Controls and features
106
Page 115 of 256

Using the manual lumbar support
The lumbar control is located on the
inboard side of the driver's seat.
Move the control up or down to
adjust lumbar support.
Memory seats and mirrors (if equipped)
Some vehicles may only have the
memory feature available for the
seats.
The memory seat control is located
on the driver's door panel. The
control operates with the ignition in
the OFF position or the ignition is in
the ON position and the vehicle is in
P (Park) or N (Neutral).
The two buttons provide three
memory positions, one individual position for each button and a third
position obtained by pressing buttons 1 and 2 simultaneously.
Position three (pressing 1 and 2 simultaneously) is always full rearward
and downward for exit mode, but is not programmable.
To record the memory positions:
1. Move the seat and mirror to the desired position using the manual
controls.
2. Press button 1 or 2 and hold for at least two seconds. The indicator
light will stay on until the position is programmed. When the position has
been programmed, the indicator light will flash three times. Repeat
procedure for second position.
To record a remote entry transmitter:
1. Program a desired position to a memory switch as indicated above.
2 1
MEMORY
SEAT
Seating and safety restraints
115
Page 139 of 256

When installing a child safety seat:
²Review and follow the information
presented in theAir Bag
Supplemental Restraint System
section in this chapter.
²Use the correct safety belt buckle
for that seating position.
²Insert the belt tongue into the
proper buckle until you hear a
snap and feel it latch. Make sure
the tongue is securely fastened in
the buckle.
²Keep the buckle release button pointing up and away from the safety
seat, with the tongue between the child seat and the release button,
to prevent accidental unbuckling.
²Place seat back in upright position.
²Put the safety belt in the automatic locking mode. Refer toAutomatic
locking mode(passenger side front and outboard rear seating
positions).
Ford recommends the use of a child safety seat having a top tether
strap. Install the child safety seat in a seating position which is capable
of providing a tether anchorage. For more information on top tether
straps, refer toAttaching safety seats with tether straps.
Carefully follow all of the manufacturer's instructions included
with the safety seat you put in your vehicle. If you do not install
and use the safety seat properly, the child may be injured in a sudden
stop or collision.
To properly use child safety tethers in the 3rd row seat position,
remove the parcel shelf and tether child safety seat to the tether
anchor located on the floor behind the 3rd row seat.
Seating and safety restraints
139
Page 157 of 256

Overdrive Ð column mounted gearshift with O/D off switch
The Overdrive position with the O/D
OFF switchnotdepressed is the
normal driving position for this
automatic overdrive transaxle. When your vehicle cruises at a constant
speed for any length of time, this fourth gear will increase your fuel
economy.
Overdrive may not be appropriate
for certain terrains. If the transaxle
shifts back and forth between third
and fourth gears while you are
driving hilly roads or if your vehicle
requires additional power for climbing hills, press the O/D OFF switch.
Each time the vehicle is started, the transaxle will automatically return
to normal overdrive mode.
If your vehicle is on an extremely slippery surface, the Transaxle Control
Module may receive a signal indicating a rapid increase or decrease in
wheel speed. When the module detects this condition, it will limit the
transaxle operation to Third and Reverse gears. This reduces tire
slippage and protects the transaxle. The transaxle will operate normally
in Reverse, but will lack power during acceleration in Drive.
If this happens;
1. Stop your vehicle as soon as possible.
2. Turn the ignition off for three seconds.
3. Restart the vehicle.
If the condition still exists, contact your dealer as soon as possible.
If the O/D OFF indicator light is flashing on and off repeatedly when the
vehicle is started or does not come on when the O/D OFF control is
pressed, there may be a transaxle electronic system malfunction. You
should contact your dealer as soon as possible or damage to the
transaxle could occur.
P RND21
OVERDRIVE
OFF/ON
Driving
157
Page 183 of 256

Do not connect the end of the second cable to the negative (-)
terminal of the battery to be jumped. A spark may cause an
explosion of the gases that surround the battery.
5. Ensure that the cables are clear of fan blades, belts, moving parts of
both engines, or any fuel delivery system parts.
Jump starting
1. Start the engine of the booster vehicle and run the engine at
moderately increased speed.
2. Start the engine of the disabled vehicle.
3. Once the disabled vehicle has been started, run both engines for an
additional three minutes before disconnecting the jumper cables.
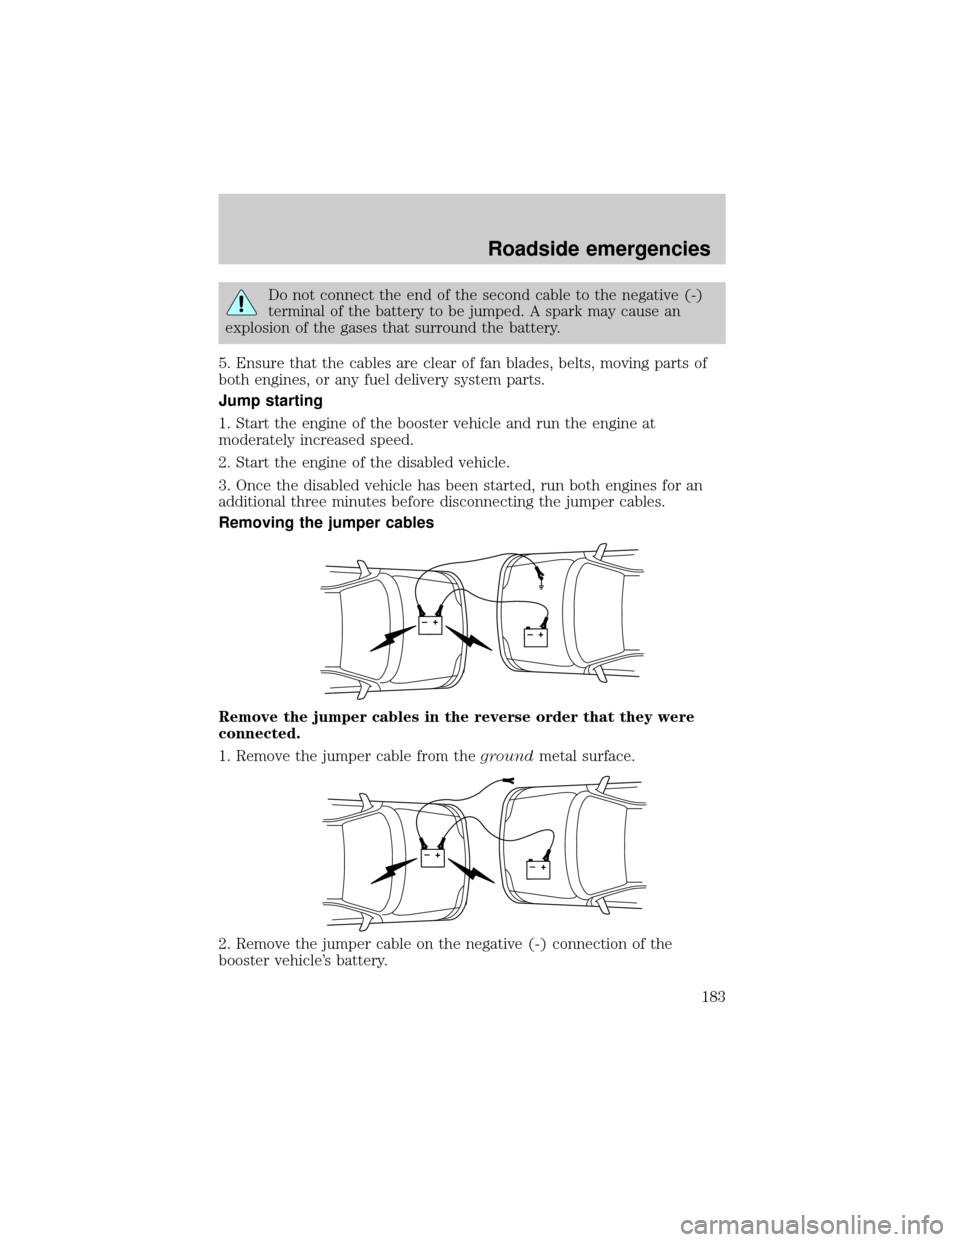
Removing the jumper cables
Remove the jumper cables in the reverse order that they were
connected.
1. Remove the jumper cable from thegroundmetal surface.
2. Remove the jumper cable on the negative (-) connection of the
booster vehicle's battery.
+–+–
+–+–
Roadside emergencies
183
Page 219 of 256

Driving style Ð good driving and fuel economy habits
Give consideration to the lists that follow and you may be able to change
a number of variables and improve your fuel economy.
Habits
²Smooth, moderate operation can yield up to 10% savings in fuel.
²Steady speeds without stopping will usually give the best fuel
economy.
²Idling for long periods of time (greater than one minute) may waste
fuel.
²Anticipate stopping; slowing down may eliminate the need to stop.
²Sudden or hard accelerations may reduce fuel economy.
²Slow down gradually.
²Driving at reasonable speeds (traveling at 88 km/h [55 mph] uses 15%
less fuel than traveling at 105 km/h [65 mph]).
²Revving the engine before turning it off may reduce fuel economy.
²Using the air conditioner or defroster may reduce fuel economy.
²You may want to turn off the speed control in hilly terrain if
unnecessary shifting between third and fourth gear occurs.
Unnecessary shifting of this type could result in reduced fuel
economy.
²Warming up a vehicle on cold mornings is not required and may
reduce fuel economy.
²Resting your foot on the brake pedal while driving may reduce fuel
economy.
²Combine errands and minimize stop-and-go driving.
Maintenance
²Keep tires properly inflated and use only recommended size.
²Operating a vehicle with the wheels out of alignment will reduce fuel
economy.
²Use recommended engine oil. Refer toLubricant Specifications.
²Perform all regularly scheduled maintenance items. Follow the
recommended maintenance schedule and owner maintenance checks
found in your vehicle Scheduled Maintenance Guide.
Maintenance and care
219
Page 222 of 256

If the vehicle's powertrain system or its battery has just been serviced,
the on-board diagnostics system is reset to a ªnot ready for I/M testº
condition. To ready the on-board diagnostics system for I/M testing,
follow the procedure described below:
1. Allow the engine to cool to ambient temperature (the engine coolant
temperature gauge indicator will point to C).
2. Start the engine and let it run until it reaches normal operating
temperature (the engine coolant temperature gauge indicator will be
near the center of the normal area between H and C).
3. Accelerate the vehicle to 88 km/h (55 mph), then quickly release the
accelerator pedal completely for at least six seconds.
4. Quickly depress the accelerator pedal for a moment, then drive the
vehicle at a speed of 86 to 96 km/h (53 to 60 mph) for at least five
minutes.
5. Bring the vehicle to a complete stop.
6. Accelerate the vehicle to 55 km/h (35 mph), and maintain the speed
for 20 seconds.
7. Repeat steps five and six at least three times.
8. Accelerate the vehicle to 88 km/h (55 mph), and maintain the speed
for at least three minutes.
9. Bring the vehicle to a complete stop and turn the engine off.
10. Repeat steps one through nine at least one more time.
If step one through eight are interrupted, repeat the preceding step. Any
safe driving mode is acceptable between steps. Once started, do not turn
off the engine until step seven is completed.
BULBS
Replacing exterior bulbs
It is a good idea to check the operation of the following lights frequently:
²Headlamps
²Turn signals
²Cornering lamps
²High-mount brakelamp
²Tail lamps
Maintenance and care
222
Page 242 of 256

Concerns are ineligible for review if the New Vehicle Limited Warranty
has expired at receipt of your application and, in certain states eligibility
is dependent upon the customer's possession of the vehicle.
Eligibility may differ according to state law. For example, see the unique
brochures for California, West Virginia, Georgia and Wisconsin
purchasers/lessees.
Board membership
The Board consists of:
²three consumer representatives
²a Ford or Lincoln Mercury dealership representative
Consumer candidates for Board membership are recruited and trained by
an independent consulting firm. The dealership Board member is chosen
from Ford and Lincoln Mercury dealership management, recognized for
their business leadership qualities.
What the Board needs
To have your case reviewed you must complete the application in the
DSB brochure and mail it to the address provided on the application
form. Some states will require you to use certified mail, with return
receipt requested.
Your application is reviewed and, if it is determined to be eligible, you
will receive an acknowledgment indicating:
²the file number assigned to your application
²the toll-free phone number of the DSB's independent administrator
Your dealership and a Ford Motor Company representative will then be
asked to submit statements.
To properly review your case, the Board needs the following information:
²legible copies of all documents and maintenance or repair orders
relevant to the case
²the year, make, model, and Vehicle Identification Number (VIN) listed
on your vehicle ownership license
²the date of repair(s) and mileage at the time of occurrence(s)
²the current mileage
²the name of the dealer(s) who sold or serviced the vehicle
²a brief description of your unresolved concern
Customer assistance
242