change time Mercury Villager 2000 Owner's Manuals
[x] Cancel search | Manufacturer: MERCURY, Model Year: 2000, Model line: Villager, Model: Mercury Villager 2000Pages: 256, PDF Size: 2.21 MB
Page 3 of 256

WARNINGS
Warnings provide information which may reduce the risk of personal
injury and prevent possible damage to others, your vehicle and its
equipment.
BREAKING-IN YOUR VEHICLE
There are no particular breaking-in rules for your vehicle. During the
first 1 600 km (1 000 miles) of driving, vary speeds frequently. This is
necessary to give the moving parts a chance to break in.
INFORMATION ABOUT THIS GUIDE
The information found in this guide was in effect at the time of printing.
Ford may change the contents without notice and without incurring
obligation.
Introduction
3
Page 47 of 256

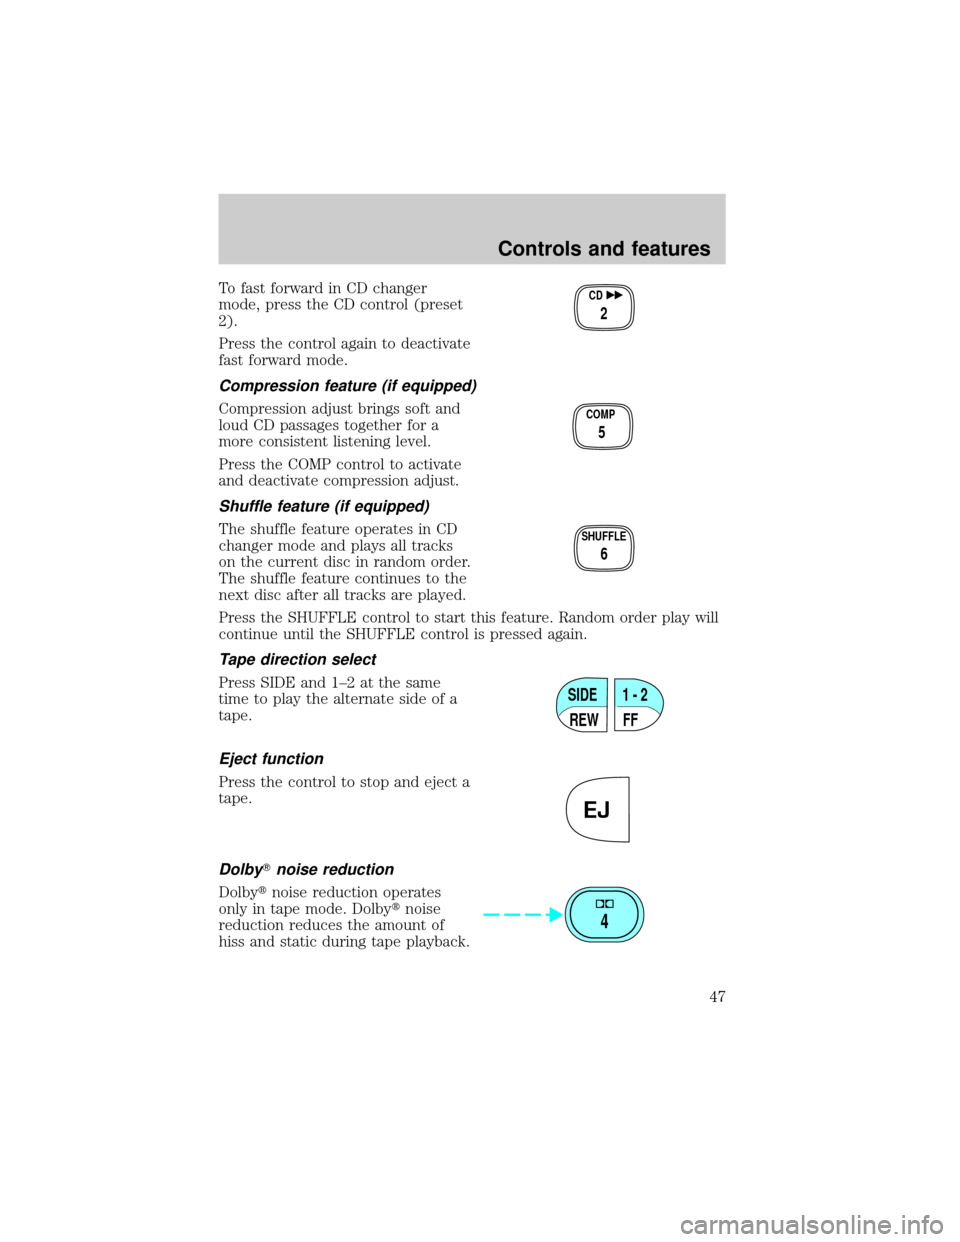
To fast forward in CD changer
mode, press the CD control (preset
2).
Press the control again to deactivate
fast forward mode.
Compression feature (if equipped)
Compression adjust brings soft and
loud CD passages together for a
more consistent listening level.
Press the COMP control to activate
and deactivate compression adjust.
Shuffle feature (if equipped)
The shuffle feature operates in CD
changer mode and plays all tracks
on the current disc in random order.
The shuffle feature continues to the
next disc after all tracks are played.
Press the SHUFFLE control to start this feature. Random order play will
continue until the SHUFFLE control is pressed again.
Tape direction select
Press SIDE and 1±2 at the same
time to play the alternate side of a
tape.
Eject function
Press the control to stop and eject a
tape.
DolbyTnoise reduction
Dolbytnoise reduction operates
only in tape mode. Dolbytnoise
reduction reduces the amount of
hiss and static during tape playback.
CD
2
COMP
5
SHUFFLE
6
SIDE
REW FF1 - 2
EJ
4
Controls and features
47
Page 49 of 256

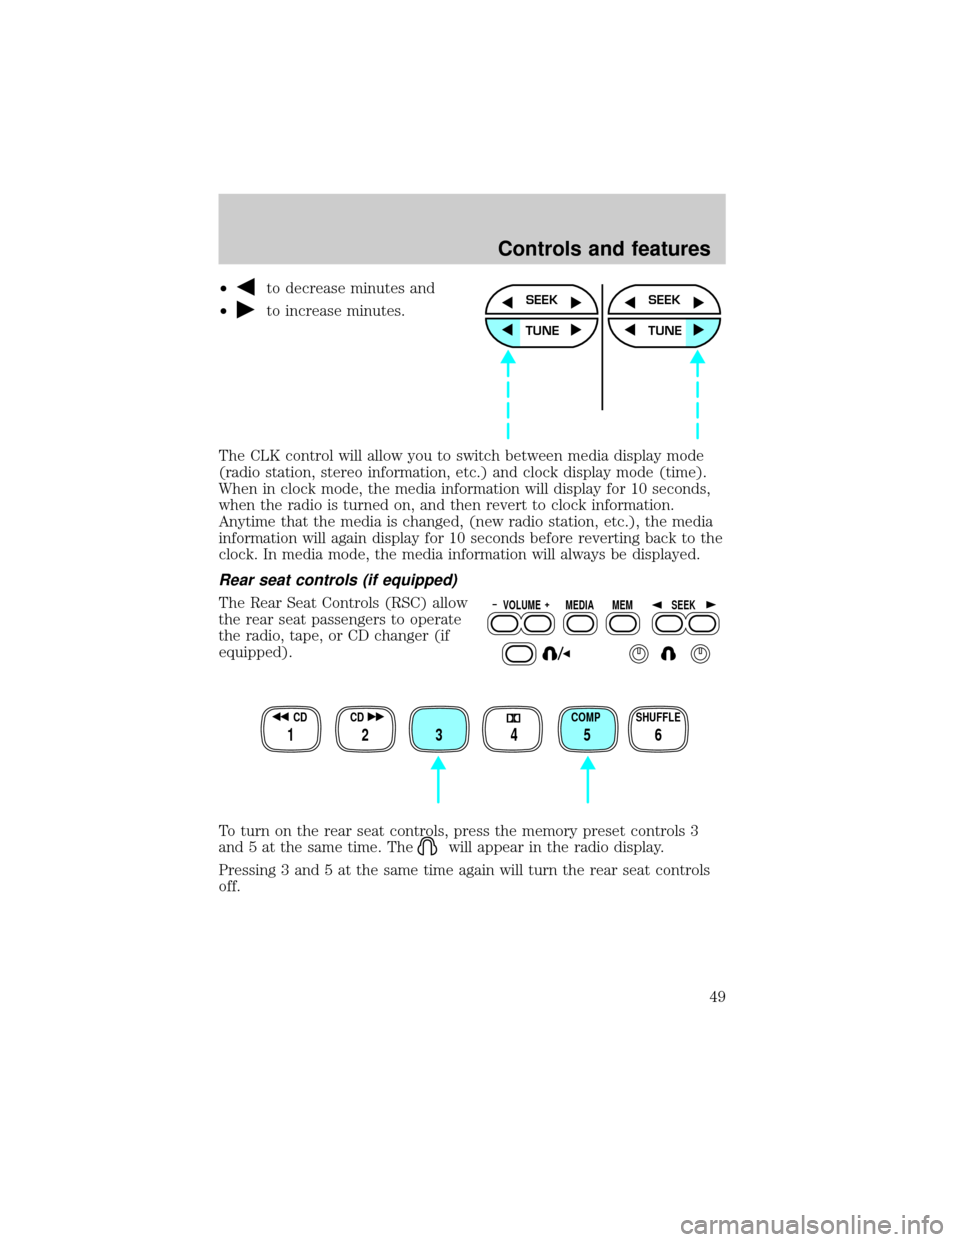
²to decrease minutes and
²
to increase minutes.
The CLK control will allow you to switch between media display mode
(radio station, stereo information, etc.) and clock display mode (time).
When in clock mode, the media information will display for 10 seconds,
when the radio is turned on, and then revert to clock information.
Anytime that the media is changed, (new radio station, etc.), the media
information will again display for 10 seconds before reverting back to the
clock. In media mode, the media information will always be displayed.
Rear seat controls (if equipped)
The Rear Seat Controls (RSC) allow
the rear seat passengers to operate
the radio, tape, or CD changer (if
equipped).
To turn on the rear seat controls, press the memory preset controls 3
and 5 at the same time. The
will appear in the radio display.
Pressing 3 and 5 at the same time again will turn the rear seat controls
off.
SEEK
TUNE
SEEK
TUNE
VOLUME MEDIA
MEMSEEK
SHUFFLE COMP CD CD
3 2 1456
Controls and features
49
Page 60 of 256

²Rock
²Soft
²To p 4 0
Show
²With RDS activated, press the
RDS control until SHOW is
displayed.
²Use the SEL control to select the
program TYPE, station NAME or
NONE (no text displayed).
Setting the clock
Press the CLOCK control until
SELECT HOUR or SELECT MINS is
displayed.
Use the SEL control to manually set
the time.
²Press
to increase
hours/minutes.
²Press
to decrease
hours/minutes.
Mute mode
Press the control to mute the
playing media. Press the control
again to return to the playing media.
Rear seat controls (if equipped)
The Rear Seat Controls (RSC) allow
the rear seat passengers to operate
the radio, tape, or CD changer (if
equipped).
RDS / CLK
SEL
RDS / CLK
SEL
MUTE
VOLUME MEDIA
MEMSEEK
Controls and features
60
Page 61 of 256

To turn on the rear seat controls, press the memory preset controls 3
and 5 at the same time. The
will appear in the radio display.
Pressing 3 and 5 at the same time again will turn the rear seat controls
off.
Adjusting the volume
Press the + control to increase
volume.
Press the Ð control to decrease
volume.
From the RSC, the speaker volume
can not be set higher than the
current volume radio setting. Once in headphone mode, the RSC volume
controls will only change volume in the headphones to a desired level
(muting the speakers will not mute the headphones).
Turning the speakers on and off
Press the control to turn all
speakers on or off.
Using headphones/Personal Audio System
The Personal Audio System allows
the rear seat passengers to listen to
one media source (radio, tape, CD,
or CD changer if equipped) while
the front seat passengers listen to
another. However, front and rear seat passengers can not listen to two
different radio stations simultaneously.
Plug a 3.6 mm headphone (not included) into either one of the two
jacks. Press the/control to operate the headphones. DUAL PLAY
REW
1
FF
2
SIDE 1.
2
34
COMP
5
SHUFF
6
VOLUME MEDIA
MEMSEEK
VOLUME MEDIA
MEMSEEK
VOLUME MEDIA
MEMSEEK
Controls and features
61
Page 74 of 256

RDS show
RDS sends information with the FM
broadcast, including: station name,
station type, and/or radio text. To
view this information:
²With the RDS menu enabled,
press the RDS control until SHOW is displayed.
²Use the SEL control to select
TYPE, NAME, TEXT or NONE.
When your radio is turned to a
RDS station, RDS station TYPE,
station NAME, or TEXT message
will be displayed along with the
frequency. Press SEL in order to
scroll through the text messages.
Mute mode
Press the control to mute the
playing media. Press the control
again to return to the playing media.
Rear seat controls (if equipped)
The Rear Seat Controls (RSC) allow
the rear seat passengers to operate
the radio, tape, CD, or CD changer
(if equipped).
To turn on the rear seat controls, press the memory preset controls 3
and 5 at the same time. The
will appear in the radio display.
AUTO
RDS
CLK
SEL
EJ
MUTE
VOLUME MEDIA
MEMSEEK
REW FF SIDE 1-2 COMP SHUFFLE
12 3456
Controls and features
74
Page 75 of 256

Pressing 3 and 5 at the same time again will turn the rear seat controls
off.
If there is a discrepancy between the rear seat and the front audio
controls, (i.e, both trying to listen to the same playing media), the front
audio system will receive the desired selection.
Adjusting the volume
Press the + control to increase
volume.
Press the Ð control to decrease
volume.
From the RSC controls, the speaker
volume can not be set higher than
the current volume radio setting. Once in headphone mode, the RSC
volume controls will only change volume in the headphones to a desired
level and will have no effect on the front speakers (muting the speakers
will not mute the headphones).
Using headphones/Personal Audio System
The Personal Audio System allows
the rear seat passengers to listen to
one media source (radio, tape, CD,
or CD changer if equipped) while
the front seat passengers listen to
another. However, front and rear seat passengers can not listen to two
different radio stations simultaneously.
Plug a 3.6 mm headphone (not included) into either one of the two
jacks. Press the/control to operate the headphones. DUAL PLAY
will appear in the digital display of the audio system, signaling that your
Personal Audio System has been activated.
The rear speakers will cut out once the speaker on/off control is pressed.
A soft audible sound may be heard from the rear speakers. The front
speaker will remain playing for the front passengers. Press the
/
control again to deactivate the headphones (Personal Audio System).
SINGLE PLAY will appear in the digital display of the audio system,
signaling that your Personal Audio System has been deactivated.
VOLUME MEDIA
MEMSEEK
VOLUME MEDIA
MEMSEEK
Controls and features
75
Page 79 of 256

ONLY use the magazine type supplied with the CD changer, other types
will damage the unit.
Keep the CD changer door closed. Coins and foreign objects will damage
the CD player and void your audio system warranty.
Do not insert any promotional (odd shaped or sized) discs, or
discs with removable labels into the CD changer as that jamming
may occur.
Troubleshooting the CD changer (if equipped)
The laser beam used in the compact disc player is harmful to the
eyes. Do not attempt to disassemble the case.
If sound skips:
²You may be traveling on a rough road, playing badly scratched discs or
the disc may be dirty. Skipping will not scratch the discs or damage
the player.
If your changer does not work, it may be that:
²A disc is already loaded where you want to insert a disc.
²The disc is inserted with the label surface downward.
²The disc is dusty or defective.
²The player's internal temperature is above 60ÉC (140ÉF). Allow the
player to cool down before operating.
²A disc with format and dimensions not within industry standards is
inserted.
Cleaning compact discs
Inspect all discs for contamination before playing. If necessary, clean
discs only with an approved CD cleaner and wipe from the center out to
the edge. Do not use circular motion.
CD and CD changer care
²Handle discs by their edges only. Never touch the playing surface.
²Do not expose discs to direct sunlight or heat sources for extended
periods of time.
²Do not insert more than one disc into each slot of the CD changer
magazine.
Controls and features
79
Page 103 of 256

Locking the doors
Press this control to lock all doors.
To confirm all doors are closed and
locked, the horn will chirp and the
lamps will flash. The horn chirp
feature can be turned on/off by
holding the LOCK and UNLOCK
controls on the transmitter
simultaneously for two seconds. The
hazard lights will flash three times
each time the system is toggled
between active and non-active
modes.
If any of the doors are ajar, the horn will not chirp and the lights will not
flash.
Sounding a panic alarm
To activate the alarm, press and
hold the PANIC control for longer
than 1.5 seconds. The horn will
sound and the headlamps and tail
lights will flash for thirty (30)
seconds.
To deactivate the alarm, press the
LOCK or UNLOCK or hold the
PANIC control down for longer than
1.5 seconds.
This device complies with part 15 of the FCC rules and with RS-210 of
Industry Canada. Operation is subject to the following two conditions:
(1) This device may not cause harmful interference, and (2) This device
must accept any interference received, including interference that may
cause undesired operation.
Changes or modifications not expressly approved by the party
responsible for compliance could void the user's authority to
operate the equipment.
Illuminated entry
The interior lamps illuminate when the remote entry system is used to
unlock the door(s) or sound the panic alarm.
Controls and features
103
Page 191 of 256

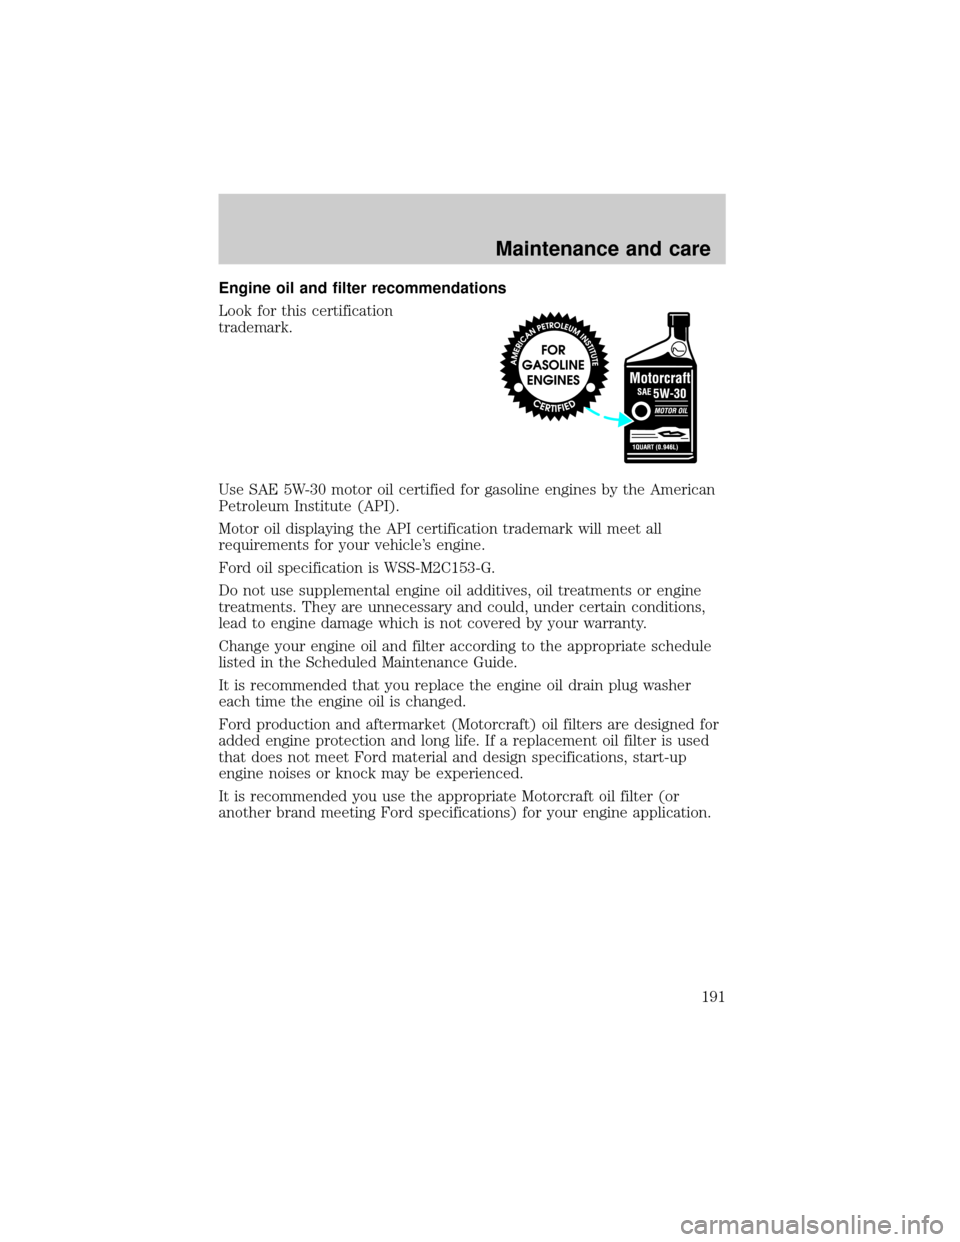
Engine oil and filter recommendations
Look for this certification
trademark.
Use SAE 5W-30 motor oil certified for gasoline engines by the American
Petroleum Institute (API).
Motor oil displaying the API certification trademark will meet all
requirements for your vehicle's engine.
Ford oil specification is WSS-M2C153-G.
Do not use supplemental engine oil additives, oil treatments or engine
treatments. They are unnecessary and could, under certain conditions,
lead to engine damage which is not covered by your warranty.
Change your engine oil and filter according to the appropriate schedule
listed in the Scheduled Maintenance Guide.
It is recommended that you replace the engine oil drain plug washer
each time the engine oil is changed.
Ford production and aftermarket (Motorcraft) oil filters are designed for
added engine protection and long life. If a replacement oil filter is used
that does not meet Ford material and design specifications, start-up
engine noises or knock may be experienced.
It is recommended you use the appropriate Motorcraft oil filter (or
another brand meeting Ford specifications) for your engine application.
Maintenance and care
191