reset Mercury Villager 2000 Owner's Manuals
[x] Cancel search | Manufacturer: MERCURY, Model Year: 2000, Model line: Villager, Model: Mercury Villager 2000Pages: 256, PDF Size: 2.21 MB
Page 4 of 256
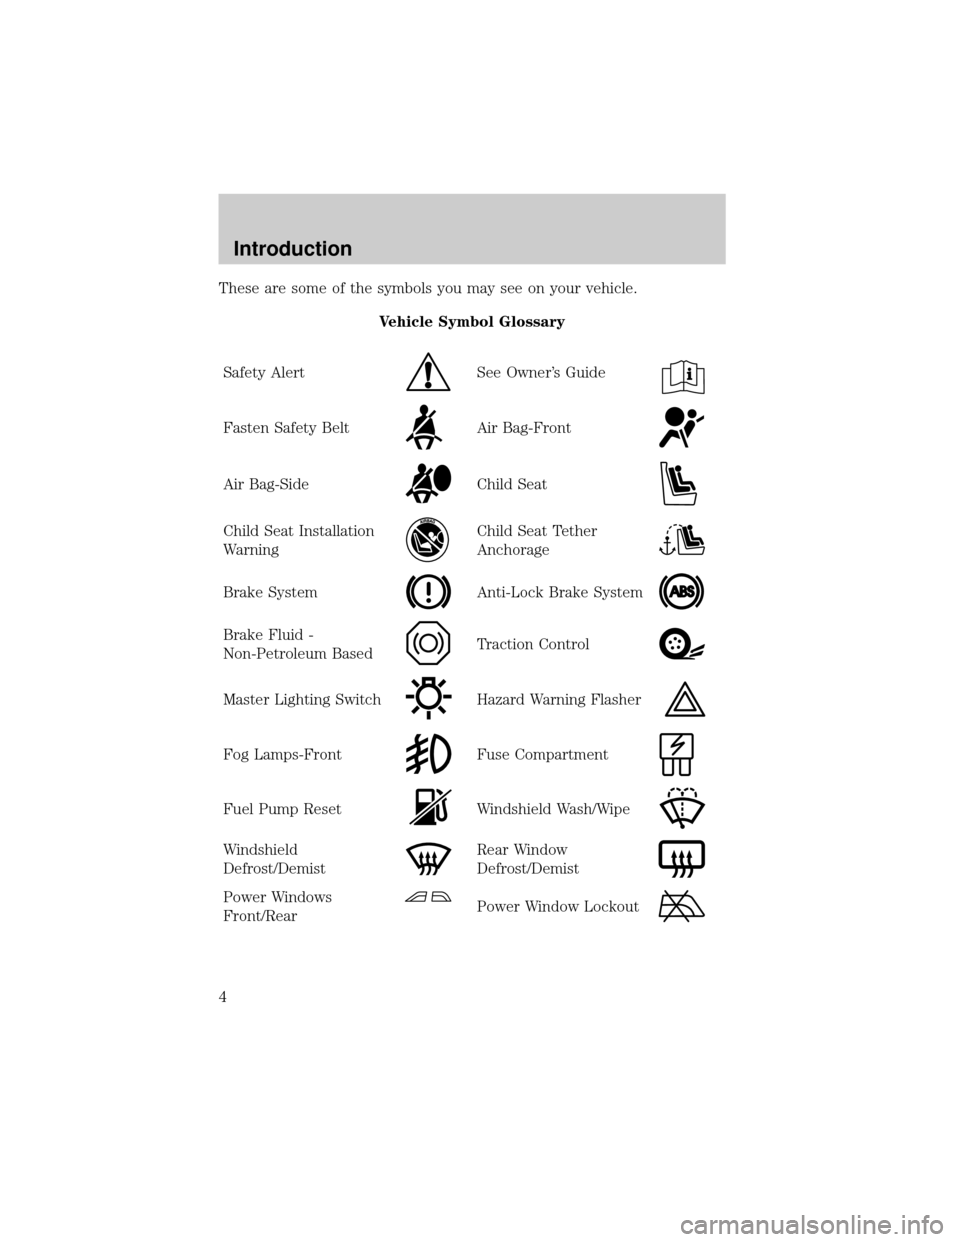
These are some of the symbols you may see on your vehicle.
Vehicle Symbol Glossary
Safety Alert
See Owner's Guide
Fasten Safety BeltAir Bag-Front
Air Bag-SideChild Seat
Child Seat Installation
WarningChild Seat Tether
Anchorage
Brake SystemAnti-Lock Brake System
Brake Fluid -
Non-Petroleum BasedTraction Control
Master Lighting SwitchHazard Warning Flasher
Fog Lamps-FrontFuse Compartment
Fuel Pump ResetWindshield Wash/Wipe
Windshield
Defrost/DemistRear Window
Defrost/Demist
Power Windows
Front/RearPower Window Lockout
Introduction
4
Page 15 of 256
Odometer
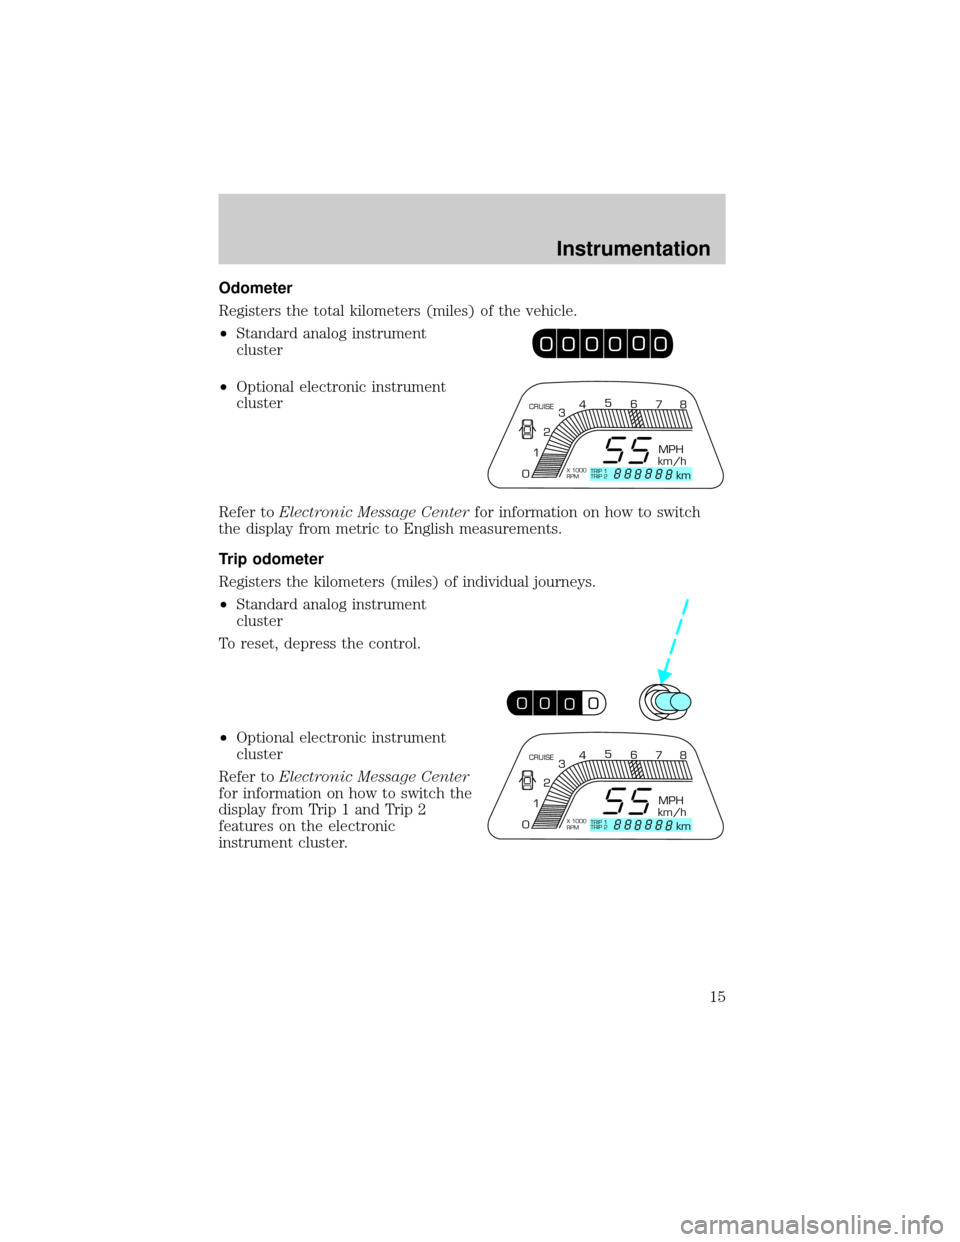
Registers the total kilometers (miles) of the vehicle.
²Standard analog instrument
cluster
²Optional electronic instrument
cluster
Refer toElectronic Message Centerfor information on how to switch
the display from metric to English measurements.
Trip odometer
Registers the kilometers (miles) of individual journeys.
²Standard analog instrument
cluster
To reset, depress the control.
²Optional electronic instrument
cluster
Refer toElectronic Message Center
for information on how to switch the
display from Trip 1 and Trip 2
features on the electronic
instrument cluster.
0
00
00
000
000
0
CRUISE
MPH
km/h
km 012345
6
78
X 1000
RPMTRIP 1
TRIP 2
00
0000
00
CRUISE
MPH
km/h
km 012345
6
78
X 1000
RPMTRIP 1
TRIP 2
Instrumentation
15
Page 18 of 256
Selectable features
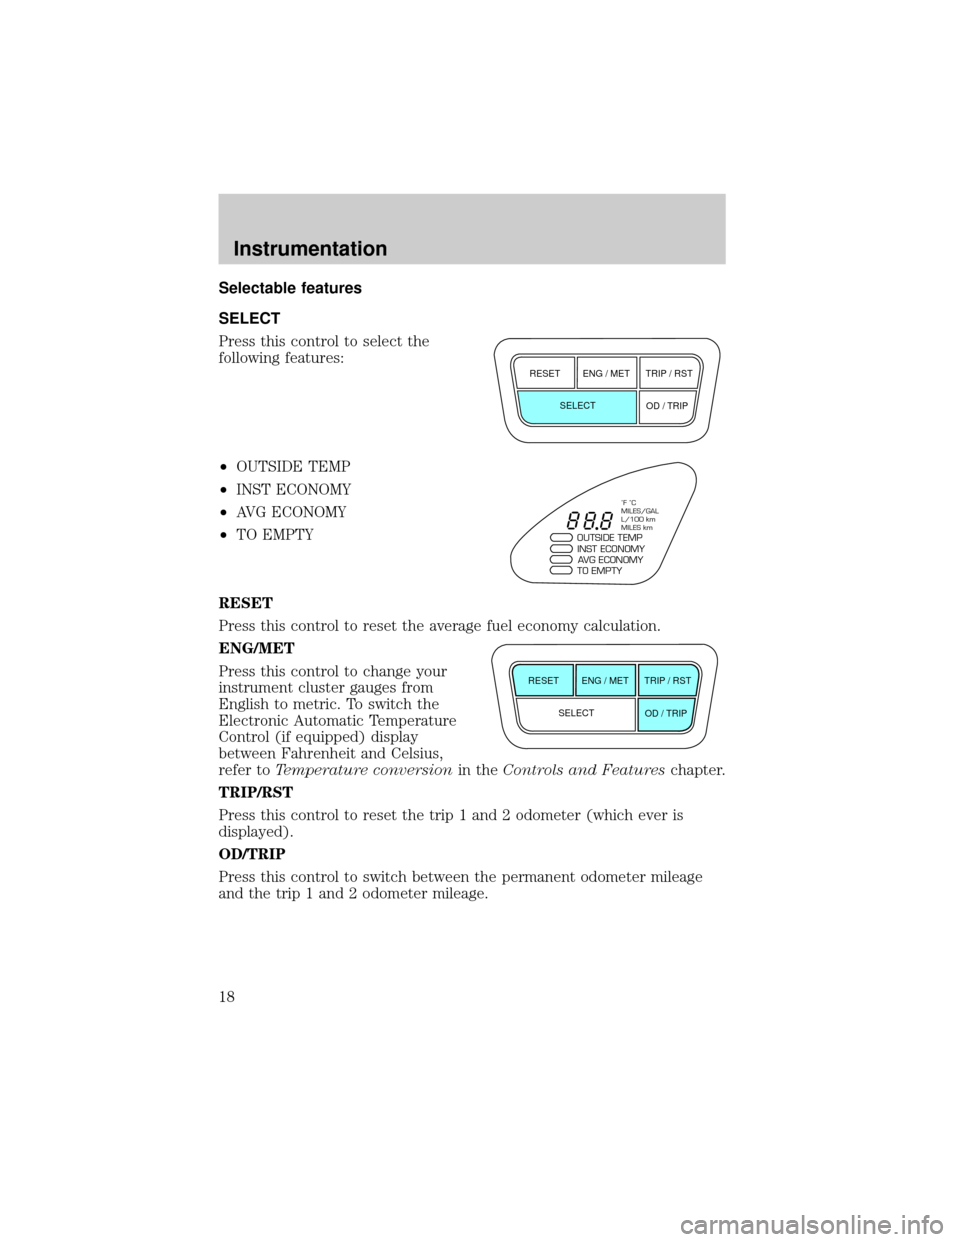
SELECT
Press this control to select the
following features:
²OUTSIDE TEMP
²INST ECONOMY
²AVG ECONOMY
²TO EMPTY
RESET
Press this control to reset the average fuel economy calculation.
ENG/MET
Press this control to change your
instrument cluster gauges from
English to metric. To switch the
Electronic Automatic Temperature
Control (if equipped) display
between Fahrenheit and Celsius,
refer toTemperature conversionin theControls and Featureschapter.
TRIP/RST
Press this control to reset the trip 1 and 2 odometer (which ever is
displayed).
OD/TRIP
Press this control to switch between the permanent odometer mileage
and the trip 1 and 2 odometer mileage.
SELECT
OD / TRIP RESET ENG / MET TRIP / RST
OUTSIDE TEMPINST ECONOMY
AVG ECONOMY
TO EMPTY
˚F ˚C
MILES/GAL
L/100 km
MILES km
SELECT
OD / TRIP RESET ENG / MET TRIP / RST
Instrumentation
18
Page 19 of 256
Message center functions
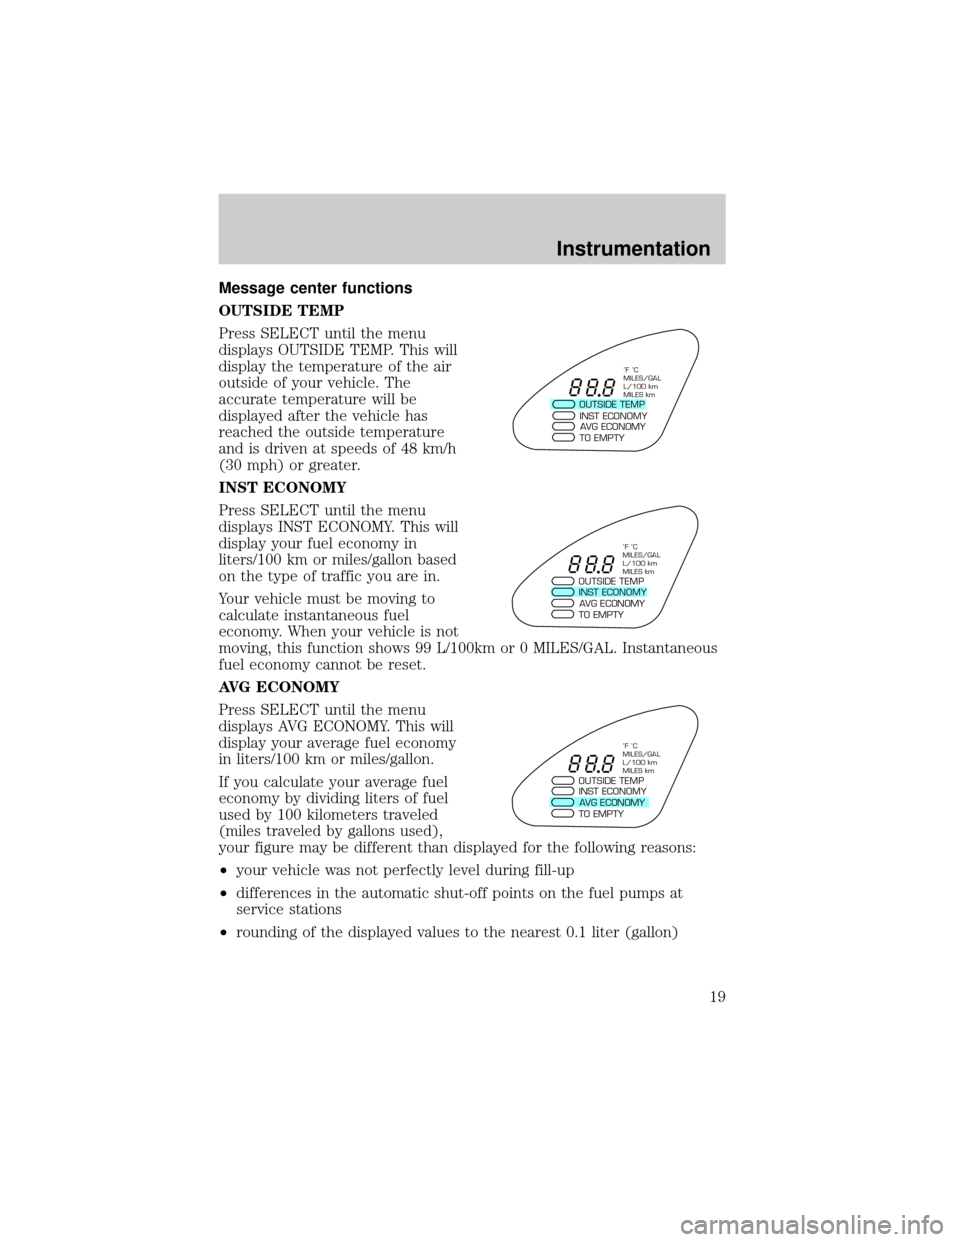
OUTSIDE TEMP
Press SELECT until the menu
displays OUTSIDE TEMP. This will
display the temperature of the air
outside of your vehicle. The
accurate temperature will be
displayed after the vehicle has
reached the outside temperature
and is driven at speeds of 48 km/h
(30 mph) or greater.
INST ECONOMY
Press SELECT until the menu
displays INST ECONOMY. This will
display your fuel economy in
liters/100 km or miles/gallon based
on the type of traffic you are in.
Your vehicle must be moving to
calculate instantaneous fuel
economy. When your vehicle is not
moving, this function shows 99 L/100km or 0 MILES/GAL. Instantaneous
fuel economy cannot be reset.
AVG ECONOMY
Press SELECT until the menu
displays AVG ECONOMY. This will
display your average fuel economy
in liters/100 km or miles/gallon.
If you calculate your average fuel
economy by dividing liters of fuel
used by 100 kilometers traveled
(miles traveled by gallons used),
your figure may be different than displayed for the following reasons:
²your vehicle was not perfectly level during fill-up
²differences in the automatic shut-off points on the fuel pumps at
service stations
²rounding of the displayed values to the nearest 0.1 liter (gallon)
OUTSIDE TEMPINST ECONOMY
AVG ECONOMY
TO EMPTY
˚F ˚C
MILES/GAL
L/100 km
MILES km
OUTSIDE TEMPINST ECONOMY
AVG ECONOMY
TO EMPTY
˚F ˚C
MILES/GAL
L/100 km
MILES km
OUTSIDE TEMPINST ECONOMY
AVG ECONOMY
TO EMPTY
˚F ˚C
MILES/GAL
L/100 km
MILES km
Instrumentation
19
Page 20 of 256
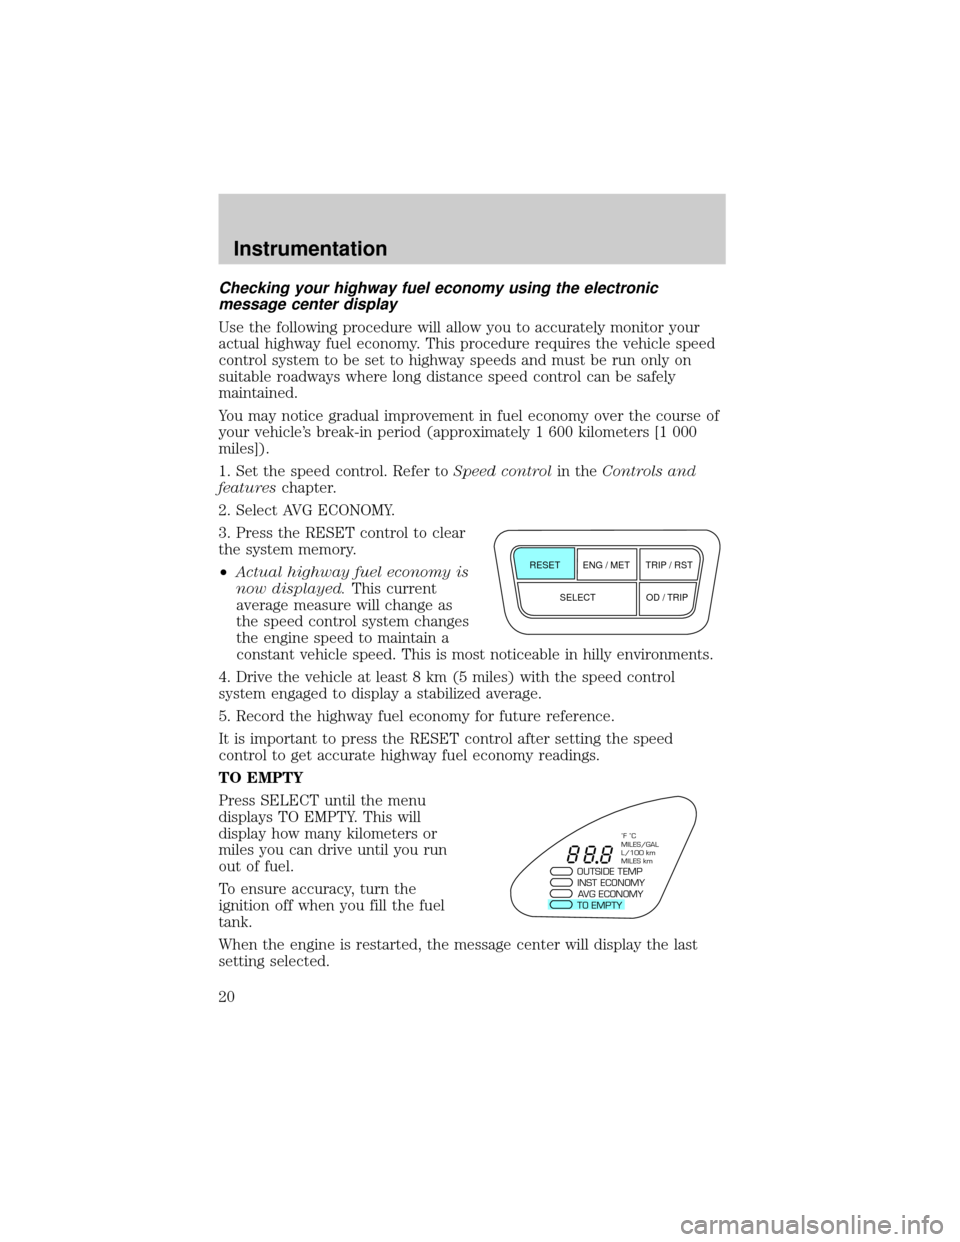
Checking your highway fuel economy using the electronic
message center display
Use the following procedure will allow you to accurately monitor your
actual highway fuel economy. This procedure requires the vehicle speed
control system to be set to highway speeds and must be run only on
suitable roadways where long distance speed control can be safely
maintained.
You may notice gradual improvement in fuel economy over the course of
your vehicle's break-in period (approximately 1 600 kilometers [1 000
miles]).
1. Set the speed control. Refer toSpeed controlin theControls and
featureschapter.
2. Select AVG ECONOMY.
3. Press the RESET control to clear
the system memory.
²Actual highway fuel economy is
now displayed.This current
average measure will change as
the speed control system changes
the engine speed to maintain a
constant vehicle speed. This is most noticeable in hilly environments.
4. Drive the vehicle at least 8 km (5 miles) with the speed control
system engaged to display a stabilized average.
5. Record the highway fuel economy for future reference.
It is important to press the RESET control after setting the speed
control to get accurate highway fuel economy readings.
TO EMPTY
Press SELECT until the menu
displays TO EMPTY. This will
display how many kilometers or
miles you can drive until you run
out of fuel.
To ensure accuracy, turn the
ignition off when you fill the fuel
tank.
When the engine is restarted, the message center will display the last
setting selected.
SELECT
OD / TRIP RESET ENG / MET TRIP / RST
OUTSIDE TEMPINST ECONOMY
AVG ECONOMY
TO EMPTY
˚F ˚C
MILES/GAL
L/100 km
MILES km
Instrumentation
20
Page 41 of 256
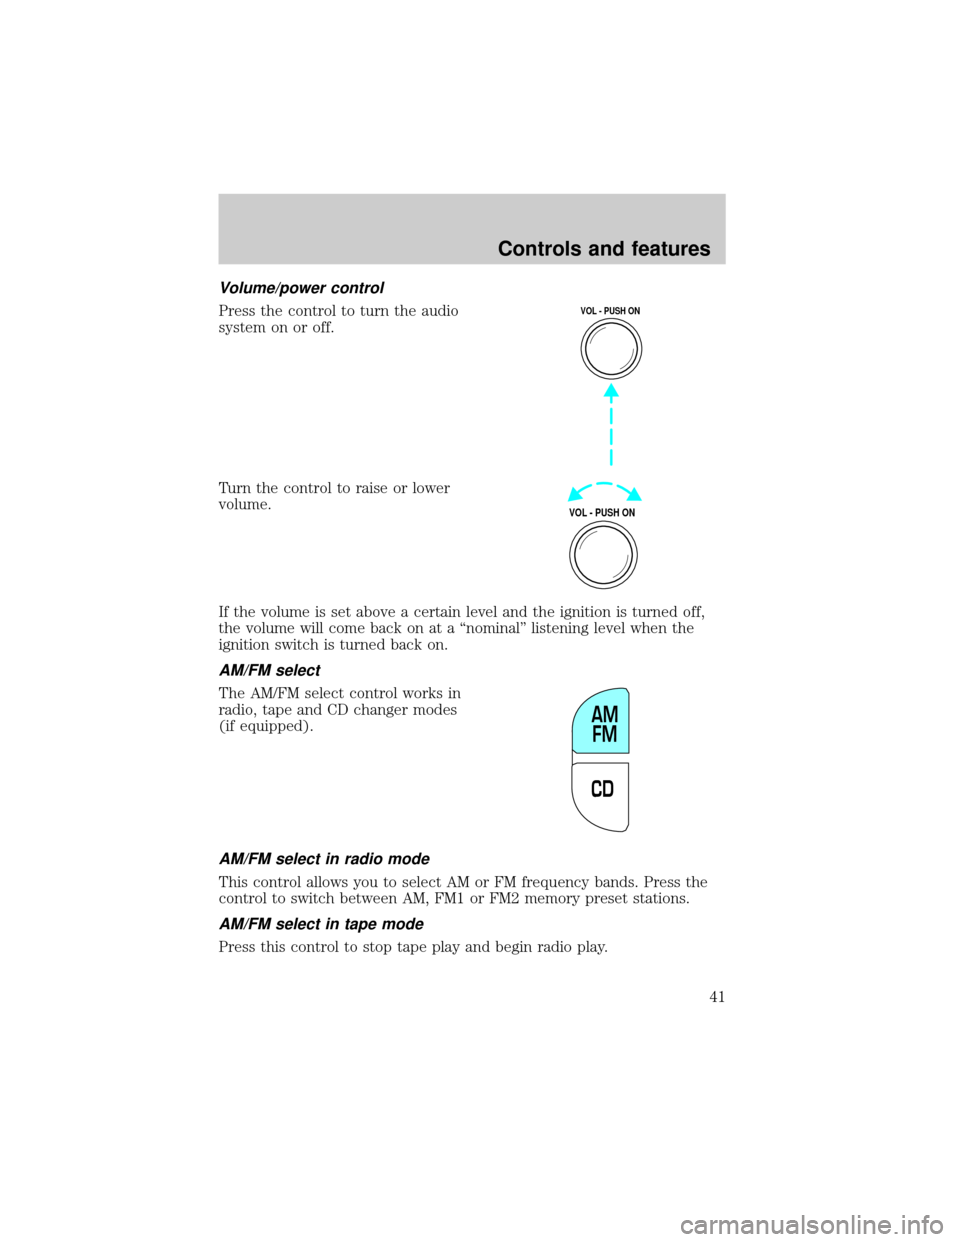
Volume/power control
Press the control to turn the audio
system on or off.
Turn the control to raise or lower
volume.
If the volume is set above a certain level and the ignition is turned off,
the volume will come back on at a ªnominalº listening level when the
ignition switch is turned back on.
AM/FM select
The AM/FM select control works in
radio, tape and CD changer modes
(if equipped).
AM/FM select in radio mode
This control allows you to select AM or FM frequency bands. Press the
control to switch between AM, FM1 or FM2 memory preset stations.
AM/FM select in tape mode
Press this control to stop tape play and begin radio play.
VOL - PUSH ON
VOL - PUSH ON
CDAM
FM
Controls and features
41
Page 43 of 256
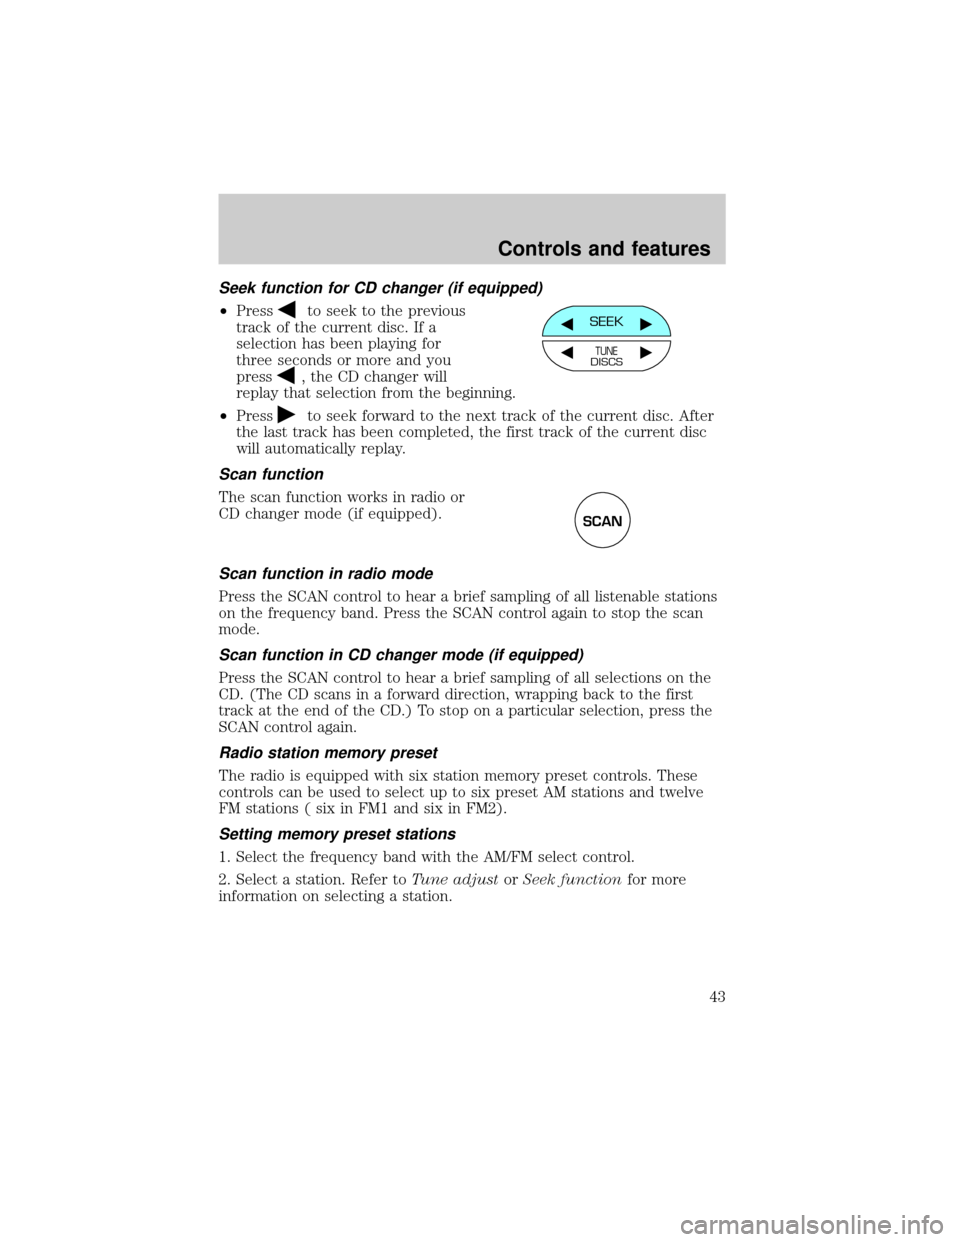
Seek function for CD changer (if equipped)
²Pressto seek to the previous
track of the current disc. If a
selection has been playing for
three seconds or more and you
press
, the CD changer will
replay that selection from the beginning.
²Press
to seek forward to the next track of the current disc. After
the last track has been completed, the first track of the current disc
will automatically replay.
Scan function
The scan function works in radio or
CD changer mode (if equipped).
Scan function in radio mode
Press the SCAN control to hear a brief sampling of all listenable stations
on the frequency band. Press the SCAN control again to stop the scan
mode.
Scan function in CD changer mode (if equipped)
Press the SCAN control to hear a brief sampling of all selections on the
CD. (The CD scans in a forward direction, wrapping back to the first
track at the end of the CD.) To stop on a particular selection, press the
SCAN control again.
Radio station memory preset
The radio is equipped with six station memory preset controls. These
controls can be used to select up to six preset AM stations and twelve
FM stations ( six in FM1 and six in FM2).
Setting memory preset stations
1. Select the frequency band with the AM/FM select control.
2. Select a station. Refer toTune adjustorSeek functionfor more
information on selecting a station.
SEEK
TUNEDISCS
SCAN
Controls and features
43
Page 44 of 256
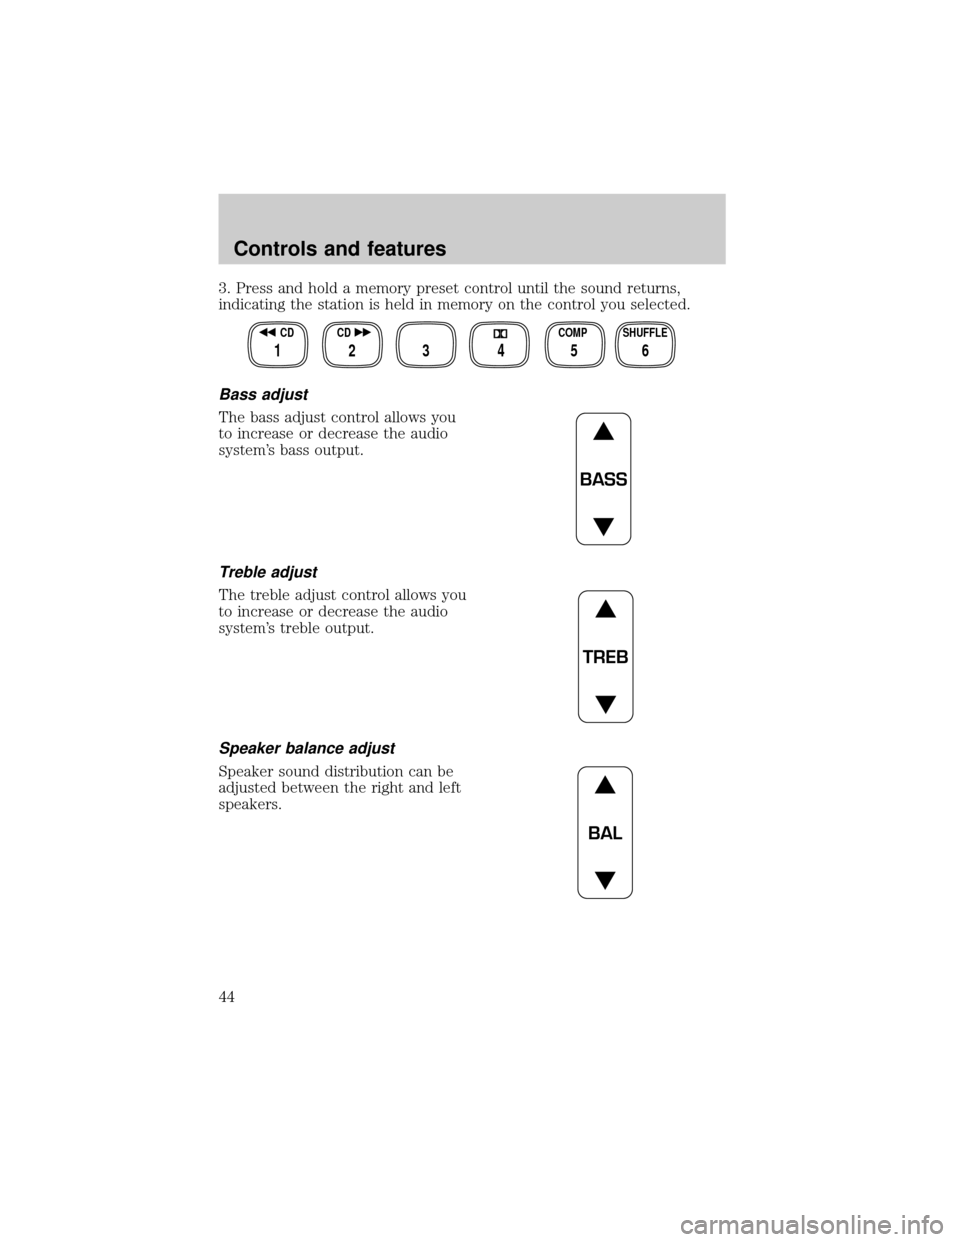
3. Press and hold a memory preset control until the sound returns,
indicating the station is held in memory on the control you selected.
Bass adjust
The bass adjust control allows you
to increase or decrease the audio
system's bass output.
Treble adjust
The treble adjust control allows you
to increase or decrease the audio
system's treble output.
Speaker balance adjust
Speaker sound distribution can be
adjusted between the right and left
speakers.
SHUFFLE COMP CD CD
3 2 1456
BASS
TREB
BAL
Controls and features
44
Page 46 of 256
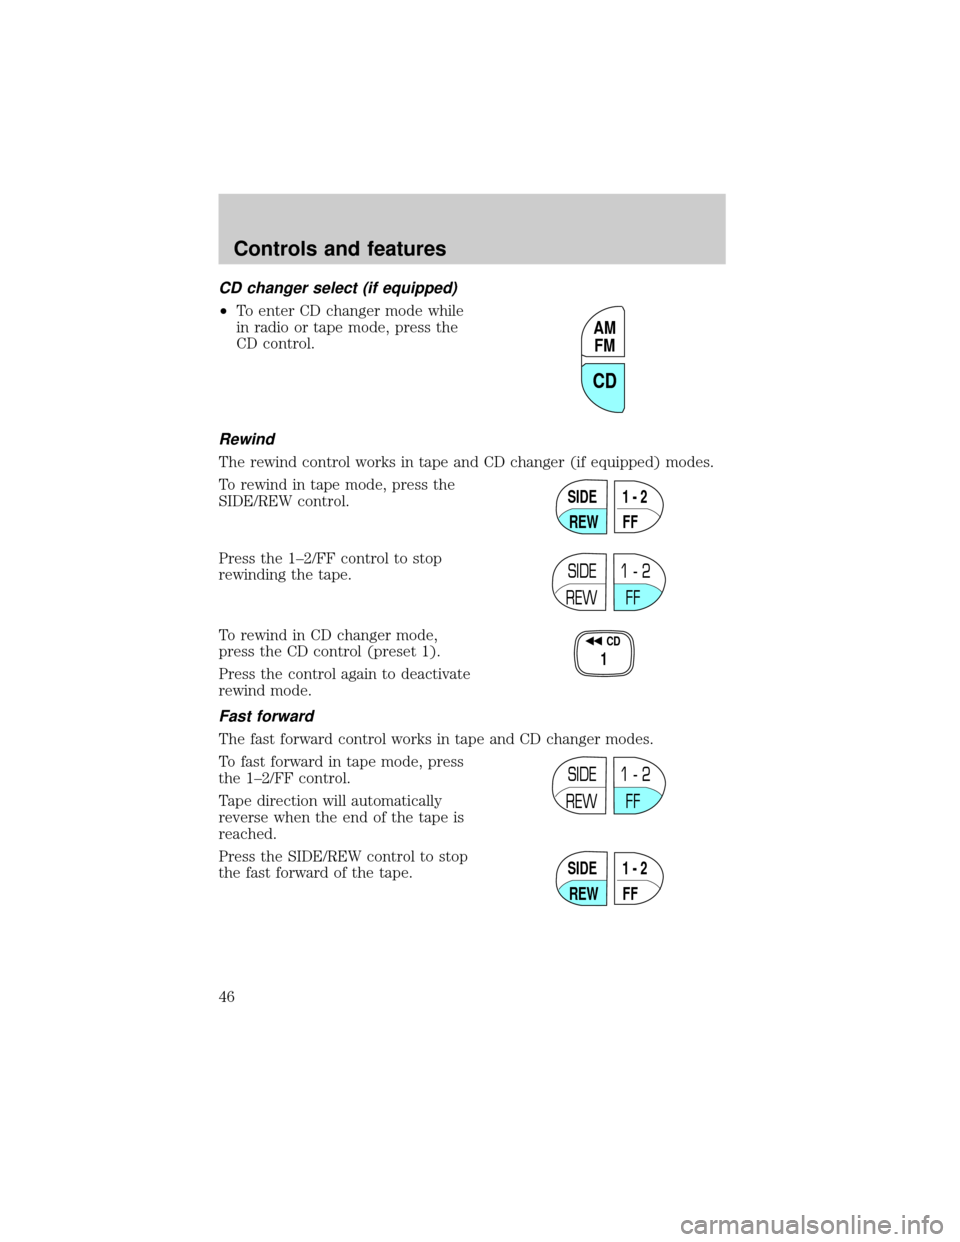
CD changer select (if equipped)
²To enter CD changer mode while
in radio or tape mode, press the
CD control.
Rewind
The rewind control works in tape and CD changer (if equipped) modes.
To rewind in tape mode, press the
SIDE/REW control.
Press the 1±2/FF control to stop
rewinding the tape.
To rewind in CD changer mode,
press the CD control (preset 1).
Press the control again to deactivate
rewind mode.
Fast forward
The fast forward control works in tape and CD changer modes.
To fast forward in tape mode, press
the 1±2/FF control.
Tape direction will automatically
reverse when the end of the tape is
reached.
Press the SIDE/REW control to stop
the fast forward of the tape.
AM
FM
CD
SIDE
REW FF1 - 2
SIDE
REW FF1 - 2
CD
1
SIDE
REW FF1 - 2
SIDE
REW FF1 - 2
Controls and features
46
Page 47 of 256
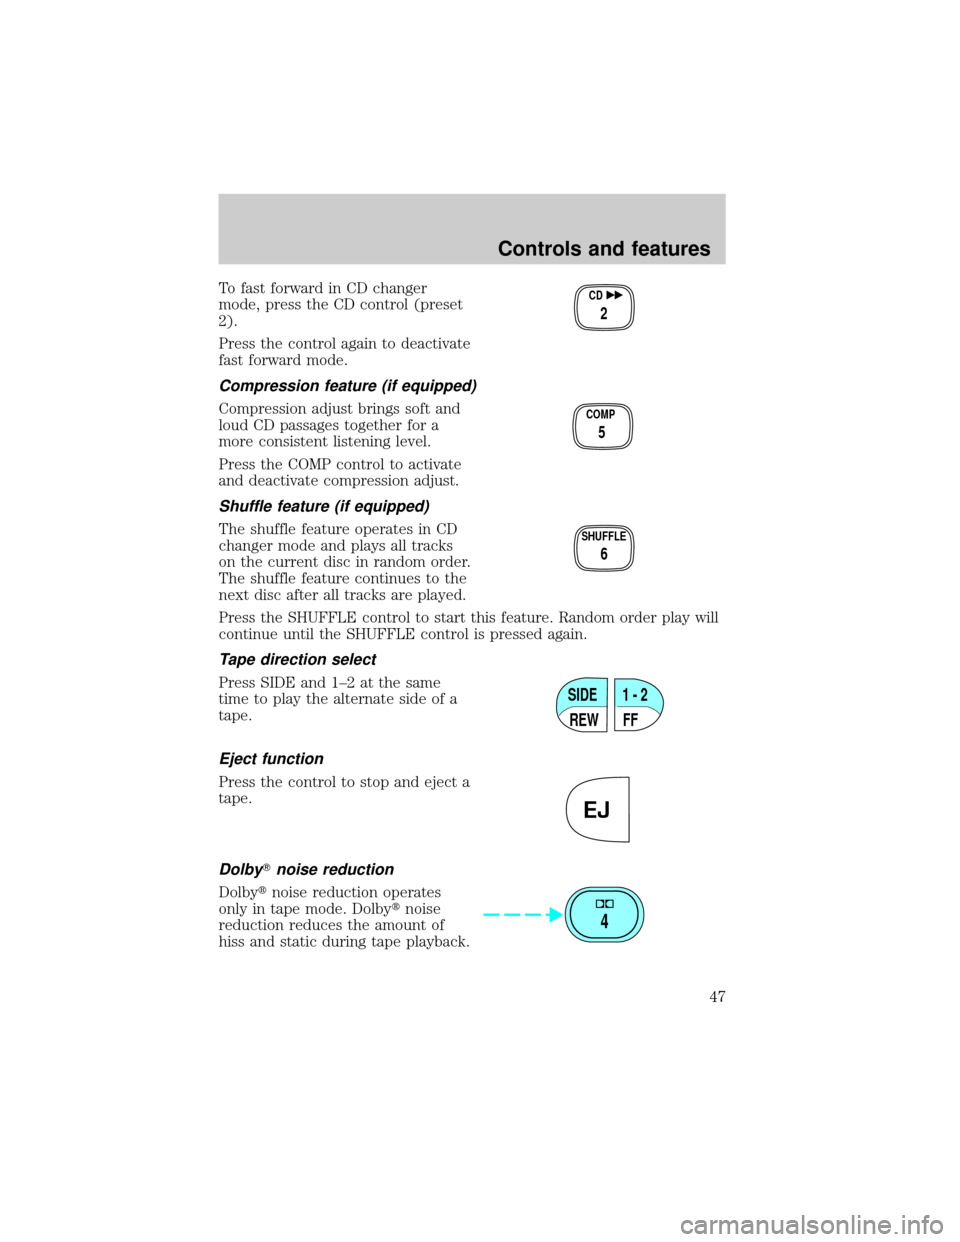
To fast forward in CD changer
mode, press the CD control (preset
2).
Press the control again to deactivate
fast forward mode.
Compression feature (if equipped)
Compression adjust brings soft and
loud CD passages together for a
more consistent listening level.
Press the COMP control to activate
and deactivate compression adjust.
Shuffle feature (if equipped)
The shuffle feature operates in CD
changer mode and plays all tracks
on the current disc in random order.
The shuffle feature continues to the
next disc after all tracks are played.
Press the SHUFFLE control to start this feature. Random order play will
continue until the SHUFFLE control is pressed again.
Tape direction select
Press SIDE and 1±2 at the same
time to play the alternate side of a
tape.
Eject function
Press the control to stop and eject a
tape.
DolbyTnoise reduction
Dolbytnoise reduction operates
only in tape mode. Dolbytnoise
reduction reduces the amount of
hiss and static during tape playback.
CD
2
COMP
5
SHUFFLE
6
SIDE
REW FF1 - 2
EJ
4
Controls and features
47