tire size Mercury Villager 2000 Owner's Manuals
[x] Cancel search | Manufacturer: MERCURY, Model Year: 2000, Model line: Villager, Model: Mercury Villager 2000Pages: 256, PDF Size: 2.21 MB
Page 162 of 256

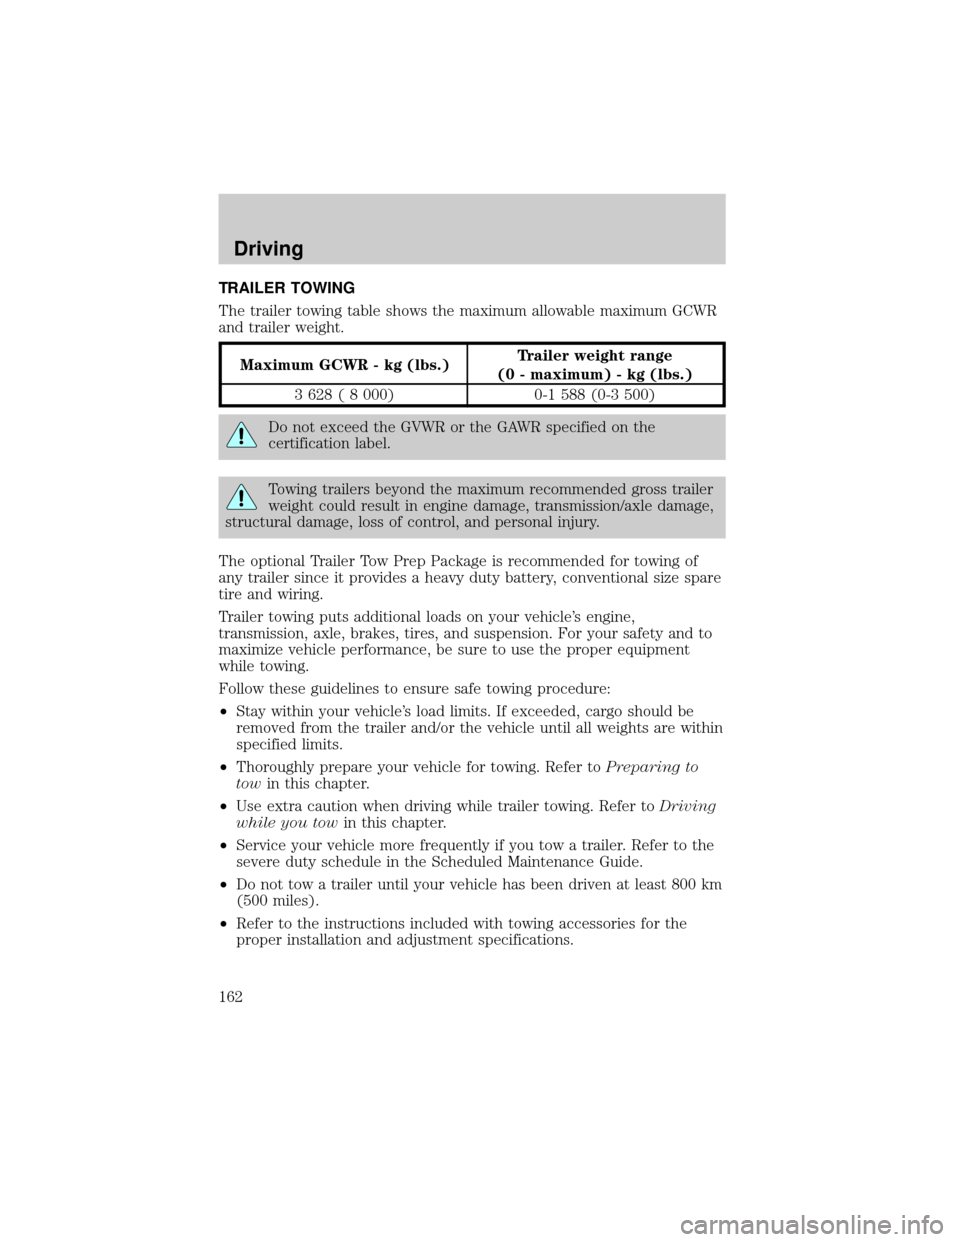
TRAILER TOWING
The trailer towing table shows the maximum allowable maximum GCWR
and trailer weight.
Maximum GCWR - kg (lbs.)Trailer weight range
(0 - maximum) - kg (lbs.)
3 628 ( 8 000) 0-1 588 (0-3 500)
Do not exceed the GVWR or the GAWR specified on the
certification label.
Towing trailers beyond the maximum recommended gross trailer
weight could result in engine damage, transmission/axle damage,
structural damage, loss of control, and personal injury.
The optional Trailer Tow Prep Package is recommended for towing of
any trailer since it provides a heavy duty battery, conventional size spare
tire and wiring.
Trailer towing puts additional loads on your vehicle's engine,
transmission, axle, brakes, tires, and suspension. For your safety and to
maximize vehicle performance, be sure to use the proper equipment
while towing.
Follow these guidelines to ensure safe towing procedure:
²Stay within your vehicle's load limits. If exceeded, cargo should be
removed from the trailer and/or the vehicle until all weights are within
specified limits.
²Thoroughly prepare your vehicle for towing. Refer toPreparing to
towin this chapter.
²Use extra caution when driving while trailer towing. Refer toDriving
while you towin this chapter.
²Service your vehicle more frequently if you tow a trailer. Refer to the
severe duty schedule in the Scheduled Maintenance Guide.
²Do not tow a trailer until your vehicle has been driven at least 800 km
(500 miles).
²Refer to the instructions included with towing accessories for the
proper installation and adjustment specifications.
Driving
162
Page 163 of 256

Trailer Tow Prep Package (if equipped)
The trailer tow prep package on your vehicle (if equipped) includes:
²Heavy duty battery
²Conventional size spare tire
²Trailer tow module and jumper harness
Using the jumper harness (if equipped)
²
Remove the connector cap from the vehicle harness located behind the
rear bumper. Store the connector cap in the glove box for reinstallation.
²Connect the tow harness to the vehicle harness located behind the
rear bumper.
²Connect the tow harness connector (SAE J1239) to your trailer.
²Confirm the proper vehicle and trailer stop/turn lamp operation.
Preparing to tow
Use the proper equipment for towing a trailer, and make sure it is
properly attached to your vehicle. See your dealer or a reliable trailer
dealer if you require assistance.
Hitches
For towing trailers up to 907 kg (2 000 lb), use a weight carrying hitch
and ball which uniformly distributes the trailer tongue load through the
underbody structure. For towing trailers up to 1 588 kg (3 500 lb) use a
frame-mounted weight distributing hitch which transfers a portion of the
trailer tongue load to the front axle system.
Do not install a single or multi-clamp type bumper hitch, or a hitch
which attaches to the axle. Follow the towing instructions of a reputable
rental agency.
Whenever a trailer hitch and hardware are removed, make sure all
mounting holes in the underbody are properly sealed to prevent noxious
gases or water from entering.
Safety chains
Always connect the trailer's safety chains to the frame or hook retainers
of the vehicle. To connect the trailer's safety chains, cross the chains
under the trailer tongue and allow slack for turning corners.
If you use a rental trailer, follow the instructions that the rental agency
gives to you.
Do not attach safety chains to the bumper.
Driving
163
Page 175 of 256

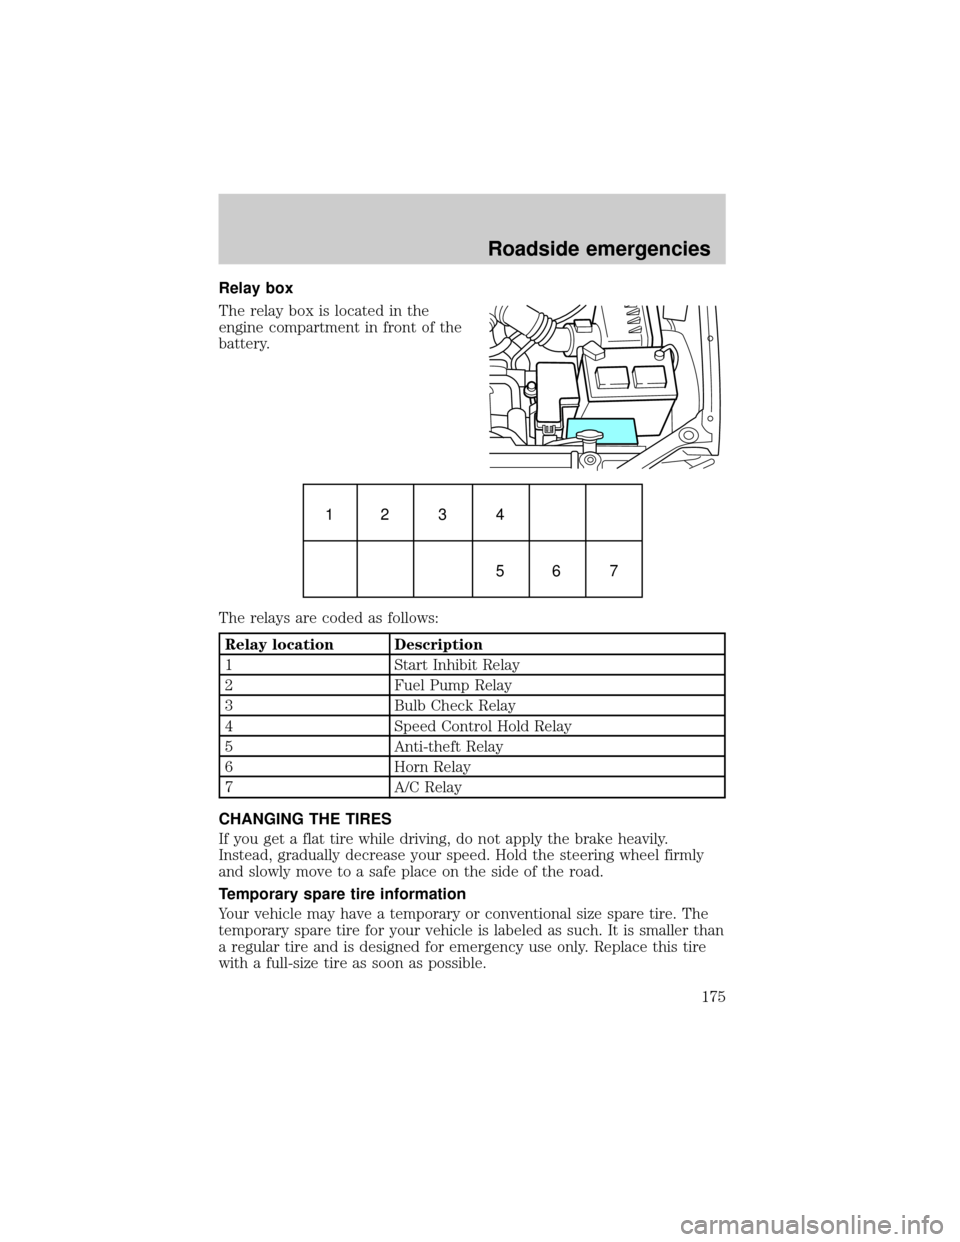
Relay box
The relay box is located in the
engine compartment in front of the
battery.
The relays are coded as follows:
Relay location Description
1 Start Inhibit Relay
2 Fuel Pump Relay
3 Bulb Check Relay
4 Speed Control Hold Relay
5 Anti-theft Relay
6 Horn Relay
7 A/C Relay
CHANGING THE TIRES
If you get a flat tire while driving, do not apply the brake heavily.
Instead, gradually decrease your speed. Hold the steering wheel firmly
and slowly move to a safe place on the side of the road.
Temporary spare tire information
Your vehicle may have a temporary or conventional size spare tire. The
temporary spare tire for your vehicle is labeled as such. It is smaller than
a regular tire and is designed for emergency use only. Replace this tire
with a full-size tire as soon as possible.
1234
56 7
Roadside emergencies
175
Page 211 of 256

²Four tire rotation
Replacing the tires
Replace the tires when the wear
band is visible through the tire
treads.
When replacing full size tires, never mix radial bias-belted, or
bias-type tires. Use only the tire sizes that are listed on the
Certification Label. Make sure that all tires are the same size, speed
rating, and load-carrying capacity. Use only the tire combinations
recommended on the label. If you do not follow these precautions,
your vehicle may not drive properly and safely.
Make sure that all replacement tires are of the same size, type,
load-carrying capacity and tread design (e.g., ªAll Terrainº, etc.),
as originally offered by Ford.
Maintenance and care
211
Page 212 of 256

Failure to follow these precautions may adversely affect the
handling of the vehicle and make it easier for the driver to lose
control and roll over.
Tires that are larger or smaller than your vehicle's original tires may also
affect the accuracy of your speedometer.
SNOW TIRES AND CHAINS
Snow tires must be the same size and grade as the tires you
currently have on your vehicle.
The tires on your vehicle have all weather treads to provide traction in
rain and snow. However, in some climates, you may need to use snow
tires and chains. If you need to use chains, it is recommended that steel
wheels (of the same size and specifications) be used as chains may chip
aluminum wheels.
Follow these guidelines when using snow tires and chains:
²Use only SAE Class S chains.
²Install chains securely, verifying that the chains do not touch any
wiring, brake lines or fuel lines.
²Drive cautiously. If you hear the chains rub or bang against your
vehicle, stop and re-tighten the chains. If this does not work, remove
the chains to prevent damage to your vehicle.
²If possible, avoid fully loading your vehicle.
²Remove the tire chains when they are no longer needed. Do not use
tire chains on dry roads.
²The suspension insulation and bumpers will help prevent vehicle
damage. Do not remove these components from your vehicle when
using snow tires and chains.
WHAT YOU SHOULD KNOW ABOUT AUTOMOTIVE FUELS
Important safety precautions
Do not overfill the fuel tank. The pressure in an overfilled tank
may cause leakage and lead to fuel spray and fire.
Maintenance and care
212
Page 219 of 256

Driving style Ð good driving and fuel economy habits
Give consideration to the lists that follow and you may be able to change
a number of variables and improve your fuel economy.
Habits
²Smooth, moderate operation can yield up to 10% savings in fuel.
²Steady speeds without stopping will usually give the best fuel
economy.
²Idling for long periods of time (greater than one minute) may waste
fuel.
²Anticipate stopping; slowing down may eliminate the need to stop.
²Sudden or hard accelerations may reduce fuel economy.
²Slow down gradually.
²Driving at reasonable speeds (traveling at 88 km/h [55 mph] uses 15%
less fuel than traveling at 105 km/h [65 mph]).
²Revving the engine before turning it off may reduce fuel economy.
²Using the air conditioner or defroster may reduce fuel economy.
²You may want to turn off the speed control in hilly terrain if
unnecessary shifting between third and fourth gear occurs.
Unnecessary shifting of this type could result in reduced fuel
economy.
²Warming up a vehicle on cold mornings is not required and may
reduce fuel economy.
²Resting your foot on the brake pedal while driving may reduce fuel
economy.
²Combine errands and minimize stop-and-go driving.
Maintenance
²Keep tires properly inflated and use only recommended size.
²Operating a vehicle with the wheels out of alignment will reduce fuel
economy.
²Use recommended engine oil. Refer toLubricant Specifications.
²Perform all regularly scheduled maintenance items. Follow the
recommended maintenance schedule and owner maintenance checks
found in your vehicle Scheduled Maintenance Guide.
Maintenance and care
219
Page 256 of 256

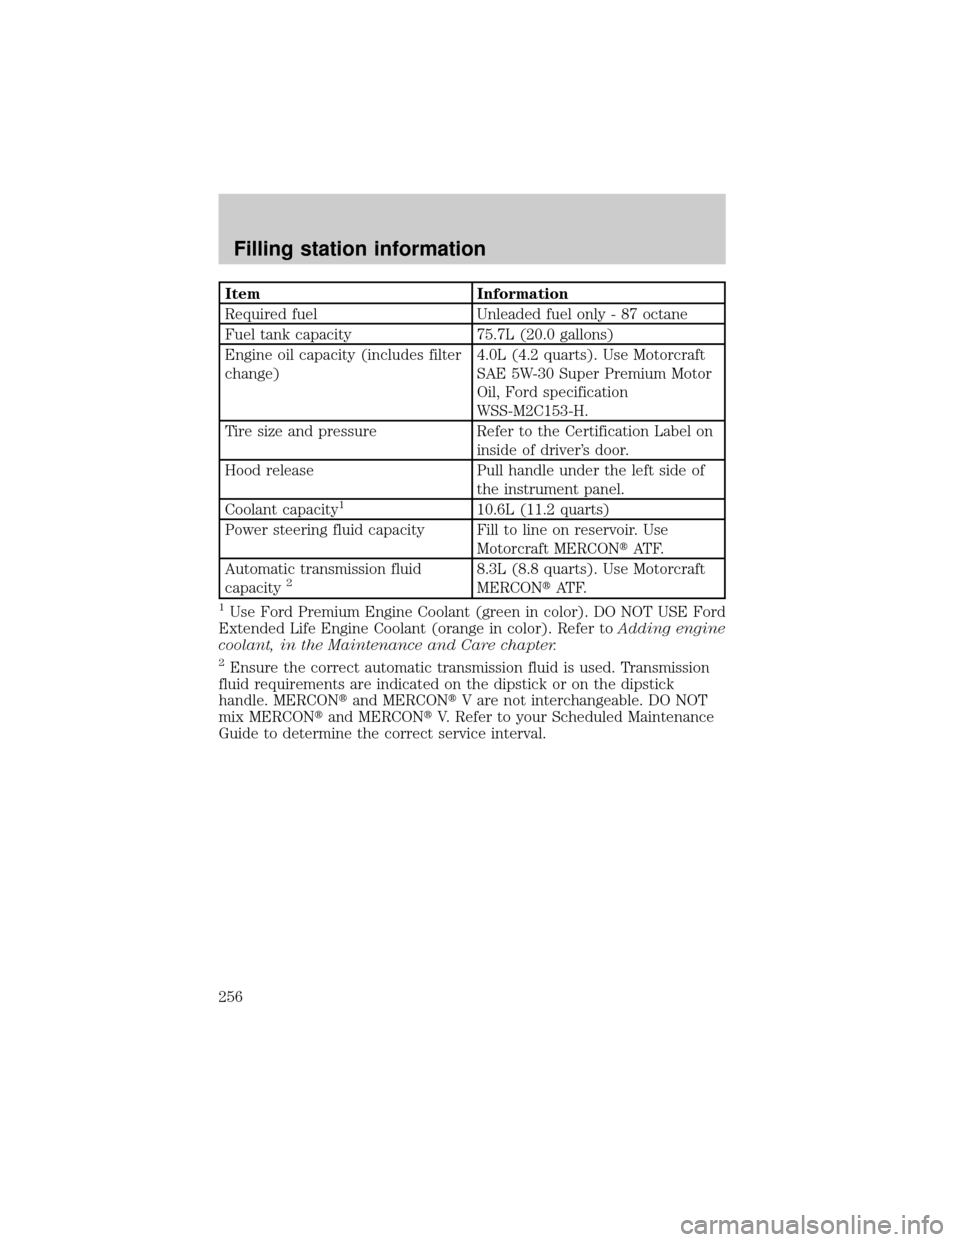
Item Information
Required fuel Unleaded fuel only - 87 octane
Fuel tank capacity 75.7L (20.0 gallons)
Engine oil capacity (includes filter
change)4.0L (4.2 quarts). Use Motorcraft
SAE 5W-30 Super Premium Motor
Oil, Ford specification
WSS-M2C153-H.
Tire size and pressure Refer to the Certification Label on
inside of driver's door.
Hood release Pull handle under the left side of
the instrument panel.
Coolant capacity
110.6L (11.2 quarts)
Power steering fluid capacity Fill to line on reservoir. Use
Motorcraft MERCONtAT F.
Automatic transmission fluid
capacity
28.3L (8.8 quarts). Use Motorcraft
MERCONtAT F.
1Use Ford Premium Engine Coolant (green in color). DO NOT USE Ford
Extended Life Engine Coolant (orange in color). Refer toAdding engine
coolant, in the Maintenance and Care chapter.
2Ensure the correct automatic transmission fluid is used. Transmission
fluid requirements are indicated on the dipstick or on the dipstick
handle. MERCONtand MERCONtV are not interchangeable. DO NOT
mix MERCONtand MERCONtV. Refer to your Scheduled Maintenance
Guide to determine the correct service interval.
Filling station information
256