MINI 3 door 2013 Owner's Manual
Manufacturer: MINI, Model Year: 2013, Model line: 3 door, Model: MINI 3 door 2013Pages: 233, PDF Size: 17.19 MB
Page 141 of 233
At a glanceControlsDriving tipsEntertainmentCommunicationMobilityReferenceOnline Edition for Part no. 01 40 2 925 116 - X/13
Page 142 of 233
ToneVehicle equipmentAll standard, country-specific and optional
equipment that is offered in the model series is
described in this chapter. Therefore, equipment
is also described that is not available in a vehi‐
cle, e. g., because of the selected optional
equipment or country variant. This also applies
for safety-related functions and systems.
General information
The sound settings are stored for the remote
control currently in use.
Treble, bass, balance,
and fader
General information▷"Treble": treble adjustment.▷"Bass": depth adjustment.▷"Balance": left/right volume distribution.▷"Fader": front/rear volume distribution.
Adjusting treble, bass, balance, and
fader
1. Press the button2. "Settings", "Radio" or
"Multimedia"3."Tone"4.Select the desired tone settings.5.Set the desired value.Volume
General information▷"Speed volume": speed-dependent volume
control.▷"PDC": volume of the PDC signal compared
to the entertainment sound output.▷"Gong": volume of the signal, such as the
safety belt reminder, compared to the en‐
tertainment sound output.▷"Microphone": volume of the microphone
during a phone call.▷"Loudspeak.": volume of the loudspeakers
during a phone call.
The following volumes are only stored for the
respective paired telephone:
"Microphone", "Loudspeak.".
Adjusting
1. Press the button2. "Settings", "Radio" or
"Multimedia"3."Tone"4."Volume settings"5.Select the desired volume setting.6.Set the desired value.
Resetting the tone set‐
tings
1. Press the button2. "Settings", "Radio" or
"Multimedia"3."Tone"4."Reset"Seite 138EntertainmentTone138
Online Edition for Part no. 01 40 2 925 116 - X/13
Page 143 of 233
RadioVehicle equipment
All standard, country-specific and optional
equipment that is offered in the model series is
described in this chapter. Therefore, equipment
is also described that is not available in a vehi‐
cle, e. g., because of the selected optional
equipment or country variant. This also applies
for safety-related functions and systems.
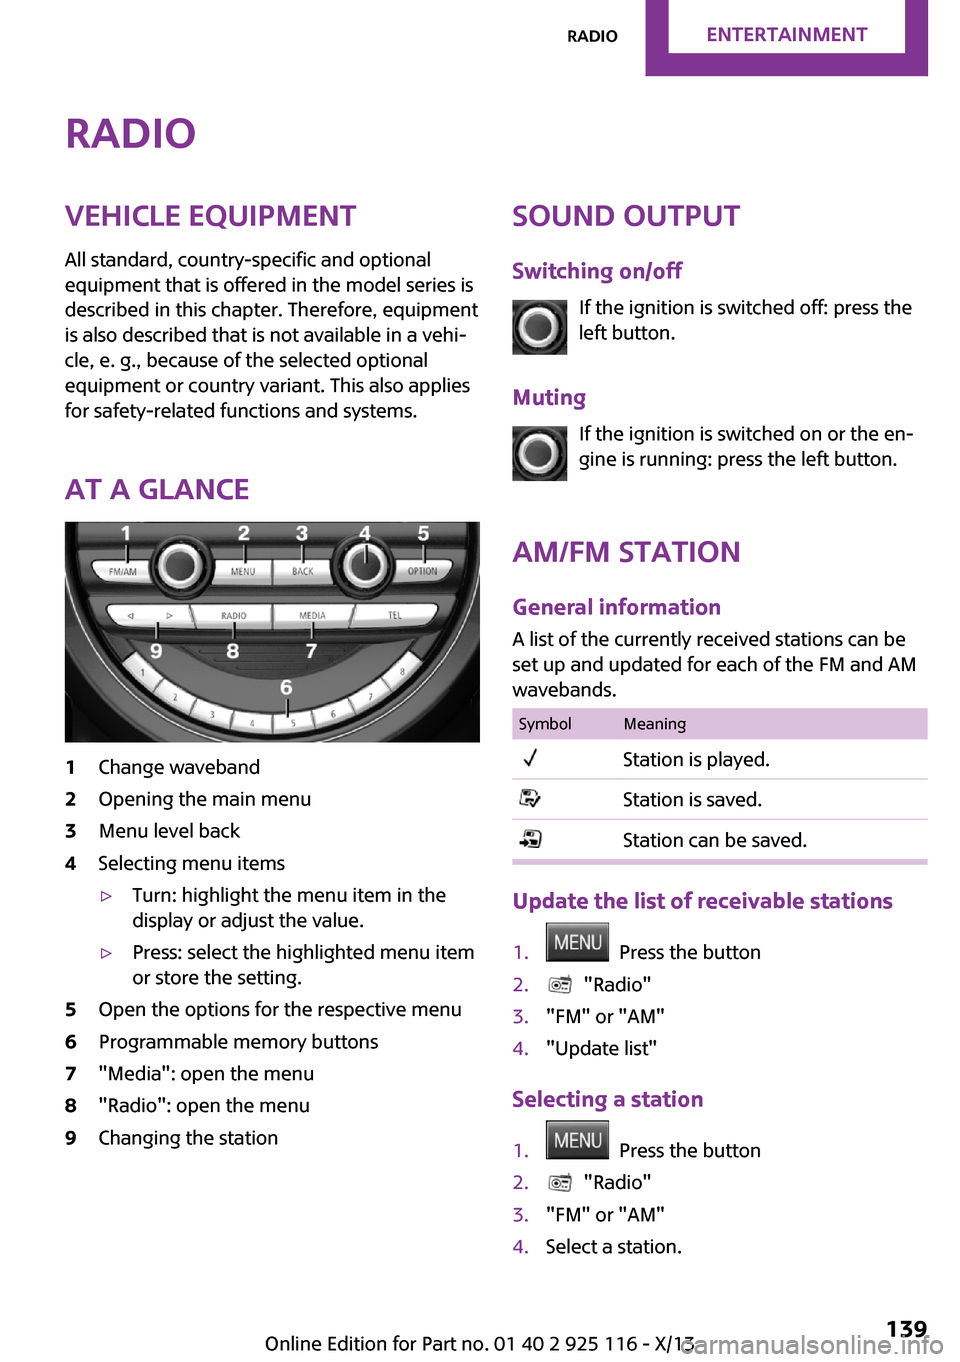
At a glance1Change waveband2Opening the main menu3Menu level back4Selecting menu items▷Turn: highlight the menu item in the
display or adjust the value.▷Press: select the highlighted menu item
or store the setting.5Open the options for the respective menu6Programmable memory buttons7"Media": open the menu8"Radio": open the menu9Changing the stationSound output
Switching on/off If the ignition is switched off: press the
left button.
Muting If the ignition is switched on or the en‐
gine is running: press the left button.
AM/FM station General information
A list of the currently received stations can be
set up and updated for each of the FM and AM
wavebands.SymbolMeaningStation is played.Station is saved.Station can be saved.
Update the list of receivable stations
1. Press the button2. "Radio"3."FM" or "AM"4."Update list"
Selecting a station
1. Press the button2. "Radio"3."FM" or "AM"4.Select a station.Seite 139RadioEntertainment139
Online Edition for Part no. 01 40 2 925 116 - X/13
Page 144 of 233
All saved stations are stored for the remote
control currently in use.
Selecting a station manually1. Press the button2. "Radio"3."FM" or "AM"4."Manual search ( )"5.Turn the right-hand knob until the desired
frequency is displayed.
Changing the station
Press the button.
The next station with reception or stored sta‐
tion is played. If traffic bulletins are switched
on, the next traffic information station is
played.
Hold the button down.
The waveband is traversed. After the button is
released, the next station with reception is
played.
Storing a station
1. Press the button2. "Radio"3."FM" or "AM"4.Select a station.5.Press the right button.6.Select the memory location.
The stations are stored for the remote control
currently in use.
The stations can also be stored on the pro‐
grammable memory buttons.
Renaming a station
When storing a station with RDS signal, the RDS
information transferred during the storage op‐
eration is accepted as the station name. This
name can be changed.1.Select the station that is to be renamed.2. Press the button.3."Rename to:"
If necessary, wait until the desired name
appears.4.Press the right-hand knob to store this
name.
Displaying additional information
If a radio station broadcasts radio text or radio
text plus, this information can be displayed,
e.g., the track or the performer of the music.
Availability, content and sequence are deter‐
mined by the radio station.
1. Press the button2. "Radio"3."FM" or "AM"4. Press the button.5."Station info"
RDS Radio Data System
The concept
RDS broadcasts additional information, such as
the station name, in the FM wave band.
When playing a station with multiple frequen‐
cies, the system automatically switches to the
frequency with the best reception, if needed.
Switching on/off It is recommended to switch on RDS
1. Press the button2. "Radio"3."FM"Seite 140EntertainmentRadio140
Online Edition for Part no. 01 40 2 925 116 - X/13
Page 145 of 233
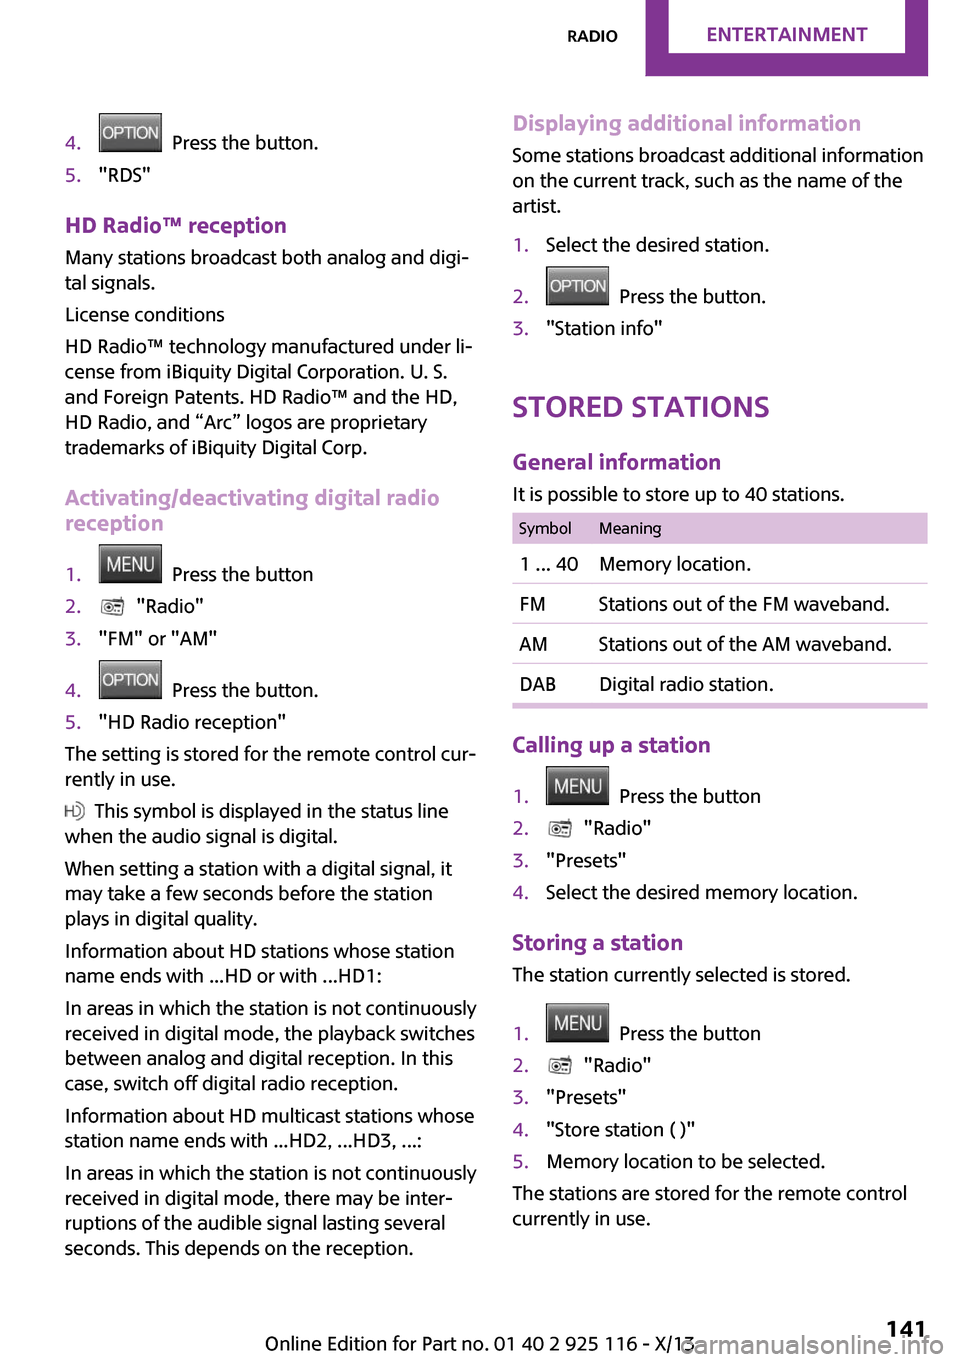
4. Press the button.5."RDS"
HD Radio™ reception
Many stations broadcast both analog and digi‐
tal signals.
License conditions
HD Radio™ technology manufactured under li‐
cense from iBiquity Digital Corporation. U. S.
and Foreign Patents. HD Radio™ and the HD,
HD Radio, and “Arc” logos are proprietary
trademarks of iBiquity Digital Corp.
Activating/deactivating digital radio
reception
1. Press the button2. "Radio"3."FM" or "AM"4. Press the button.5."HD Radio reception"
The setting is stored for the remote control cur‐
rently in use.
This symbol is displayed in the status line
when the audio signal is digital.
When setting a station with a digital signal, it
may take a few seconds before the station
plays in digital quality.
Information about HD stations whose station
name ends with ...HD or with ...HD1:
In areas in which the station is not continuously
received in digital mode, the playback switches
between analog and digital reception. In this
case, switch off digital radio reception.
Information about HD multicast stations whose
station name ends with ...HD2, ...HD3, ...:
In areas in which the station is not continuously
received in digital mode, there may be inter‐
ruptions of the audible signal lasting several
seconds. This depends on the reception.
Displaying additional information
Some stations broadcast additional information
on the current track, such as the name of the
artist.1.Select the desired station.2. Press the button.3."Station info"
Stored stations
General information
It is possible to store up to 40 stations.
SymbolMeaning1 ... 40Memory location.FMStations out of the FM waveband.AMStations out of the AM waveband.DABDigital radio station.
Calling up a station
1. Press the button2. "Radio"3."Presets"4.Select the desired memory location.
Storing a station The station currently selected is stored.
1. Press the button2. "Radio"3."Presets"4."Store station ( )"5.Memory location to be selected.
The stations are stored for the remote control
currently in use.
Seite 141RadioEntertainment141
Online Edition for Part no. 01 40 2 925 116 - X/13
Page 146 of 233
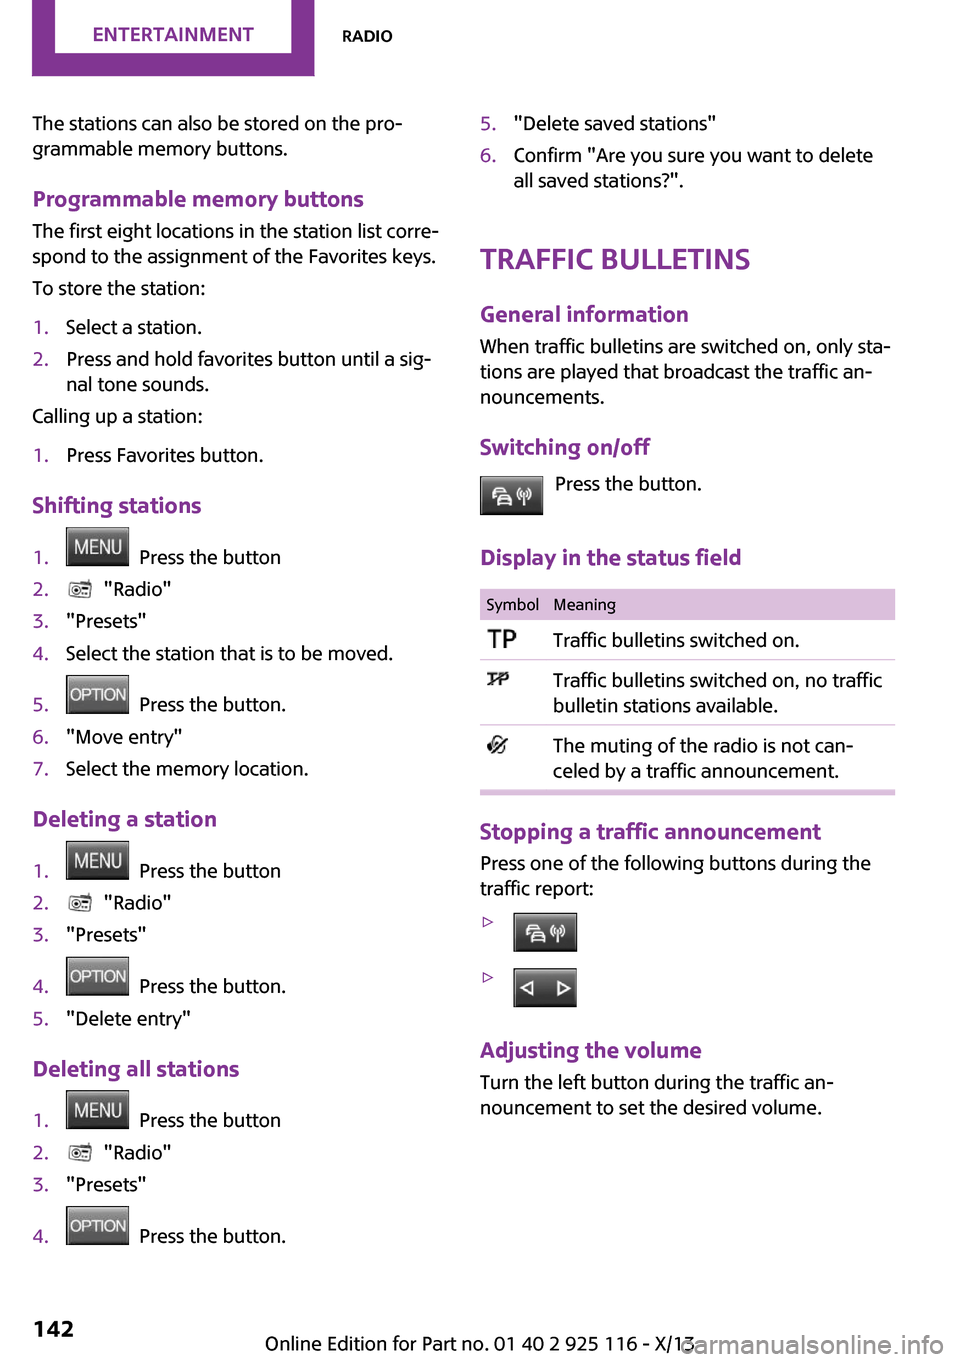
The stations can also be stored on the pro‐
grammable memory buttons.
Programmable memory buttons
The first eight locations in the station list corre‐
spond to the assignment of the Favorites keys.
To store the station:1.Select a station.2.Press and hold favorites button until a sig‐
nal tone sounds.
Calling up a station:
1.Press Favorites button.
Shifting stations
1. Press the button2. "Radio"3."Presets"4.Select the station that is to be moved.5. Press the button.6."Move entry"7.Select the memory location.
Deleting a station
1. Press the button2. "Radio"3."Presets"4. Press the button.5."Delete entry"
Deleting all stations
1. Press the button2. "Radio"3."Presets"4. Press the button.5."Delete saved stations"6.Confirm "Are you sure you want to delete
all saved stations?".
Traffic bulletins
General information When traffic bulletins are switched on, only sta‐
tions are played that broadcast the traffic an‐
nouncements.
Switching on/off Press the button.
Display in the status field
SymbolMeaningTraffic bulletins switched on.Traffic bulletins switched on, no traffic
bulletin stations available.The muting of the radio is not can‐
celed by a traffic announcement.
Stopping a traffic announcement
Press one of the following buttons during the
traffic report:
▷▷
Adjusting the volume
Turn the left button during the traffic an‐
nouncement to set the desired volume.
Seite 142EntertainmentRadio142
Online Edition for Part no. 01 40 2 925 116 - X/13
Page 147 of 233
Satellite radioGeneral information
The channels are offered in predefined pack‐
ages. The packages must be subscribed by tele‐
phone.
Managing a subscription
To be able to enable or unsubscribe from the
channels, you must have reception. This is usu‐
ally the case when you have an unobstructed
view of the sky.
Enabling channels
The Unsubscribed Channels category contains
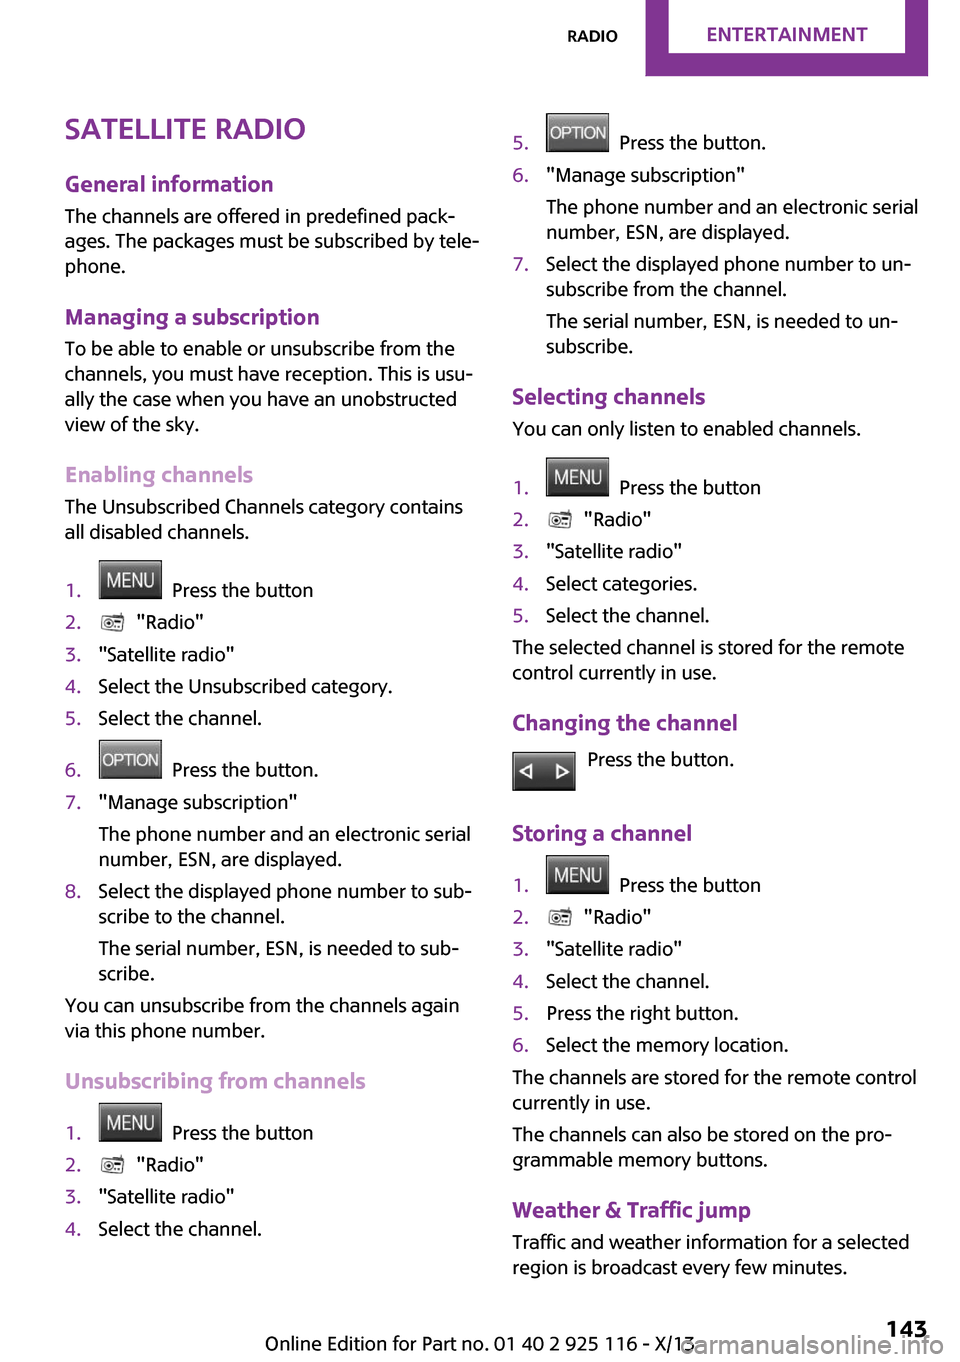
all disabled channels.1. Press the button2. "Radio"3."Satellite radio"4.Select the Unsubscribed category.5.Select the channel.6. Press the button.7."Manage subscription"
The phone number and an electronic serial
number, ESN, are displayed.8.Select the displayed phone number to sub‐
scribe to the channel.
The serial number, ESN, is needed to sub‐
scribe.
You can unsubscribe from the channels again
via this phone number.
Unsubscribing from channels
1. Press the button2. "Radio"3."Satellite radio"4.Select the channel.5. Press the button.6."Manage subscription"
The phone number and an electronic serial
number, ESN, are displayed.7.Select the displayed phone number to un‐
subscribe from the channel.
The serial number, ESN, is needed to un‐
subscribe.
Selecting channels
You can only listen to enabled channels.
1. Press the button2. "Radio"3."Satellite radio"4.Select categories.5.Select the channel.
The selected channel is stored for the remote
control currently in use.
Changing the channel Press the button.
Storing a channel
1. Press the button2. "Radio"3."Satellite radio"4.Select the channel.5.Press the right button.6.Select the memory location.
The channels are stored for the remote control
currently in use.
The channels can also be stored on the pro‐
grammable memory buttons.
Weather & Traffic jump Traffic and weather information for a selected
region is broadcast every few minutes.
Seite 143RadioEntertainment143
Online Edition for Part no. 01 40 2 925 116 - X/13
Page 148 of 233
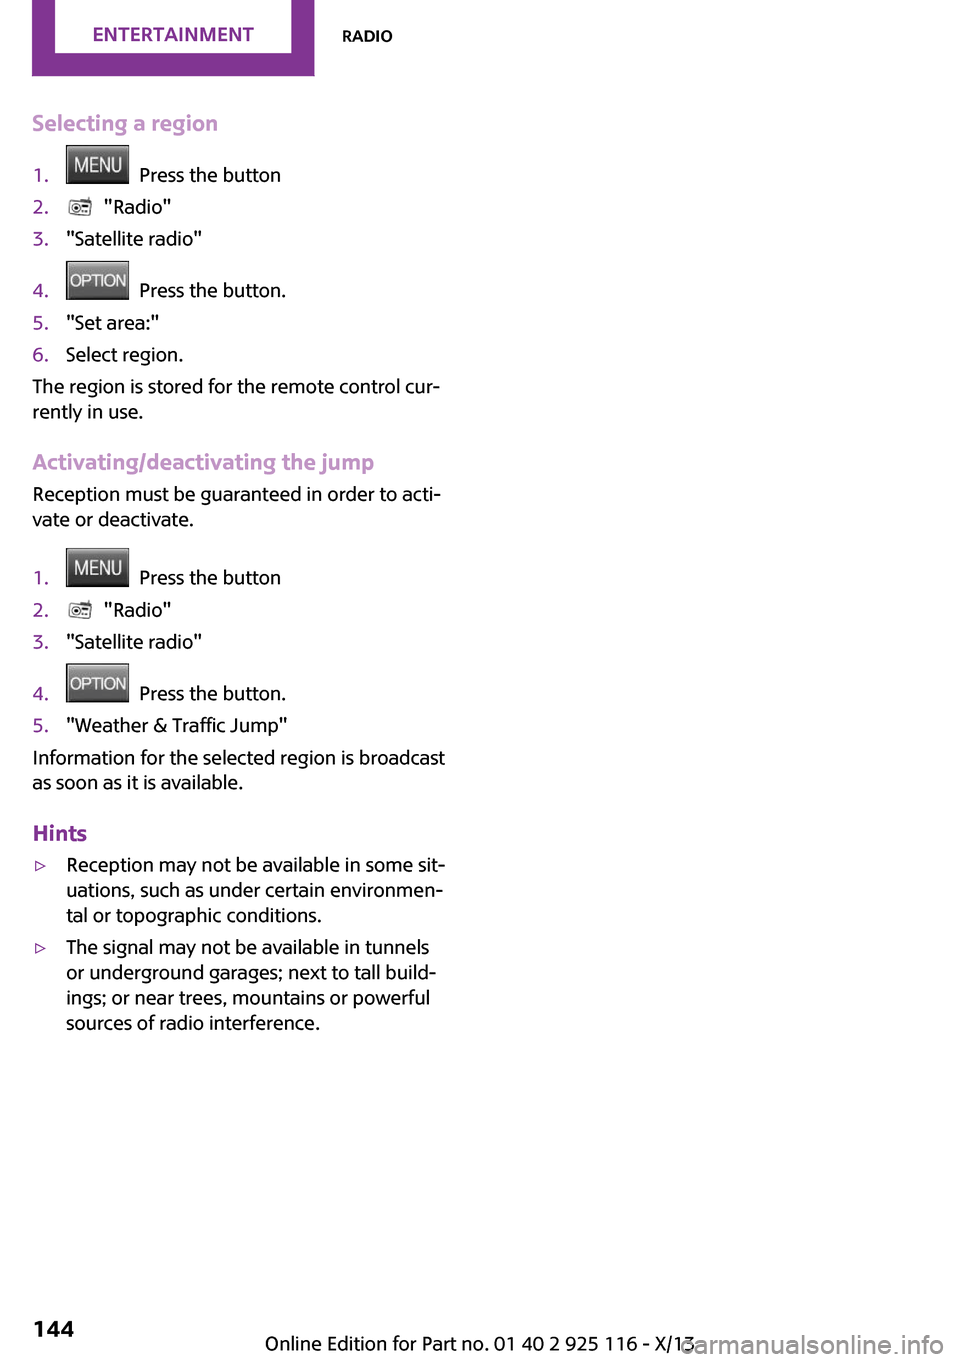
Selecting a region1. Press the button2. "Radio"3."Satellite radio"4. Press the button.5."Set area:"6.Select region.
The region is stored for the remote control cur‐
rently in use.
Activating/deactivating the jump
Reception must be guaranteed in order to acti‐
vate or deactivate.
1. Press the button2. "Radio"3."Satellite radio"4. Press the button.5."Weather & Traffic Jump"
Information for the selected region is broadcast
as soon as it is available.
Hints
▷Reception may not be available in some sit‐
uations, such as under certain environmen‐
tal or topographic conditions.▷The signal may not be available in tunnels
or underground garages; next to tall build‐
ings; or near trees, mountains or powerful
sources of radio interference.Seite 144EntertainmentRadio144
Online Edition for Part no. 01 40 2 925 116 - X/13
Page 149 of 233
MultimediaExternal devices
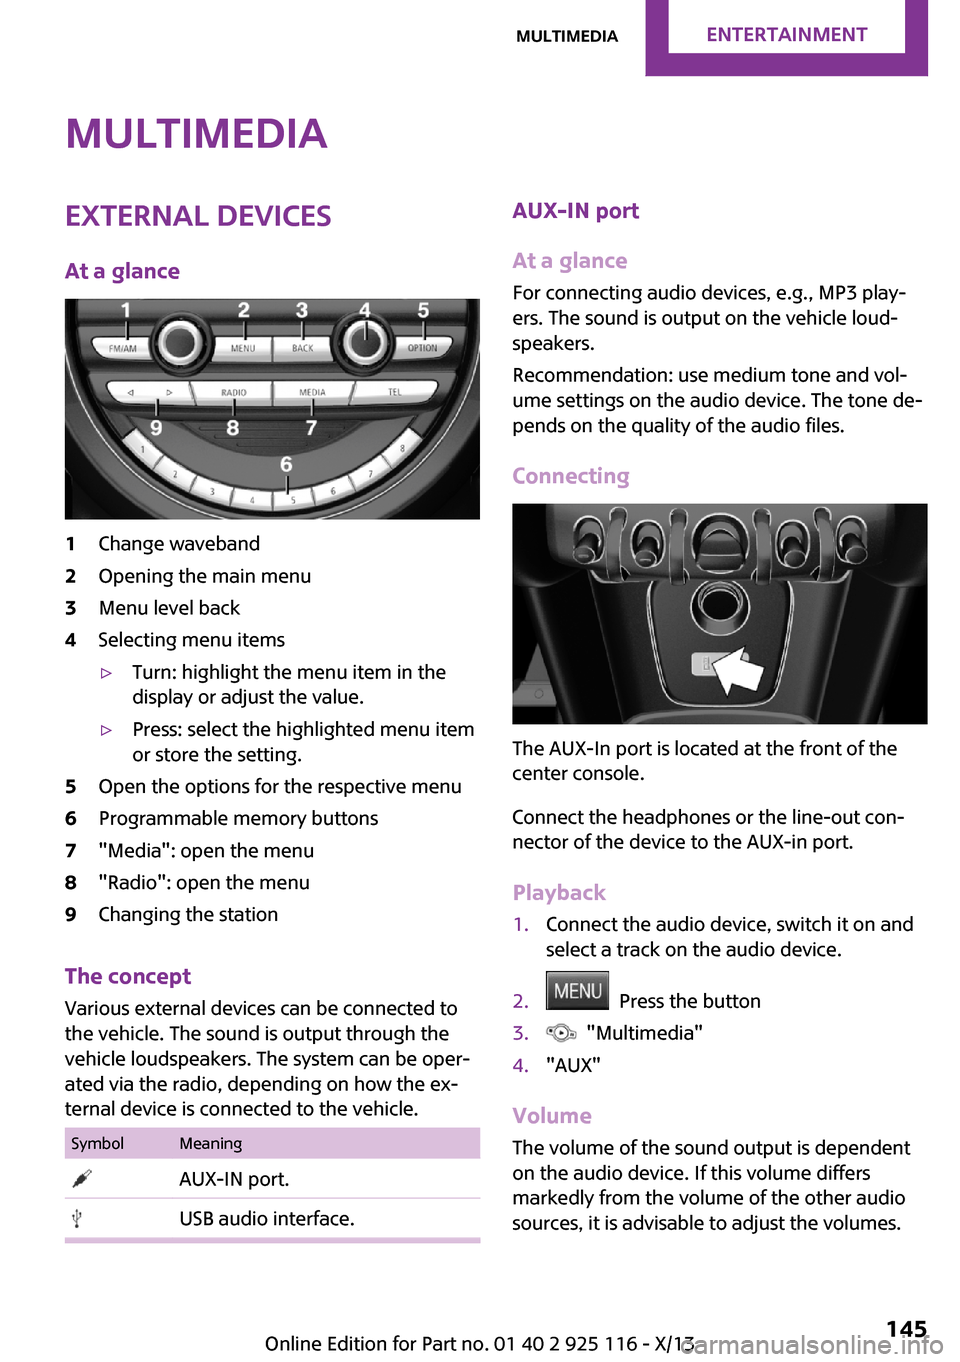
At a glance1Change waveband2Opening the main menu3Menu level back4Selecting menu items▷Turn: highlight the menu item in the
display or adjust the value.▷Press: select the highlighted menu item
or store the setting.5Open the options for the respective menu6Programmable memory buttons7"Media": open the menu8"Radio": open the menu9Changing the station
The concept
Various external devices can be connected to
the vehicle. The sound is output through the
vehicle loudspeakers. The system can be oper‐
ated via the radio, depending on how the ex‐
ternal device is connected to the vehicle.
SymbolMeaning AUX-IN port. USB audio interface.AUX-IN port
At a glance
For connecting audio devices, e.g., MP3 play‐
ers. The sound is output on the vehicle loud‐
speakers.
Recommendation: use medium tone and vol‐
ume settings on the audio device. The tone de‐
pends on the quality of the audio files.
Connecting
The AUX-In port is located at the front of the
center console.
Connect the headphones or the line-out con‐
nector of the device to the AUX-in port.
Playback
1.Connect the audio device, switch it on and
select a track on the audio device.2. Press the button3. "Multimedia"4."AUX"
Volume
The volume of the sound output is dependent
on the audio device. If this volume differs
markedly from the volume of the other audio
sources, it is advisable to adjust the volumes.
Seite 145MultimediaEntertainment145
Online Edition for Part no. 01 40 2 925 116 - X/13
Page 150 of 233
Adjusting the volume1. Press the button2. "Multimedia"3."AUX"4."Volume"5.Set the desired volume.
USB audio interface
At a glance
It is possible to connect external devices. Oper‐
ation takes place via the radio. The sound is
output on the vehicle loudspeakers.
Connectors for external devices
Connection via USB audio interface: Apple iPod/
iPhone, USB devices, e.g., MP3 players, USB
flash drives, or mobile phones that are sup‐
ported by the USB audio interface.
Due to the large number of audio devices avail‐
able on the market, it cannot be guaranteed
that every device/mobile phone is operable on
the vehicle.
Depending on the configuration of the audio
files, e.g., bit rates greater than 256 kbit/s or
the number of different compression technolo‐
gies, the files may not play back correctly in
each case.
Ask your service center about suitable devices/
mobile phones.
Audio files
Standard audio files and playlists can be played
back.
File systems
Popular file systems for USB devices are sup‐
ported. FAT32 and exFAT are the recom‐
mended formats.
USB device connection
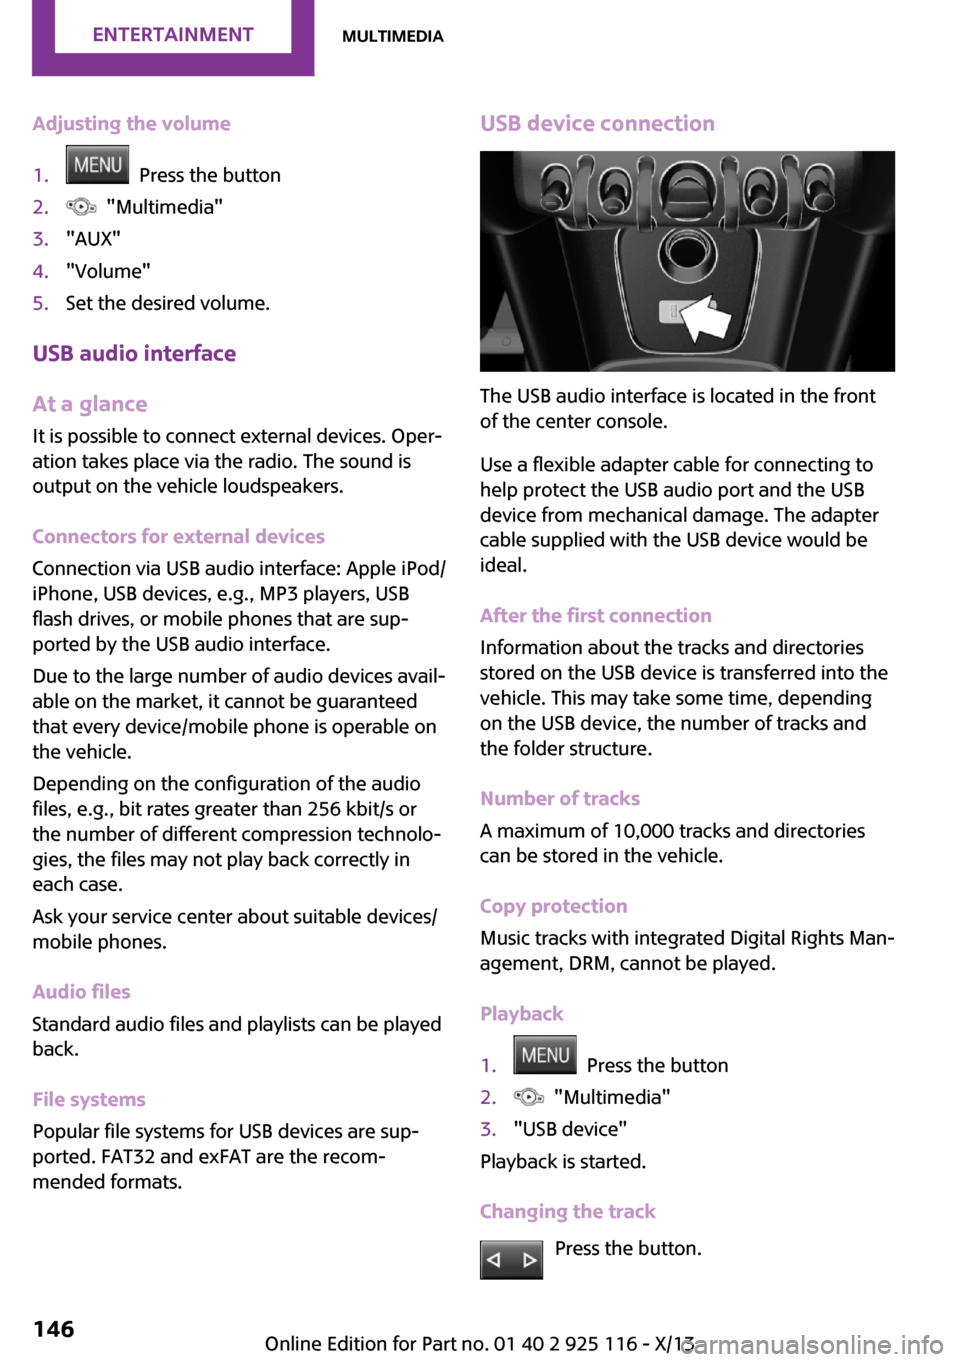
The USB audio interface is located in the front
of the center console.
Use a flexible adapter cable for connecting to
help protect the USB audio port and the USB
device from mechanical damage. The adapter
cable supplied with the USB device would be
ideal.
After the first connection
Information about the tracks and directories
stored on the USB device is transferred into the
vehicle. This may take some time, depending
on the USB device, the number of tracks and
the folder structure.
Number of tracks
A maximum of 10,000 tracks and directories
can be stored in the vehicle.
Copy protection
Music tracks with integrated Digital Rights Man‐
agement, DRM, cannot be played.
Playback
1. Press the button2. "Multimedia"3."USB device"
Playback is started.
Changing the track Press the button.
Seite 146EntertainmentMultimedia146
Online Edition for Part no. 01 40 2 925 116 - X/13