steering MINI Clubman 2014 (Mini Connected) Owner's Guide
[x] Cancel search | Manufacturer: MINI, Model Year: 2014, Model line: Clubman, Model: MINI Clubman 2014Pages: 276, PDF Size: 6.44 MB
Page 118 of 276

Adhere to the information included with
the cargo straps.▷Four lashing eyes are available for fastening
the cargo straps. Two of them are located
on the inside wall of the cargo area.
Securing cargo
Stow and secure the cargo as described
above; otherwise it may present a danger to
the occupants, for instance during braking and
avoidance maneuvers.
Do not stow any heavy and hard objects in the
passenger compartment without securing
them; otherwise, they may present a danger to
occupants, for instance during braking and
avoidance maneuvers.
Never exceed either the approved gross vehicle
weight or either of the approved axle loads, as
excessive loads can pose a safety hazard, and
may also place you in violation of traffic safety
laws.
Do not secure cargo using the upper LATCH
mounting points, refer to page 52; otherwise,
these may become damaged. ◀
Roof-mounted luggage
rack
NotesA special rack system is available as an optionalaccessory.
Anchorage points
The figure shows an example of the roof of the
MINI.
The anchorage points are located on the roof
railing.
Take out the covers.
Attachment
Follow the installation instructions for the roof- mounted luggage rack.
Ensure that adequate clearance is available for
the movement of the glass sunroof.
Loading
Because roof racks raise the vehicle's center of
gravity when loaded, they have a major effect
on vehicle handling and steering response.
Therefore, note the following when loading and
driving:
▷Do not exceed the approved roof/axle
loads and the approved gross vehicle
weight.▷Distribute the roof load uniformly.▷The roof load should not be too large in
area.▷Always load the heaviest pieces on the bot‐
tom.▷Fasten the roof-mounted luggage securely,
for instance using lashing straps.▷Do not let objects project into the opening
path of the tailgate.Seite 118Driving tipsLoading118
Online Edition for Part no. 01 40 2 911 452 - VI/13
Page 133 of 276
Example: to enter a town/city in a US states
as a whole word, the language of the sys‐
tem must be English.▷Spell the entry if the spoken language and
the language of the system differ.▷Say the letters smoothly, and avoid exag‐
gerating the pronunciation and inserting
lengthy pauses between the letters.▷The methods of entry depend on the navi‐
gation data in use and the country and lan‐
guage settings.
Entering a town/city separately
The town/city can be said as a complete word.
1. Press the button on the steering
wheel.2.›City‹ or ›Spell city‹3.Wait for the system to prompt you for the
town/city.4.Say the name of the town/city, or name at
least the first three letters.5.Select a location:▷Select a recommended town/city: ›Yes‹.▷Select a different town/city: ›New
entry‹.▷Select an entry: ›Entry ...‹, for instance,
entry 2.▷Spell an entry: ›Spell city‹.6.Continue making the entry as prompted by
the system.
If there are several towns/cities with the same
name:
Towns/cities of the same name are grouped in
a list and displayed as one location followed by
an ellipsis.
1.Select an entry: ›Yes‹ or ›Entry ...‹, e. g., En‐
try 2.2.Select the desired town/city.
The town/city can also be selected from the
list on the onboard monitor:Turn the MINI joystick until the destination
town/city is selected and press the
MINI joystick.
Entering a street or intersection
separately
Enter a street and intersection in the same way
as you would enter a town/city.
Entering a house number separately Depending on the data in the navigation sys‐
tem, house numbers up to number 2,000 can
be entered.
1.›House number‹2.Say the house number.3.›Yes‹ to confirm the house number.4.›Accept destination‹
Starting destination guidance
›Start guidance‹
Adding further intermediate
destinations
›Add as another destination‹
Further intermediate destinations can be
added.
Storing a destination The destination is automatically added to the
list of last destinations.
Planning a trip with in‐termediate destinations
New trip
Various intermediate destinations can be en‐
tered for a trip. The trip destination needs to be
entered first, destination entry, refer to
page 126.
Seite 133Destination entryNavigation133
Online Edition for Part no. 01 40 2 911 452 - VI/13
Page 149 of 276
All saved stations are stored for the remote
control currently in use.
Changing the station Turn and press the MINI joystick.
or
Press the button
or
Press the buttons on the steering wheel.
Storing a station
1."Radio"2."FM" or "AM"3.Highlight the desired station.4.Press the MINI joystick.5.Select the desired memory location.
Press and hold the MINI joystick to store a sta‐
tion that is displayed in the station list but is not
being played.
The stations are stored for the remote control
currently in use.
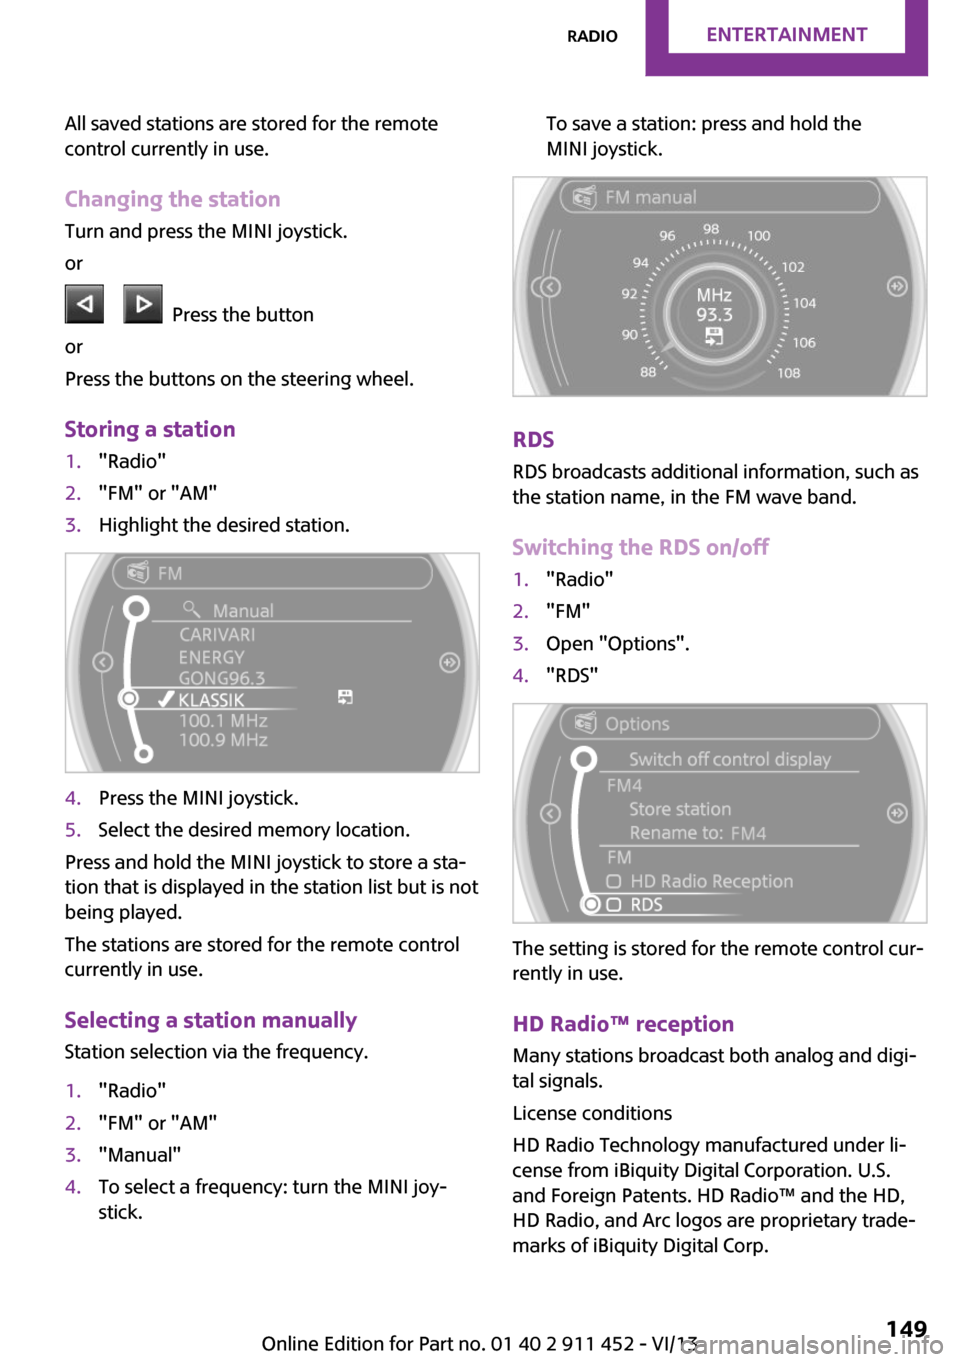
Selecting a station manually Station selection via the frequency.
1."Radio"2."FM" or "AM"3."Manual"4.To select a frequency: turn the MINI joy‐
stick.To save a station: press and hold the
MINI joystick.
RDS
RDS broadcasts additional information, such as
the station name, in the FM wave band.
Switching the RDS on/off
1."Radio"2."FM"3.Open "Options".4."RDS"
The setting is stored for the remote control cur‐
rently in use.
HD Radio™ reception
Many stations broadcast both analog and digi‐
tal signals.
License conditions
HD Radio Technology manufactured under li‐
cense from iBiquity Digital Corporation. U.S.
and Foreign Patents. HD Radio™ and the HD,
HD Radio, and Arc logos are proprietary trade‐
marks of iBiquity Digital Corp.
Seite 149RadioEntertainment149
Online Edition for Part no. 01 40 2 911 452 - VI/13
Page 162 of 276
Playback lists
Calling up playback lists.1."CD/Multimedia"2."External devices"3.Select the or symbol.4."Playlists"
Current playback
List of tracks currently being played.
1."CD/Multimedia"2."External devices"3.Select the or symbol.4."Current playback"
Random playback The current list of tracks is played back in ran‐
dom order.
1."CD/Multimedia"2."External devices"3.Open "Options".4."Random"
Fast forward/reverse
Buttons on the steering wheel or on the CD
player:
Press and hold the button for the
corresponding direction.
Video playback
At a glance
Video playback is only possible with a compati‐
ble iPod/iPhone. Connect using a video-capable
adapter cable or, if applicable, a snap-in
adapter.
Playback
The video image on the Control Display is dis‐
played while the vehicle is stationary; in some
countries, the handbrake must be set or P must
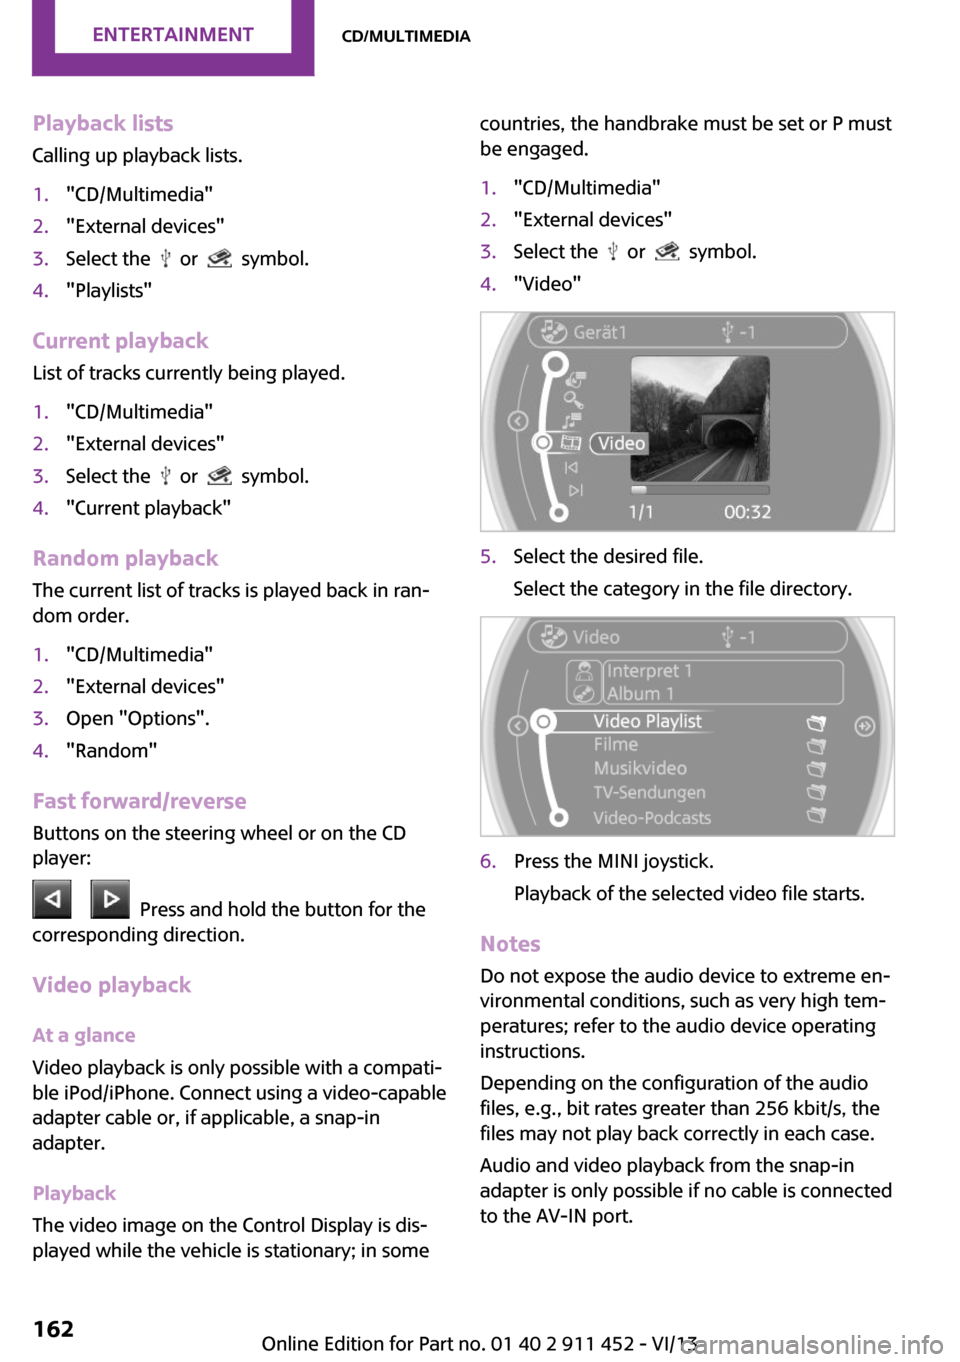
be engaged.1."CD/Multimedia"2."External devices"3.Select the or symbol.4."Video"5.Select the desired file.
Select the category in the file directory.6.Press the MINI joystick.
Playback of the selected video file starts.
Notes Do not expose the audio device to extreme en‐
vironmental conditions, such as very high tem‐
peratures; refer to the audio device operating
instructions.
Depending on the configuration of the audio
files, e.g., bit rates greater than 256 kbit/s, the
files may not play back correctly in each case.
Audio and video playback from the snap-in
adapter is only possible if no cable is connected
to the AV-IN port.
Seite 162EntertainmentCD/multimedia162
Online Edition for Part no. 01 40 2 911 452 - VI/13
Page 170 of 276
Bluetooth hands-free systemVehicle equipmentThis chapter describes all series equipment as
well as country-specific and special equipment
offered for this model series.Therefore, it also
describes equipment that may not be found in
your vehicle, for instance due to the selected
special equipment or the country version. This
also applies to safety-related functions and sys‐
tems.
At a glance The concept
Mobile phones can be connected with the vehi‐
cle via Bluetooth.
Bluetooth® is a registered trademark of Blue‐
tooth® SIG, Inc.
After these devices are paired once, they are
recognized automatically when the ignition is
switched on as soon as they are in the vehicle
and can then be operated via the onboard
monitor, the buttons on the steering wheel,
and voice activation.
Up to four external devices can be paired.
Certain functions may need to be enabled by
the mobile phone provider or service provider.
Using the mobile phone while driving
Make entries only when traffic and road
conditions allow. Do not hold the mobile phone
in your hand while you are driving; use the
hands-free system instead. If you do not ob‐
serve this precaution, you can endanger the ve‐
hicle occupants and other road users. ◀
Approved mobile phones
Details on which mobile phones are supported
by the hands-free system can be obtained at
www.mini.com/connectivity.Displaying the vehicle identification
number and software part number
The vehicle identification number and software
part number are needed to determine which
mobile phones are supported by the mobile
phone preparation package. The software ver‐
sion of the mobile phone may also be required.1."Telephone"2.Open "Options".3."Bluetooth® info"4."Display system information"
These approved mobile phones with a certain
software version, support the vehicle functions
described below.
Malfunctions may occur with other mobile
phones or software versions.
Do not operate a mobile phone that is con‐
nected to the vehicle on the mobile phone key‐
pad, as this may lead to a malfunction.
Notes
At high temperatures, the charging function of
the mobile phone may be limited and functions
may not be executed.
When using the mobile phone via the vehicle,
note the operating instructions of the mobile phone.
Pairing/unpairing the
mobile phone
Requirements
▷The mobile phone is suitable, refer to
page 170.▷The mobile phone is ready for operation.▷Bluetooth is activated in the vehicle and on
the mobile phone.Seite 170CommunicationBluetooth hands-free system170
Online Edition for Part no. 01 40 2 911 452 - VI/13
Page 173 of 276
▷A multi-character passkey may be needed.▷Did it take longer than 30 seconds to enter
the passkey? Repeat the pairing procedure.▷Are too many Bluetooth devices connected
to the mobile phone or vehicle? Delete con‐
nections with other devices if necessary.▷The mobile phone is in power-save mode
or has only a limited remaining battery life.
Charge the mobile phone via the charging
cable.▷Depending on the mobile phone, it is possi‐
ble that only one mobile phone can be con‐
nected to the vehicle. Unpair the connected
mobile phone from the vehicle and pair
and connect only one mobile phone.
The mobile phone no longer reacts.
▷Switch the mobile phone off and on again.▷Is the ambient temperature too high or
low? Do not expose the mobile phone to
extreme environmental conditions.
No phone book entries or only some phone
book entries are displayed, or they are incom‐
plete.
▷Transmission of the phone book entries is
not yet complete.▷It is possible that only the phone book en‐
tries of the mobile phone or the SIM card
are transmitted.▷It may not be possible to display phone
book entries with special characters.▷The number of phone book entries to be
stored is too high.▷Is the data volume of the contact too large,
e. g., due to stored information such as
notes? Reduce the data volume of the con‐
tact.
The phone connection quality is poor.
▷The strength of the Bluetooth signal on the
mobile phone can be adjusted, depending
on the mobile phone.▷Place the mobile phone in the area of the
center console.If all points in this list have been checked and
the required function is still not available, con‐
tact Customer Relations or the service center.
Controls Adjusting the volume
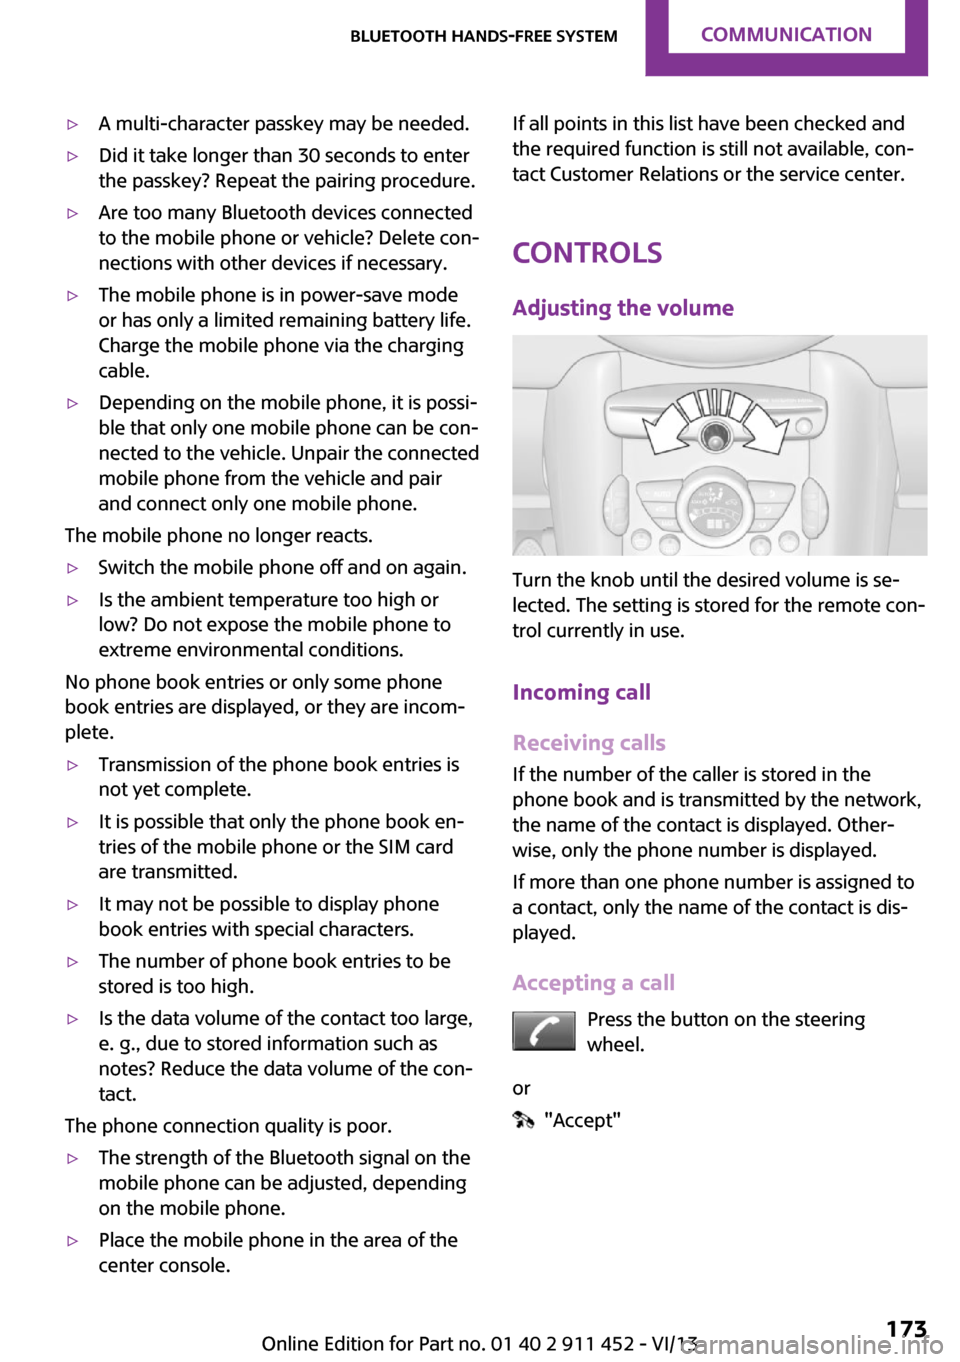
Turn the knob until the desired volume is se‐
lected. The setting is stored for the remote con‐
trol currently in use.
Incoming call
Receiving calls If the number of the caller is stored in the
phone book and is transmitted by the network,
the name of the contact is displayed. Other‐
wise, only the phone number is displayed.
If more than one phone number is assigned to
a contact, only the name of the contact is dis‐
played.
Accepting a call Press the button on the steering
wheel.
or
"Accept"
Seite 173Bluetooth hands-free systemCommunication173
Online Edition for Part no. 01 40 2 911 452 - VI/13
Page 174 of 276

Rejecting a call
"Reject"
Ending a call Press the button on the steering
wheel.
or
1."Telephone"2. "End call"
Entering a phone number
Dialing a number
1."Telephone"2."Dial number"3.Select the digits individually.4. Select the symbol.
The phone number can also be entered by
voice.
Calls with multiple parties
General information You can switch between calls or connect two
calls to a single conference call. These functions
must be supported by the mobile phone and
service provider.
Accepting a call while speaking to
another party
This function might have to be activated by the
service provider and the mobile phone must be
adjusted accordingly.
If a second call comes in during an ongoing call,
a call waiting signal is sounded.
"Accept"
The call is accepted and the existing call is put
on hold.
Establishing a second call Establish an additional call during an active call.
1."Telephone"2."Active calls"3. "Hold"Seite 174CommunicationBluetooth hands-free system174
Online Edition for Part no. 01 40 2 911 452 - VI/13
Page 180 of 276
Bluetooth mobile phone
preparation packageVehicle equipment This chapter describes all series equipment as
well as country-specific and special equipment
offered for this model series.Therefore, it also
describes equipment that may not be found in
your vehicle, for instance due to the selected
special equipment or the country version. This
also applies to safety-related functions and sys‐
tems.
At a glance The concept
Mobile phones or other external devices such
as audio players can be connected to the vehi‐
cle via Bluetooth.
Bluetooth® is a registered trademark of Blue‐
tooth® SIG, Inc.
After these devices are paired once, they are
recognized automatically when the ignition is
switched on as soon as they are in the vehicle
and can then be operated via the onboard
monitor, using the buttons on the steering
wheel, and via voice activation.
Depending on their functionality, external devi‐
ces can be used via the vehicle as a telephone
or as an audio source. The telephone functions
are described in the following. Operating the
audio functions, refer to page 163.
Up to four external devices can be paired.
Certain functions may need to be enabled by the mobile phone provider or service provider.
Using the mobile phone while driving
Make entries only when traffic and road
conditions allow. Do not hold the mobile phone
in your hand while you are driving; use thehands-free system instead. If you do not ob‐
serve this precaution, you can endanger the ve‐
hicle occupants and other road users. ◀
Snap-in adapter
The snap-in adapter is used to:▷Hold the mobile phone.▷Recharge the battery.▷Connect the mobile phone to an outside
antenna of the vehicle.
This provides for better network reception
and consistent sound quality.
Approved mobile phones
Displaying the vehicle identification
number and software part number
The vehicle identification number and software
part number are needed to determine which
mobile phones are supported by the mobile
phone preparation package. The software ver‐
sion of the mobile phone may also be required.
1."Telephone"2.Open "Options".3."Bluetooth® info"4."Display system information"
These approved mobile phones with a certain
software version, support the vehicle functions
described below.
Malfunctions may occur with other mobile
phones or software versions.
Do not operate a mobile phone that is con‐
nected to the vehicle on the mobile phone key‐
pad, as this may lead to a malfunction.
Seite 180CommunicationBluetooth mobile phone preparation package180
Online Edition for Part no. 01 40 2 911 452 - VI/13
Page 186 of 276
If more than one phone number is assigned to
a contact, only the name of the contact is dis‐
played.
For calls on the additional telephone, the num‐
ber is only displayed if it is transmitted by the
network.
An incoming call to one of the telephones is au‐
tomatically rejected if there is an active call on
the other telephone.
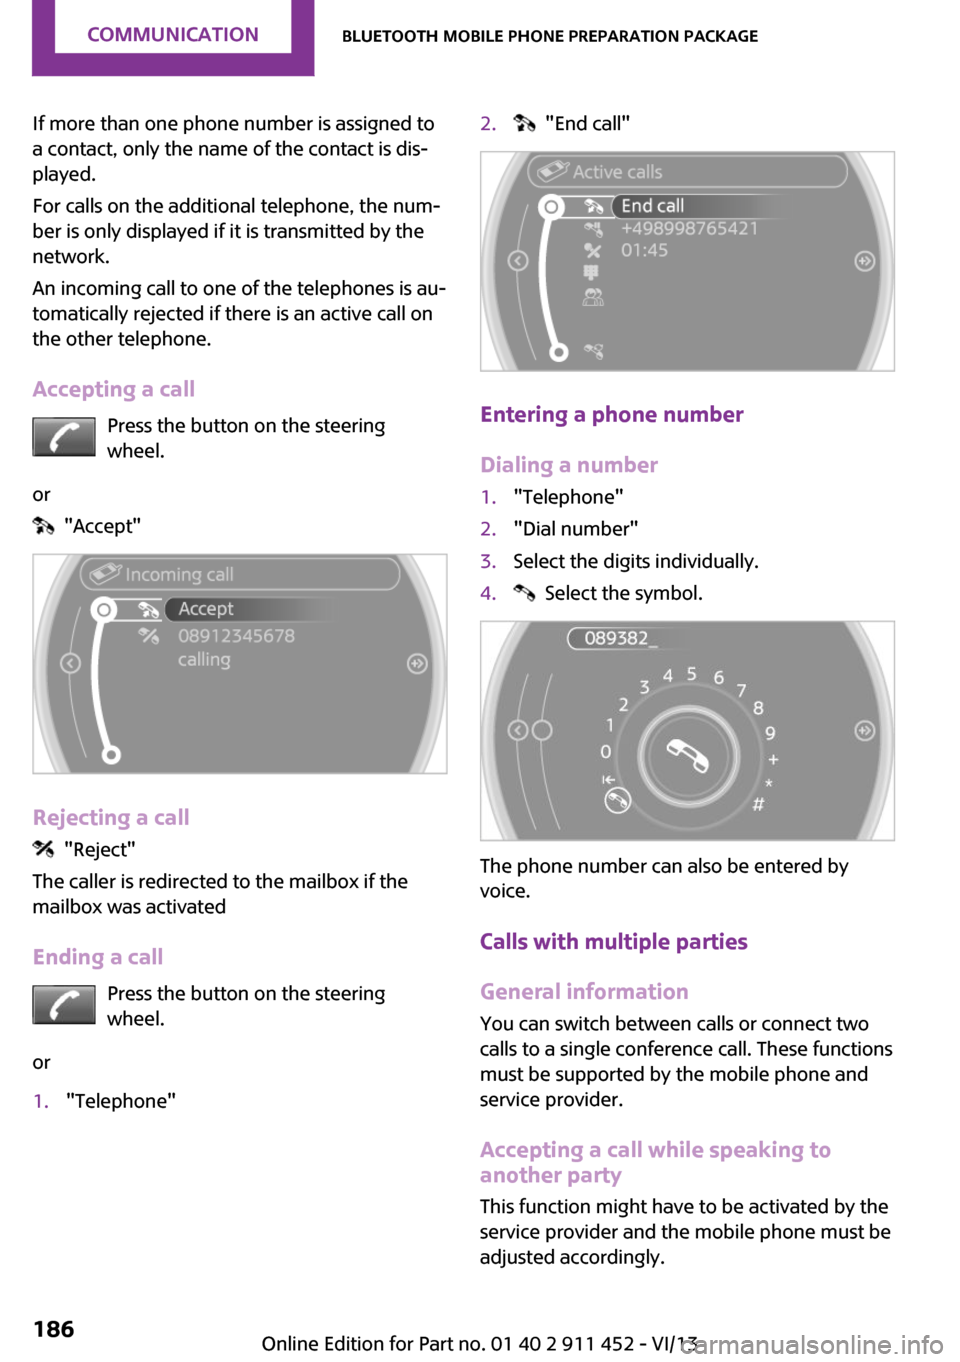
Accepting a call Press the button on the steering
wheel.
or
"Accept"
Rejecting a call
"Reject"
The caller is redirected to the mailbox if the
mailbox was activated
Ending a call Press the button on the steering
wheel.
or
1."Telephone"2. "End call"
Entering a phone number
Dialing a number
1."Telephone"2."Dial number"3.Select the digits individually.4. Select the symbol.
The phone number can also be entered by
voice.
Calls with multiple parties
General information You can switch between calls or connect two
calls to a single conference call. These functions
must be supported by the mobile phone and
service provider.
Accepting a call while speaking to
another party
This function might have to be activated by the
service provider and the mobile phone must be
adjusted accordingly.
Seite 186CommunicationBluetooth mobile phone preparation package186
Online Edition for Part no. 01 40 2 911 452 - VI/13
Page 201 of 276
Control Display and can be operated using the
MINI joystick.
The volume can be set using the following con‐
trols:▷
Buttons on the steering
wheel or
▷Volume button on the radio, refer to
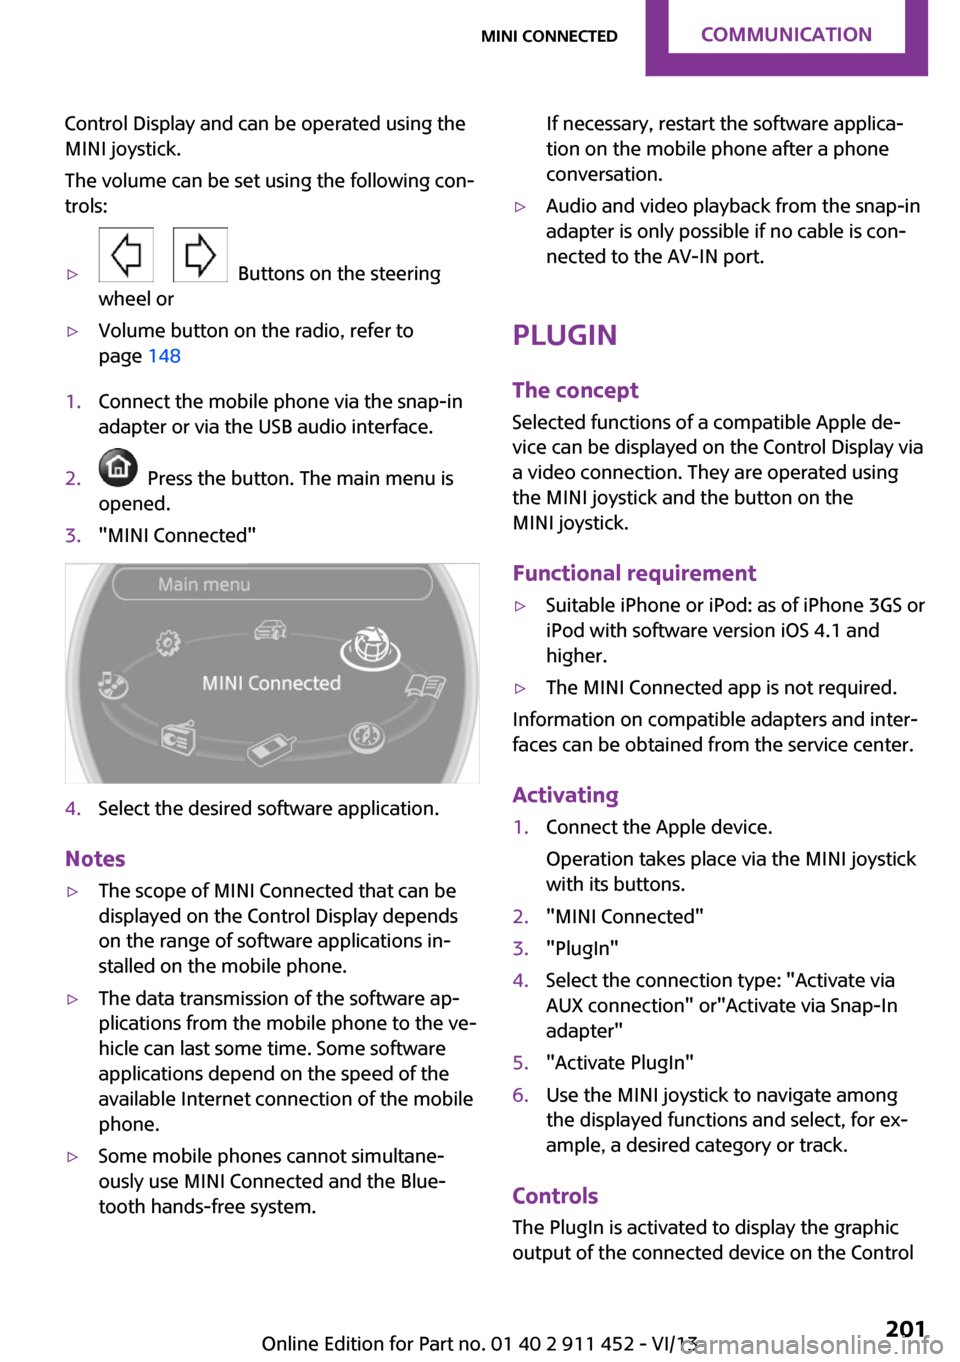
page 1481.Connect the mobile phone via the snap-in
adapter or via the USB audio interface.2. Press the button. The main menu is
opened.3."MINI Connected"4.Select the desired software application.
Notes
▷The scope of MINI Connected that can be
displayed on the Control Display depends
on the range of software applications in‐
stalled on the mobile phone.▷The data transmission of the software ap‐
plications from the mobile phone to the ve‐
hicle can last some time. Some software
applications depend on the speed of the
available Internet connection of the mobile
phone.▷Some mobile phones cannot simultane‐
ously use MINI Connected and the Blue‐
tooth hands-free system.If necessary, restart the software applica‐
tion on the mobile phone after a phone
conversation.▷Audio and video playback from the snap-in
adapter is only possible if no cable is con‐
nected to the AV-IN port.
PlugIn
The concept
Selected functions of a compatible Apple de‐
vice can be displayed on the Control Display via
a video connection. They are operated using
the MINI joystick and the button on the
MINI joystick.
Functional requirement
▷Suitable iPhone or iPod: as of iPhone 3GS or
iPod with software version iOS 4.1 and
higher.▷The MINI Connected app is not required.
Information on compatible adapters and inter‐
faces can be obtained from the service center.
Activating
1.Connect the Apple device.
Operation takes place via the MINI joystick
with its buttons.2."MINI Connected"3."PlugIn"4.Select the connection type: "Activate via
AUX connection" or"Activate via Snap-In
adapter"5."Activate PlugIn"6.Use the MINI joystick to navigate among
the displayed functions and select, for ex‐
ample, a desired category or track.
Controls
The PlugIn is activated to display the graphic
output of the connected device on the Control
Seite 201MINI ConnectedCommunication201
Online Edition for Part no. 01 40 2 911 452 - VI/13