service MINI COOPER 2003 Owner's Manual
[x] Cancel search | Manufacturer: MINI, Model Year: 2003, Model line: COOPER, Model: MINI COOPER 2003Pages: 148, PDF Size: 3.17 MB
Page 99 of 148

97
OVERVIEW REPAIRSOPERATIONCONTROLS DATA INDEX
COOLANT BRAKE FLUIDTo add coolant
MINI COOPER:
1. Slowly open the cap by pulling at the tab
to allow accumulated pressure to
escape.
2. Pull open the cap completely.
3. If the coolant is low, slowly add coolant
until the correct level is reached – do not
overfill.
MINI COOPER S:
1. Open the cap by turning it slightly coun-
terclockwise to allow accumulated pres-
sure to escape.
2. Unscrew and open the cap completely.
3. If the coolant is low, slowly add coolant
until the correct level is reached – do not
overfill.
The coolant is made up of water and an
antifreeze with corrosion resistance. The
mixture ratio of 50 to 50 must be kept the
entire year due to the required anti-corro-
sion property. No other additives are
required.
Replace the coolant every three years.
Warning lamp
If the brake warning lamp comes
on with the parking brake released:
The brake fluid level is too low, see
page 15.
Brake warning lamp for Canadian
models.
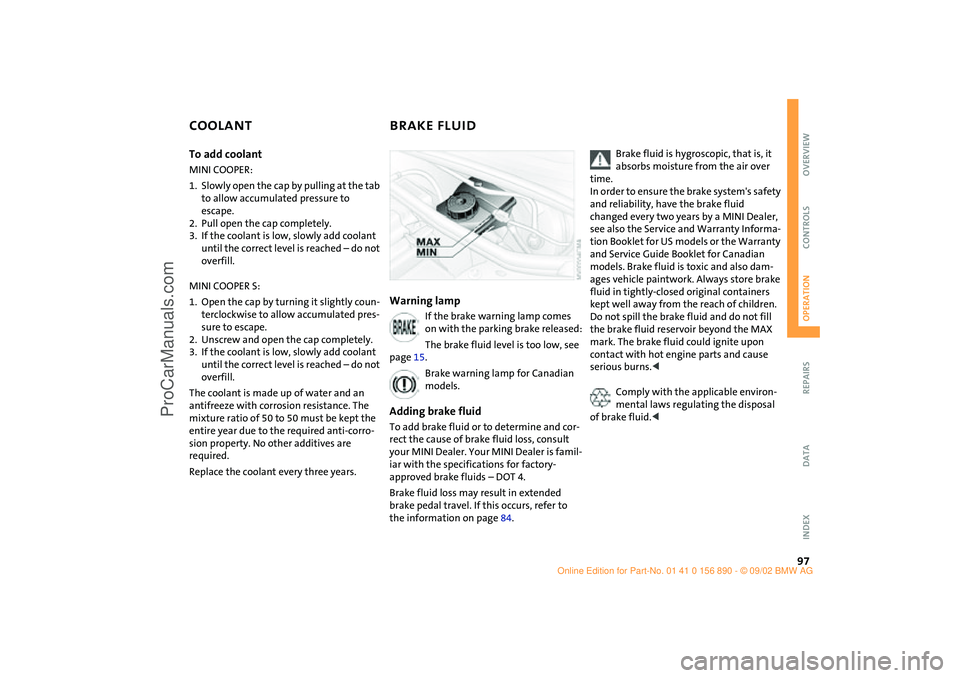
Adding brake fluidTo add brake fluid or to determine and cor-
rect the cause of brake fluid loss, consult
your MINI Dealer. Your MINI Dealer is famil-
iar with the specifications for factory-
approved brake fluids – DOT 4.
Brake fluid loss may result in extended
brake pedal travel. If this occurs, refer to
the information on page 84.
Brake fluid is hygroscopic, that is, it
absorbs moisture from the air over
time.
In order to ensure the brake system's safety
and reliability, have the brake fluid
changed every two years by a MINI Dealer,
see also the Service and Warranty Informa-
tion Booklet for US models or the Warranty
and Service Guide Booklet for Canadian
models. Brake fluid is toxic and also dam-
ages vehicle paintwork. Always store brake
fluid in tightly-closed original containers
kept well away from the reach of children.
Do not spill the brake fluid and do not fill
the brake fluid reservoir beyond the MAX
mark. The brake fluid could ignite upon
contact with hot engine parts and cause
serious burns.<
Comply with the applicable environ-
mental laws regulating the disposal
of brake fluid.<
ba.book Seite 97 Montag, 5. August 2002 8:09 20
ProCarManuals.com
Page 100 of 148

98
MINI MAINTENANCE SYSTEMThe MINI Maintenance System has been
designed as a reliable means of providing
maximum driving and operating safety –
and as cost-effective for you as possible.
Please bear in mind that regular mainte-
nance is not only necessary for the safety of
your vehicle, but also plays a significant
role in maintaining the resale value of the
vehicle.
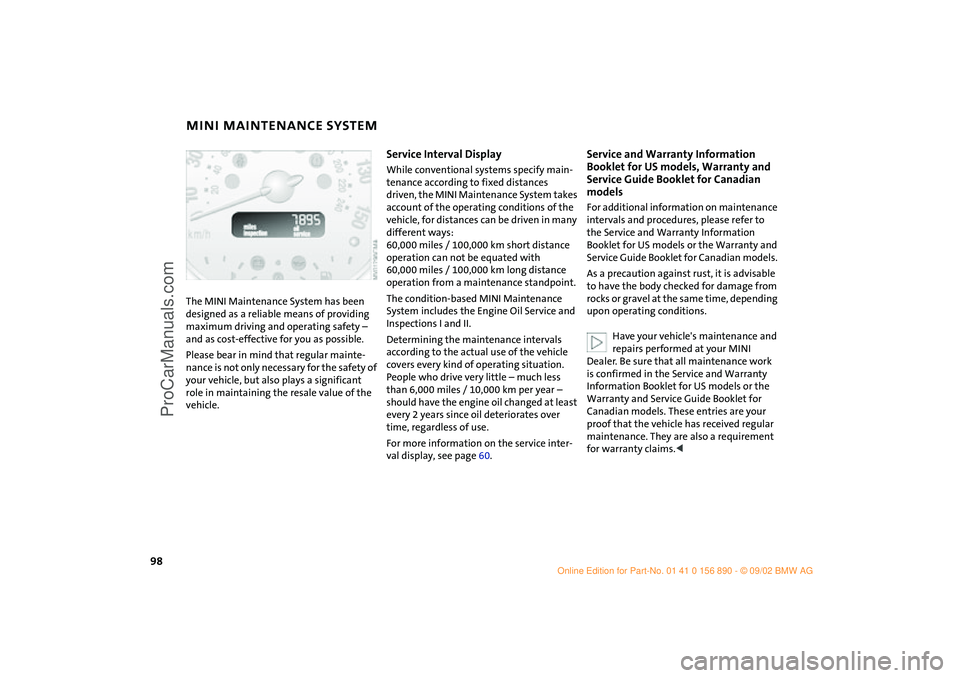
Service Interval DisplayWhile conventional systems specify main-
tenance according to fixed distances
driven, the MINI Maintenance System takes
account of the operating conditions of the
vehicle, for distances can be driven in many
different ways:
60,000 miles / 100,000 km short distance
operation can not be equated with
60,000 miles / 100,000 km long distance
operation from a maintenance standpoint.
The condition-based MINI Maintenance
System includes the Engine Oil Service and
Inspections I and II.
Determining the maintenance intervals
according to the actual use of the vehicle
covers every kind of operating situation.
People who drive very little – much less
than 6,000 miles / 10,000 km per year –
should have the engine oil changed at least
every 2 years since oil deteriorates over
time, regardless of use.
For more information on the service inter-
val display, see page 60.
Service and Warranty Information
Booklet for US models, Warranty and
Service Guide Booklet for Canadian
models For additional information on maintenance
intervals and procedures, please refer to
the Service and Warranty Information
Booklet for US models or the Warranty and
Service Guide Booklet for Canadian models.
As a precaution against rust, it is advisable
to have the body checked for damage from
rocks or gravel at the same time, depending
upon operating conditions.
Have your vehicle's maintenance and
repairs performed at your MINI
Dealer. Be sure that all maintenance work
is confirmed in the Service and Warranty
Information Booklet for US models or the
Warranty and Service Guide Booklet for
Canadian models. These entries are your
proof that the vehicle has received regular
maintenance. They are also a requirement
for warranty claims.<
ba.book Seite 98 Montag, 5. August 2002 8:09 20
ProCarManuals.com
Page 104 of 148

102
OBD SOCKET The interface socket for onboard diagnos-
tics is located on the driver's side, behind a
cover located beneath the instrument
panel. The cover has the letters OBD on it.
The purpose of the OBD system is to ensure
proper operation of the emission control
system for the vehicle‘s lifetime. The sys-
tem monitors emission-related compo-
nents for deterioration and malfunction.
An illuminated lamp informs you of
the need for service, not of the
need to stop the vehicle.
However, the system should be checked by
your MINI Dealer at the earliest possible
opportunity.
Under certain conditions, the indicator will
blink or flash. This indicates a rather severe
level of engine misfire. When this occurs,
you should reduce speed and consult the
nearest MINI Dealer as soon as possible.
Severe engine misfire over only a short
period of time can seriously damage emis-
sion control components, especially the
catalytic converter.
Service Engine Soon warning lamp
for Canadian models.
When the filler cap is not properly
tightened, the OBD system can detect
the vapor leak and the indicator will light
up. If the filler cap is subsequently tight-
ened, the indicator lamp should go out
within a few days.<
ba.book Seite 102 Montag, 5. August 2002 8:09 20
ProCarManuals.com
Page 107 of 148

OVERVIEW
CONTROLS
OPERATION, CARE, MAINTENANCE
OWNER SERVICE PROCEDURES
INDEX TECHNICAL DATA
105
OVERVIEW REPAIRSOPERATION CONTROLS DATA INDEX
Repairs
ba.book Seite 105 Montag, 5. August 2002 8:09 20
ProCarManuals.com
Page 109 of 148

107
OVERVIEW REPAIRSOPERATION CONTROLS DATA INDEX
LAMPS AND BULBSProceed carefully when handling lamps and
bulbs. If you are not familiar with any of
the procedures, consult your MINI Dealer.
Do not touch the glass portion of a
new bulb with your bare hands since
even small amounts of impurities burn into
the surface and reduce the service life of
the bulb. Use a clean cloth, paper napkin, or
similar material, or hold the bulb by its
metallic base.<
Replacement bulbs are available from your
MINI Dealer.
Whenever working on the electrical
system, switch off the electrical
accessory you are working on or disconnect
the cable from the negative terminal of the
battery. Failure to do this could result in
short circuits.
To prevent injuries and damage, comply
with any instructions provided by the bulb
manufacturer.<
1Low beams H7 bulb, 55 Watts2High beamsH7 bulb, 55 Watts
The H7 bulb is pressurized. Therefore,
wear safety glasses and protective
gloves. If the lamp is damaged there is a
risk of injury.
1. Pull on the tab of the cover of the defec-
tive lamp and open it
2. Press the retaining wire lightly at the
eyelet and at the same time guide it out-
wards
3. Fold the retaining wire down
4. Remove the lamp holder and replace the
lamp
5. Reinsert the lamp holder in the correct
position
6. Fold the retaining wire back up and
catch in place. Ensure that it is placed in
the middle of the wire connector.Xenon lamps* The service life of these bulbs is very long
and the probability of a failure is very low,
provided that they are not switched on and
off an unusual number of times. If one of
these bulbs should nevertheless fail, it is
possible to continue driving with great cau-
tion using the fog lamps, provided traffic
laws in your area do not prohibit this.
Because of the extremely high volt-
ages involved, any work on the xenon
lighting system should be carried out by
technically-qualified personnel only. Other-
wise, there is a risk of fatal injury.<
ba.book Seite 107 Montag, 5. August 2002 8:09 20
ProCarManuals.com
Page 124 of 148

122
BATTERYLocation in the MINI COOPERThe battery is located in the engine com-
partment.
Exact location, see page 92.Location in the MINI COOPER SThe battery is located in the cargo area
under the floor mat.
Battery careThe battery is absolutely maintenance-free,
that is, the original electrolyte will normally
last for the service life of the battery under
moderate climatic conditions.
For all questions regarding the bat-
tery, please consult your MINI
Dealer.<
Charging the battery Only charge the battery in the vehicle via
the terminals in the engine compartment
with the engine switched off, see "Jump-
starting" on page 124.
Whenever working on the electrical
system, disconnect the cable from
the negative terminal of the battery. Fail-
ure to do this could result in fire hazards or
injury due to short circuits.
point or your MINI Dealer. Maintain
the battery in an upright position for trans-
port and storage. Secure the battery to pre-
vent it from tilting during transport.<
ba.book Seite 122 Montag, 5. August 2002 8:09 20
ProCarManuals.com
Page 131 of 148

OVERVIEW
CONTROLS
OPERATION, CARE, MAINTENANCE
OWNER SERVICE PROCEDURES
INDEX TECHNICAL DATA
129
OVERVIEW REPAIRS OPERATION CONTROLS DATA INDEX
Data
ba.book Seite 129 Montag, 5. August 2002 8:09 20
ProCarManuals.com
Page 137 of 148

OVERVIEW
CONTROLS
OPERATION, CARE, MAINTENANCE
OWNER SERVICE PROCEDURES
INDEX TECHNICAL DATA
135
OVERVIEW REPAIRS OPERATION CONTROLS DATA INDEX
Index
ba.book Seite 135 Montag, 5. August 2002 8:09 20
ProCarManuals.com
Page 140 of 148

EVERYTHING FROM A TO Z
138
Defrosting windows69,72
air conditioning system69
automatic climate
control72
Dimensions131
Dimming
interior mirror39
Dipstick, engine oil94
Dirt on the paintwork99
Disc brakes84
Displacement130
Display elements13,14
coolant thermometer59
fuel gauge58
indicator and warning
lamps15
odometer58
service interval display60
with navigation system14
Display lighting53
Distance remaining61
Doors
keys22
locking24
manual operation25
unlocking24
DOT quality grades87
Driving lamps52
Driving notes, general81
Dry air68,71 DSC (Dynamic Stability
Control)16,63
Dynamic Stability Control
(DSC)16,63
E
Easy entry35
EBD (Electronic Brake Force
Distribution)16,83
Electric power windows28
Electrical defect
driver's door25
sliding/tilt sunroof30
tailgate27
Electronic Brake Force
Distribution (EBD)16,83
Electronic transmission control
module
Continuously Variable
automatic Transmission
(CVT)51
Emergency operation
driver's door25
sliding/tilt sunroof30
tailgate27
Engine80
electronics17
power output17
speed17,58
starting46 Engine compartment
MINI COOPER92
MINI COOPER S93
Engine oil94
additives95
consumption94
dipstick94
High Performance
Synthetic Oil96
level94
pressure15
recommended grades of
oil95
viscosities96
Entry to the rear35
Exterior finish, care99
Exterior mirrors39
Eyelets, towing126
F
Failure, tires64
False alarm32
Fans68
Fastening safety belts16,38
Filling canister118,119
Filling hose118
First-aid kit124
Flat116 Flat tire64,112
MINI Mobility System118
Run Flat tires116
space-saver spare tire112
Flat Tire Monitor16,17,64
Floor coverings, floor
carpets100
Fluid capacities
fuel tank133
headlamp washer
system133
windshield washer
system133
Fog lamps53
Foldable rear backrest74
"Follow me home" lamps52
Foot mats100
Footbrake84
Footwell lamps53
bulb replacement111
Front airbags40
Front fog lamps
bulb replacement108
Front seat adjustment34
Fuel
consumption61
consumption display58
preparation130
quality83
tank capacity82,133
ba.book Seite 138 Montag, 5. August 2002 8:09 20
ProCarManuals.com
Page 141 of 148

EVERYTHING FROM A TO Z
139
OVERVIEW REPAIRS OPERATION CONTROLS DATA INDEX
Fuel gauge58
Fuses123
G
Gas display, see
Fuel gauge58
Gasoline83
Gear display51
Continuously Variable
automatic Transmission
(CVT)51
General driving notes81
Glove compartment73
Glove compartment lamps
bulb replacement111
Grills69,72
H
Handbrake47
Hazard warning flashers12
Head airbags40
Head restraints37
Headlamp cleaning
system55,94
filling94
Headlamp flasher52
Headlamps
cleaning55,99
lamp replacement107 Heated
outside rear view mirror39
rear window68,71
seats36
windshield68,71
windshield washer jets55
Heater67
outside rear view mirror39
windshield68
Heating
rear window68
seats36
Heavy cargo75
Height131
Hex wrench118
High beams18,52,107
High Performance
Synthetic Oil96
recommended grades of
oil96
Horn12
Hub cap remover112,118
Hydroplaning81
I
Ignition45
Ignition key22
Ignition key position,
see Ignition45
Illuminated vanity mirror39
Imitation leather100 Imprint2
Index2
Indicator lamps15
Individual air distribution72
Inflation pressure85
INSPECTION60
Instrument cluster, see Display
elements13
Instrument lighting53
Instrument panel12
Interface socket
for Onboard
Diagnostics102
Interior lamps53
bulb replacement110
Interior mirror
automatic dimming39
Interior motion sensor31,32
Interior protection
turning off25,32
Interior rearview mirror39
Interlock45
Interval
operation, wipers54
Interval display, service98
J
Jack112
Jump-starting124 K
Keys22
multifunction steering
wheel19
Kickdown50
L
Lamp replacement
headlamps107
high beams107
low beams107
parking lamp107
Lamps52
backup lamps109
brake lamps109,110
cargo area lamps111
daytime driving lamps52
fog lamps53
footwell lamps111
front fog lamps108
glove compartment111
high beams107
instrument lighting53
interior lamps53,110
license plate lamp110
low beams52,107
parking lamps52,108
reading lamps53,110
rear fog lamp109
standing lamps52,108
tail lamp109
ba.book Seite 139 Montag, 5. August 2002 8:09 20
ProCarManuals.com