buttons MINI COOPER 2003 Owners Manual
[x] Cancel search | Manufacturer: MINI, Model Year: 2003, Model line: COOPER, Model: MINI COOPER 2003Pages: 148, PDF Size: 3.17 MB
Page 21 of 148

19
OVERVIEW REPAIRS OPERATION CONTROLS DATA INDEX
MULTIFUNCTION STEERING WHEEL
*
The control buttons integrated within the
multifunction steering wheel have been
designed to allow you to operate a number
of accessories both quickly and safely, with-
out taking your eyes from the road:
>
Some audio source functions
>
Cruise control.
The illustration shows the possible full
equipment level. For further details, please
consult the description of the relevant item
of equipment.
Buttons facing the driver
1Cruise control: activate/interrupt/deacti-
vate
2Continue cruise control
3Horn
4Cruise control: store and accelerate
with +
5Cruise control: store and decelerate
with –
Buttons facing away from the driver
Left:
1
>
Radio
Press briefly: selection of the station
memory in the FM and AM range
Extended pressure: station scan
>
CD
Press briefly: jump to next track
Extended pressure: title scan
>Cassette
Press briefly: jump to next track or
stop fast forward
Extended pressure: fast forward/
rewind
Right:
1Volume
2Changing between radio, cassette and CD
ba.book Seite 19 Montag, 5. August 2002 8:09 20
ProCarManuals.com
Page 25 of 148

23
OVERVIEW REPAIRS OPERATIONCONTROLS DATA INDEX
CENTRAL LOCKING SYSTEM OPENING AND CLOSING – FROM OUTSIDEThe conceptThe central locking system is ready for
operation whenever the driver's door is
closed. The doors, the tailgate and the fuel
filler door are unlocked or locked.
The central locking system secures your
MINI:
>When operated from the outside via the
remote control as well as via the door
lock
>When operated from the inside via a
switch
>Automatically, as soon as you start driv-
ing.
If operated from outside, the anti-theft sys-
tem is activated at the same time. This pre-
vents the doors from being unlocked via
safety lock buttons or door handles.
The alarm system is also armed or dis-
armed; refer to page 31.
In the event of an accident, the central lock-
ing system unlocks automatically. The haz-
ard warning system and interior lamps are
also switched on.
Via remote controlThe remote control gives you an exception-
ally convenient method for unlocking and
locking your vehicle. It also offers another
function:
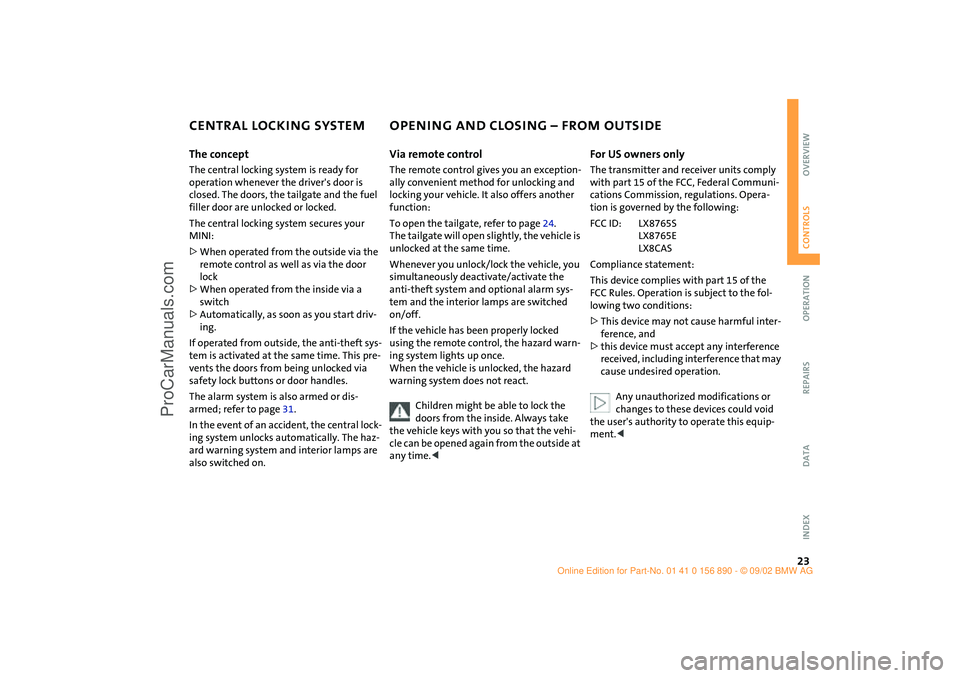
To open the tailgate, refer to page 24.
The tailgate will open slightly, the vehicle is
unlocked at the same time.
Whenever you unlock/lock the vehicle, you
simultaneously deactivate/activate the
anti-theft system and optional alarm sys-
tem and the interior lamps are switched
on/off.
If the vehicle has been properly locked
using the remote control, the hazard warn-
ing system lights up once.
When the vehicle is unlocked, the hazard
warning system does not react.
Children might be able to lock the
doors from the inside. Always take
the vehicle keys with you so that the vehi-
cle can be opened again from the outside at
any time.<
For US owners only The transmitter and receiver units comply
with part 15 of the FCC, Federal Communi-
cations Commission, regulations. Opera-
tion is governed by the following:
FCC ID: LX8765S
LX8765E
LX8CAS
Compliance statement:
This device complies with part 15 of the
FCC Rules. Operation is subject to the fol-
lowing two conditions:
>This device may not cause harmful inter-
ference, and
>this device must accept any interference
received, including interference that may
cause undesired operation.
Any unauthorized modifications or
changes to these devices could void
the user's authority to operate this equip-
ment.<
ba.book Seite 23 Montag, 5. August 2002 8:09 20
ProCarManuals.com
Page 28 of 148

26
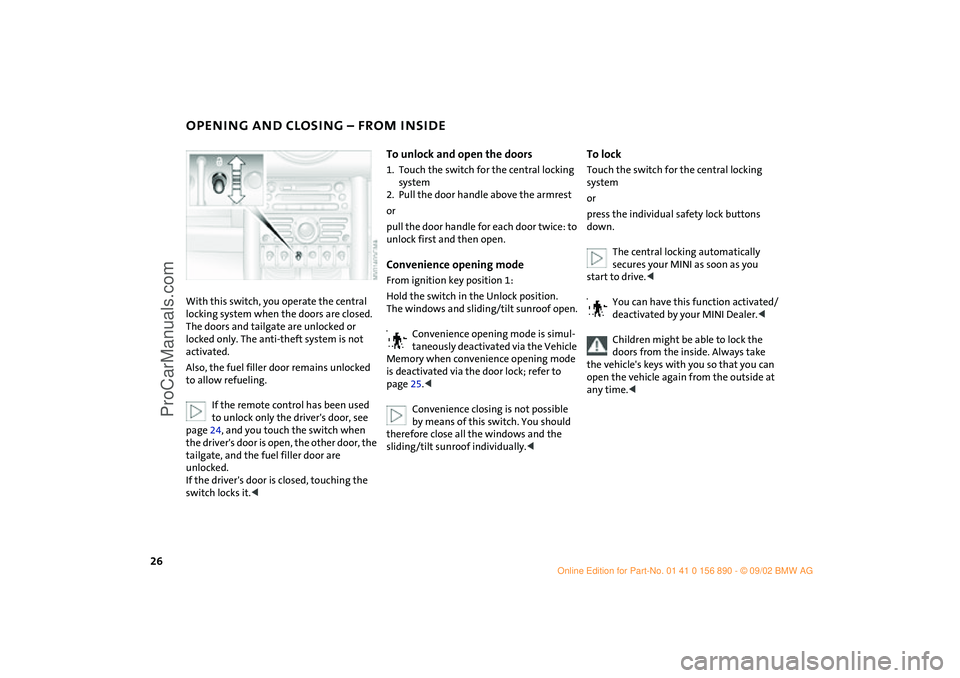
OPENING AND CLOSING – FROM INSIDE With this switch, you operate the central
locking system when the doors are closed.
The doors and tailgate are unlocked or
locked only. The anti-theft system is not
activated.
Also, the fuel filler door remains unlocked
to allow refueling.
If the remote control has been used
to unlock only the driver's door, see
page 24, and you touch the switch when
the driver's door is open, the other door, the
tailgate, and the fuel filler door are
unlocked.
If the driver's door is closed, touching the
switch locks it.<
To unlock and open the doors1. Touch the switch for the central locking
system
2. Pull the door handle above the armrest
or
pull the door handle for each door twice: to
unlock first and then open.Convenience opening modeFrom ignition key position 1:
Hold the switch in the Unlock position.
The windows and sliding/tilt sunroof open.
Convenience opening mode is simul-
taneously deactivated via the Vehicle
Memory when convenience opening mode
is deactivated via the door lock; refer to
page 25.<
Convenience closing is not possible
by means of this switch. You should
therefore close all the windows and the
sliding/tilt sunroof individually.<
To lockTouch the switch for the central locking
system
or
press the individual safety lock buttons
down.
The central locking automatically
secures your MINI as soon as you
start to drive.<
You can have this function activated/
deactivated by your MINI Dealer.<
Children might be able to lock the
doors from the inside. Always take
the vehicle's keys with you so that you can
open the vehicle again from the outside at
any time.<
ba.book Seite 26 Montag, 5. August 2002 8:09 20
ProCarManuals.com
Page 45 of 148

43
OVERVIEW REPAIRS OPERATIONCONTROLS DATA INDEX
TRANSPORTING CHILDREN SAFELYChild seat securityAll of the rear belt retractors and the front
passenger's safety belt can be locked for
mounting and securing child-restraint
systems.
Information regarding this is located near
the buckle latch of each safety belt.
To lock the belt Pull the entire length of the belt from the
belt retractor. Allow the reel to retract the
belt somewhat and engage the buckle,
then tighten the belt against the child-res-
traint system.
The retraction mechanism is now locked. To unlock the belt Release the buckle, remove the child-
restraint system and allow the belt retrac-
tor to reel the belt completely in.
LATCH child-restraint systemOpen the cover.
The illustration is an example showing the
mounts for the LATCH, Lower Anchors and
Tethers for CHildren, child-restraint moun-
ting system at the right rear.
The system is also available at the left rear
position.
Canadian models only:
The LATCH anchorage points are identified
by buttons, see illustration.
Always follow all manufacturer's
instructions and observe all safety
precautions when installing the LATCH
child-restraint system.<
ba.book Seite 43 Montag, 5. August 2002 8:09 20
ProCarManuals.com
Page 62 of 148

60
SERVICE INTERVAL DISPLAY CLOCK COMPUTER
*
Remaining distance for service
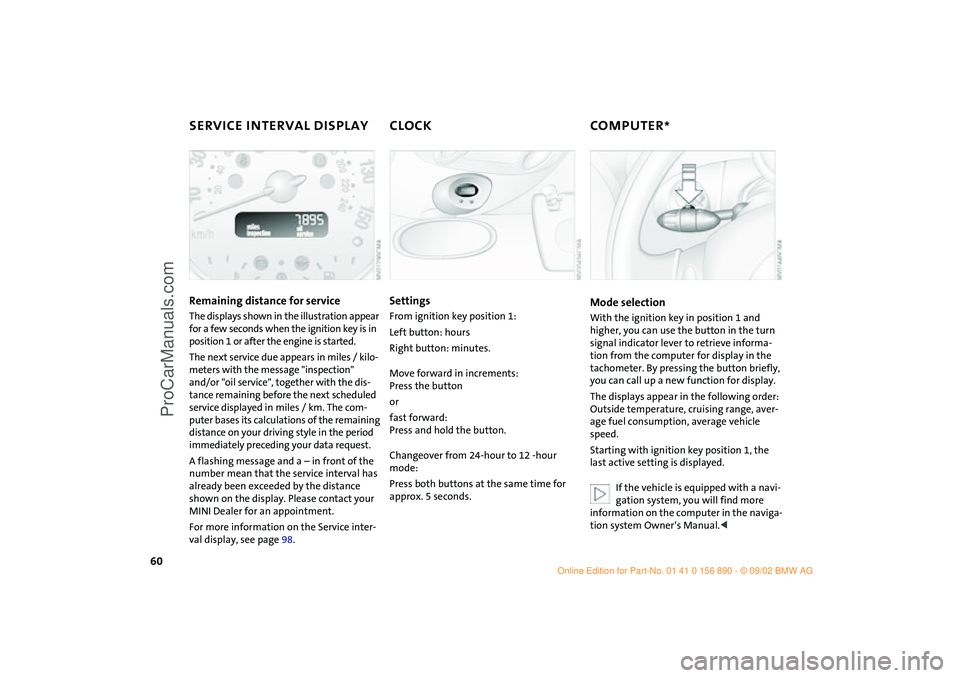
The displays shown in the illustration appear
for a few seconds when the ignition key is in
position 1 or after the engine is started.
The next service due appears in miles / kilo-
meters with the message "inspection"
and/or "oil service", together with the dis-
tance remaining before the next scheduled
service displayed in miles / km. The com-
puter bases its calculations of the remaining
distance on your driving style in the period
immediately preceding your data request.
A flashing message and a – in front of the
number mean that the service interval has
already been exceeded by the distance
shown on the display. Please contact your
MINI Dealer for an appointment.
For more information on the Service inter-
val display, see page 98.
SettingsFrom ignition key position 1:
Left button: hours
Right button: minutes.
Move forward in increments:
Press the button
or
fast forward:
Press and hold the button.
Changeover from 24-hour to 12 -hour
mode:
Press both buttons at the same time for
approx. 5 seconds.
Mode selectionWith the ignition key in position 1 and
higher, you can use the button in the turn
signal indicator lever to retrieve informa-
tion from the computer for display in the
tachometer. By pressing the button briefly,
you can call up a new function for display.
The displays appear in the following order:
Outside temperature, cruising range, aver-
age fuel consumption, average vehicle
speed.
Starting with ignition key position 1, the
last active setting is displayed.
If the vehicle is equipped with a navi-
gation system, you will find more
information on the computer in the naviga-
tion system Owner‘s Manual.<
ba.book Seite 60 Montag, 5. August 2002 8:09 20
ProCarManuals.com
Page 143 of 148

EVERYTHING FROM A TO Z
141
OVERVIEW REPAIRS OPERATION CONTROLS DATA INDEX
Q
Quality grading, tire88
R
Radiator96
Radio, see separate Owner's
Manual
Rain sensor54
Reading lamps53
bulb replacement110
Rear backrest
foldable74
Rear fog lamp
bulb replacement109
Rear lamps48,109
Rear shelf, see Cargo area
cover74
Rear window defroster
air conditioning system68
automatic climate
control71
Rear window wiper55
replacing106
Rearview mirror39
Recirculated air mode
air conditioner system68
automatic climate
control71
Recirculation of air68,71
Reclining seat34 Recommended grades of
oil96
Refueling, fuel filler door82
Remaining distance for
service60
Remote control23
battery22
changing battery22
initialization22
Removing fog on windows
air conditioning system69
automatic climate
control72
Replacement key22
Reporting safety defects8
Reserve indicator light58
Restore tire inflation
pressure120
Restraint system41
Reverse gear48,50
Rod antenna99
Roller sun blind, rear window
blind30
Roof load132
Rope, towing126
Rubber parts100
Run Flat tires85,88,116
winter tires89 S
Safety belts16,33
adjusting38
care100
Safety lock buttons26
Seat heater36
Securing cargo75
Selector lever
shiftlock45,49
Service and Warranty
Information Booklet
for US models98
Service interval
display60,98
Setting up the car44
Shiftlock49
Side airbags40
Side turn signal indicators
bulb replacement108
Sitting safely with airbags33
Sitting safely with safety
belts33
Size131
Sliding/tilt sunroof29
convenience
operation25,29
Snow chains90
Space-saver spare tire
changing tires112
Spare key22
Speed130 Speed control see Cruise
control56
Speed, winter tires90
Split rear backrest74
Spray jets55
Standing lamps52
bulb replacement108
Starting46
problems46,124,126
with a discharged
battery124
Steering lock45
Storage, tires89
Storing the vehicle101
Sun visors39
Switches12
Symbols6
T
Tachometer13,14,58
Tail lamps
bulb replacement109
Tailgate16,27
manually unlocking27
opening, remote control24
Tank display58
Technical data130
Technical modifications103
Temperature
air conditioning system68
ba.book Seite 141 Montag, 5. August 2002 8:09 20
ProCarManuals.com