date MINI COOPER 2012 User Guide
[x] Cancel search | Manufacturer: MINI, Model Year: 2012, Model line: COOPER, Model: MINI COOPER 2012Pages: 207, PDF Size: 3.18 MB
Page 161 of 207

MOBILITYReplacing components
160
3.Replace the bulb.
4. Insert the lamp.
MINI Clubman: license plate lamps
5 watt bulb, C 5 W
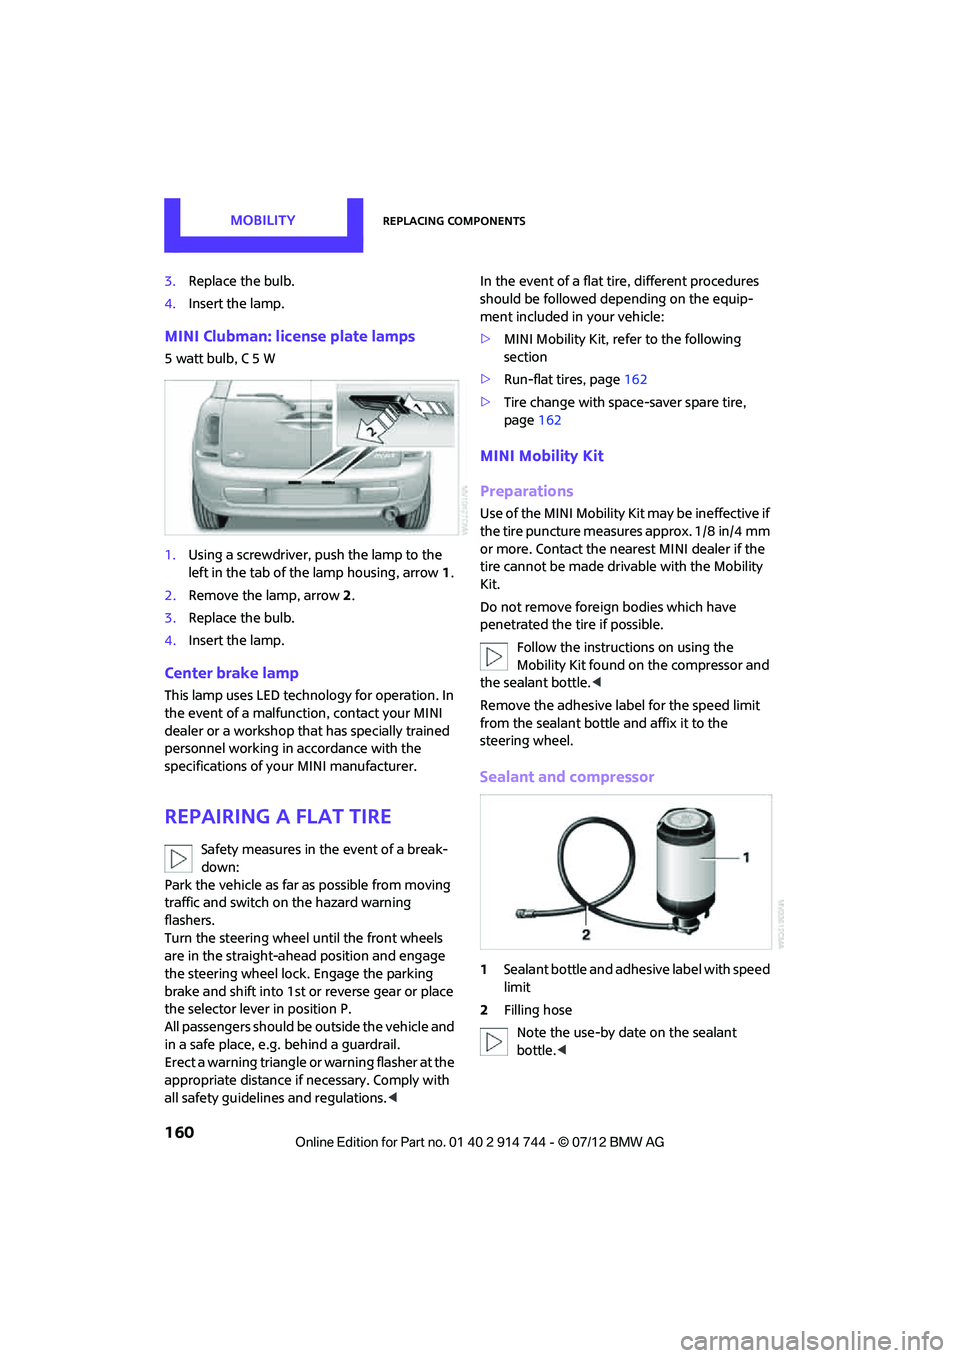
1.Using a screwdriver, push the lamp to the
left in the tab of the lamp housing, arrow 1.
2. Remove the lamp, arrow 2.
3. Replace the bulb.
4. Insert the lamp.
Center brake lamp
This lamp uses LED techno logy for operation. In
the event of a malfunction, contact your MINI
dealer or a workshop th at has specially trained
personnel working in accordance with the
specifications of your MINI manufacturer.
Repairing a flat tire
Safety measures in the event of a break-
down:
Park the vehicle as far as possible from moving
traffic and switch on the hazard warning
flashers.
Turn the steering wheel until the front wheels
are in the straight-ahead position and engage
the steering wheel lock. Engage the parking
brake and shift into 1st or reverse gear or place
the selector lever in position P.
All passengers should be outside the vehicle and
in a safe place, e.g. behind a guardrail.
Erect a warning triangle or warning flasher at the
appropriate distance if necessary. Comply with
all safety guidelines and regulations.
should be followed depending on the equip-
ment included in your vehicle:
> MINI Mobility Kit, refer to the following
section
> Run-flat tires, page 162
> Tire change with space-saver spare tire,
page 162
MINI Mobility Kit
Preparations
Use of the MINI Mobility Kit may be ineffective if
the tire puncture measures approx. 1/8 in/4 mm
or more. Contact the nearest MINI dealer if the
tire cannot be made drivable with the Mobility
Kit.
Do not remove foreign bodies which have
penetrated the tire if possible.
Follow the instructions on using the
Mobility Kit found on the compressor and
the sealant bottle. <
Remove the adhesive label for the speed limit
from the sealant bottle and affix it to the
steering wheel.
Sealant and compressor
1 Sealant bottle and adhesive label with speed
limit
2 Filling hose
Note the use-by date on the sealant
bottle. <
Online Edition for Part no. 01 40 2 914 744 - \251 07/12 BMW AG
Page 166 of 207

Replacing componentsMOBILITY
165
6.Tighten all the lug bolts firmly in a diagonal
pattern.
7. Lower the vehicle.
8. Remove the jack.
Tightening the lug bolts
Tighten the lug bolts in a diagonal pattern.
Immediately have the wheels checked
with a calibrated torque wrench to ensure
that the lug bolts are firmly seated. Otherwise,
incorrectly tightened lug bolts can present a
safety hazard. <
Tightening torque: 103.3 lb ft or 140 Nm.
Replace the defective tire as soon as possible
and have the new wheel/tire assembly
balanced.
Vehicle battery
Maintenance
The battery is maintenance-free; that is, the
electrolyte will last for the life of the battery
when the vehicle is operated in a temperate
climate.
Battery replacement
Only use vehicle batteries that have been
approved for your vehicle by the manu-
facturer; otherwise, the vehicle could be
damaged and systems or functions may not
be fully available. <
After a battery replacement, have the battery
registered on the vehicle by your MINI dealer to
ensure that all convenience functions are fully
available and, if nece ssary, the corresponding
Check Control messages are no longer dis-
played.
Charging the battery
Note
Do not connect battery chargers to the
sockets installed in the vehicle at the
factory; otherwise you may cause damage to
the battery. <
Only charge the battery in the vehicle when
the engine is off. Connections, refer to Jump-
starting on page 168.
General information
To guarantee the full service life of the battery,
ensure that the battery is always properly
charged.
It may be necessary to charge the battery in the
following situations:
>If frequent short trips are taken.
> If the vehicle is frequently parked for more
than a month.
Disposal
After replacing old batteries, return the
used batteries to your MINI dealer or to
arecycling center. Maint ain the battery in an
upright position for transport and storage.
Always secure the battery against tipping over
during transport. <
Power failure
After a temporary power loss, some equipment
may not be fully functional and may require ini-
tialization. Individual se ttings are also lost and
must be reprogrammed:
> Time and date
These values must be updated, page 61.
> Radio
In some cases, statio ns may have to be
stored again, page 106.
> Glass sunroof, electric
It may only be possible to tilt the sunroof, if
applicable. The system must be initialized.
Contact your nearest MINI dealer.
Online Edition for Part no. 01 40 2 914 744 - \251 07/12 BMW AG
Page 168 of 207

Giving and receiving assistanceMOBILITY
167
Giving and receiving assistance
Vehicle equipment
In this chapter, all production, country, and
optional equipment that is offered in the model
range is described. Equipment is also described
that is not available because of, for example,
selected options or count ry version. This also
applies to safety related functions and systems.
Roadside Assistance
Roadside Assistance is available by phone
24 hours a day in many countries. You can
receive assistance there in the event of an
emergency.
First aid pouch
Some of the articles co ntained in the first aid
pouch have a limited se rvice life. Therefore,
check the expiration dates of the contents
regularly and replace any items in good time,
if necessary.
MINI
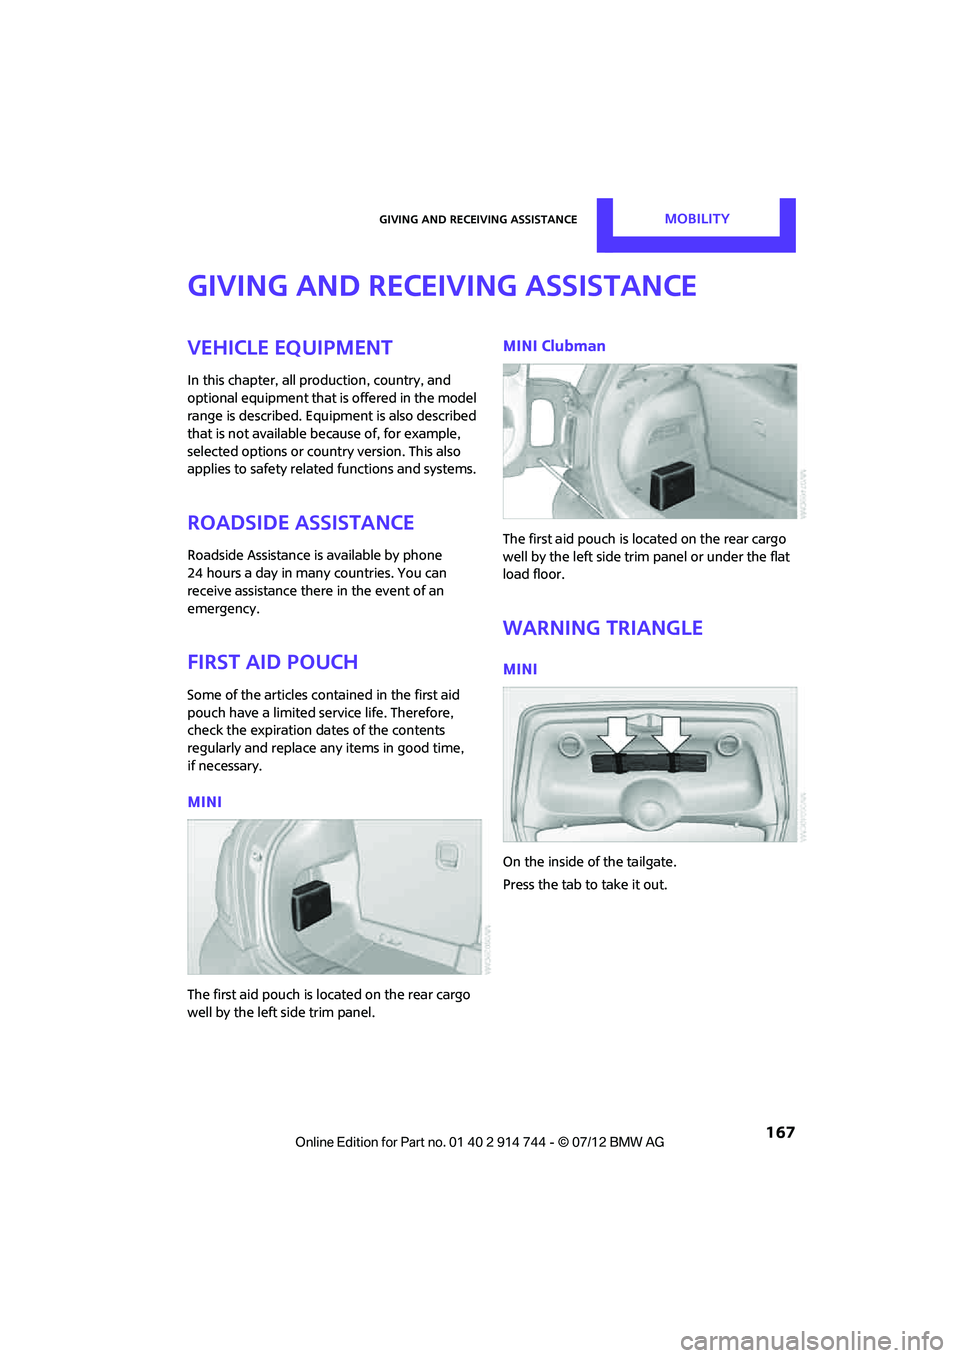
The first aid pouch is located on the rear cargo
well by the left side trim panel.
MINI Clubman
The first aid pouch is located on the rear cargo
well by the left side trim panel or under the flat
load floor.
Warning triangle
MINI
On the inside of the tailgate.
Press the tab to take it out.
Online Edition for Part no. 01 40 2 914 744 - \251 07/12 BMW AG
Page 184 of 207

Indicator and warning lampsMOBILITY
183
No service due
Set speed limit exceeded
Time and date no longer correct Set the time and date, page61.
12Cause What to do
Online Edition for Part no. 01 40 2 914 744 - \251 07/12 BMW AG
Page 197 of 207

REFERENCEEverything from A to Z
196
Chrome parts, refer to Care 149
Cigarette lighter 91
Cleaning headlamps 51
– washer fluid 52
Clock
– setting time 61
– 12 h/24 h mode 58
Closing
– from inside 26
– from outside 23
Clothes hooks 90
Club Door 28
Cockpit 10
Cold start, refer to Starting the engine 45
Comfort Access 30
– replacing the battery 32
– what to observe before
entering a car wash 32
Comfort area, refer to Around the center console 14
Compartment for remote control, refer to Ignition
lock 44
Compass 87
Compressed audio files 109
Computer 55
Condensation, refer to When the vehicle is parked 96
Condition Based Service CBS 147
Configuring settings, refer to
Personal Profile 22
Connecting vacuum cleaner, refer to Connecting electrical
appliances 91
Consumption, refer to Average fuel consumption 55
Control Display
– settings 56
Controls and displays 10
Convenience operation
– windows 24
Convenient access, refer to
Comfort Access 30 Convenient start, refer to
Starting the engine 45
Coolant 146
– checking level 146
– filling 146
Coolant temperature 146
Cooling, maximum 83
Cooling fluid, refer to Coolant 146
Copyright 2
Cornering light, refer to Adaptive Light Control 77
Cruising range 55,56
Cupholders 90
Curb weight, refer to Weights 191
C
urrent fuel consumption 56
D
Dashboard, refer to Cockpit 10
Dashboard instruments, refer
to Displays 12
Dashboard lighting, refer to Instrument lighting 78
Data 186
– capacities 192
– dimensions 187
– engine 186
– weights 191
Data memory 148
Date
– setting 61
Daytime running lights 76
DBC Dynamic Brake Control, refer to Brake Assist 64
Deactivating front passenger airbags 72
Deadlocking, refer to
Locking 24
Defect
– door lock 26
– fuel filler flap 128
Defogging windows 82,84
Defrosting windows 82,84 Defrosting windows and
removing condensation
– air conditioner 82
– automatic climate control 84
Defrosting windshield, refer to Defrosting windows 82,84
Defrost positi on, refer to
Defrosting windows 82,84
Differential, breaking in 94
Digital compass 87
Digital radio, refer to HD Radio 107
Dimensions 187
Dipstick, engine oil 144
Directional indicators, refer to Turn signals 49
Displacement, refer to Engine data 186
Display lighting, refer to
Instrument lighting 78
Displays 12
– instrument panel 12
Displays, care 152
Displays and controls 10
Disposal
– of coolant 146
– remote control battery 32
– vehicle battery 165
Distance remaining to service, refer to Service
requirements 59
Distance warning, refer
to Park
Distance Control PDC 63
Door
– rear, refer to Club Door 28
Door key, refer to Integrated
key/remote control 22
Door lock 26
Door lock, confirmation
signals 24
Doors, manual operation 26
DOT Quality Grades 139
Double doors, refer to Split Rear Barn Doors 28
Drinks holders, refer to
Cupholders 90
Online Edition for Part no. 01 40 2 914 744 - \251 07/12 BMW AG
Page 203 of 207

REFERENCEEverything from A to Z
202
S
Safety belt
– number35
Safety Belt Reminder 38
Safety belts 38
– care 152
– damage 39
– indicator lamp 38
– reminder 38
– sitting safely 35
Safety systems
– airbags 72
– Antilock Brake System ABS 64
– Dynamic Stability Control
DSC 64
– safety belts 38
Safety tires, refer to Run-flat
tires 140
Satellite radio 107
– activating 108
Scan, listening to test
– radio MINI Boost CD 106
Screw thread for tow
fitting 169
Searching
– CD player 109
– radio 105
Searching for a music track
– CD 109
Seat adjustment
– mechanical 36
Seats 36
– adjusting the seats 36
– heating 38
– sitting safely 35
Securing the vehicle
– from inside 26
– from outside 23
Selector lever
– automatic transmission with
Steptronic 47 Selector lever lock
– automatic transmission with
Steptronic, refer to
Shiftlock 47
– overriding manually 48
Selector lever positions
– automatic transmission with
Steptronic 47
Service, refer to Roadside Assistance 167
Service car, refe r to Roadside
Assistance 167
Service data in the remote
control 147
Service Interval Display, refer to Condition Based Service
CBS 147
Service requirement display, refer to Condition Based
Service CBS 147
Service requirements 59
Settings
– clock, 12 h/24 h mode 58
Setting the date 105
Setting the time format 105
Setting tone controls 105
Sh
ifting gears
– automatic transmission with
Steptronic 48
– manual transmission 46
Shiftlock
– automatic transmission, refer to Changing selector lever
positions 47
Side airbags 72
Side door, rear, refer to Club
Door 28
Side turn signal
– replacing bulb 158
Side windows, refer to Windows 33
Signal horn, refer to Horn 10
Sitting safely 35
– airbags 35
– safety belts 35
– with head restraint 35Size, refer to Dimensions
187
Sliding/tilt sunroof
– refer to Glass roof, electric 32
Slot for remote control 44
Smokers' package, refer to Ashtray 91
Snap-in adapter
– inserting/removing 124
– use 116
Snap-in adapter, refer to
Center armrest storage
compartment 89
Snow chains 142
Socket, refer to Connecting electrical appliances 91
Socket for On-Board Diagnosis
OBD 148
Space-saver spare tire
– changing tires 162
– inflation pressure 131
Spare wheel, refer to Space- saver spare tire 162
Special oils, refer to Approved engine oils 145
Speed 186
– with winter tires 142
Speed-dependent volume 104
Speedo, refer to
Speedometer 12
Speedometer 12
Split Rear Barn Doors 28
– opening/closing 28
– opening from outside 28
– unlocking with remote control 25
Split rear seat backrest, refer to
Expanding the cargo area 97
Sport button 66
Stability control, refer to
Driving stability control
systems 64
Start/Stop button 44
– starting the engine 45
– switching off the engine 45
Startin
g, refer to Starting the
engine 45
Online Edition for Part no. 01 40 2 914 744 - \251 07/12 BMW AG