warning MINI COOPER 2012 User Guide
[x] Cancel search | Manufacturer: MINI, Model Year: 2012, Model line: COOPER, Model: MINI COOPER 2012Pages: 207, PDF Size: 3.18 MB
Page 33 of 207

CONTROLSOpening and closing
32
Before driving a vehicle with automatic
transmission into a car wash
1.Insert remote control into ignition lock.
2. Depress the brake.
3. Move the selector lever to position N.
4. Switch off the engine.
The vehicle can roll.
Malfunction
Comfort Access may malf unction due to local
radio waves, e. g. due to the presence of a
mobile phone in the immediate vicinity of the
remote control or the charging of a mobile
phone in the vehicle.
If this happens, open or close the vehicle via the
buttons on the remote control or using the
integrated key.
Insert the remote control into the ignition lock
and start the engine.
Warning lamps
The warning lamp lights up when an
attempt is made to start the engine: the
engine cannot be started. The remote
control is not inside the vehicle or is malfunc-
tioning. Take the remote control with you inside
the vehicle or have it checked. If necessary,
insert another remote co ntrol into the ignition
lock.
The warning lamp lights up when the
engine is running: the remote control is
no longer inside the vehicle. After the
engine is switched off, the engine can only be
restarted within approx. 10 seconds.
The indicator lamp comes on: replace
the battery in the remote control.
Replacing the battery
The remote control for Comfort Access contains
a b a t t e r y t h a t w i l l n e e d t o b e r e p l a c e d f r o m t i m e
to time. 1.
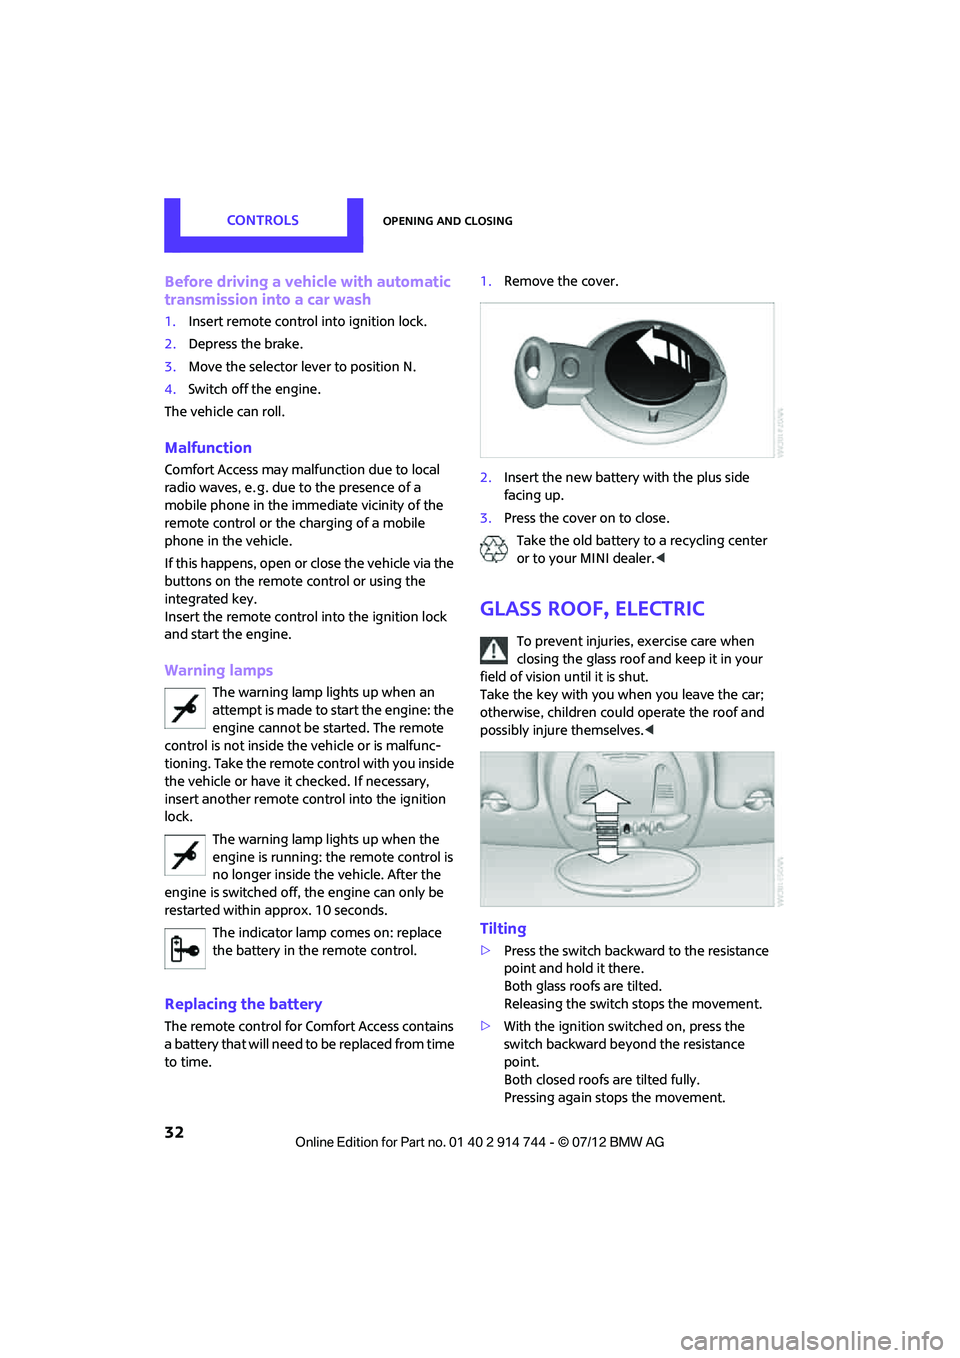
Remove the cover.
2. Insert the new battery with the plus side
facing up.
3. Press the cover on to close.
Take the old battery to a recycling center
or to your MINI dealer. <
Glass roof, electric
To prevent injuries, exercise care when
closing the glass roof and keep it in your
field of vision until it is shut.
Take the key with you when you leave the car;
otherwise, children could operate the roof and
possibly injure themselves. <
Tilting
>Press the switch backwa rd to the resistance
point and hold it there.
Both glass roofs are tilted.
Releasing the switch stops the movement.
> With the ignition switched on, press the
switch backward beyond the resistance
point.
Both closed roofs are tilted fully.
Pressing again stops the movement.
Online Edition for Part no. 01 40 2 914 744 - \251 07/12 BMW AG
Page 46 of 207

DrivingCONTROLS
45
Radio readiness and ignition off
All indicator and warning lamps in the displays
go out.
The ignition switches off automatically if the
driver's door is opened. Pressing the Start/Stop
button again switches the ignition back on.
The ignition is not switched off in situations such
as the following:
>The clutch or brake is depressed
> The low beams are switched on
Starting the engine
Do not allow the engine to run in enclosed
areas; otherwise, inhalation of the noxious
exhaust gases can lead to loss of consciousness
and death. Exhaust gases contain carbon
monoxide, an odorless and colorless, but highly
toxic gas. Never leave an unattended vehicle
with the engine running; otherwise, such a
vehicle represents a potential safety hazard.
Before leaving the car while the engine is run-
ning, place the transmission in neutral or move
the selector lever to position P and forcefully
apply the parking brake to prevent the car from
moving. <
Avoid frequent starting in quick succes-
sion or repeated start attempts in which
the engine does not start. Otherwise, the fuel is
not burned or inadequately burned and there is
a danger of overheating and damaging the
catalytic converter. <
Do not let the engine warm up with the vehicle
at a standstill. Move off immediately at a
moderate engine speed.
When starting the engine, do not depress the
accelerator pedal.
Manual transmission
Key in ignition lock or inside vehicle with
Comfort Access, refer to page 30.
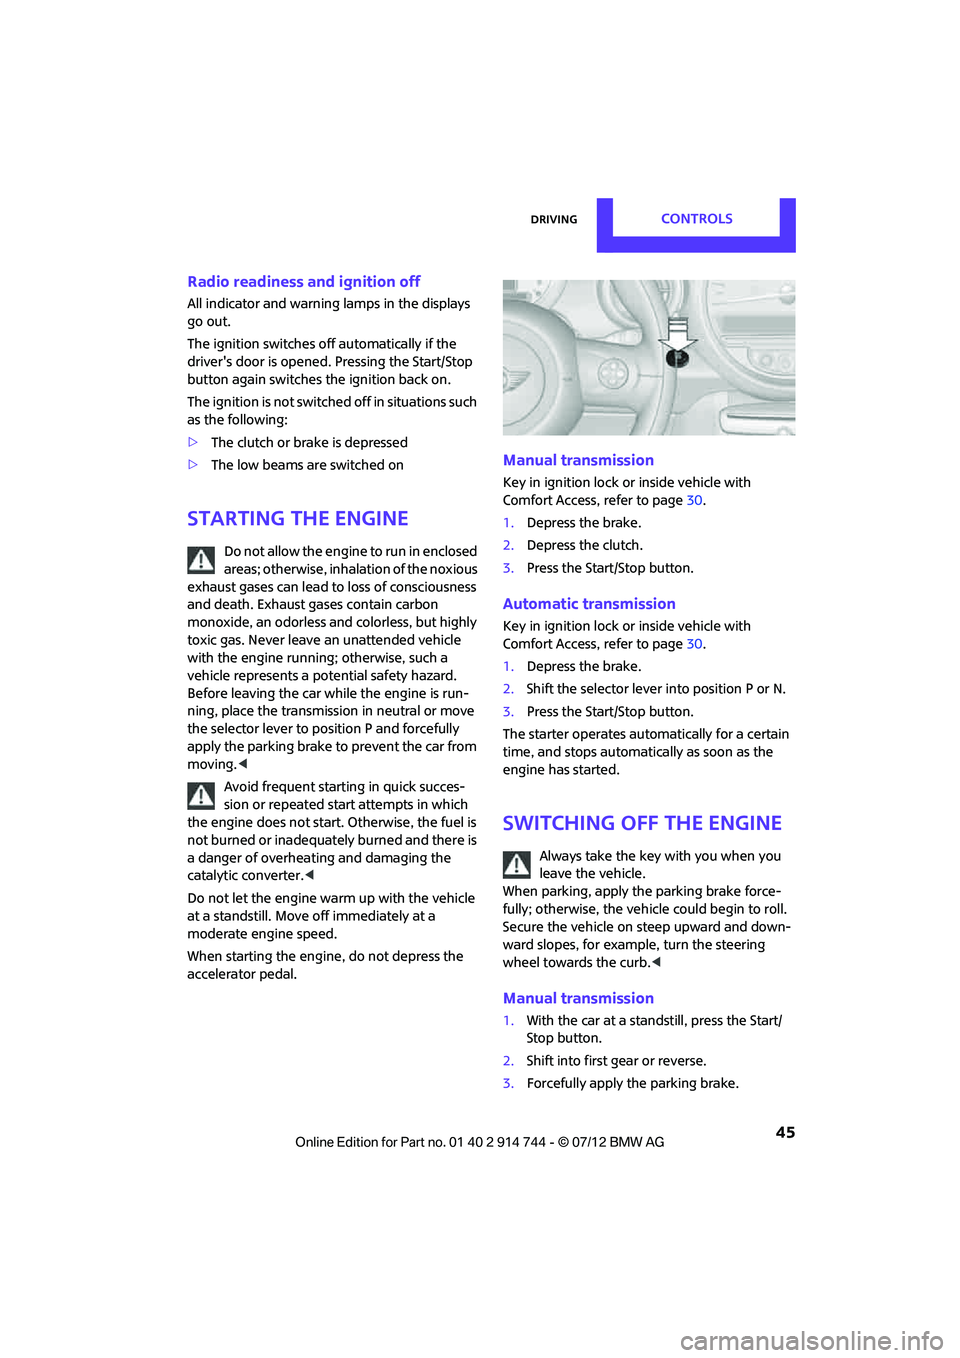
1. Depress the brake.
2. Depress the clutch.
3. Press the Start/Stop button.
Automatic transmission
Key in ignition lock or inside vehicle with
Comfort Access, refer to page 30.
1. Depress the brake.
2. Shift the selector lever into position P or N.
3. Press the Start/Stop button.
The starter operates auto matically for a certain
time, and stops automatically as soon as the
engine has started.
Switching off the engine
Always take the key with you when you
leave the vehicle.
When parking, apply the parking brake force-
fully; otherwise, the vehicle could begin to roll.
Secure the vehicle on steep upward and down-
ward slopes, for example, turn the steering
wheel towards the curb. <
Manual transmission
1.With the car at a standstill, press the Start/
Stop button.
2. Shift into first gear or reverse.
3. Forcefully apply the parking brake.
Online Edition for Part no. 01 40 2 914 744 - \251 07/12 BMW AG
Page 54 of 207

DrivingCONTROLS
53
pedal is released, the stored speed is achieved
again and maintained.
The stored speed is cleared when the ignition is
switched off.
Maintaining current speed
Press button 1.
The system maintains and stores the current
vehicle speed.
If, on a downhill grade, the engine braking effect
is not sufficient, the controlled speed may be
exceeded. On uphill grades vehicle speed may
drop if the engine output is insufficient.
Increasing speed
Press button 1 repeatedly until the desired
speed is reached. Every time you press the
button, the speed increases by approx. 1 mph or
1km/h.
Accelerating using the button
Press and hold button 1.
The vehicle accelerates wi thout pressure on the
accelerator pedal. After the button is released,
the driving speed is maintained and stored.
Decreasing speed
Press button 3 repeatedly until the desired
speed is reached.
The functions here are the same as for increas-
ing the speed or accelerating, except that the
speed will be decreased.
Resuming a speed stored beforehand
Press button 4.
The last speed stored is achieved again and
maintained.
The stored speed is cleared when the ignition is
switched off.
Display on tachometer
Selected speed is displayed briefly. If --- mph or --- km/h is displayed briefly in
the tachometer, the conditions necessary
for operation may not be fulfilled.<
Malfunction
The warning lamp in the tachometer
lights up if the system fails.
Online Edition for Part no. 01 40 2 914 744 - \251 07/12 BMW AG
Page 55 of 207

CONTROLSControls overview
54
Controls overview
Vehicle equipment
In this chapter, all production, country, and
optional equipment that is offered in the model
range is described. Equipment is also described
that is not available because of, for example,
selected options or coun try version. This also
applies to safety relate d functions and systems.
Fuel gauge
Fuel tank capacity
Approx. 13.2 US gal/50 liters.
You can find information on refueling on
page129.
If the tilt of the vehicle varies for a longer period,
when you are driving in mountainous areas, for
example, the indicator may fluctuate slightly.
The arrow next to the gas pump symbol of the
fuel gauge points toward the side of the vehicle
with the fuel filler flap.
Reserve
Once the fuel level has fallen to the reserve zone
of approx. 2.1 US gal/8 liters, the remaining indi-
cator lamps change from orange to red, arrow.
The tachometer displays the remaining cruising
range. A warning lamp comes on when the
remaining range is less than approx. 30 miles/
50 km. If the range displayed is less than
30 miles/50 km, be sure to refuel; other-
wise, engine functions are not guaranteed and
damage may occur. <
With a dynamic driving style, e.g. rapid corner-
ing, engine functions are not always assured.
Tachometer
Never operate the engine with the needle in the
red overspeed zone of the gauge. In this range,
the fuel supply is interrupted to protect the
engine.
Displays in tachometer
1Current vehicle speed
2 Odometer in kilometers, trip recorder,
external temperature, time
3 Resetting the trip odometer
Press button on turn signal indicator to call up
information in the display area 2.
Online Edition for Part no. 01 40 2 914 744 - \251 07/12 BMW AG
Page 56 of 207

Controls overviewCONTROLS
55
The following information is displayed sequen-
tially:
> Trip odometer
> Time
> External temperature
Trip odometer
To display trip recorder:
Briefly press button 3.
Resetting the trip odometer:
While the trip recorder is displayed and the
ignition is switched on, press button 3.
Time
To set time, see page 61.
External temperature, external
temperature warning
When the displayed temperature sinks to
approx. +37 7/+3 6, a signal sounds and a
warning lamp lights up. There is an increased
risk of black ice.
Even at temperatures above +37 7/+3 6
ice can form. Therefore, drive carefully,
e.g. on bridges and sections of road in the
shade; otherwise, there is an increased accident
risk. <
Units of measure
Select the respective units of measure, miles or
km for the odometer as well as 7 or 6 for the
external temperature, page 58.
Computer
Displays in tachometer
Press the button in the turn signal lever repeat-
edly to call up variou s items of information.
The following information is displayed sequen-
tially:
> Cruising range
> Average fuel consumption
> Current fuel consumption
> Average speed
To set the corresponding units of measure, refer
to Formats and units of measure on page 58.
Cruising range
Displays the estimated cruising range available
with the remaining fuel. The range is calculated
on the basis of the way the car has been driven
over the last 18 miles/30 km and the amount of
fuel currently in the tank.
If the range displayed is less than
30 miles/50 km, be sure to refuel; other-
wise, engine functions are not guaranteed and
damage could occur.<
Average fuel consumption
Calculated for the time the engine has been
running.
To reset average fuel consumption: press the
button in the turn signal lever for approx.
2 seconds.
Online Edition for Part no. 01 40 2 914 744 - \251 07/12 BMW AG
Page 62 of 207

Controls overviewCONTROLS
61
More information on the MINI Maintenance
System can be found on page 147.
Clock
Setting the time
Radio MINI Boost CD:
1.Press the MENU button.
2. Press the button.
3. Press the button.
4. Select the desired menu item, "FORMAT",
"HRS" or "MIN", and then press the button.
5. Turn the knob on the right to set values.
6. Press the knob on the right to store values.
7. Press the button to exit setting
values.
Date
Setting date
Radio MINI Boost CD:
1. Press the MENU button.
2. Press the button.
3. Press the button.
4. Select the desired menu item "DD", "MM" or
"YY".
5. Turn the knob on the right to set values.
6. Press the knob on the right to store values.
7. Press the button to exit setting
values.
Check Control
The concept
The Check Control monitors vehicle functions
and alerts you to any malfunctions in the
systems monitored. Check Control messages
involve indicator or warning lamps in the
displays and, in some circumstances, an acoustic
signal.
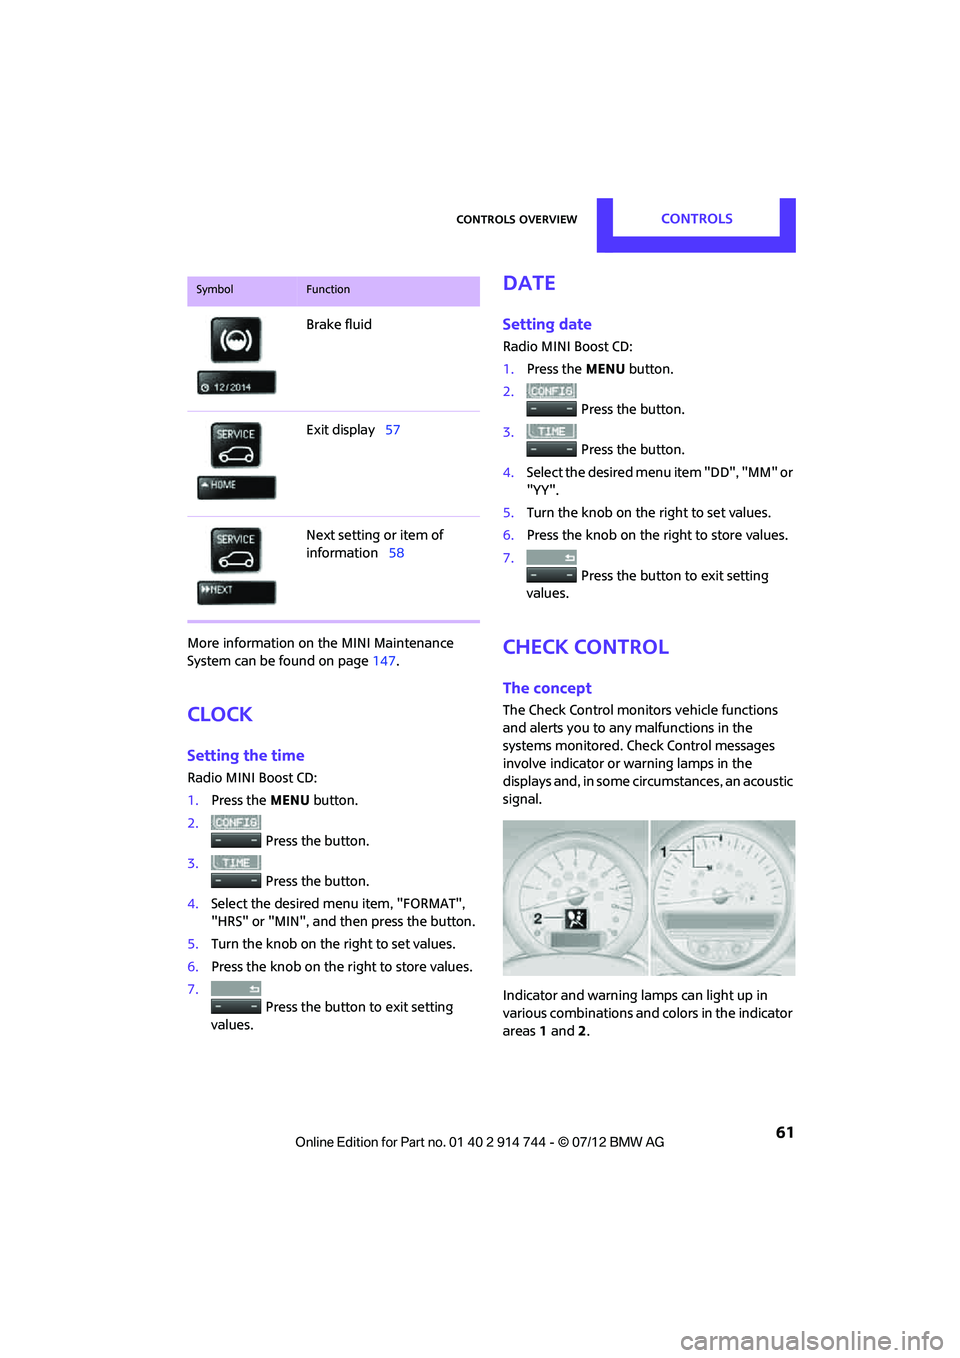
Indicator and warning lamps can light up in
various combinations and colors in the indicator
areas 1 and 2.
Brake fluid
Exit display
57
Next setting or item of
information 58
SymbolFunction
Online Edition for Part no. 01 40 2 914 744 - \251 07/12 BMW AG
Page 64 of 207

Technology for driving comfort and safetyCONTROLS
63
Technology for driving comfort and
safety
Vehicle equipment
In this chapter, all production, country, and
optional equipment that is offered in the model
range is described. Equipment is also described
that is not available because of, for example,
selected options or count ry version. This also
applies to safety related functions and systems.
Park Distance Control
PDC
The concept
PDC assists you with parking in reverse. Acoustic
signals warn you of the presence of an object
behind the vehicle. To measure the distance,
there are four ultrasonic sensors in either
bumper.
However, an acoustic warning does not sound
until an object is approx. 24 in/60 cm from the
corner sensors, or approx. 5 ft/1.50 m from the
center sensors.
PDC is a parking aid that can indicate
objects when they are approached slowly,
as is usually the case when parking. Avoid
approaching an object at high speed; otherwise,
physical circumstances ma y lead to the system
warning being issued too late.<
Automatic mode
With the engine running or the ignition switched
on, the system is activated automatically after
approx. 1 second when you engage reverse
gear or move the automatic transmission selec-
tor lever to position R. Wait this short period
before driving.
Acoustic signals
As the distance between vehicle and object
decreases, the intervals between the tones
become shorter. If the distance to the nearest
object falls to below roughly 1 ft/30 cm, then a
continuous tone sounds.
If the distance remains constant, e.g. when
driving parallel to a wall, the acoustic signal
stops after approx. 3 seconds.
Adjustments
The volume of the acoustic signals can be set,
refer to page 104.
Malfunction
Indicator lamp lights up. PDC has failed.
Have the system checked.
To avoid this problem, keep the sensors
clean and free of ice or snow in order to ensure
that they will continue to operate effectively.
When using a high-pressure cleaner, do not
direct the jet toward the sensors for lengthy
periods and only spray from a distance of at least
4in/10cm.
System limitations
Even with PDC, final re sponsibility for esti-
mating the distance between the vehicle
and any obstructions always remains with the
driver. Sensors, too, ha ve blind spots in which
objects cannot be detected. Moreover, ultra-
sonic detection can reach its physical limits with
objects such as trailer tow bars and couplings,
thin and wedge-shaped objects, etc. Low
objects already indicated, such as curbs, may
enter the sensors' blind spots before or after a
continuous audible signal is given. Higher, pro-
truding objects, such as wall ledges, may not be
detectable. Therefore, al ways drive cautiously;
otherwise, there is a risk of personal injury or
Online Edition for Part no. 01 40 2 914 744 - \251 07/12 BMW AG
Page 68 of 207

Technology for driving comfort and safetyCONTROLS
67
Functional requirement
The system must have been initialized while the
tire inflation pressure was correct; otherwise,
reliable signaling of a fl at tire is not ensured.
Initialize the system afte r every correction of the
tire inflation pressure and after every tire or
wheel change.
System limitations
Sudden serious tire damage caused by
external influences ca nnot be indicated in
advance. <
A natural, even pressure loss in all four tires
cannot be detected. Therefore, check the tire
inflation pressure regularly.
In the following situations, the system could be
delayed or malfunction:
> System has not been initialized.
> Driving on snowy or slippery road surface.
> Performance-oriented styl e of driving: slip in
the drive wheels, high lateral acceleration.
> Snow chains are attached.
When the vehicle is driven with a space-saver
spare tire, page 163, the Flat Tire Monitor
cannot function.
Initializing the system
The initialization process adopts the set inflation
tire pressures as refere nce values for the detec-
tion of a flat tire. Initia lization is started by con-
firming the inflation pressures.
Do not initialize the system when driving with
snow chains.
Using the button in the turn signal lever
1. Start the engine, but do not start driving.
2. Press the button in the turn signal indicator
as often as necessary until "SET/INFO" is
displayed.
3. Press and hold the butt on until the display
changes.
4. Press the button repeatedly until the corre-
sponding symbol and "RESET" are displayed.
5. Press and hold the butt on until the display
changes.
6. Start driving.
Initialization is completed while the car is on
the move, without any feedback.
The initialization is completed during
driving, which can be interrupted at any
time. When driving resumes, the initialization is
continued automatically. <
Indication of a flat tire
The warning lamps come on in yellow
and red. An acoustic signal also sounds.
There is a flat tire or a major loss in tire
inflation pressure.
Online Edition for Part no. 01 40 2 914 744 - \251 07/12 BMW AG
Page 71 of 207

CONTROLSTechnology for driving comfort and safety
70
pressures in the tires are accepted as the
target values to be monitored. The system
reset is completed during your drive, and
can be interrupted at any time. When driving
resumes, the reset is continued automati-
cally. The indicator lamp goes out after the
system reset is completed.
Message for low tire inflation pressure
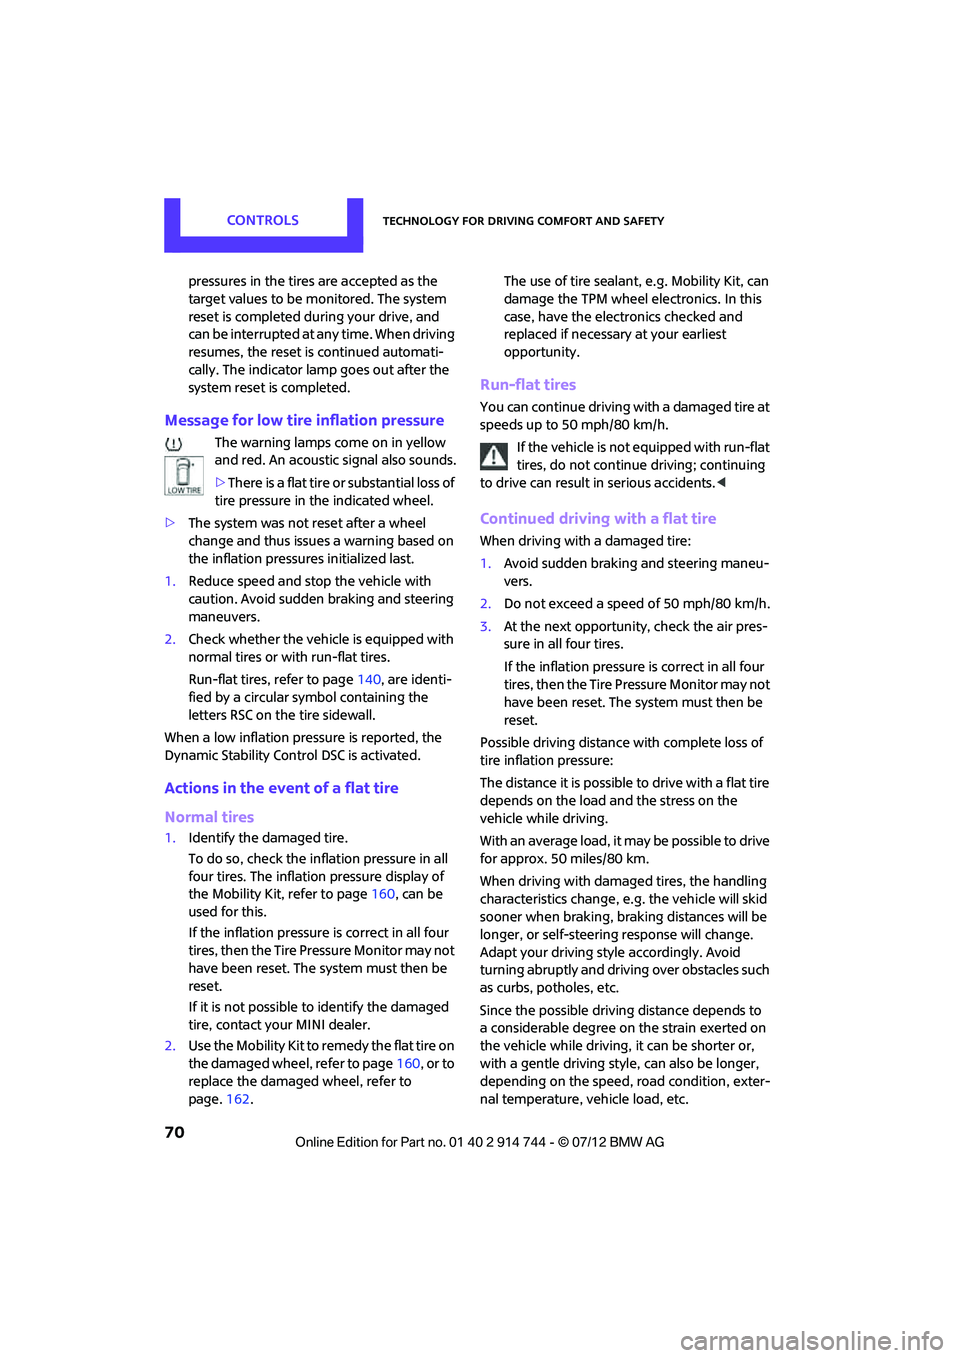
The warning lamps come on in yellow
and red. An acoustic signal also sounds.
>There is a flat tire or substantial loss of
tire pressure in the indicated wheel.
> The system was not reset after a wheel
change and thus issues a warning based on
the inflation pressures initialized last.
1. Reduce speed and stop the vehicle with
caution. Avoid sudden braking and steering
maneuvers.
2. Check whether the vehicle is equipped with
normal tires or with run-flat tires.
Run-flat tires, refer to page 140, are identi-
fied by a circular symbol containing the
letters RSC on the tire sidewall.
When a low inflation pressure is reported, the
Dynamic Stability Control DSC is activated.
Actions in the event of a flat tire
Normal tires
1. Identify the damaged tire.
To do so, check the infl ation pressure in all
four tires. The inflatio n pressure display of
the Mobility Kit, refer to page 160, can be
used for this.
If the inflation pressure is correct in all four
tires, then the Tire Pressure Monitor may not
have been reset. The system must then be
reset.
If it is not possible to identify the damaged
tire, contact your MINI dealer.
2. Use the Mobility Kit to remedy the flat tire on
the damaged wheel, refer to page 160, or to
replace the damaged wheel, refer to
page. 162. The use of tire sealant,
e.g. Mobility Kit, can
damage the TPM wheel electronics. In this
case, have the electronics checked and
replaced if necessary at your earliest
opportunity.
Run-flat tires
You can continue driving with a damaged tire at
speeds up to 50 mph/80 km/h.
If the vehicle is not equipped with run-flat
tires, do not continue driving; continuing
to drive can result in serious accidents.<
Continued driving with a flat tire
When driving with a damaged tire:
1.Avoid sudden braking and steering maneu-
vers.
2. Do not exceed a speed of 50 mph/80 km/h.
3. At the next opportunity, check the air pres-
sure in all four tires.
If the inflation pressure is correct in all four
tires, then the Tire Pressure Monitor may not
have been reset. The system must then be
reset.
Possible driving distance with complete loss of
tire inflation pressure:
The distance it is possible to drive with a flat tire
depends on the load and the stress on the
vehicle while driving.
With an average load, it may be possible to drive
for approx. 50 miles/80 km.
When driving with damaged tires, the handling
characteristics change, e. g. the vehicle will skid
sooner when braking, braking distances will be
longer, or self-steerin g response will change.
Adapt your driving style accordingly. Avoid
turning abruptly and driv ing over obstacles such
as curbs, potholes, etc.
Since the possible driving distance depends to
a considerable degree on the strain exerted on
the vehicle while driving, it can be shorter or,
with a gentle driving styl e, can also be longer,
depending on the speed, road condition, exter-
nal temperature, vehicle load, etc.
Online Edition for Part no. 01 40 2 914 744 - \251 07/12 BMW AG
Page 72 of 207

Technology for driving comfort and safetyCONTROLS
71
Drive cautiously and do not exceed a
speed of 50 mph/80 km/h.
A loss of tire inflation pressure results in a
change in the handling characteristics, e.g.
reduced lane stability du ring braking, a longer
braking distance and altered self-steering
properties. <
Vibrations or loud noises while driving can
indicate complete failure of the tire.
Reduce your speed and bring the vehicle to a
stop; otherwise, pieces of tire may come off,
which could result in an accident. Do not con-
tinue driving and contact your MINI dealer. <
Malfunction
The small warning lamp flashes in
yellow and then lights up continuously;
the larger warning lamp lights up in
yellow.
No punctures can be detected.
Display in the following situations:
> Wheel without TPM electronics is mounted:
If need be, have it checked by your MINI
dealer.
> Malfunction:
Have the system checked.
> TPM was unable to complete the resetting
procedure; reset the system again.
The small warning lamp flashes in
yellow and then lights up continuously;
the larger warning lamp lights up in
yellow. No punctures can be detected.
Display in the following situation:
> Malfunction because of other equipment or
devices, same radio frequency:
After leaving the interference area, the
system is again active automatically.
Declaration according to NHTSA/
FMVSS 138 Tire Pressure Monitoring
Systems
Each tire, including the spare, should be
checked monthly when cold and inflated to the
inflation pressure recommended by the vehicle manufacturer on the vehicle placard or tire infla-
tion pressure label. If your vehicle has tires of a
different size than the
size indicated on the
vehicle placard or tire in flation pressure label,
you should determine the proper tire inflation
pressure for those tires. As an added safety fea-
ture, your vehicle has been equipped with a tire
pressure monitoring syst em TPMS that illumi-
nates a low tire pressure telltale when one or
more of your tires are significantly underin-
flated. Accordingly, when the low tire pressure
telltale illuminates, you should stop and check
your tires as soon as po ssible, and inflate them
to the proper pressure. Driving on a significantly
underinflated tire causes the tire to overheat
and can lead to tire failure. Underinflation also
reduces fuel efficiency and tire tread life, and
may affect the vehicle's handling and stopping
ability. Please note that the TPMS is not a substi-
tute for proper tire maintenance, and it is the
driver's responsibility to maintain correct tire
pressure, even if underi nflation has not reached
the level at which the TPMS low tire pressure tell-
tale illuminates.
The TPMS malfunction indicator is combined
with the low tire pressure telltale. When the sys-
tem detects a malfunction, the telltale will flash
for approximately one minute and then remain
continuously lit. This sequence will continue
upon subsequent vehicle startups as long as the
malfunction exists. When the malfunction indi-
cator is illuminated, the system may not be able
to detect or signal low tire pressure as intended.
TPMS malfunctions may occur for a variety of
reasons, including the in stallation of replace-
ment or alternate tires or wheels on the vehicle
that prevent the TPMS from functioning prop-
erly. Always check the TP MS malfunction telltale
after replacing one or mo re tires or wheels on
your vehicle to ensure that the replacement or
alternate tires and wheels allow the TPMS to
continue to function properly.
Online Edition for Part no. 01 40 2 914 744 - \251 07/12 BMW AG