display MINI COOPER 2016 Owners Manual
[x] Cancel search | Manufacturer: MINI, Model Year: 2016, Model line: COOPER, Model: MINI COOPER 2016Pages: 251, PDF Size: 8.4 MB
Page 5 of 251

ContentsThe fastest way to find information on a partic‐
ular topic or item is by using the index, refer to
page 242.6Information
AT A GLANCE
14Cockpit18Radio
CONTROLS
22Opening and closing36Adjusting45Transporting children safely49Driving62Displays76Lights81Safety97Driving stability control systems101Driving comfort115Climate control121Interior equipment123Digital compass129Storage compartments
DRIVING TIPS
136Things to remember when driving139Loading142Saving fuel
ENTERTAINMENT
150Tone151Radio156Multimedia
COMMUNICATION
164Bluetooth hands-free systemMOBILITY174Refueling176Fuel178Wheels and tires193Engine compartment195Engine oil198Coolant200Maintenance202Replacing components214Breakdown assistance220Care
REFERENCE
226Technical data231Appendix235License Texts and Certifications242Everything from A to Z
Online Edition for Part no. 01 40 2 963 307 - VI/15
Page 6 of 251

InformationUsing this Owner's
Manual
The fastest way to find information on a partic‐
ular topic is by using the index.
An initial overview of the vehicle is provided in
the first chapter.
Updates made after the editorial
deadline
Any updates made after the editorial deadline
can be found in the appendix of the printed
Owner's Handbook for Vehicle.
Additional sources of information A dealer’s service center or another qualified
service center or repair shop will be glad to an‐
swer additional questions at any time.
Information about MINI, e.g., on technology, is
available on the Internet: www.miniusa.com
Symbols and displays
Symbols in the Owner's Manual
Indicates precautions that must be followed
precisely in order to avoid the possibility of
personal injury and serious damage to the
vehicle.
◄ Marks the end of a specific item of
information.
"..." Identifies radio display texts used to select
individual functions.
Refers to measures that can be taken to
help protect the environment.
Action steps
Action steps to be carried out are presented as
numbered list. The steps must be carried out in
the defined order.1.First action step.2.Second action step.
Enumerations
Enumerations without mandatory order or al‐
ternative possibilities are presented as list with
bullet points.
▷First possibility.▷Second possibility.
Symbols on vehicle components
Indicates that you should consult the
relevant section of this Owner's Manual for
information on a particular part or assembly.
Vehicle features and op‐
tions
This Owner's Manual describes all models and
all standard, country-specific and optional
equipment that is offered in the model series.
Therefore, in this Owner's Manual, we also de‐
scribe and illustrate features that are not avail‐
able in your vehicle, e.g., because of the se‐
lected optional features or the country-specific
version.
This also applies to safety-related functions and
systems.
The respectively applicable country provisions
must be observed when using the respective
features and systems.
For any options and equipment not described
in this Owner's Handbook, refer to the Supple‐
mentary Owner's Handbooks.
Seite 6Information6
Online Edition for Part no. 01 40 2 963 307 - VI/15
Page 18 of 251

RadioVehicle features and op‐
tions
This chapter describes all standard, country-
specific and optional features offered with the
series. It also describes features that are notnecessarily available in your car, e. g., due to
the selected options or country versions. This
also applies to safety-related functions and sys‐
tems. The respectively applicable country provi‐
sions must be observed when using the respec‐
tive features and systems.
Overview
1Change waveband2Volume, on/off3Display4Opening the main menu5Menu level back6Selecting menu items▷Turn: highlight the menu item in the
display or adjust the value.▷Press: select the highlighted menu item
or store the setting.7Open the options for the respective menu.8"Telephone": open the menu.9Programmable memory buttons10"Media": open the menu.11"Radio": open the menu.12Change the station or track.Seite 18AT A GLANCERadio18
Online Edition for Part no. 01 40 2 963 307 - VI/15
Page 19 of 251

FunctionsAudio functions and vehicle functions can be
operated, adjusted and displayed on the radio.▷Radio.▷Multimedia.▷Telephone.▷Vehicle settings.▷Check Control messages.
Menu navigation
All functions of the radio can be called up via
the main menu. Some menus can also be called
up directly via the buttons on the radio.
Selecting menu items
Menu items can be selected if they are high‐
lighted.
1. Press button.2.Turn the right-hand knob until the desired
menu item is highlighted, e.g., "Radio".3.Press the right-hand knob again to confirm
the highlighted menu item.
Representation in the Owner's Manual
In the Owner's Manual, menu items that can be
selected are set in quotation marks, e.g.,
"Radio".
Symbols in the status field
Audio source
SymbolMeaningFM, AMRadio waveband. HD Radio station is being received.SATSatellite radio is switched on. Satellite radio not available. Playback via Aux In.SymbolMeaning Playback via USB audio interface. Microphone muted Tone output muted
Telephone
SymbolMeaning Missed call Wireless network reception strength
Traffic bulletins
SymbolMeaningTPTraffic bulletins switched on Traffic bulletins switched on, no traffic
bulletin stations available. Traffic Jump
Changing settings
To set number values or values on a scale:
1.Select the desired menu item.2.Turn the right-hand knob to set the value.3.Press the right-hand knob to store the
value.
Example: setting the clock
1. Press button.2. "Settings"3."Time/Date"4."Time:"5.Turn the right-hand knob until the desired
hour is set.6.Press the right-hand knob to store setting.7.Turn the right-hand knob to set the mi‐
nutes and press the right-hand knob to
save the setting.Seite 19RadioAT A GLANCE19
Online Edition for Part no. 01 40 2 963 307 - VI/15
Page 23 of 251

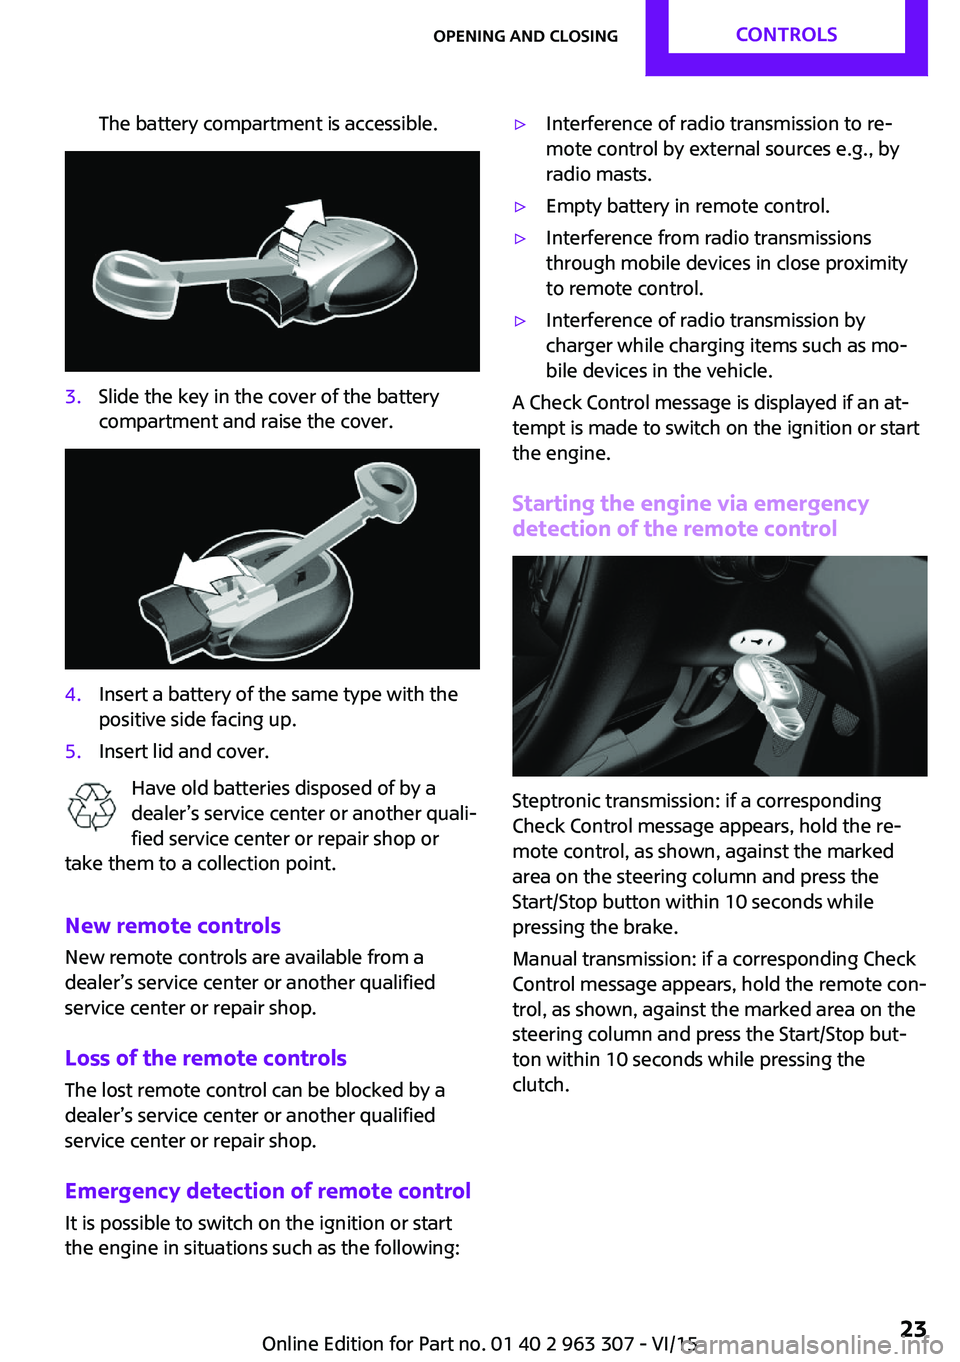
The battery compartment is accessible.3.Slide the key in the cover of the battery
compartment and raise the cover.4.Insert a battery of the same type with the
positive side facing up.5.Insert lid and cover.
Have old batteries disposed of by a
dealer’s service center or another quali‐
fied service center or repair shop or
take them to a collection point.
New remote controls
New remote controls are available from a
dealer’s service center or another qualified
service center or repair shop.
Loss of the remote controls The lost remote control can be blocked by a
dealer’s service center or another qualified
service center or repair shop.
Emergency detection of remote control
It is possible to switch on the ignition or start
the engine in situations such as the following:
▷Interference of radio transmission to re‐
mote control by external sources e.g., by
radio masts.▷Empty battery in remote control.▷Interference from radio transmissions
through mobile devices in close proximity
to remote control.▷Interference of radio transmission by
charger while charging items such as mo‐
bile devices in the vehicle.
A Check Control message is displayed if an at‐
tempt is made to switch on the ignition or start
the engine.
Starting the engine via emergencydetection of the remote control
Steptronic transmission: if a corresponding
Check Control message appears, hold the re‐
mote control, as shown, against the marked
area on the steering column and press the
Start/Stop button within 10 seconds while
pressing the brake.
Manual transmission: if a corresponding Check
Control message appears, hold the remote con‐
trol, as shown, against the marked area on the
steering column and press the Start/Stop but‐
ton within 10 seconds while pressing the
clutch.
Seite 23Opening and closingCONTROLS23
Online Edition for Part no. 01 40 2 963 307 - VI/15
Page 52 of 251

▷The driver's safety belt is buckled or the
driver's door is closed.
In order to be able to release the brake pedal,
engage lever in position P. The engine remains
off.
To continue driving depress the brake pedal.
When a gear is engaged, the engine starts au‐
tomatically.
The air flow from the air conditioner is reduced
when the engine is switched off.
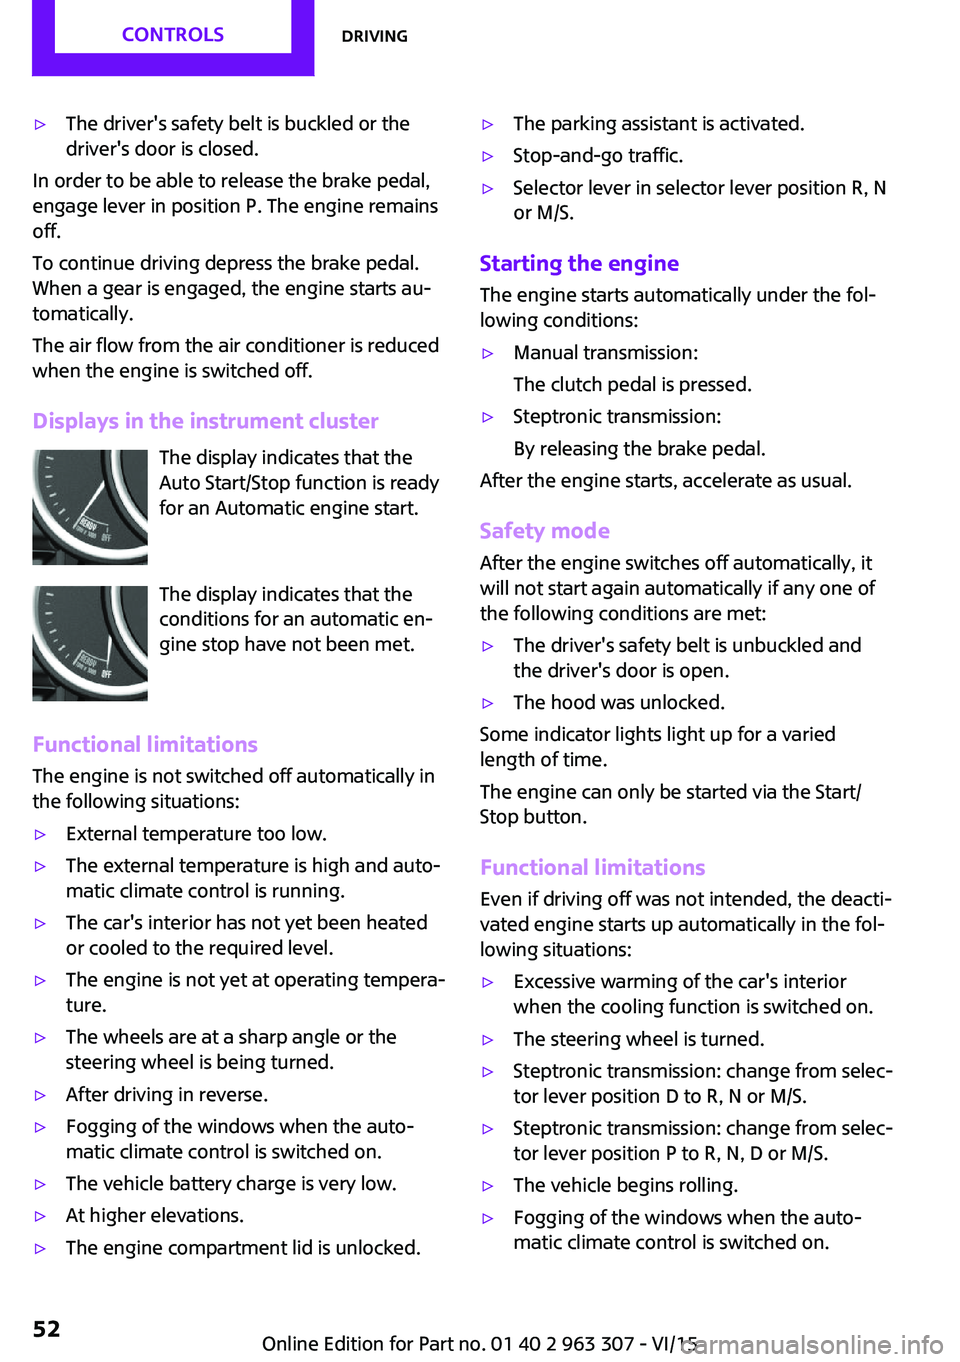
Displays in the instrument cluster The display indicates that theAuto Start/Stop function is ready
for an Automatic engine start.
The display indicates that the
conditions for an automatic en‐
gine stop have not been met.
Functional limitations The engine is not switched off automatically in
the following situations:
▷External temperature too low.▷The external temperature is high and auto‐
matic climate control is running.▷The car's interior has not yet been heated
or cooled to the required level.▷The engine is not yet at operating tempera‐
ture.▷The wheels are at a sharp angle or the
steering wheel is being turned.▷After driving in reverse.▷Fogging of the windows when the auto‐
matic climate control is switched on.▷The vehicle battery charge is very low.▷At higher elevations.▷The engine compartment lid is unlocked.▷The parking assistant is activated.▷Stop-and-go traffic.▷Selector lever in selector lever position R, N
or M/S.
Starting the engine
The engine starts automatically under the fol‐
lowing conditions:
▷Manual transmission:
The clutch pedal is pressed.▷Steptronic transmission:
By releasing the brake pedal.
After the engine starts, accelerate as usual.
Safety mode
After the engine switches off automatically, it
will not start again automatically if any one of
the following conditions are met:
▷The driver's safety belt is unbuckled and
the driver's door is open.▷The hood was unlocked.
Some indicator lights light up for a varied
length of time.
The engine can only be started via the Start/
Stop button.
Functional limitations
Even if driving off was not intended, the deacti‐
vated engine starts up automatically in the fol‐
lowing situations:
▷Excessive warming of the car's interior
when the cooling function is switched on.▷The steering wheel is turned.▷Steptronic transmission: change from selec‐
tor lever position D to R, N or M/S.▷Steptronic transmission: change from selec‐
tor lever position P to R, N, D or M/S.▷The vehicle begins rolling.▷Fogging of the windows when the auto‐
matic climate control is switched on.Seite 52CONTROLSDriving52
Online Edition for Part no. 01 40 2 963 307 - VI/15
Page 53 of 251

▷The vehicle battery charge is very low.▷Excessive cooling of the car's interior when
the heating is switched on.▷Manual transmission: low brake vacuum
pressure; this can occur, e.g., if the brake
pedal is depressed a number of times in
succession.
Switching the system on/off
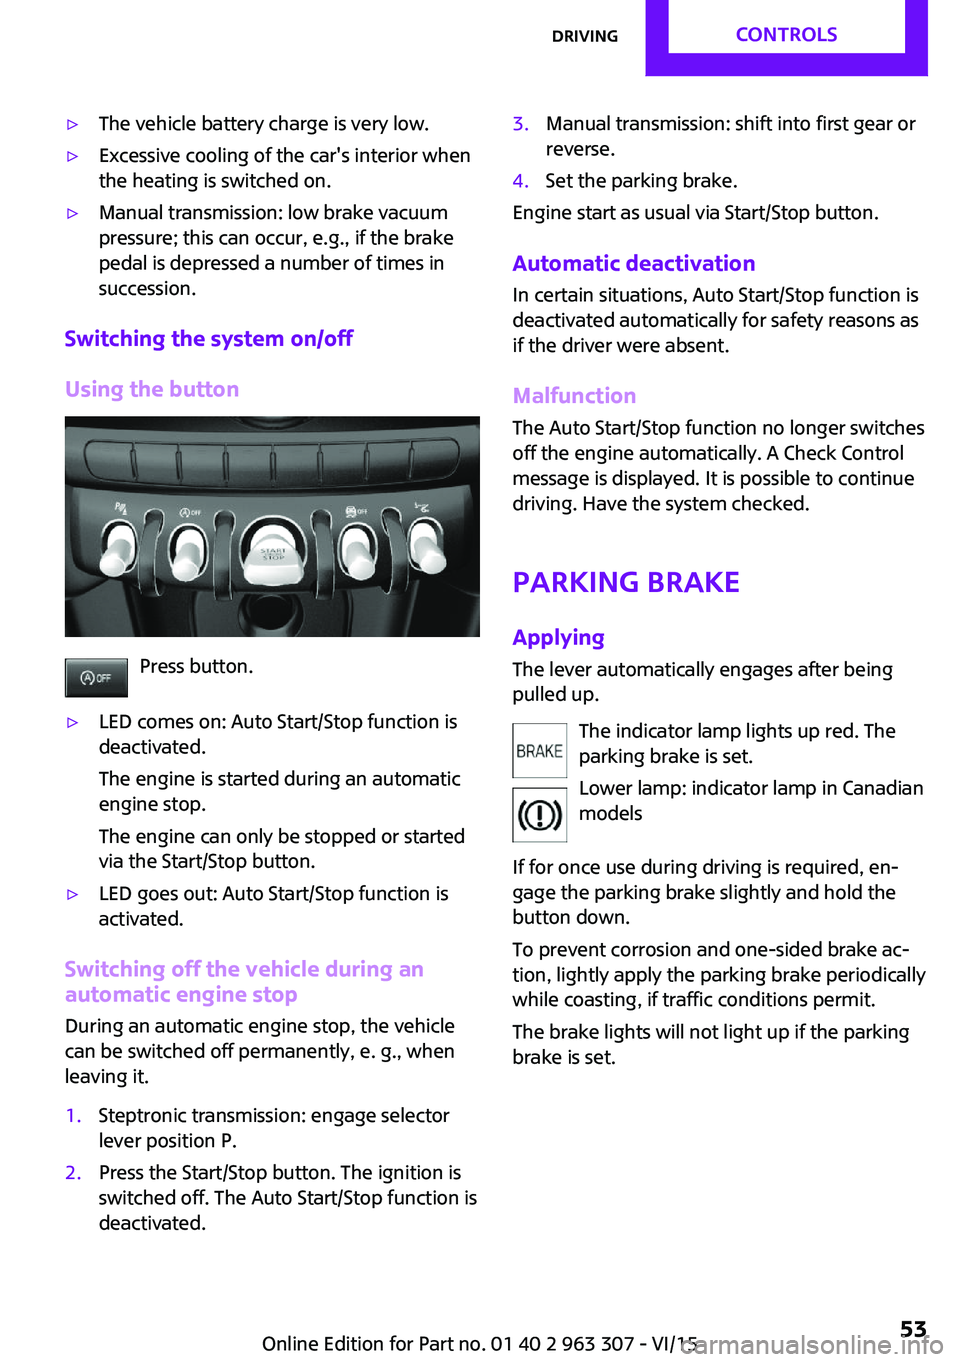
Using the button
Press button.
▷LED comes on: Auto Start/Stop function is
deactivated.
The engine is started during an automatic
engine stop.
The engine can only be stopped or started
via the Start/Stop button.▷LED goes out: Auto Start/Stop function is
activated.
Switching off the vehicle during an automatic engine stop
During an automatic engine stop, the vehicle
can be switched off permanently, e. g., when
leaving it.
1.Steptronic transmission: engage selector
lever position P.2.Press the Start/Stop button. The ignition is
switched off. The Auto Start/Stop function is
deactivated.3.Manual transmission: shift into first gear or
reverse.4.Set the parking brake.
Engine start as usual via Start/Stop button.
Automatic deactivation
In certain situations, Auto Start/Stop function is
deactivated automatically for safety reasons as
if the driver were absent.
MalfunctionThe Auto Start/Stop function no longer switches
off the engine automatically. A Check Control
message is displayed. It is possible to continue
driving. Have the system checked.
Parking brake ApplyingThe lever automatically engages after being
pulled up.
The indicator lamp lights up red. The
parking brake is set.
Lower lamp: indicator lamp in Canadian
models
If for once use during driving is required, en‐
gage the parking brake slightly and hold the
button down.
To prevent corrosion and one-sided brake ac‐
tion, lightly apply the parking brake periodically
while coasting, if traffic conditions permit.
The brake lights will not light up if the parking
brake is set.
Seite 53DrivingCONTROLS53
Online Edition for Part no. 01 40 2 963 307 - VI/15
Page 59 of 251

Canceling the lock
Press button on the front of the selector lever,
arrow.
Sport program and manual mode M/S
Activating the sport program
Press the selector lever to the left out of selec‐
tor lever position D.
The engaged gear is displayed in the instru‐
ment cluster, e.g., S1.
The sport program of the transmission is acti‐
vated.
Activating the M/S manual mode
1.Press the selector lever to the left out of se‐
lector lever position D.2.Push the selector lever forward or back‐
ward.
Manual mode becomes active and the gear is
changed.
The engaged gear is displayed in the instru‐
ment cluster, e.g., M1.
If the situation requires, the Steptronic trans‐
mission continues to shift automatically.
Example: once maximum engine speed is at‐
tained, M/S manual mode is automatically up‐
shifted as needed.
Switching to manual mode▷To shift down: press the selector lever for‐
ward.▷To shift up: pull the selector lever rear‐
wards.
Gears will only be shifted at appropriate engine
and road speeds, for example downshifting is
not possible if the engine speed is too high.
The selected gear is briefly displayed in the in‐
strument cluster, followed by the currently se‐
lected gear.
Manual mode M/S: prevent automatic
upshifting
Once a particular engine speed is attained, M/S manual mode is automatically upshifted as
needed.
For vehicles with Steptronic Sport transmission,
automatic shift operations are not performed if
one of the following conditions is met:
▷DSC is deactivated.▷TRACTION is activated.
In addition, there is no downshift for kickdown.
With the respective transmission version, the
lowest possible gear can be selected by simul‐
taneously operating the kickdown and the left
shift paddle. However, this effect is not pro‐
duced via the shift paddles when switching
briefly from D to manual mode.
Ending the sport program/manual
mode
Push the selector lever to the right.
D is displayed in the instrument cluster.
Seite 59DrivingCONTROLS59
Online Edition for Part no. 01 40 2 963 307 - VI/15
Page 60 of 251

Shift paddles for Steptronic Sport
transmission
The shift paddles on the steering wheel allow
you to shift gears quickly while keeping both
hands on the steering wheel.
▷Shift up: briefly pull right shift paddle.▷Shift down: briefly pull left shift paddle.▷With the respective transmission version,
the lowest possible gear can be selected by
pulling and holding the left shift paddle.
Gears will only be shifted at appropriate engine
and road speeds, for example downshifting is
not possible if the engine speed is too high.
The selected gear is briefly displayed in the in‐
strument cluster, followed by the current gear.
If the shift paddles on the steering wheel are
used to shift gears in automatic mode, the
transmission temporarily switches to manual
mode.
If the selector lever is still in selector lever posi‐
tion D with the respective transmission version,
it is possible to switch back into the automatic
mode:
▷Pull and hold right shift paddle.
or▷In addition to the briefly pulled right shift
paddle, briefly pull the left shift paddle.
In the manual mode, after conservative driving
for a certain amount of time or if there has
been no acceleration or shifting of the shift
paddles within a certain amount of time, the
transmission switches back to automatic mode.
Displays in the instrument cluster
The selector lever position is dis‐
played, e.g.: P.
Manually release the transmission lock
Should the selector lever be blocked in selector
lever position P despite the ignition being
turned on, the brake being depressed and the
unlock button being pressed, the transmission
lock can be manually canceled:
Before unlocking the transmission lock man‐
ually, engage the parking brake forcefully to
prevent the vehicle from rolling away.1.Loosen the sleeve of the selector lever.2.Pull the sleeve over the selector lever. Un‐
plug the cable connector if needed.3.Using the screwdriver from the onboard ve‐
hicle tool kit, refer to page 202, press the
yellow release lever downward, arrow.4.Move the selector lever slightly toward the
rear; to do this press the unlock button on
the front of the selector lever.
Release the release lever.5.Bring the selector lever into the desired po‐
sition.Seite 60CONTROLSDriving60
Online Edition for Part no. 01 40 2 963 307 - VI/15
Page 61 of 251

Steptronic Sport transmission: Launch
Control
The concept
Launch Control enables optimum acceleration
on surfaces with good traction.
General information
The use of Launch Control causes premature
component wear since this function represents
a very heavy load for the vehicle.
Do not use Launch Control during the break-in,
refer to page 136, period.
To increase vehicle stability, activate DSC again
as soon as possible.
An experienced driver may be able to achieve
better acceleration values in DSC OFF mode, re‐
fer to page 97.
Requirements Launch Control is available when the engine is
warmed up, that is, after uninterrupted driving
of at least 6 miles/10 km.
To start with Launch Control do not steer the
steering wheel.
Start with launch control
While the engine is running:1. Press button and select SPORT with
Driving Dynamics Control, refer to
page 99.
The instrument cluster displays TRACTION
in combination with SPORT. The DSC OFF
indicator lamp lights up.2.Engage selector lever position S.3.With the left foot, forcefully press down on
the brake.4.Step on the accelerator pedal beyond the
resistance point at the full throttle position,
kickdown.A flag symbol is displayed in the instrument
cluster.5.The starting engine speed adjusts. Within
3 seconds, release the brake.
Before using Launch Control, allow the trans‐
mission to cool down for approx. 5 minutes.
Seite 61DrivingCONTROLS61
Online Edition for Part no. 01 40 2 963 307 - VI/15