stop start MINI Countryman 2011 (Mini Connected) User Guide
[x] Cancel search | Manufacturer: MINI, Model Year: 2011, Model line: Countryman, Model: MINI Countryman 2011Pages: 254, PDF Size: 3.84 MB
Page 123 of 254
Route guidanceNAVIGATION
121
>Red road sign: the obstruction relates to the
planned route or direction of travel.
> Gray road sign: the obstruction does not
relate to the planned route or direction of
travel.
Traffic information, refer to page 122.
Planned route
After route guidance is started, the planned
route is displayed on the map.
Status boxes
Show/hide: press the MINI joystick.
>Upper status box: time, phone details, and
entertainment details.
> Lower status box: symbol for active route
guidance, traffic inform ation status, arrival
time, and distance from destination.
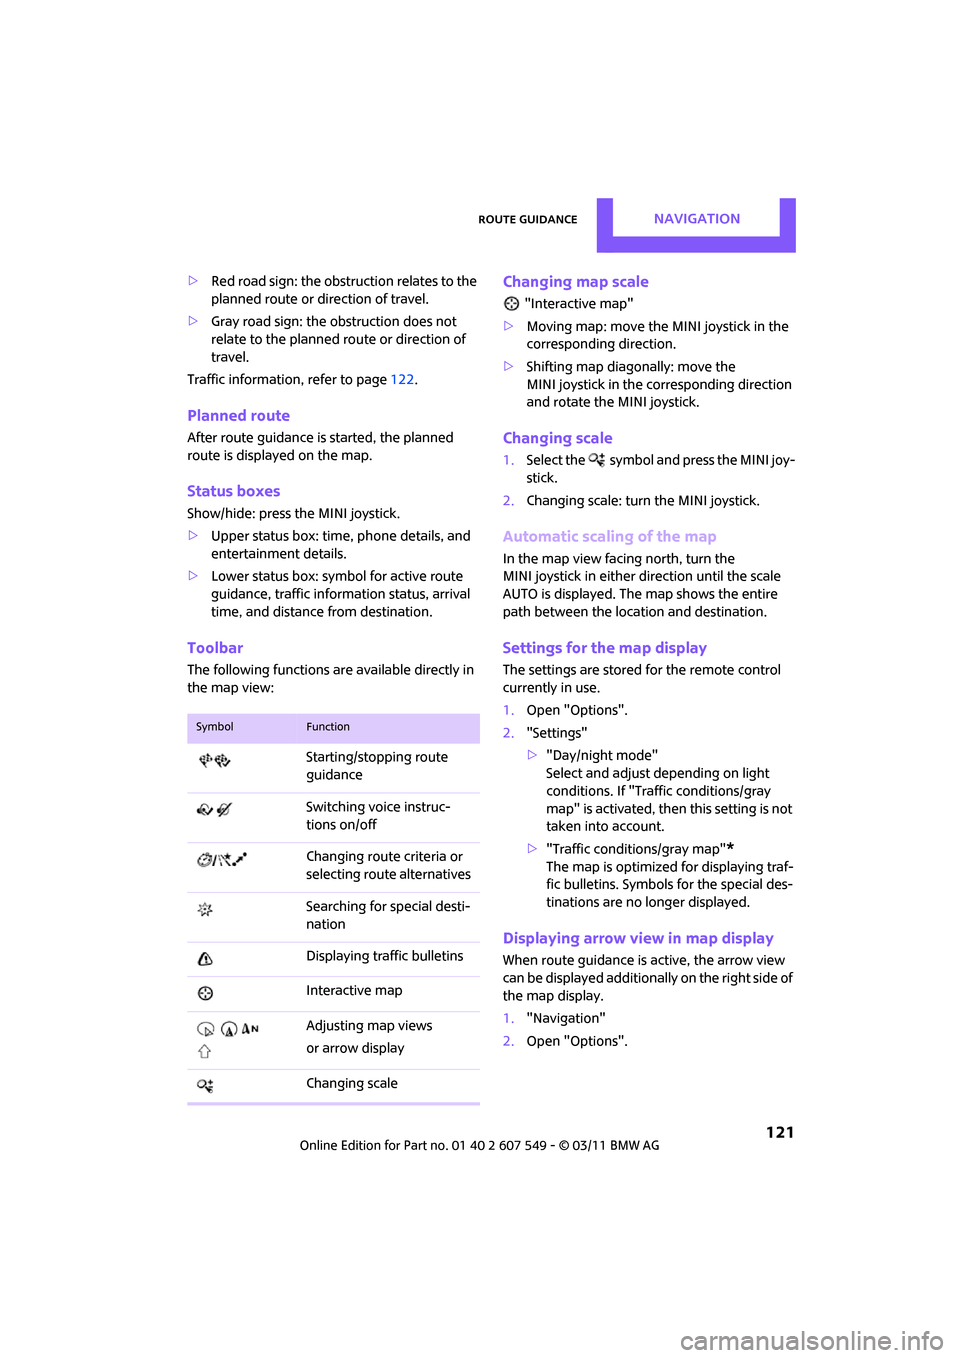
Toolbar
The following functions ar e available directly in
the map view:
Changing map scale
"Interactive map"
> Moving map: move the MINI joystick in the
corresponding direction.
> Shifting map diag onally: move the
MINI joystick in the corresponding direction
and rotate the MINI joystick.
Changing scale
1. Select the symbol and press the MINI joy-
stick.
2. Changing scale: turn the MINI joystick.
Automatic scaling of the map
In the map view facing north, turn the
MINI joystick in either direction until the scale
AUTO is displayed. The map shows the entire
path between the location and destination.
Settings for the map display
The settings are stored for the remote control
currently in use.
1.Open "Options".
2. "Settings"
>"Day/night mode"
Select and adjust depending on light
conditions. If "Traffic conditions/gray
map" is activated, then this setting is not
taken into account.
> "Traffic conditions/gray map"
*
The map is optimized for displaying traf-
fic bulletins. Symbols for the special des-
tinations are no longer displayed.
Displaying arrow view in map display
When route guidance is active, the arrow view
can be displayed additionally on the right side of
the map display.
1. "Navigation"
2. Open "Options".
SymbolFunction
Starting/stopping route
guidance
Switching voice instruc-
tions on/off
Changing route criteria or
selecting rout e alternatives
Searching for special desti-
nation
Displaying traffic bulletins
Interactive map
Adjusting map views
or arrow display
Changing scale
Page 151 of 254
External devicesENTERTAINMENT
149
Start the program for playing music files on
the device and if necessary, select a track via
the device.
Activate and deactivate the radio mute on
the radio control panel.
> Music files only play quietly.
Adjust volume settings on the device.
> Videos cannot be play ed or can only be
played with a delayed audio output.
Check the device compatibility. Information
is available at www.mini.com/connectivity.
> Playback is interrupted by the press of a but-
ton or other messages on the device.
Switch off key tones an d other acoustic sig-
nal on the device.
> Playback is interrupted by a phone call or
traffic report and does not automatically
continue.
Activate and deactivate the radio mute on
the radio control panel.
> Playback is not possible when the mobile
phone is connected via Bluetooth audio and
at the same time via the extended connec-
tivity of the music player in the mobile
phone
*.
Disconnect one of the two connections, e.g.
the audio connection, refer to page 148,
and start playback again.
If you have gone through all items in the list and
still cannot activate the desired function please
contact the Hotline or your MINI dealer.
Software update*
The vehicle supports various external devices,
depending on the software it is currently using.
A software update can enable the vehicle to
support, for example, new mobile phones or
new external devices.
Software updates and associated, up-to-date
instructions are availa ble on the web page
www.mini.com/connectivity.
Displaying current version
The currently installed software is displayed.
1. "Settings"
2. "Software update"
3. "Show current version"
Select the desired version
* to display additional
information
*.
Updating software
The software update can only be performed
when stopped.
1. Save the file for the software update in the
main directory of a USB data storage device.
2. Connect the USB data storage device to the
USB interface of the USB audio interface in
the center console. It is not possible to per-
form the update using the USB interface in
the glove compartment.
3. "Settings"
4. "Software update"
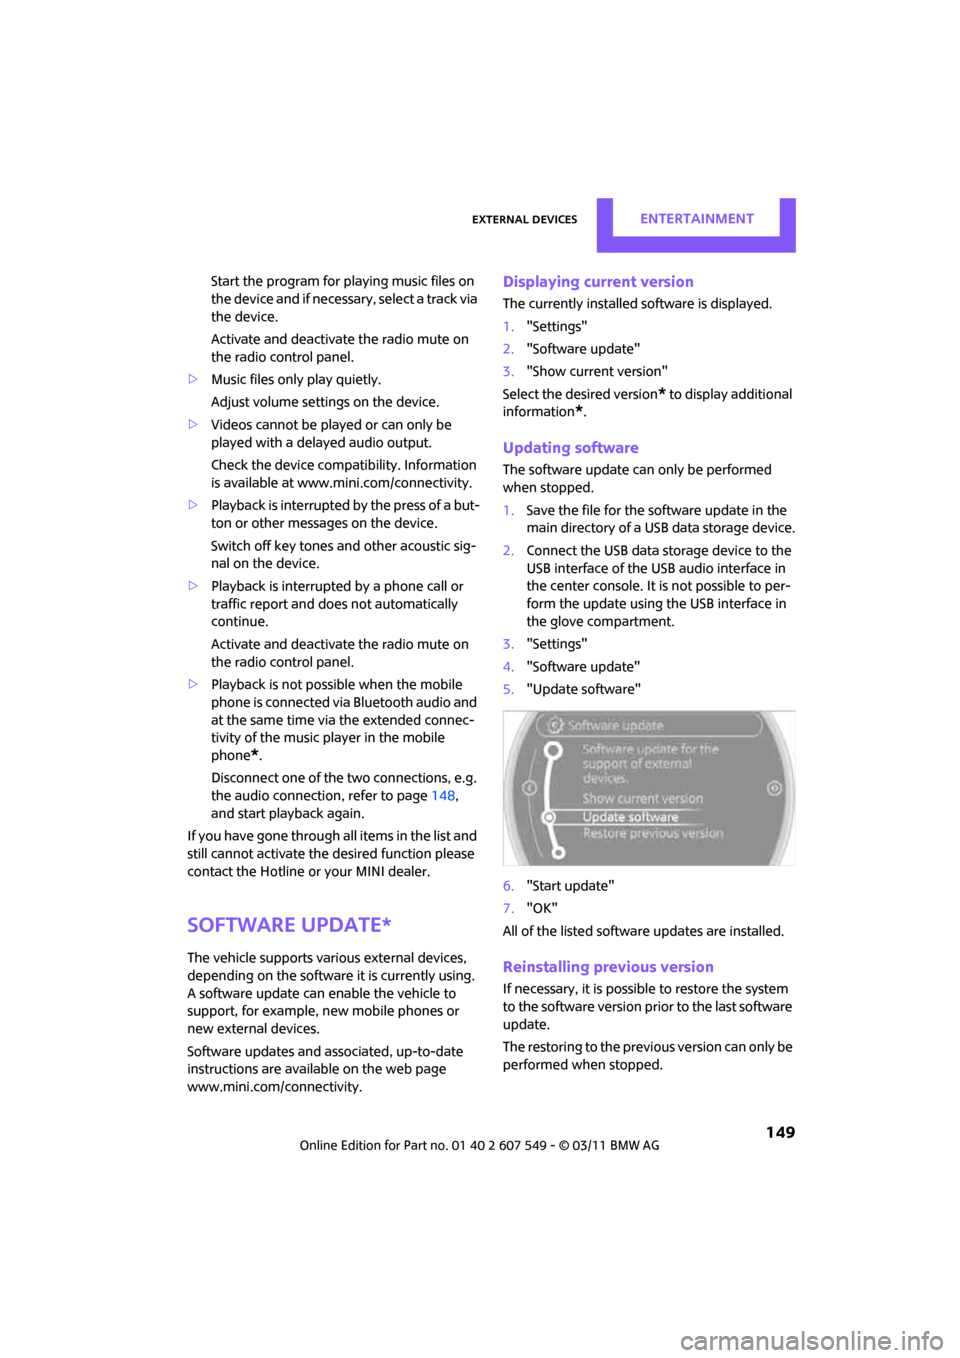
5. "Update software"
6. "Start update"
7. "OK"
All of the listed softwa re updates are installed.
Reinstalling previous version
If necessary, it is possible to restore the system
to the software version prior to the last software
update.
The restoring to the previous version can only be
performed when stopped.
Page 223 of 254
Giving and receiving assistanceMOBILITY
221
With tow rope
When starting off in the towing vehicle, make
sure that the tow rope is taut.To avoid jerking and the associated
stresses on vehicle components when
towing, always use nylon ropes or nylon straps.
Attach the tow rope to the tow fittings only, as
attaching it to other parts of the vehicle could
result in damage. <
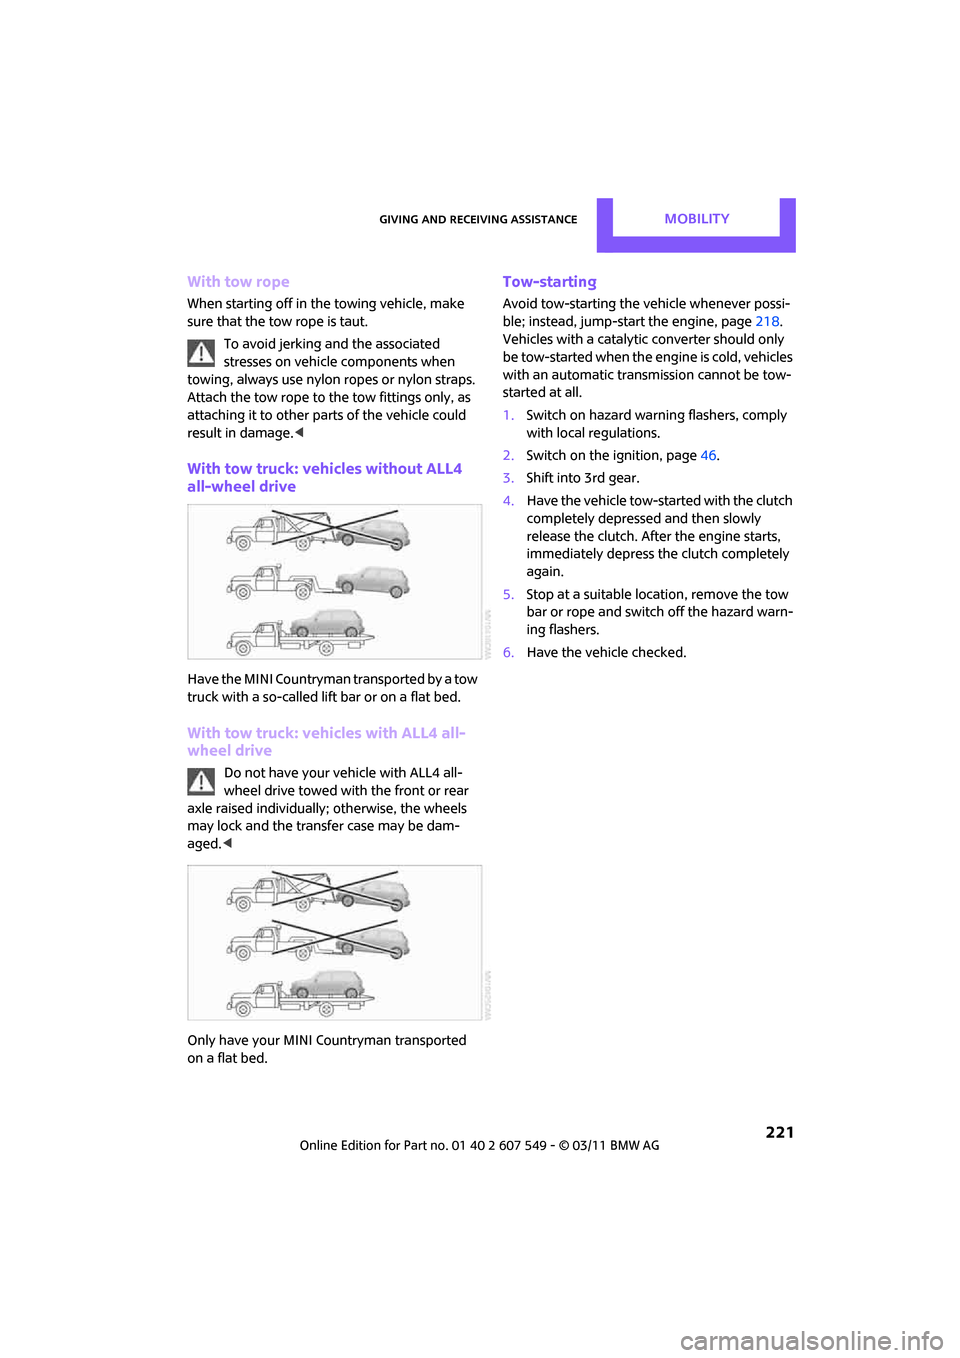
With tow truck: vehicles without ALL4
all-wheel drive
Have the MINI Countryman transported by a tow
truck with a so-called lift bar or on a flat bed.
With tow truck: vehicles with ALL4 all-
wheel drive
Do not have your vehicle with ALL4 all-
wheel drive towed with the front or rear
axle raised individually; otherwise, the wheels
may lock and the transfer case may be dam-
aged. <
Only have your MINI Countryman transported
on a flat bed.
Tow-starting
Avoid tow-starting the vehicle whenever possi-
ble; instead, jump-start the engine, page 218.
Vehicles with a catalytic converter should only
be tow-started when the engine is cold, vehicles
with an automatic transmission cannot be tow-
started at all.
1. Switch on hazard warn ing flashers, comply
with local regulations.
2. Switch on the ignition, page 46.
3. Shift into 3rd gear.
4. Have the vehicle tow-started with the clutch
completely depressed and then slowly
release the clutch. Afte r the engine starts,
immediately depress the clutch completely
again.
5. Stop at a suitable lo cation, remove the tow
bar or rope and switch off the hazard warn-
ing flashers.
6. Have the vehicle checked.
Page 233 of 254
Short commands for the voice activation systemREFERENCE
231
Contacts*
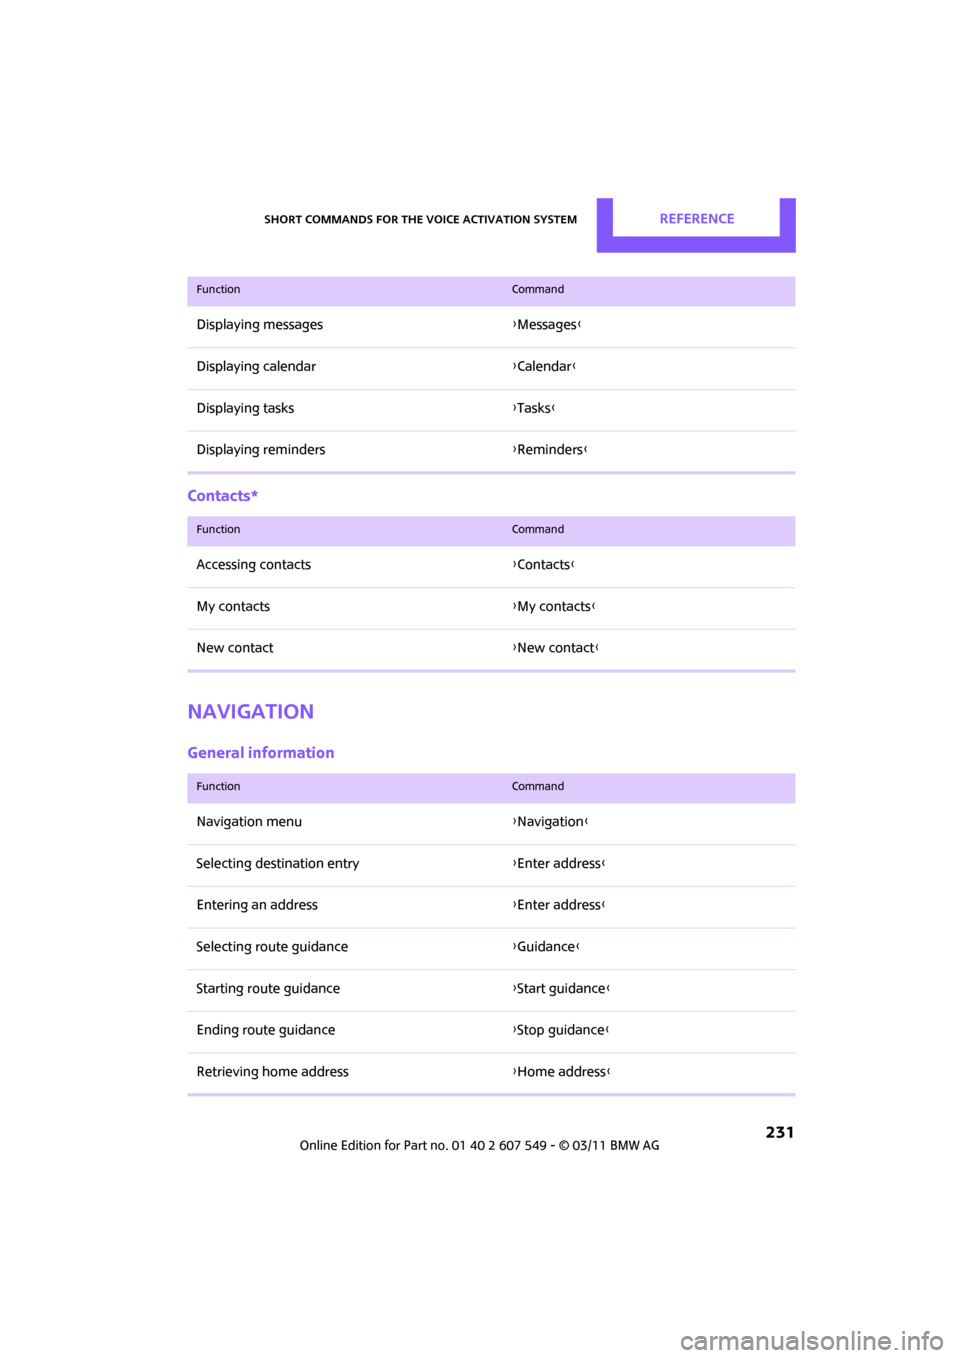
Navigation
General information
Displaying messages{Messages }
Displaying calendar {Calendar }
Displaying tasks {Tasks}
Displaying reminders {Reminders }
FunctionCommand
FunctionCommand
Accessing contacts {Contacts }
My contacts {My contacts }
New contact {New contact }
FunctionCommand
Navigation menu {Navigation }
Selecting destination entry {Enter address}
Entering an address {Enter address}
Selecting route guidance {Guidance }
Starting route guidance {Start guidance }
Ending route guidance {Stop guidance }
Retrieving home address {Home address }
Page 248 of 254
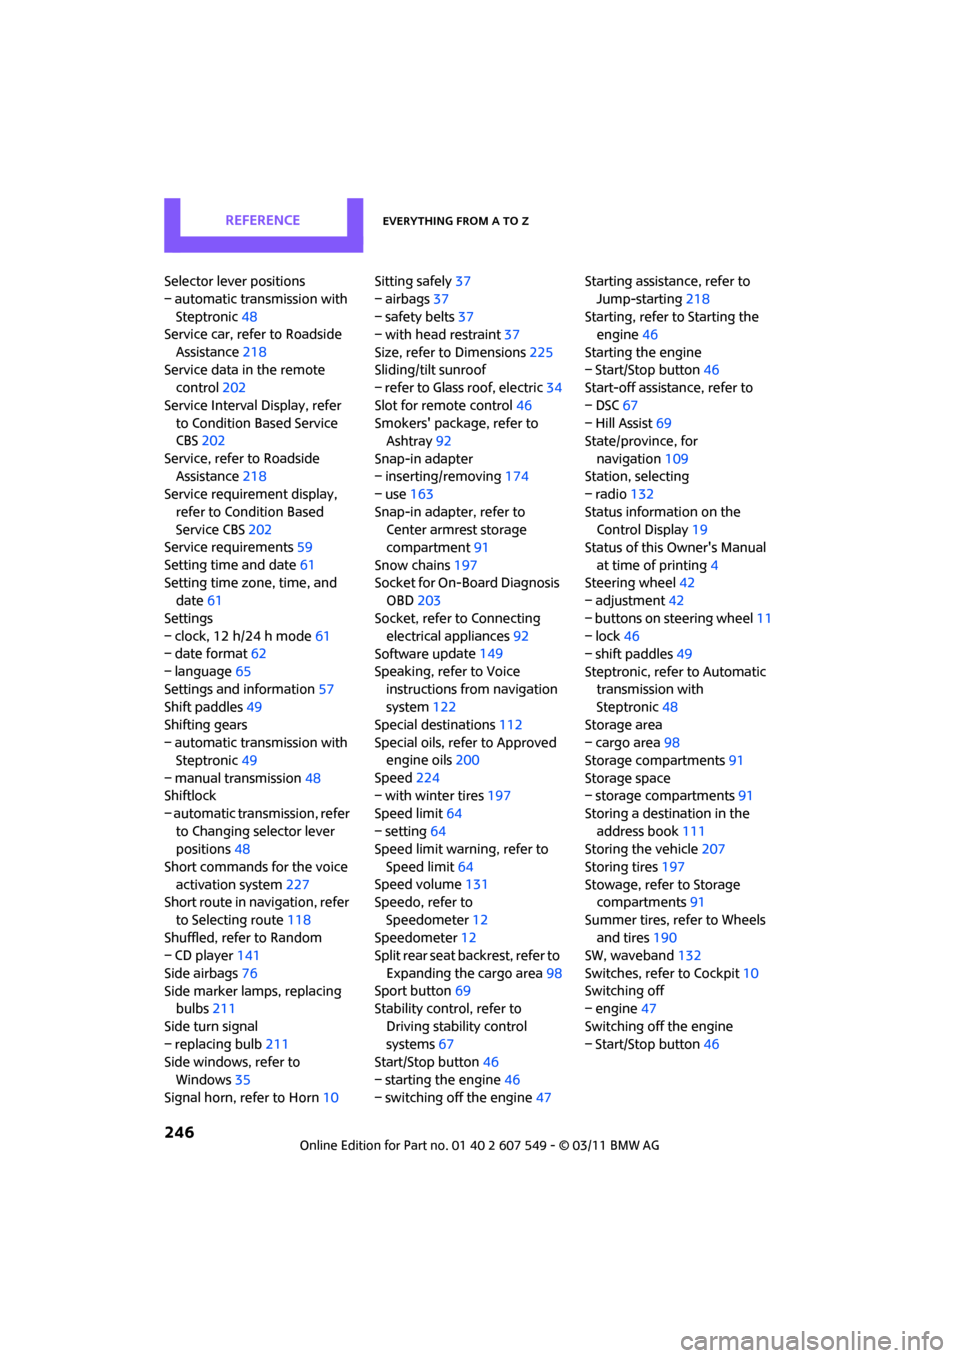
REFERENCEEverything from A to Z
246
Selector lever positions
– automatic transmission with Steptronic 48
Service car, refer to Roadside
Assistance 218
Service data in the remote control 202
Service Interval Display, refer to Condition Based Service
CBS 202
Service, refer to Roadside Assistance 218
Service requirement display,
refer to Condition Based
Service CBS 202
Service requirements 59
Setting time and date 61
Setting time zone, time, and date 61
Settings
– clock, 12 h/24 h mode 61
– date format 62
– language 65
Settings and information 57
Shift paddles 49
Shifting gears
– automatic transmission with Steptronic 49
– manual transmission 48
Shiftlock
– automatic transmission, refer to Changing selector lever
positions 48
Short commands for the voice activation system 227
Short route in navigation, refer
to Selecting route 118
Shuffled, refer to Random
– CD player 141
Side airbags 76
Side marker lamps, replacing bulbs 211
Side turn signal
– replacing bulb 211
Side windows, refer to
Windows 35
Signal horn, refer to Horn 10Sitting safely
37
– airbags 37
– safety belts 37
– with head restraint 37
Size, refer to Dimensions 225
Sliding/tilt sunroof
– refer to Glass roof, electric 34
Slot for remote control 46
Smokers' package, refer to Ashtray 92
Snap-in adapter
– inserting/removing 174
– use 163
Snap-in adapter, refer to Center armrest storage
compartment 91
Snow chains 197
Socket for On-Board Diagnosis OBD 203
Socket, refer to Connecting electrical appliances 92
Software u
pdate 149
Speaking, refer to Voice instructions from navigation
system 122
Special destinations 112
Special oils, refer to Approved engine oils 200
Speed 224
– with winter tires 197
Speed limit 64
– setting 64
Speed limit warning, refer to
Speed limit 64
Speed volume 131
Speedo, refer to
Speedometer 12
Speedometer 12
Split rear seat backrest, refer to
Expanding the cargo area 98
Sport button 69
Stability contro l, refer to
Driving stability control
systems 67
Start/Stop button 46
– starting the engine 46
– switching off the engine 47Starting assistance, refer to
Jump-starting 218
Starting, refer to Starting the engine 46
Starting the engine
– Start/Stop button 46
Start-off assistance, refer to
– DSC 67
– Hill Assist 69
State/province, for
navigation 109
Station, selecting
– radio 132
Status information on the Control Display 19
Status of this Owner's Manual
at time of printing 4
Steering wheel 42
– adjustment 42
– buttons on steering wheel 11
– lock 46
– shift paddles 49
Steptronic, refer to Automatic transmission with
Steptronic 48
Storage area
– cargo area 98
Storage compartments 91
Storage space
– storage compartments 91
Storing a destination in the address book 111
Storing the vehicle 207
Storing tires 197
Stowage, refer to Storage compartments 91
Summer tires, refer to Wheels an
d tires 190
SW, waveband 132
Switches, refer to Cockpit 10
Switching off
– engine 47
Switching off the engine
– Start/Stop button 46