CD player MINI Countryman 2011 Owner's Manual (Mini Connected)
[x] Cancel search | Manufacturer: MINI, Model Year: 2011, Model line: Countryman, Model: MINI Countryman 2011Pages: 254, PDF Size: 3.84 MB
Page 5 of 254
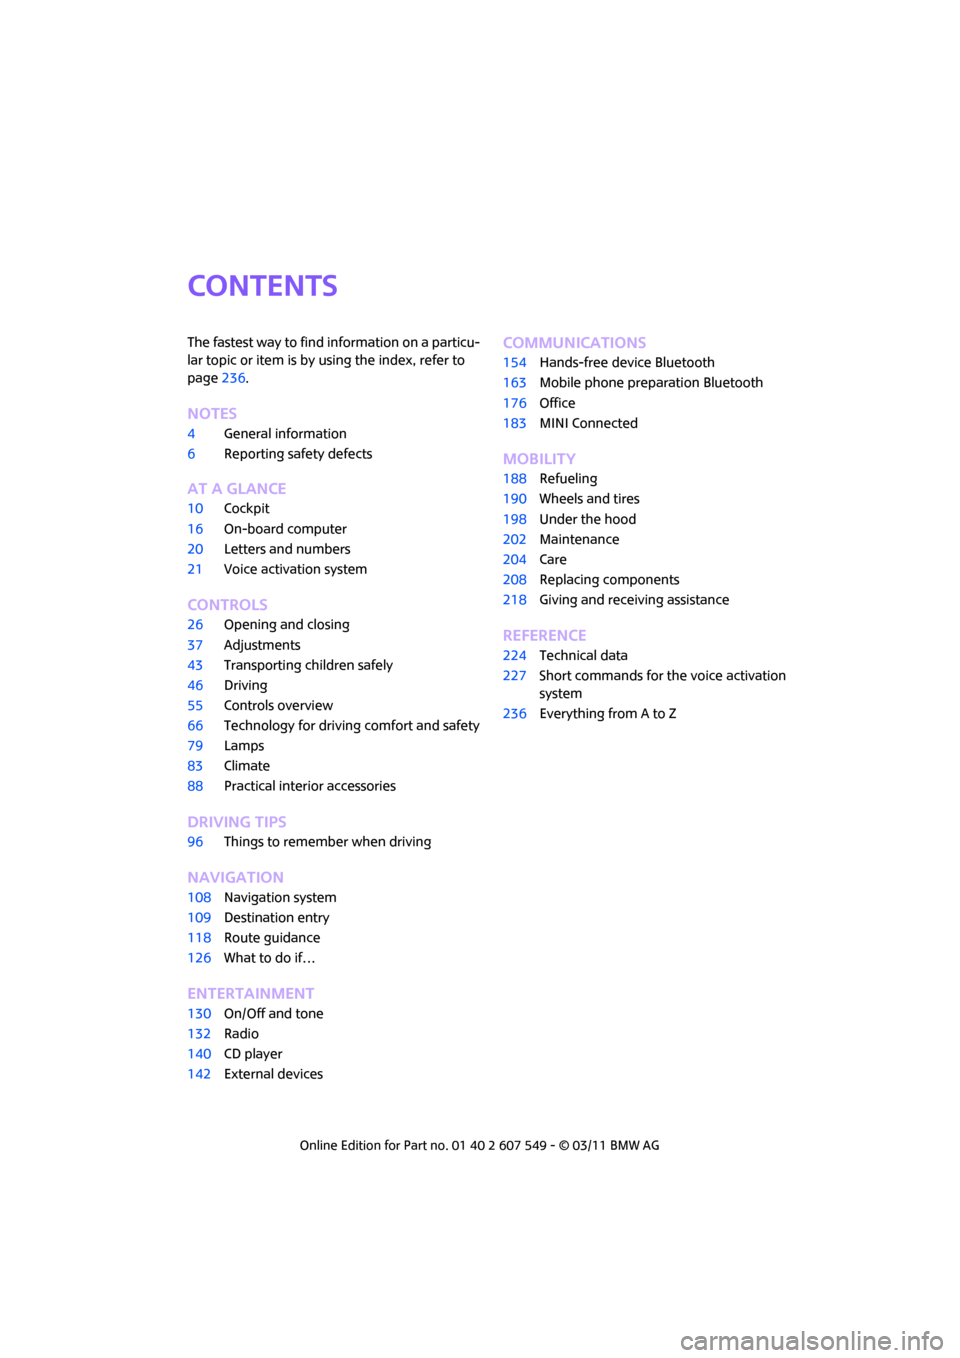
CONTENTS
The fastest way to find information on a particu-
lar topic or item is by using the index, refer to
page236.
Notes
4 General information
6 Reporting safety defects
AT A GLANCE
10Cockpit
16 On-board computer
20 Letters and numbers
21 Voice activation system
CONTROLS
26Opening and closing
37 Adjustments
43 Transporting children safely
46 Driving
55 Controls overview
66 Technology for drivin g comfort and safety
79 Lamps
83 Climate
88 Practical interior accessories
DRIVING TIPS
96Things to remember when driving
NAVIGATION
108Navigation system
109 Destination entry
118 Route guidance
126 What to do if…
ENTERTAINMENT
130On/Off and tone
132 Radio
140 CD player
142 External devices
Communications
154Hands-free device Bluetooth
163 Mobile phone preparation Bluetooth
176 Office
183 MINI Connected
MOBILITY
188Refueling
190 Wheels and tires
198 Under the hood
202 Maintenance
204 Care
208 Replacing components
218 Giving and receiving assistance
REFERENCE
224Technical data
227 Short commands for the voice activation
system
236 Everything from A to Z
Page 24 of 254
AT A GLANCEVoice activation system
22
Having the possible commands read
aloud
Having the possible commands read aloud:
For example if you have selected "CD" the sys-
tem will read aloud the possible commands for
operating the CD player.
Help for the voice activation system
Calling up Help:
Additional commands
* for Help:
> {Help with examples }: information about
the current operating options and the most
important commands for them are
announced.
> {Help with voice activation }: information
regarding the principles behind the voice
activation system is announced.
Using alternative commands
There are often a number of commands to run a
function, e.g.:
Calling up functions immediately via
short commands
Short commands enable you to perform certain
functions immediately, irrespective of which
menu item is selected, page 227.
Open the main menu
Example: selecting the track of a CD
1.Switch on Entertainment sound output if
necessary.
2. Press the button on the steering wheel.
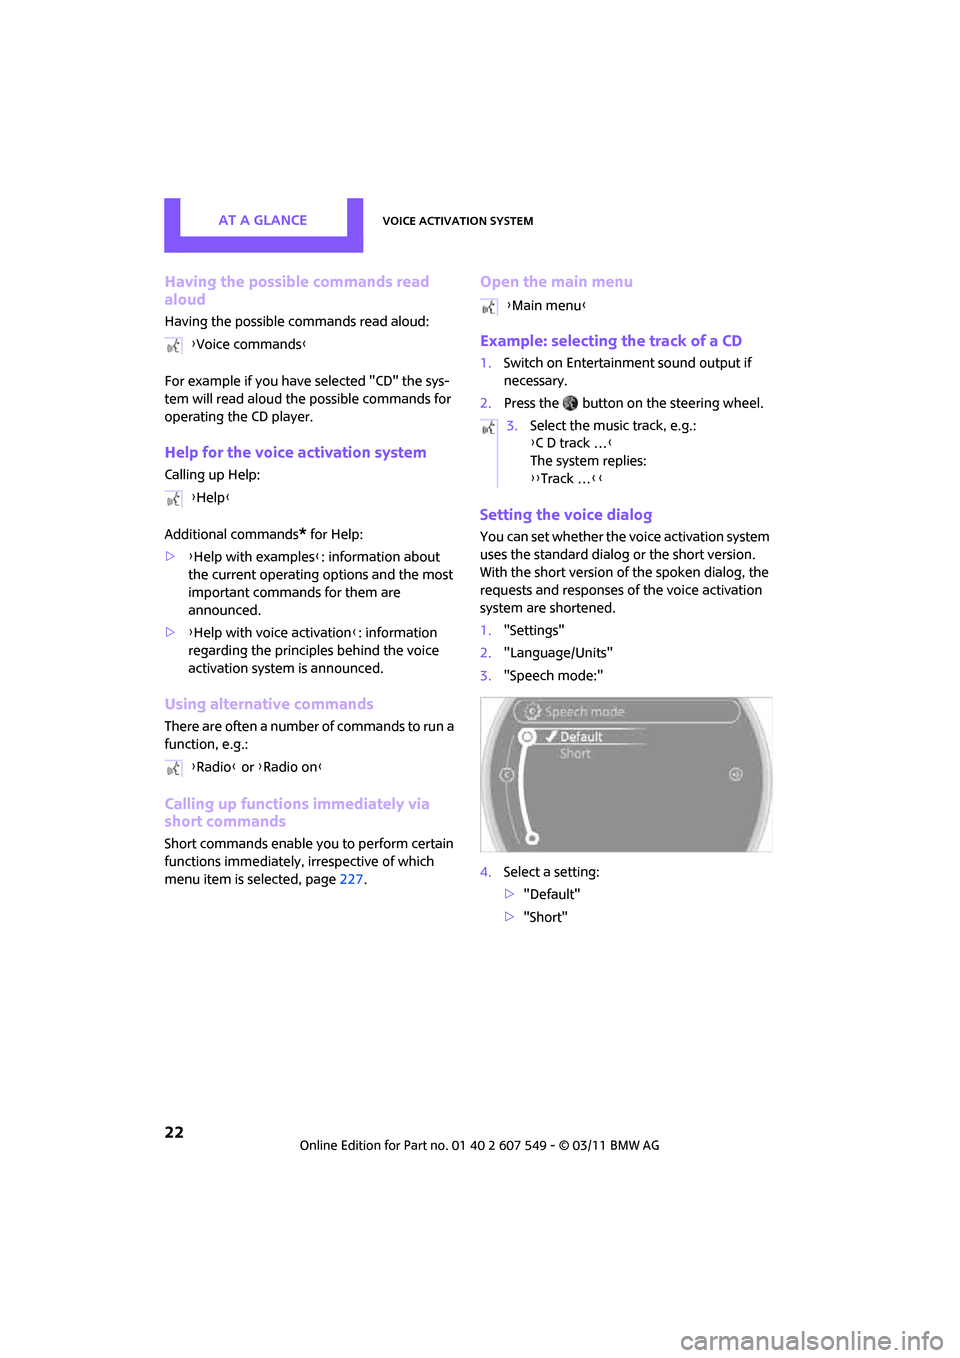
Setting the voice dialog
You can set whether the voice activation system
uses the standard dialog or the short version.
With the short version of the spoken dialog, the
requests and responses of the voice activation
system are shortened.
1."Settings"
2. "Language/Units"
3. "Speech mode:"
4. Select a setting:
>"Default"
> "Short"
{
Voice commands }
{ Help }
{ Radio } or {Radio on }
{Main menu }
3. Select the music track, e.g.:
{C D track … }
The system replies:
{{ Track … }}
Page 92 of 254
CONTROLSPractical interior accessories
90
rapidly.
If the LED2 does not flash rapidly after
approx. 60 seconds, alter the distance and
repeat this step.
Canada: if the LED is not flashing rapidly
after 60 seconds, chan ge the distance and
repeat the step or, if the programming was
interrupted by the hand-held transmitter,
press and hold the memory button and
press the button on the hand-held transmit-
ter for 2 seconds and release several times.
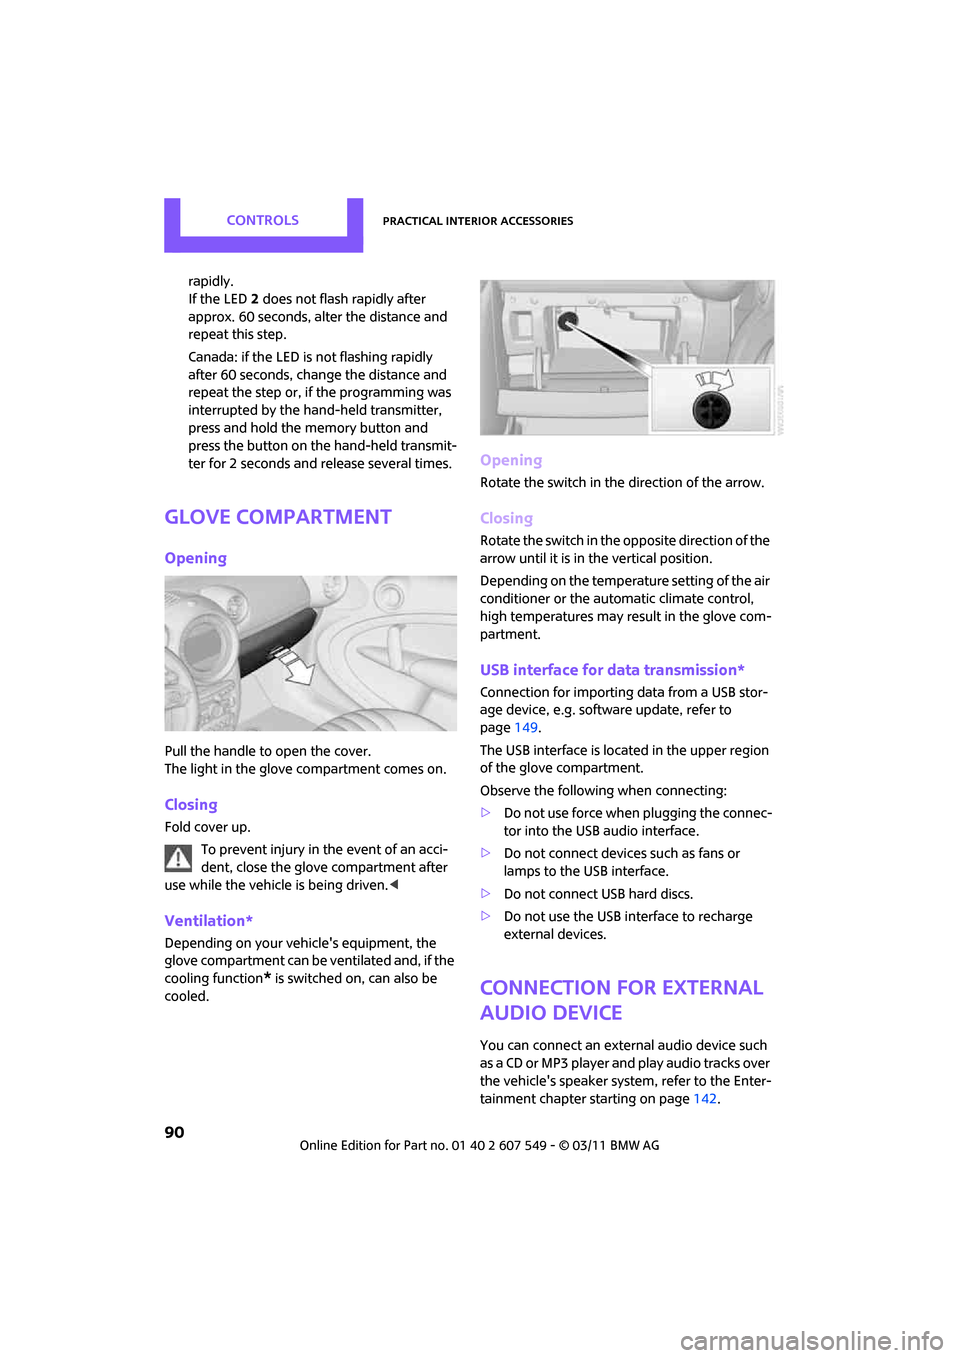
Glove compartment
Opening
Pull the handle to open the cover.
The light in the glove compartment comes on.
Closing
Fold cover up.
To prevent injury in the event of an acci-
dent, close the glove compartment after
use while the vehicle is being driven. <
Ventilation*
Depending on your vehicle's equipment, the
glove compartment can be ventilated and, if the
cooling function
* is switched on, can also be
cooled.
Opening
Rotate the switch in the direction of the arrow.
Closing
Rotate the switch in the opposite direction of the
arrow until it is in the vertical position.
Depending on the temperature setting of the air
conditioner or the automatic climate control,
high temperatures may result in the glove com-
partment.
USB interface for data transmission*
Connection for importing data from a USB stor-
age device, e.g. software update, refer to
page 149.
The USB interface is located in the upper region
of the glove compartment.
Observe the following when connecting:
> Do not use force when plugging the connec-
tor into the USB audio interface.
> Do not connect devices such as fans or
lamps to the USB interface.
> Do not connect USB hard discs.
> Do not use the USB interface to recharge
external devices.
Connection for external
audio device
You can connect an external audio device such
as a CD or MP3 player and play audio tracks over
the vehicle's speaker syst em, refer to the Enter-
tainment chapter starting on page 142.
Page 132 of 254
ENTERTAINMENTOn/Off and tone
130
On/Off and tone
The following audio sources have shared control
elements and setting options:
> Radio
> CD player
> External devices, e.g. MP3 player
Controls
The audio sources can be operated using:
>Buttons near the CD player
> On-board computer
> Buttons on the steering wheel, refer to
page 10
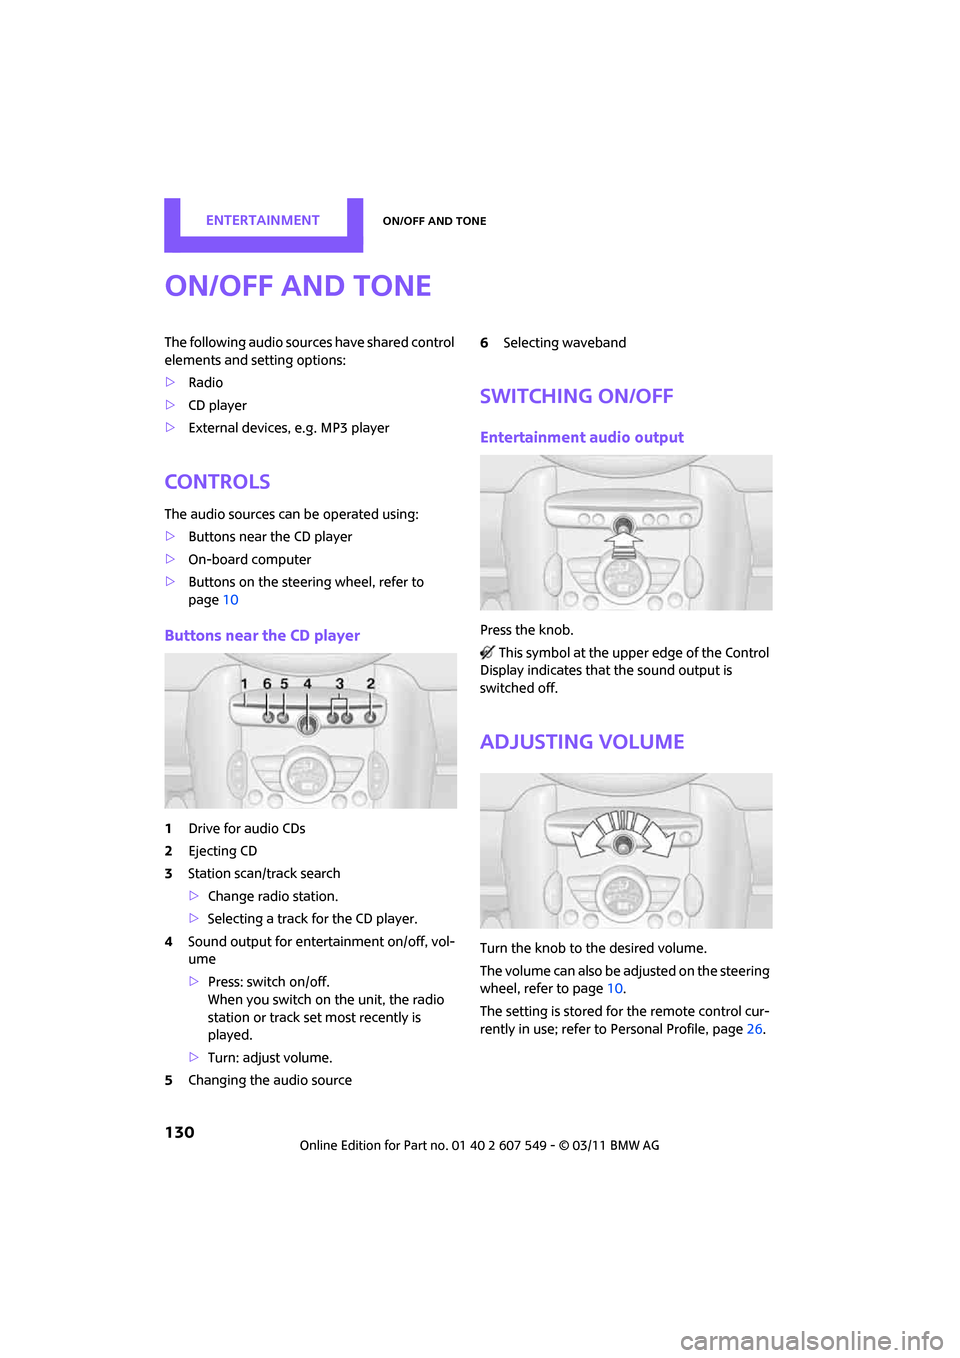
Buttons near the CD player
1Drive for audio CDs
2 Ejecting CD
3 Station scan/track search
>Change radio station.
> Selecting a track for the CD player.
4 Sound output for ente rtainment on/off, vol-
ume
> Press: switch on/off.
When you switch on the unit, the radio
station or track set most recently is
played.
> Turn: adjust volume.
5 Changing the audio source 6
Selecting waveband
Switching on/off
Entertainment audio output
Press the knob.
This symbol at the upper edge of the Control
Display indicates that the sound output is
switched off.
Adjusting volume
Turn the knob to the desired volume.
The volume can also be adjusted on the steering
wheel, refer to page 10.
The setting is stored fo r the remote control cur-
rently in use; refer to Personal Profile, page 26.
Page 138 of 254
ENTERTAINMENTRadio
136
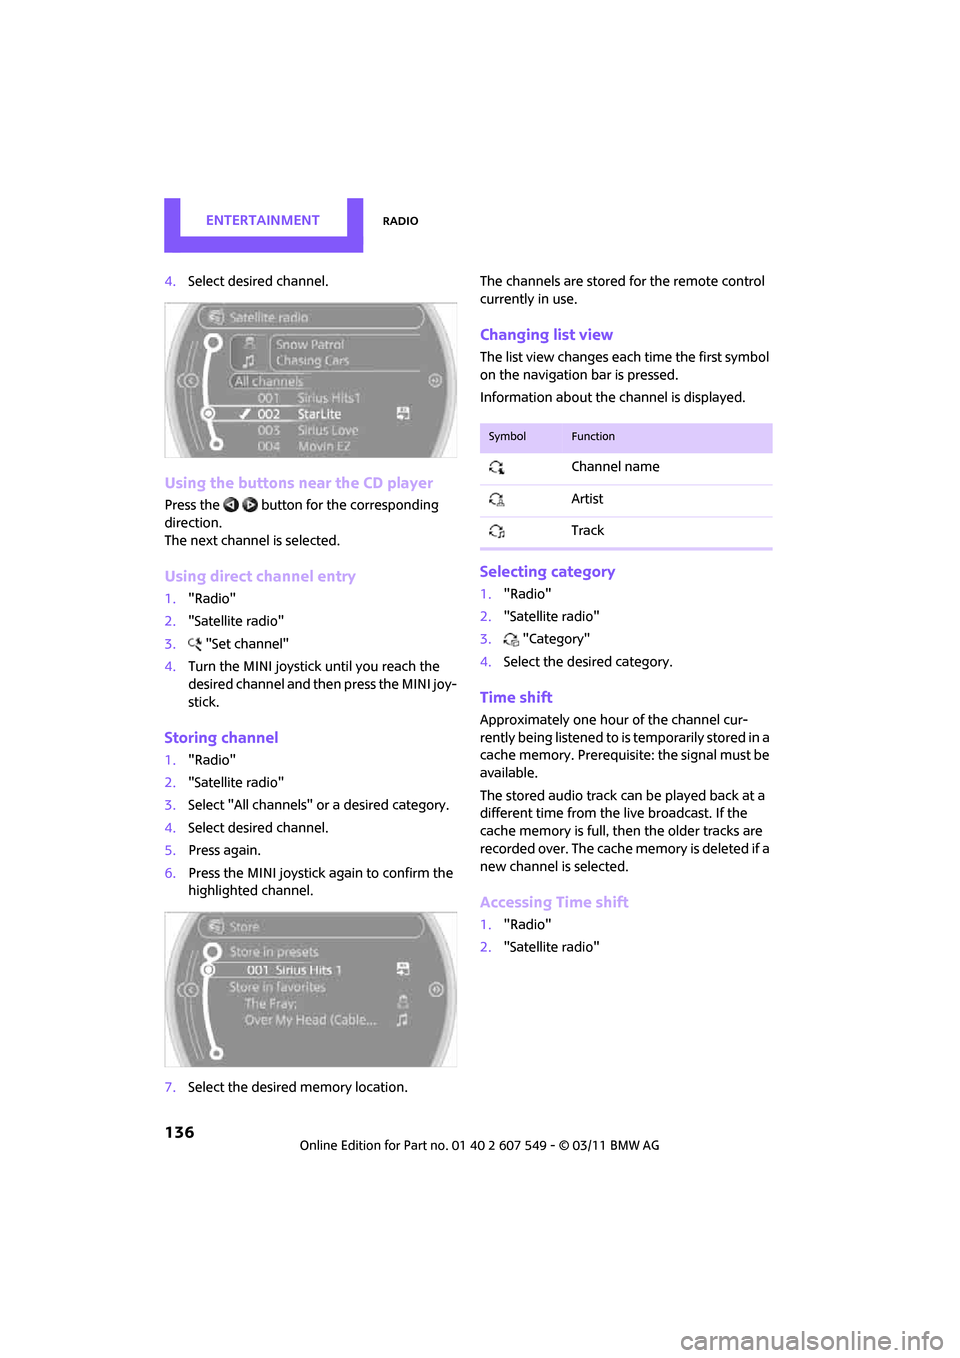
4.Select desired channel.
Using the buttons near the CD player
Press the button for the corresponding
direction.
The next channel is selected.
Using direct channel entry
1."Radio"
2. "Satellite radio"
3. "Set channel"
4. Turn the MINI joystick until you reach the
desired channel and then press the MINI joy-
stick.
Storing channel
1."Radio"
2. "Satellite radio"
3. Select "All channels" or a desired category.
4. Select desired channel.
5. Press again.
6. Press the MINI joystick again to confirm the
highlighted channel.
7. Select the desired memory location. The channels are stored for the remote control
currently in use.
Changing list view
The list view changes each time the first symbol
on the navigation bar is pressed.
Information about the channel is displayed.
Selecting category
1.
"Radio"
2. "Satellite radio"
3. "Category"
4. Select the desired category.
Time shift
Approximately one hour of the channel cur-
rently being listened to is temporarily stored in a
cache memory. Prerequisite: the signal must be
available.
The stored audio track can be played back at a
different time from the live broadcast. If the
cache memory is full, then the older tracks are
recorded over. The cache memory is deleted if a
new channel is selected.
Accessing Time shift
1. "Radio"
2. "Satellite radio"
SymbolFunction
Channel name
Artist
Track
Page 142 of 254
ENTERTAINMENTCD player
140
CD player
General information
Inserting CD
Insert the CD into the drive with the labeled side
up. Die CD is automatically pulled in.
Playback starts automatically if the sound out-
put is on. For CDs with compressed audio files, it
can take several minutes to the data, depending
on the folder structure.
Playable formats
CD player*
> CD: CD-ROM, CD-R, CD-RW, CD-DA
> Compressed audio files: MP3, WMA, AAC
Ejecting CD
Press the button on the CD player.
The CD will be slid a sh ort distance out from the
drive.
Audio playback
Selecting the track using the button
Press the button for the corresponding
direction repeatedly unti l you reach the desired
track.
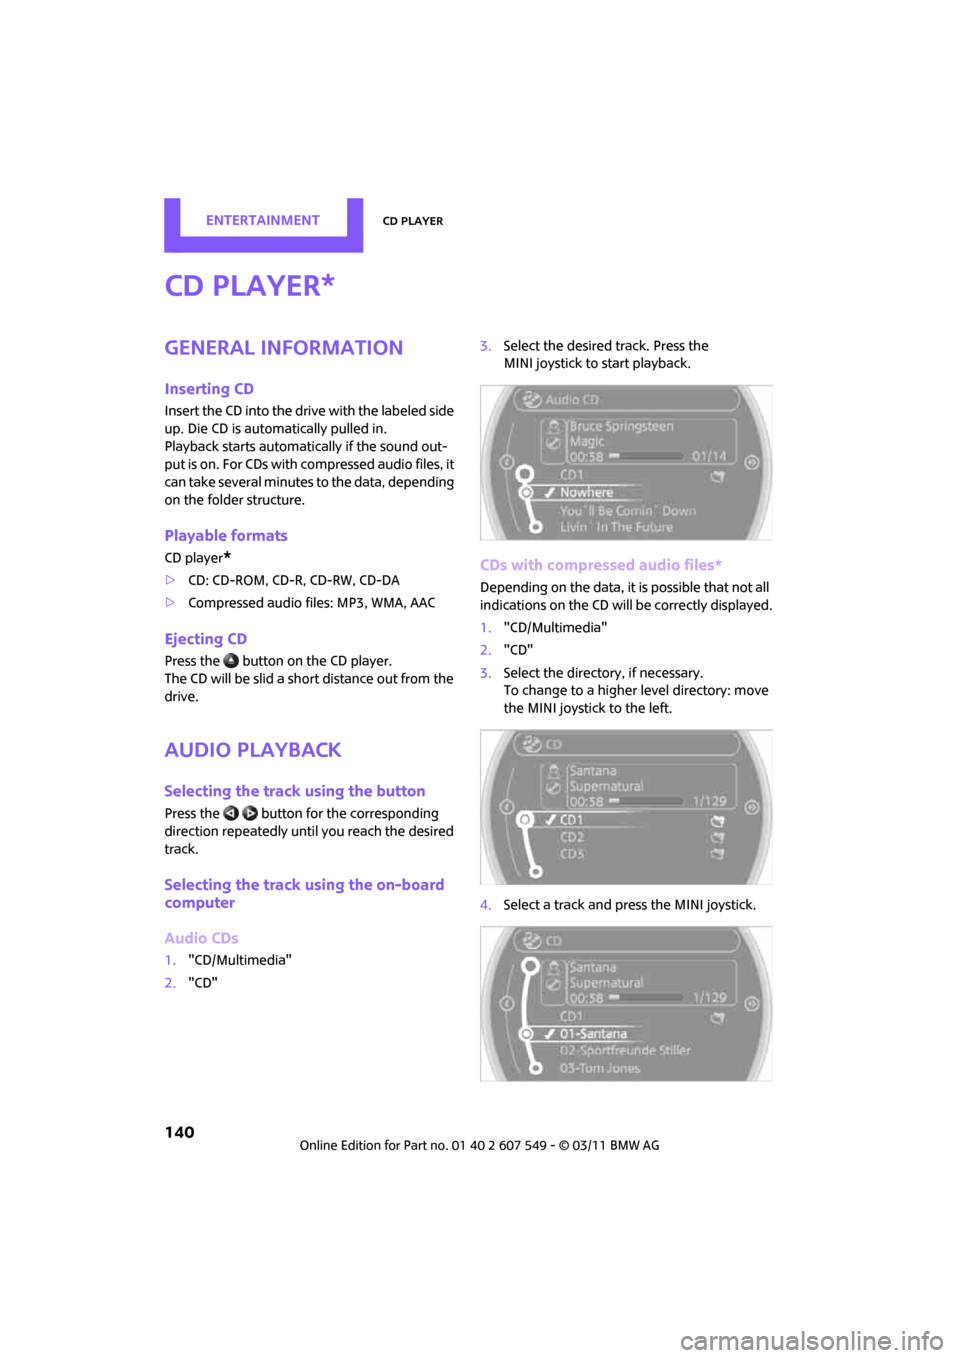
Selecting the track using the on-board
computer
Audio CDs
1. "CD/Multimedia"
2. "CD" 3.
Select the desired track. Press the
MINI joystick to start playback.
CDs with compressed audio files*
Depending on the data, it is possible that not all
indications on the CD will be correctly displayed.
1."CD/Multimedia"
2. "CD"
3. Select the directory, if necessary.
To change to a higher level directory: move
the MINI joystick to the left.
4. Select a track and press the MINI joystick.
*
Page 143 of 254
CD playerENTERTAINMENT
141
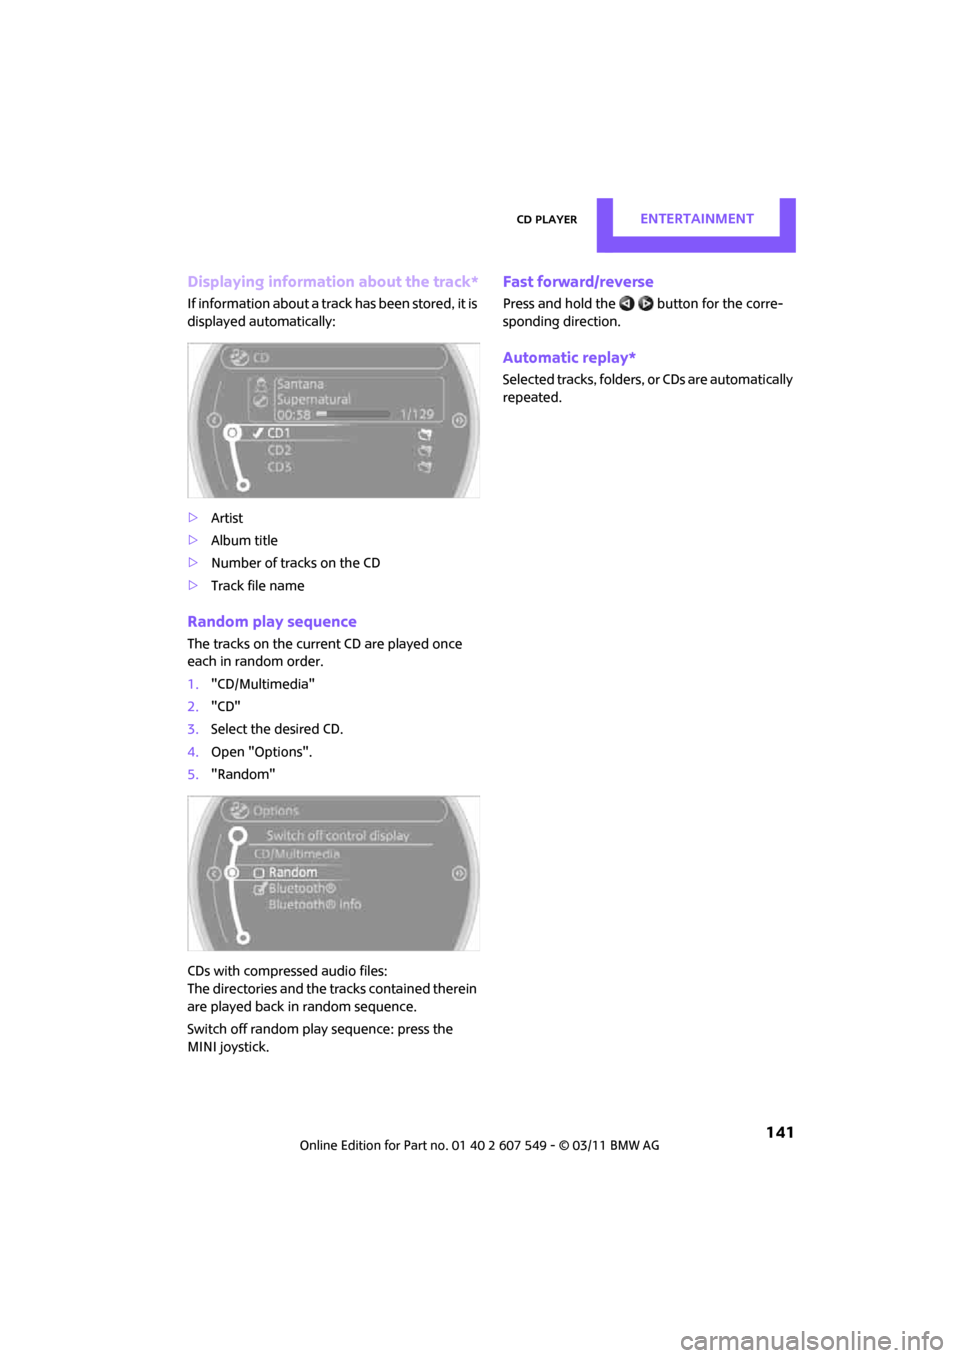
Displaying information about the track*
If information about a track has been stored, it is
displayed automatically:
>Artist
> Album title
> Number of tracks on the CD
> Track file name
Random play sequence
The tracks on the current CD are played once
each in random order.
1."CD/Multimedia"
2. "CD"
3. Select the desired CD.
4. Open "Options".
5. "Random"
CDs with compressed audio files:
The directories and the tr acks contained therein
are played back in random sequence.
Switch off random play sequence: press the
MINI joystick.
Fast forward/reverse
Press and hold the button for the corre-
sponding direction.
Automatic replay*
Selected tracks, folders, or CDs are automatically
repeated.
Page 144 of 254
ENTERTAINMENTExternal devices
142
External devices
Overview
AUX-IN connection
Overview
>It is possible to connect audio devices, e.g.
MP3 players. Sound is output over the vehi-
cle speakers.
> Recommended settings: mid-level tone and
volume settings on the audio device. Tone
may depend on the quality of the audio files.
Connecting
1USB interface
2 Connection for audio playback:
TRS connector 1/8"/3.5 mm
For audio playback over the vehicle speakers,
connect the headphones or line-out connection
of the device to the AUX N connection 2.
Starting audio playback
The audio device must be switched on.
1. "CD/Multimedia"
2. or "External devices" if applicable
3. "AUX front"
Sound is output on the vehicle loudspeakers.
Volume
The volume of the sound output depends on the
audio device. If this volume differs markedly
from the volume of the other audio sources, it is
advisable to adjust the volumes.
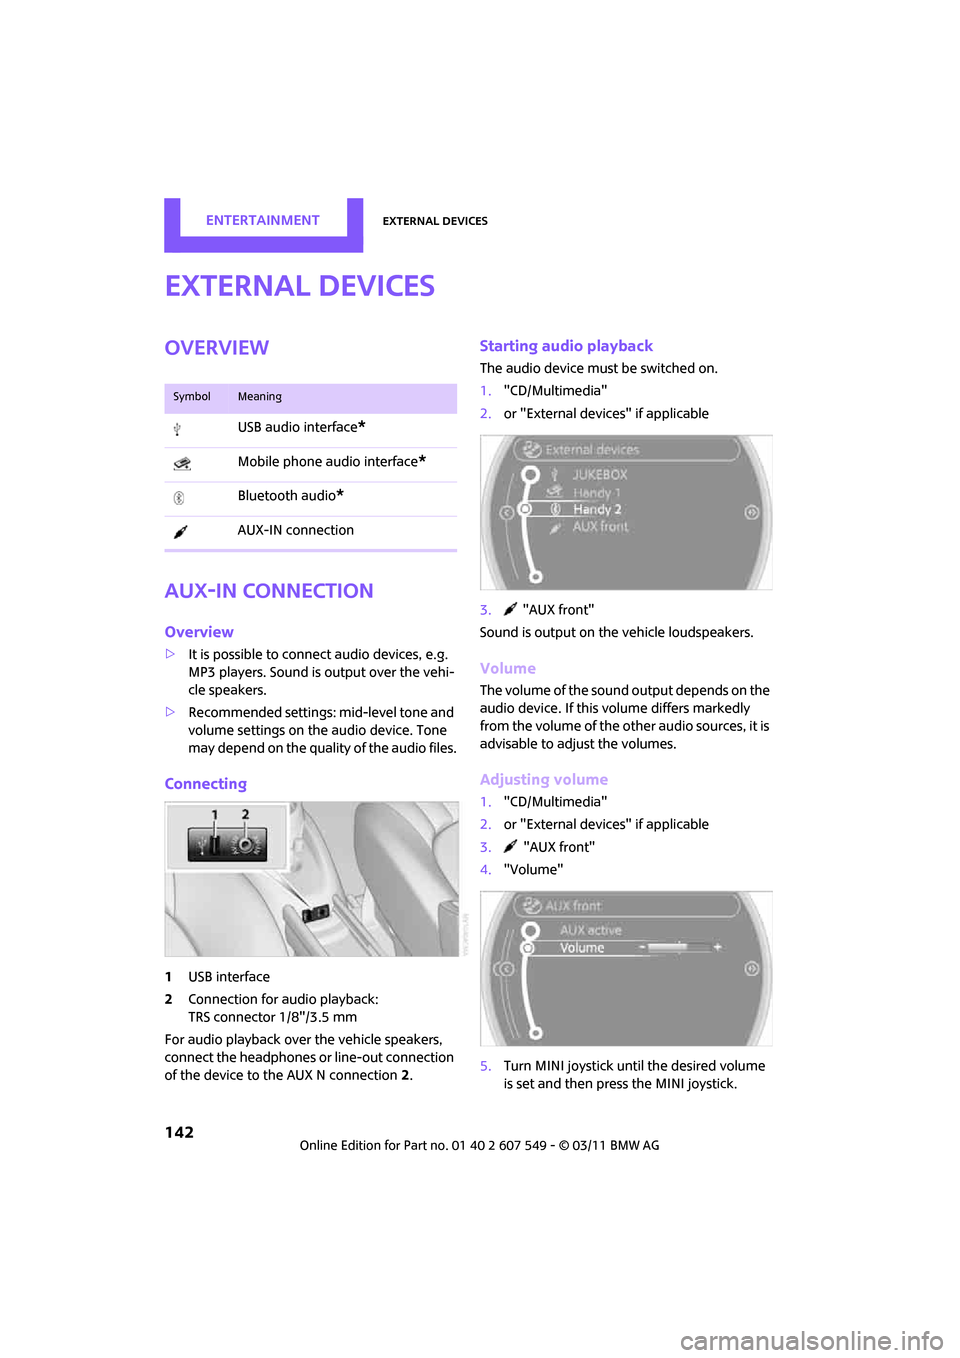
Adjusting volume
1. "CD/Multimedia"
2. or "External devices" if applicable
3. "AUX front"
4. "Volume"
5. Turn MINI joystick until the desired volume
is set and then press the MINI joystick.
SymbolMeaning
USB audio interface*
Mobile phone audio interface*
Bluetooth audio*
AUX-IN connection
Page 145 of 254
External devicesENTERTAINMENT
143
USB audio interface*/
mobile phone audio
interface*
Overview
It is possible to connect external audio devices.
They are operated using the on-board com-
puter. Sound is output over the vehicle speakers.
Options for connecting external devices
> Connection via USB audio interface: Apple
devices, USB devices such as MP3 players,
USB memory sticks, or mobile phones that
are supported by the USB audio interface.
> Connection via the snap-in adapter
*, when
equipped with extended connectivity of the
music player in the mobile phone: Apple
iPhone or mobile phones. Playback is only
possible if no plug is present in the USB
audio interface.
Because of the large number of audio devices
available on the market , an operation via the
vehicle cannot be guaranteed for every audio
device/mobile phone.
Ask your MINI dealer for suitable audio devices/
mobile phones.
Audio files
Playback of standard audio files is possible:
> MP3
> WMA
> WAV (PCM)
> AAC
*, M4A*
>Without voice activation system: playback
lists: M3U
> With voice activation system: playback lists:
M3U, WPL
*, PLS*
Video files*
Playback of standard vi deo files with a compati-
ble Apple device is possible:
> MPEG4
> H.264
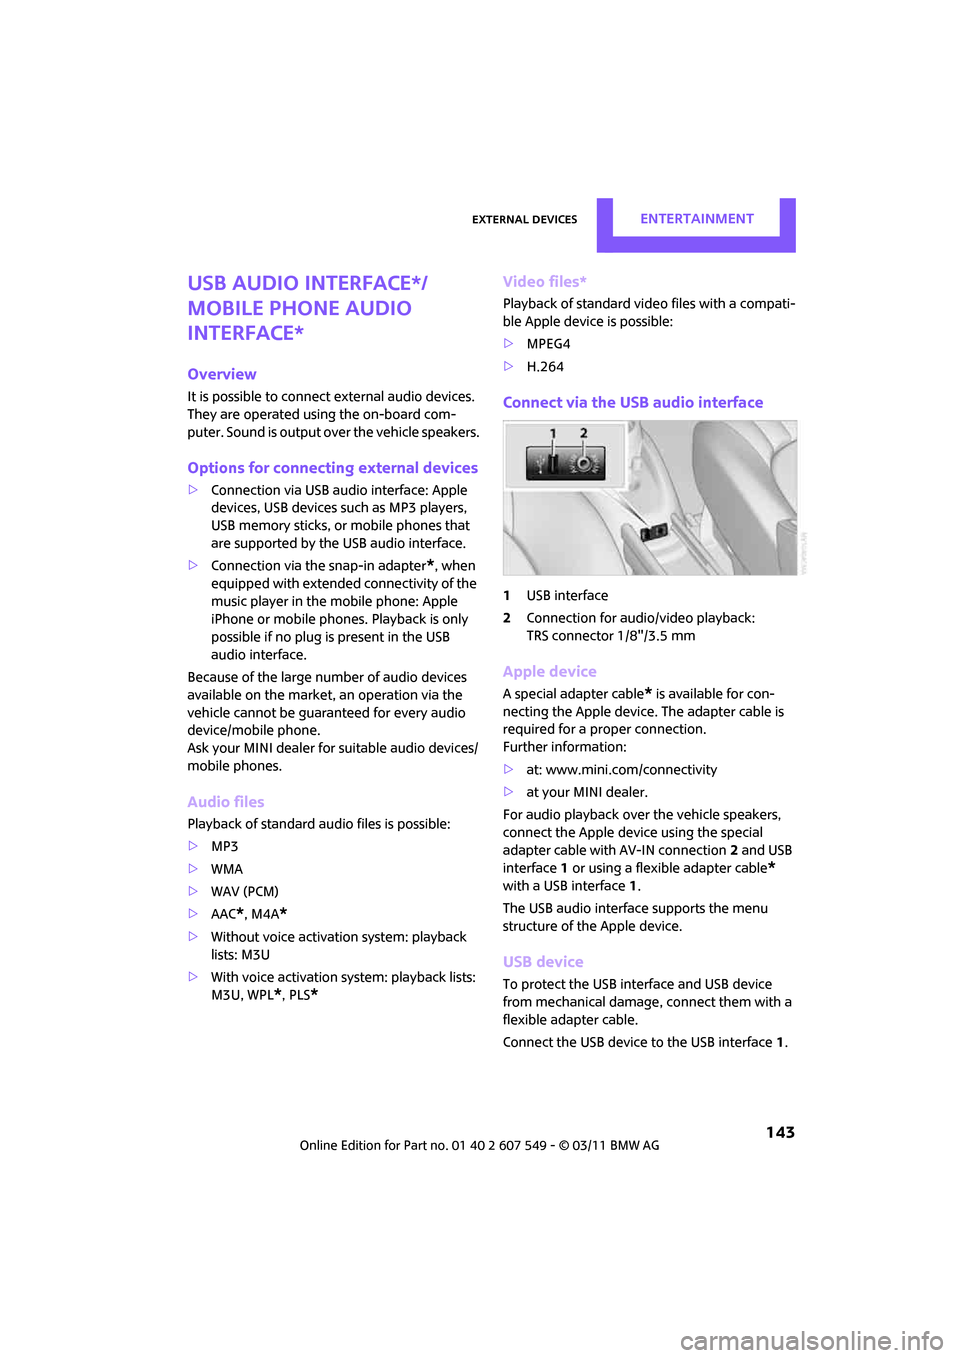
Connect via the USB audio interface
1USB interface
2 Connection for audi o/video playback:
TRS connector 1/8"/3.5 mm
Apple device
A special adapter cable* is available for con-
necting the Apple device. The adapter cable is
required for a proper connection.
Further information:
> at: www.mini.com/connectivity
> at your MINI dealer.
For audio playback over the vehicle speakers,
connect the Apple device using the special
adapter cable with AV-IN connection 2 and USB
interface 1 or using a flexible adapter cable
*
with a USB interface 1.
The USB audio interface supports the menu
structure of the Apple device.
USB device
To protect the USB interface and USB device
from mechanical damage, connect them with a
flexible adapter cable.
Connect the USB device to the USB interface 1.
Page 147 of 254
External devicesENTERTAINMENT
145
Playback lists
To open playback lists.
1."CD/Multimedia"
2. "External devices"
3. Select the or symbol.
4. "Playlists"
Current playback
List of tracks currently being played.
1."CD/Multimedia"
2. "External devices"
3. Select the or symbol.
4. "Current playback"
Random play sequence
The current list of tracks is played in random
sequence.
1."CD/Multimedia"
2. "External devices"
3. Open "Options".
4. "Random"
Fast forward/reverse
Buttons on the steering wheel or CD player:
Press and hold the button for the corre-
sponding direction.
Video playback*
The video image on the on-board monitor is dis-
played when the vehicle is standing still; in some
countries only when the hand brake is engaged
or if the transmission is set on P.
For video playback, connec t the Apple device to
the USB audio interface using the video-enabled
adapter cable
*.
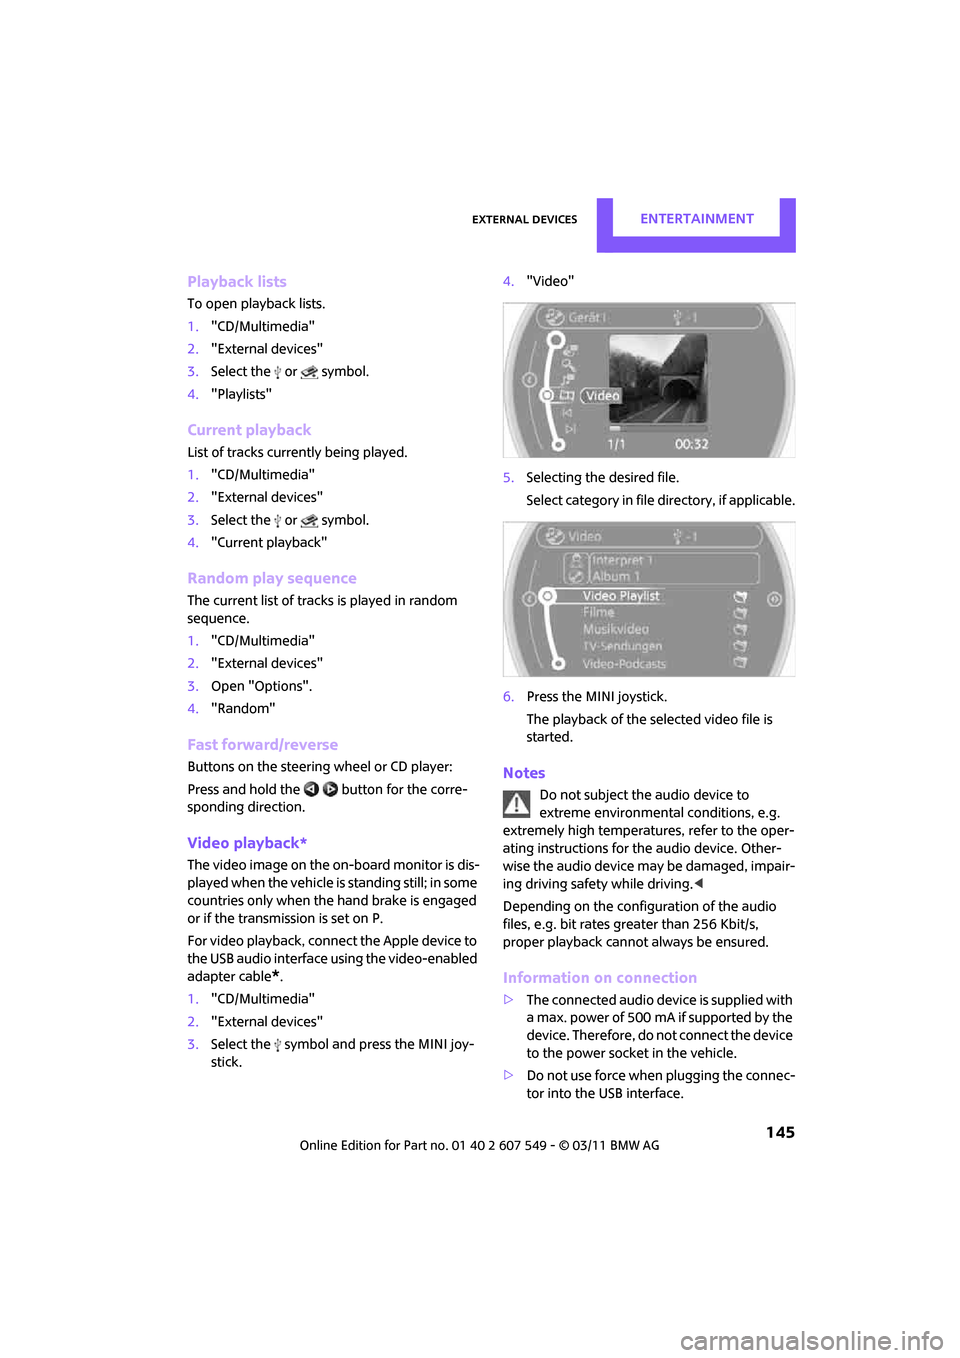
1. "CD/Multimedia"
2. "External devices"
3. Select the symbol and press the MINI joy-
stick. 4.
"Video"
5. Selecting the desired file.
Select category in file directory, if applicable.
6. Press the MINI joystick.
The playback of the selected video file is
started.
Notes
Do not subject the audio device to
extreme environmental conditions, e.g.
extremely high temperatures, refer to the oper-
ating instructions for the audio device. Other-
wise the audio device may be damaged, impair-
ing driving safety while driving. <
Depending on the configuration of the audio
files, e.g. bit rates greater than 256 Kbit/s,
proper playback cannot always be ensured.
Information on connection
> The connected audio device is supplied with
a max. power of 500 mA if supported by the
device. Therefore, do not connect the device
to the power socket in the vehicle.
> Do not use force when plugging the connec-
tor into the USB interface.