fog light bulb MINI Countryman 2011 Owner's Manual (Mini Connected)
[x] Cancel search | Manufacturer: MINI, Model Year: 2011, Model line: Countryman, Model: MINI Countryman 2011Pages: 254, PDF Size: 3.84 MB
Page 211 of 254

Replacing componentsMOBILITY
209
tional laser diodes, and legislation defines them
as Class 1 light-emitting diodes.
Do not remove the covers or expose the
eyes directly to the unfiltered light source
for several hours; otherw ise, this could cause
irritation of the retina. <
Headlamp glass lens
In cool or humid weather, condensation may
occur on the interior of outside lights. The con-
densation disappears a short time after the light
is switched on. The headlamps do not need to
be changed. If a lot of moisture is present, e.g.
water droplets in the light, have them checked
by your service center.
Xenon lamps*
The service life of these bulbs is very long and
the probability of failure very low, provided that
they are not switched on and off an excessive
number of times. If a xenon lamp fails neverthe-
less, switch on the fog lamps and continue the
journey with great care, provided that local leg-
islation does not prohibit this.
Have any work on the xenon lamp system,
including bulb replac ement, carried out
only by a MINI dealer or a workshop that has
specially trained personnel working in accor-
dance with the specifications of the MINI manu-
facturer. Due to high voltage, there is a risk of
fatal injury if work on the xenon lamps is carried
out improperly. <
Halogen low beams and high beams
H13 bulb, 60/55 watts
The H13 bulb is pressurized. Therefore,
wear safety glasses an d protective gloves.
Otherwise, there is a risk of injury if the bulb is
damaged. <
Be careful when insta lling the cover; oth-
erwise, leaks could occur and cause dam-
age to the headlamp system. <
Accessing the lamp from the engine
compartment
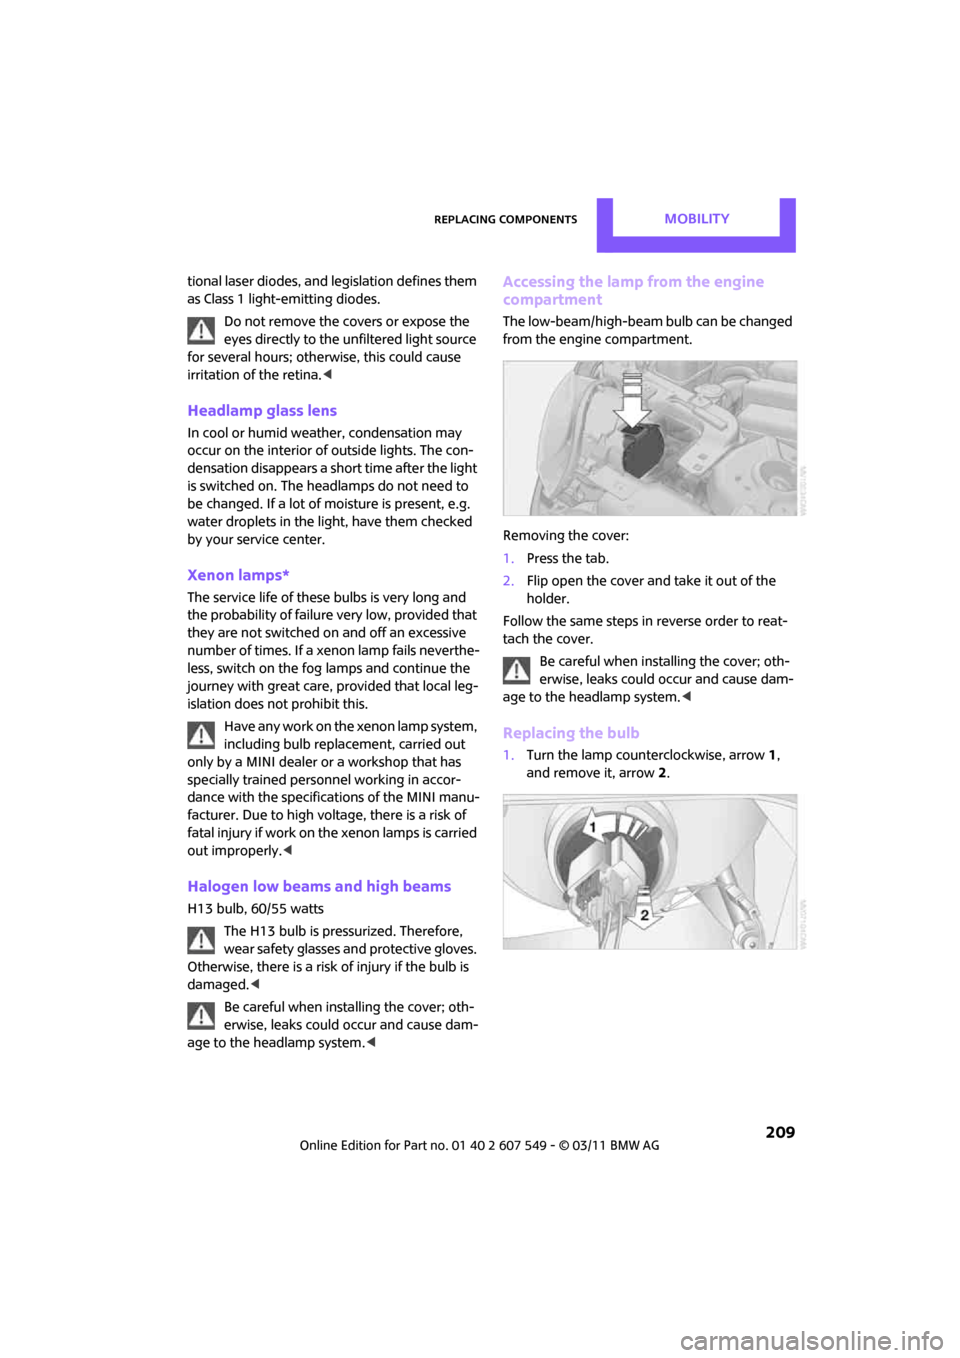
The low-beam/high-beam bulb can be changed
from the engine compartment.
Removing the cover:
1.Press the tab.
2. Flip open the cover and take it out of the
holder.
Follow the same steps in reverse order to reat-
tach the cover. Be careful when insta lling the cover; oth-
erwise, leaks could occur and cause dam-
age to the headlamp system. <
Replacing the bulb
1.Turn the lamp counterclockwise, arrow 1,
and remove it, arrow 2.
Page 213 of 254

Replacing componentsMOBILITY
211
Replacing a fog lamp bulb
H8 bulb, 35 watts
1.Turn in the wheel.
2. Remove cover 2.
To do so, turn the cover counterclockwise.
3. Pull the cable connector.
4. Unscrew the lower bulb counterclockwise.
5. To insert the new bulb and replace the
cover, proceed in reverse order.
Side turn signals
5watt bulb, W5W
1.Open hood.
2. Squeeze clamping clip, arrows, and remove
bulb holder.
3. Unscrew bulb counterclockwise and
replace.
4. To insert the new bulb and replace the
cover, proceed in reverse order.
Side marker lamps
Have these bulbs replaced by your MINI dealer.
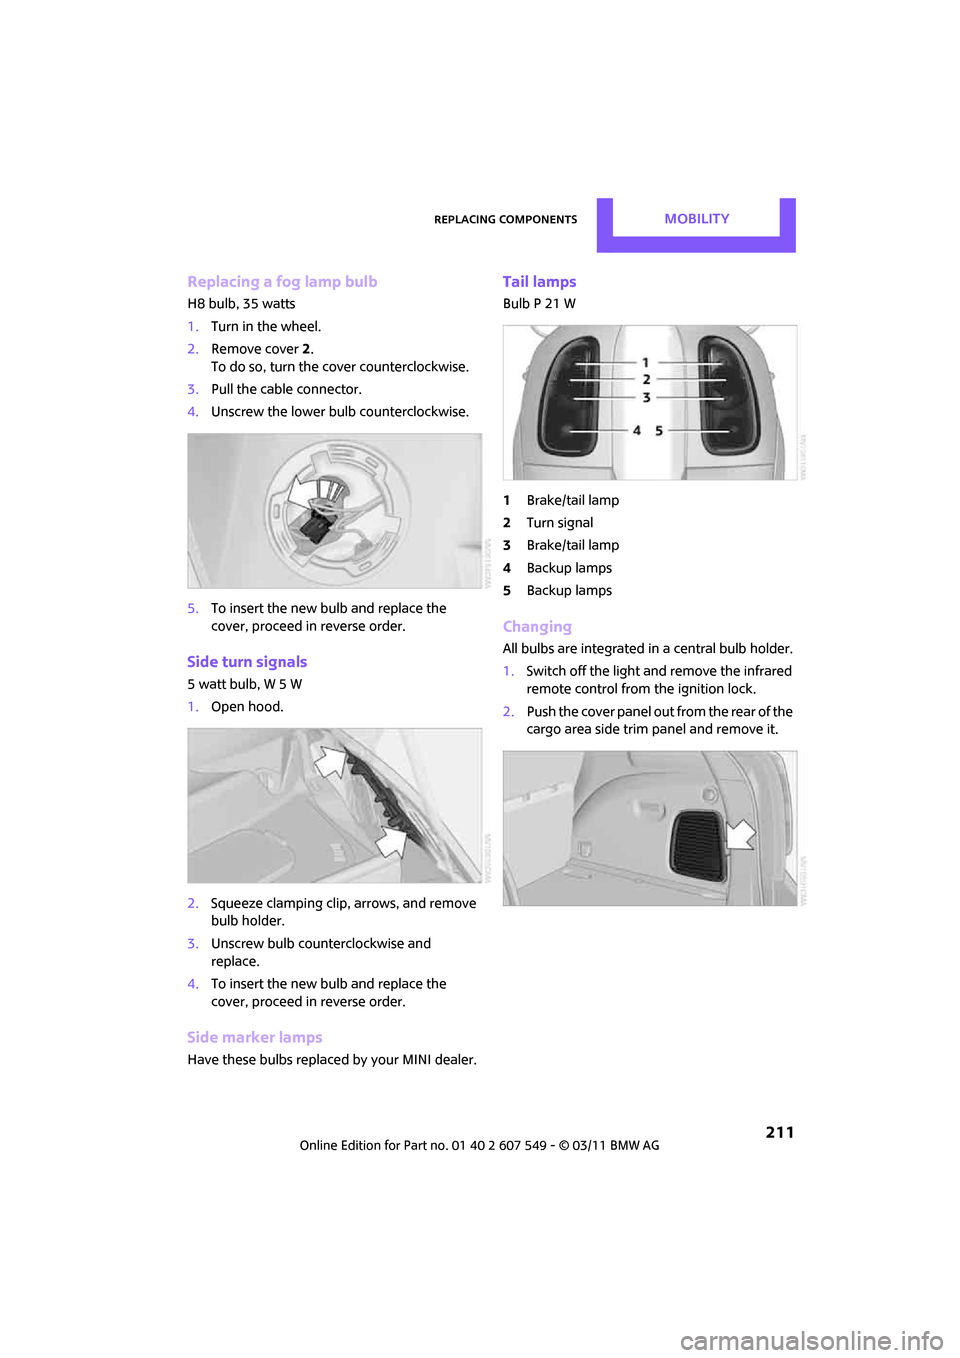
Tail lamps
Bulb P 21 W
1Brake/tail lamp
2 Turn signal
3 Brake/tail lamp
4 Backup lamps
5 Backup lamps
Changing
All bulbs are integrated in a central bulb holder.
1.Switch off the light and remove the infrared
remote control from the ignition lock.
2. Push the cover panel out from the rear of the
cargo area side trim panel and remove it.