windshield wipers MINI Countryman 2012 Owner's Manual (Mini Connected)
[x] Cancel search | Manufacturer: MINI, Model Year: 2012, Model line: Countryman, Model: MINI Countryman 2012Pages: 259, PDF Size: 3.07 MB
Page 54 of 259
DrivingCONTROLS
53
4.Pull the loop up.
5. Move the selector le ver into the desired
position by pressing the button on the front
of the selector lever.
Before manually unlocking the selector
lever lock, firmly set the parking brake to
prevent the vehicle from rolling away. <
Turn signals/
headlamp flasher
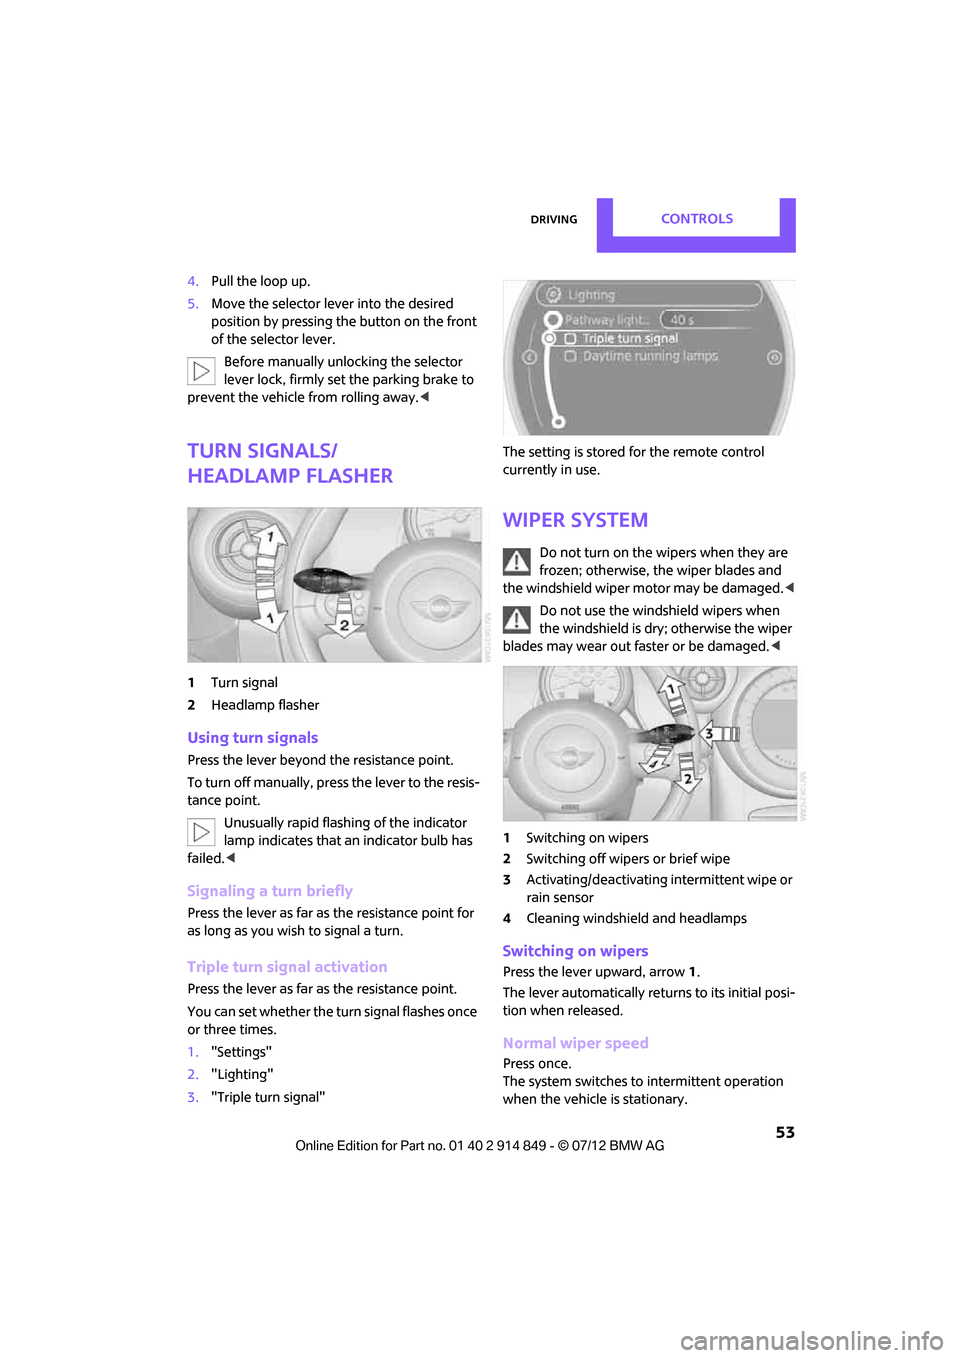
1Turn signal
2 Headlamp flasher
Using turn signals
Press the lever beyond the resistance point.
To turn off manually, pre ss the lever to the resis-
tance point.
Unusually rapid flashi ng of the indicator
lamp indicates that an indicator bulb has
failed. <
Signaling a turn briefly
Press the lever as far as the resistance point for
as long as you wish to signal a turn.
Triple turn signal activation
Press the lever as far as the resistance point.
You can set whether the turn signal flashes once
or three times.
1. "Settings"
2. "Lighting"
3. "Triple turn signal" The setting is stored for the remote control
currently in use.
Wiper system
Do not turn on the wipers when they are
frozen; otherwise, the wiper blades and
the windshield wiper motor may be damaged. <
Do not use the windshield wipers when
the windshield is dry; otherwise the wiper
blades may wear out faster or be damaged. <
1 Switching on wipers
2 Switching off wipers or brief wipe
3 Activating/deactivating intermittent wipe or
rain sensor
4 Cleaning windshield and headlamps
Switching on wipers
Press the lever upward, arrow 1.
The lever automatically returns to its initial posi-
tion when released.
Normal wiper speed
Press once.
The system switches to intermittent operation
when the vehicle is stationary.
Online Edition for Part no. 01 40 2 914 849 - \251 07/12 BMW AG
Page 55 of 259

CONTROLSDriving
54
Fast wiper speed
Press twice or press beyond the resistance point.
The system switches to normal speed when the
vehicle is stationary.
Intermittent wipe or rain sensor
If the car is not equipped with a rain sensor, the
intermittent-wipe time is preset.
If the car is equipped with a rain sensor, the time
between wipes is controlled automatically and
depends on the intensity of the rainfall. The rain
sensor is mounted on the windshield, directly in
front of the interior rearview mirror.
Activating intermittent wipe or rain
sensor
Press button, arrow 3.
This symbol is displayed in the tachom-
eter.
Deactivate the rain se nsor before entering
an automatic car wash . Failure to do so
could result in damage caused by undesired
wiper activation. <
Adjusting the sensitivity of the rain
sensor
1.Switch on the ignition, refer to page 48.
2. Press the button in the turn signal indicator
as often as necessary until "SET/INFO" is dis-
played.
3. Press and hold the button until the display
changes. 4.
Press the button as often as necessary until
the symbol and "SET" are displayed.
5. Press and hold the button until the display
changes.
6. Press the button to se lect the desired sensi-
tivity.
7. Wait, or press and hold the button until the
display changes.
The settings are stored.
Deactivating intermittent wipe or rain
sensor
Press the button again, arrow 3.
Brief wipe
Press the lever downward once, arrow 2.
Cleaning windshield and headlamps
Pull the lever, arrow 4 .
Washer fluid is sprayed onto the windshield and
the wipers are operated briefly.
When the vehicle lighting system is switched on,
the headlamps are cleaned at regular and
appropriate intervals.
Online Edition for Part no. 01 40 2 914 849 - \251 07/12 BMW AG
Page 56 of 259
DrivingCONTROLS
55
In cars equipped with an alarm system, the
headlamps cannot be cleaned when the hood is
open.Do not use the washers when the washer
fluid reservoir is empt y; otherwise, you will
damage the washer pump.
Only use the washers if the hood has been com-
pletely closed; otherwise, the headlamp washer
system
may be damaged. Do not use the wash-
ers if there is any danger that the fluid will freeze
on the windshield. If you do, your vision could be
obscured. For this reason, use antifreeze. <
Window washer nozzles
The window washer nozzles are heated auto-
matically while the engine is running or the
ignition is switched on.
Rear window wiper
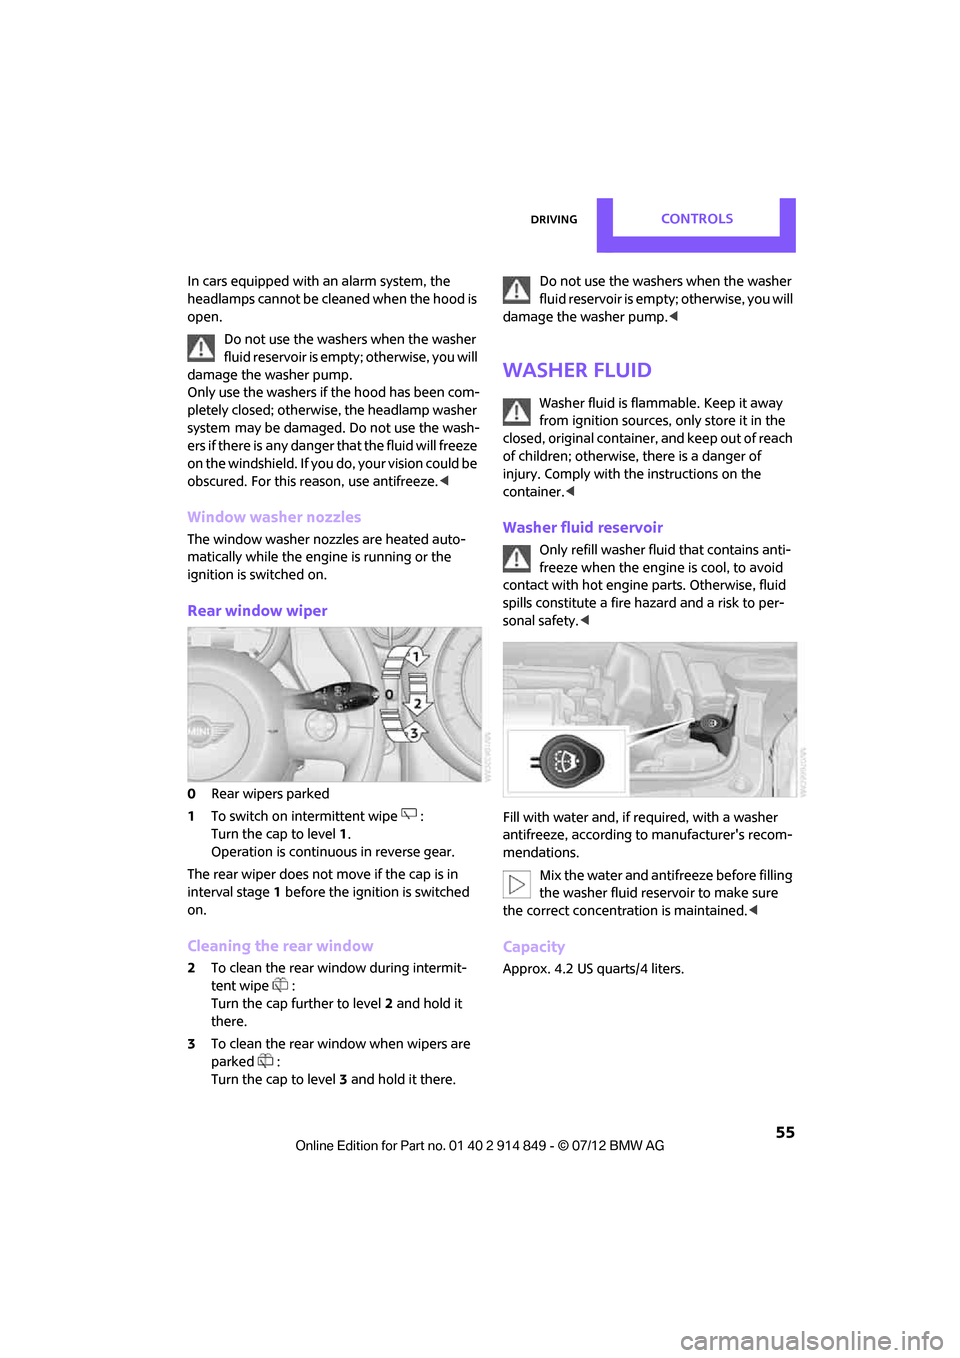
0Rear wipers parked
1 To switch on intermittent wipe :
Turn the cap to level 1.
Operation is continuous in reverse gear.
The rear wiper does not move if the cap is in
interval stage 1 before the ignition is switched
on.
Cleaning the rear window
2 To clean the rear window during intermit-
tent wipe :
Turn the cap further to level 2 and hold it
there.
3 To clean the rear window when wipers are
parked :
Turn the cap to level 3 and hold it there. Do not use the washers when the washer
fluid reservoir is empty; otherwise, you will
damage the washer pump. <
Washer fluid
Washer fluid is flammable. Keep it away
from ignition sources, only store it in the
closed, original container, and keep out of reach
of children; otherwise, there is a danger of
injury. Comply with th e instructions on the
container. <
Washer fluid reservoir
Only refill washer fl uid that contains anti-
freeze when the engine is cool, to avoid
contact with hot engine parts. Otherwise, fluid
spills constitute a fire hazard and a risk to per-
sonal safety. <
Fill with water and, if required, with a washer
antifreeze, according to manufacturer's recom-
mendations. Mix the water and antifreeze before filling
the washer fluid reservoir to make sure
the correct concentration is maintained. <
Capacity
Approx. 4.2 US quarts/4 liters.
Online Edition for Part no. 01 40 2 914 849 - \251 07/12 BMW AG
Page 213 of 259
MOBILITYCare
212
Automatic transmission
Before driving into the car wash, make sure that
the vehicle can roll:
1.Place the remote control, even with Comfort
Access, in the ignition lock.
2. Move the selector lever to position N.
3. Release the parking brake.
4. Switch off the engine.
5. Insert the remote control in the ignition lock
so that the vehicle can roll.
Steam jets/high-pressure washers
When using steam jets or high-pressure
washers, make sure th at you maintain suf-
ficient distance from the vehicle and do not
exceed a maximum temperature of 140 7/
60 6 .
If the distance is too close, the pressure too high,
or the temperature too high, parts of the vehicle
can be damaged, or water can penetrate.
Observe the operating instructions for high-
pressure washers. <
Do not spray sensors such as the Park
Distance Control wi th high-pressure
washers for a long time and maintain the
greatest possible distance of approx. 1 ft/30 cm
from them. <
Manual washing
Use a great deal of water and, if necessary, car
shampoo when washing your car by hand. Clean
the vehicle with a sponge or a washing brush
applying a slight amount of pressure.
Before cleaning the windshield, deacti-
vate the rain sensor or turn off the ignition
to prevent unintentional wiping. <
Observe local regulations regarding
washing vehicles by hand. <
Headlamps
Do not wipe dry and do not use abrasive or
corrosive cleaning agents. Remove dirt and
contamination, such as in sects, by soaking with shampoo and then washing with plenty of
water.
Do not remove accumulated ice and snow with
an ice scraper; use window deicers instead.
Windows
Clean the outside and inside of the windows and
mirrors with a window cleaner.
Do not clean the mirrors with cleaners
containing quartz. <
Wiper blades
Clean with soapy water and change regularly to
prevent the formation of streaks.
Wax, preservatives and dirt on the win-
dows cause streaks wh en the windshield
wipers are on, and can cause premature wear of
the wiper blades and interfere with the rain
sensor. <
Paintwork, care
Regular care helps your vehicle retain its value
and protects the paint from the long-term
effects of aggressive substances.
Environmental influences in areas with
increased air pollution or natural contaminants,
such as tree sap or pollen, can affect the vehicle
paintwork. It is therefore important to adjust the
frequency and extent of vehicle care corre-
spondingly.
Immediately remove any pa rticularly aggressive
substances, such as fuel that has overflowed, oil,
grease, brake fluid, or bird droppings; otherwise,
paint damage can be caused.
Removing paintwork damage
Depending on the severity of the damage,
immediately repair stone damage or
scratches to prevent rusting. <
The manufacturer of the MINI recommends
repairing paint damage professionally according
to factory specifications with original MINI
paints.
Online Edition for Part no. 01 40 2 914 849 - \251 07/12 BMW AG
Page 216 of 259

Replacing componentsMOBILITY
215
Replacing components
Vehicle equipment
In this chapter, all production, country, and
optional equipment that is offered in the model
range is described. Equipment is also described
that is not available because of, for example,
selected options or count ry version. This also
applies to safety related functions and systems.
Wiper blades
Do not place windshield wipers on the
windshield if wiper blades are not
installed; otherwise, the windshield may be
damaged. <
Changing the front wiper blades
1.Fold out the wiper arm and hold it.
2. Press together the locking spring, arrows 1,
and fold out the wiper blade, arrow 2.
3. Pull the wiper blade forward and out of the
catch mechanism.
4. Press the new wiper blade into the fixture
until it engages audibly.
To avoid damage, make sure that the
wiper arms are against the windshield
before you open the hood. <
Changing the rear wiper blade
1.Fold out the wiper arm and hold it.
2. Rotate the wiper blade toward the back as
far as it will go, arrow.
3. Press the wiper blade against the limit and
thus out of the mounting.
4. Press the new wiper blade into the fixture
until it engages audibly.
Lamps and bulbs
Lamps and bulbs make an essential contribution
to vehicle safety. They should, therefore, be
handled carefully. The manufacturer of your
MINI recommends having your MINI dealer per-
form any work that you do not feel competent to
perform yourself or that is not described here.
Never touch the glass of new bulbs with
your bare fingers, as even minute
amounts of contaminatio n will burn into the
bulb's surface and reduce its service life. Use a
clean tissue, cloth or some thing similar, or hold
the bulb by its base.<
You can obtain a selectio n of replacement bulbs
at your MINI dealer.
Only replace bulbs after they have cooled
down; otherwise, you may burn your
fingers.<
When working on electrical systems,
always begin by switching off the
Online Edition for Part no. 01 40 2 914 849 - \251 07/12 BMW AG
Page 228 of 259
Giving and receiving assistanceMOBILITY
227
Using a tow fitting
The screw-in tow fitting must always be carried
in the car. It can be screwed in at the front or at
the right rear.
Depending upon the vehicle features, the tow
fitting is located
>under the right or left front seat.
> in the pouch for the tire-changing set in the
luggage compartment.
Use only the tow fitting provided with the
vehicle and screw it all the way in. Use the
tow fitting for towing on paved roads only. Avoid
lateral loading of the tow fitting, e.g. do not lift
the vehicle by the tow fitting. Otherwise, the tow
fitting and the vehicle could be damaged. <
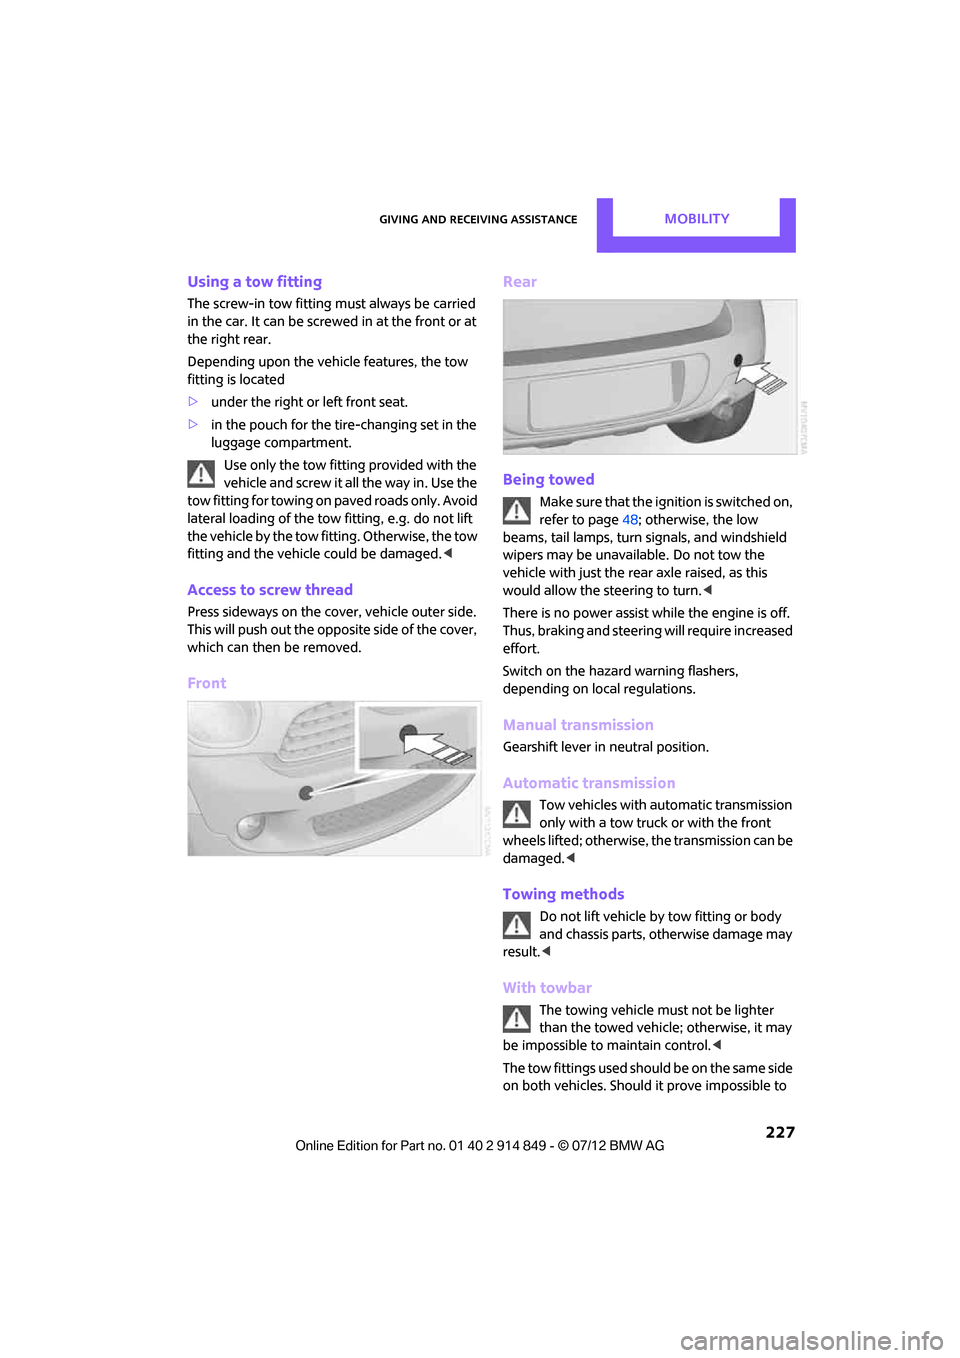
Access to screw thread
Press sideways on the cover, vehicle outer side.
This will push out the oppo site side of the cover,
which can then be removed.
Front Rear
Being towed
Make sure that the ignition is switched on,
refer to page
48; otherwise, the low
beams, tail lamps, turn signals, and windshield
wipers may be unavailable. Do not tow the
vehicle with just the rear axle raised, as this
would allow the steering to turn. <
There is no power assist while the engine is off.
Thus, braking and steering will require increased
effort.
Switch on the hazard warning flashers,
depending on local regulations.
Manual transmission
Gearshift lever in neutral position.
Automatic transmission
Tow vehicles with automatic transmission
only with a tow truck or with the front
wheels lifted; otherwise, the transmission can be
damaged. <
Towing methods
Do not lift vehicle by tow fitting or body
and chassis parts, otherwise damage may
result. <
With towbar
The towing vehicle must not be lighter
than the towed vehicle; otherwise, it may
be impossible to maintain control. <
The tow fittings used should be on the same side
on both vehicles. Should it prove impossible to
Online Edition for Part no. 01 40 2 914 849 - \251 07/12 BMW AG
Page 258 of 259
Everything from A to ZREFERENCE
257
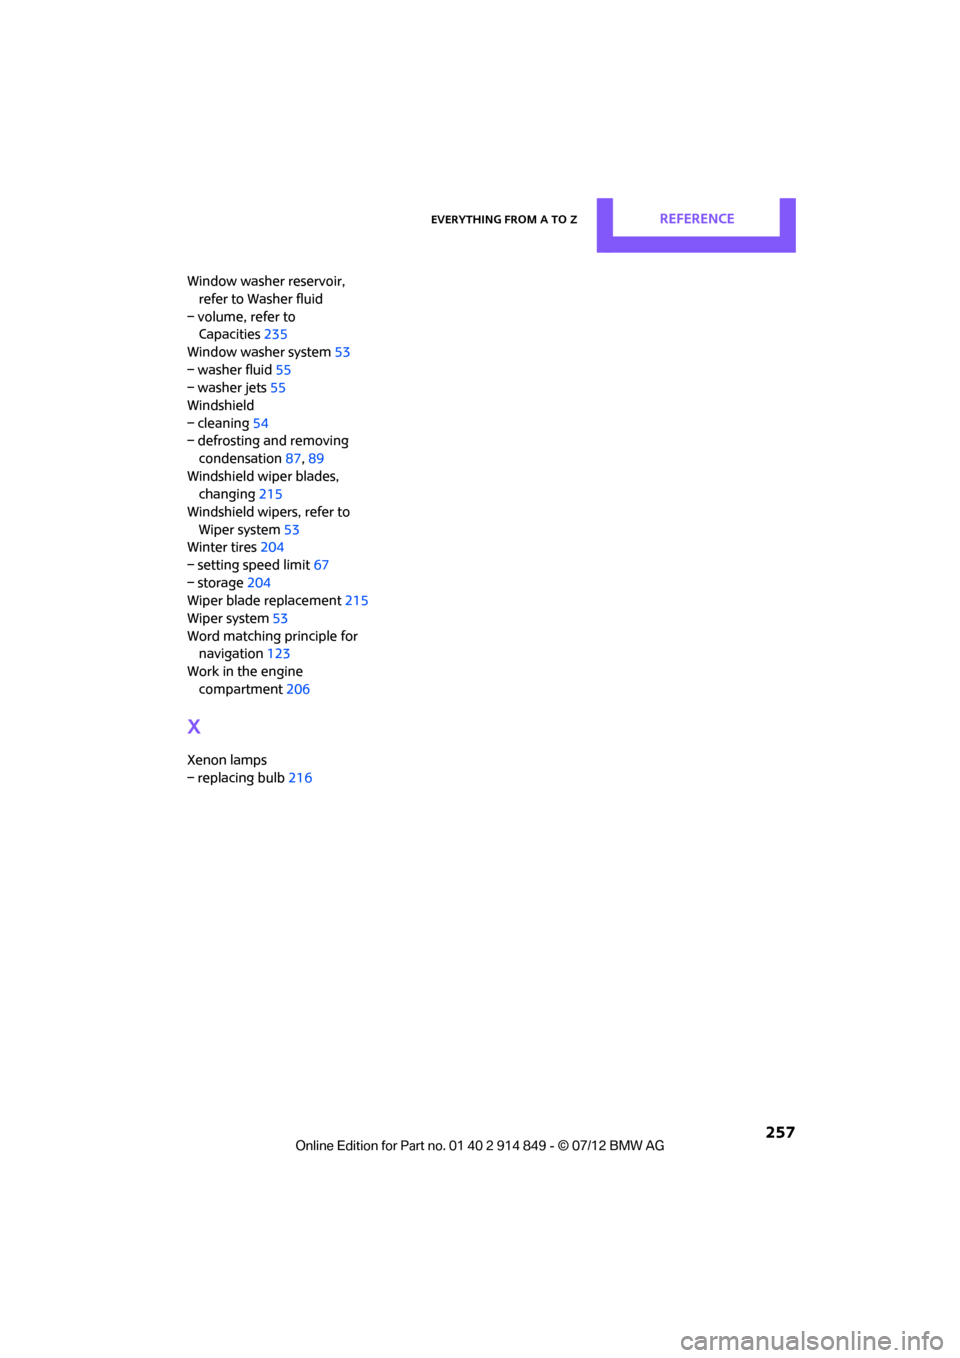
Window washer reservoir, refer to Washer fluid
– volume, refer to Capacities 235
Window washer system 53
– washer fluid 55
– washer jets 55
Windshield
– cleaning 54
– defrosting and removing
condensation 87,89
Windshield wiper blades, changing 215
Windshield wipers, refer to Wiper system 53
Winter tires 204
– setting speed limit 67
– storage 204
Wiper blade replacement 215
Wiper system 53
Word matching principle for navigation 123
Work in the engine compartment 206
X
Xenon lamps
– replacing bulb 216
Online Edition for Part no. 01 40 2 914 849 - \251 07/12 BMW AG