STARTING CAR MINI Countryman 2013 Owner's Manual
[x] Cancel search | Manufacturer: MINI, Model Year: 2013, Model line: Countryman, Model: MINI Countryman 2013Pages: 275, PDF Size: 4.09 MB
Page 34 of 275
Opening and closingCONTROLS
33
Tilt alarm sensor
The vehicle's inclination is monitored. The alarm
is triggered, for instance, if an attempt is made
to steal the vehicle's wheels or tow it away.
Interior movement detector
Before the interior movement detector can
operate correctly, the windows and glass roof
must be closed.
Avoiding false alarms
The tilt alarm sensor an d the interior movement
detector can be swit ched off together.
This prevents false alarms, e.g. in the following
situations:
> In duplex garages
> When being transported on car-carrying
trains, ferries or trailers
> If pets are to remain inside the car
Switching off the tilt alarm sensor and
interior movement detector
Press the button on the remote control
twice in succession.
LEDs flash in short succession for approx.
2 seconds.
The tilt alarm sensor an d the interior movement
detector are switched of f until the car is next
unlocked and locked.
Comfort Access
The concept
Access to the vehicle is po ssible without the use
of the remote control. All you need to do is wear
the remote control close to your body, e.g. in
your jacket pocket. Th e vehicle automatically
detects the remote control within the immedi-
ate vicinity or in the passenger compartment.
Comfort Access supports the following func-
tions: >
Unlocking/locking the vehicle
> Convenient closing
> Unlocking the tailgate separately
> Starting the engine
Functional requirements
>There are no external malfunction sources in
the vicinity.
> For locking, the remote control must be out-
side of the vehicle.
> The vehicle cannot be locked or unlocked
again until after approx. 2 seconds.
> The engine can only be started if the remote
control is in the vehicle.
> The doors and tailgate mu st be closed to be
able to operate the windows and glass roof.
Comparison to standard remote controls
The indicated function can be operated by
pressing the buttons or via Comfort Access.
Instructions on openin g and closing are found
starting on page 26.
If you notice a brief delay while opening or
closing the windows or glass roof, the sys-
tem is checking whether a remote control is
inside the vehicle. Repeat the opening or closing
procedure, if necessary. <
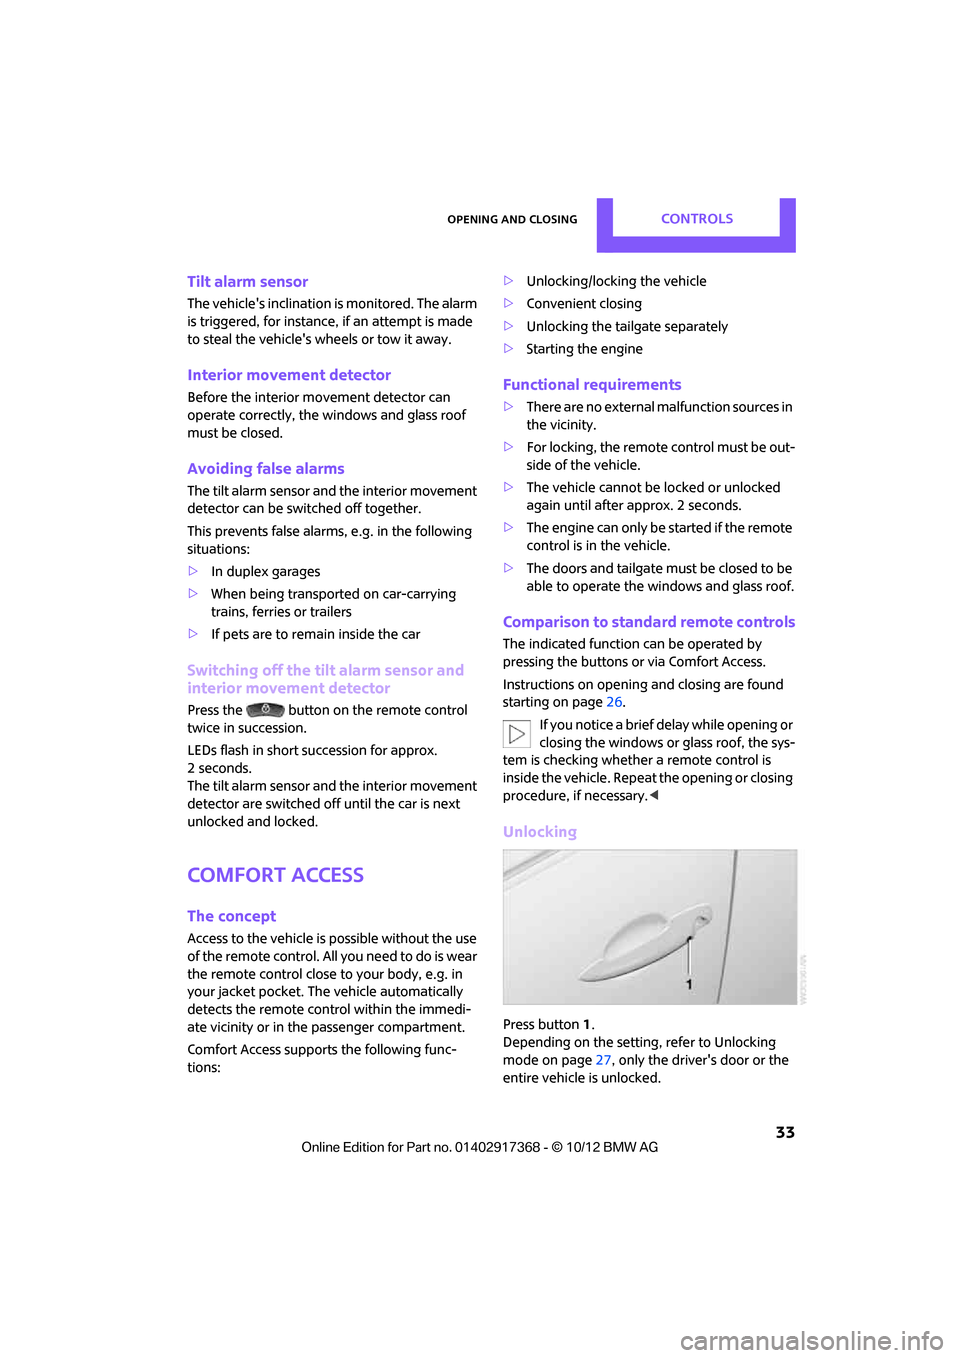
Unlocking
Press button 1.
Depending on the setting, refer to Unlocking
mode on page 27, only the driver's door or the
entire vehicle is unlocked.
00320051004F004C00510048000300280047004C0057004C005200510003
Page 35 of 275
CONTROLSOpening and closing
34
Press the button again to lock the vehicle
again.<
Convenient opening with the remote control,
refer to page 28.
Locking
Press button 1.
For Convenient closing, press and hold button1.
In addition, the windows and the glass sunroof
are closed.
Unlocking the tailgate separately
Press the top side of the MINI emblem.
If the vehicle detects that a remote control
has been accidentally left inside the
locked vehicle's cargo area after the tailgate is
closed, the tailgate will reopen slightly. The haz-
ard warning flashers flash and an acoustic signal
sounds. <
Windows and glass roof, electric
If the engine is switched off, you can still operate
the windows and glass sunr oof so long as a door
or the tailgate has not been opened.
If the doors and tailgate are closed again and the
remote control is located inside the vehicle, the
windows and the glass sunroof can be operated
again.
Insert the remote control into the ignition lock to
be able to operate the windows or glass roof
when the engine is switched off and the doors
are open.
Switching on radio readiness
Switch on radio readiness by pressing the Start/
Stop button, page 50.
Do not depress the brake or the clutch;
otherwise, the engine will start. <
Starting the engine
The engine can be started or the ignition can be
switched on when a remote control is inside the
vehicle. It is not necessary to insert a remote
control into the ignition lock, page 50.
Switching off the engine in cars with
automatic transmission
The engine can only be switched off when the
selector lever is in position P, page 52.
To switch the engine off when the selector lever
is in position N, the remote control must be in
the ignition lock.
Before driving a vehicle with automatic
transmission into a car wash
1. Insert remote control into ignition lock.
2. Depress the brake.
3. Move the selector le ver to position N.
4. Switch off the engine.
The vehicle can roll.
Malfunction
Comfort Access may malf unction due to local
radio waves.
If this happens, open or close the vehicle via the
buttons on the remote control or using the inte-
grated key.
Insert the remote control into the ignition lock
and start the engine.
Warning lamps
The warning lamp lights up when an
attempt is made to start the engine: the
engine cannot be started. The remote
control is not inside the vehicle or is malfunc-
tioning. Take the remote control with you inside
the vehicle or have it checked. If necessary,
insert another remote co ntrol into the ignition
lock.
00320051004F004C00510048000300280047004C0057004C005200510003
Page 52 of 275
DrivingCONTROLS
51
Radio readiness and ignition off
All indicator and warning lamps in the displays
go out.
The ignition switches off automatically if the
driver's door is opened. Pressing the Start/Stop
button again switches the ignition back on.
The ignition is not switched off in situations such
as the following:
>The clutch or brake is depressed
> The low beams are switched on
Starting the engine
Do not allow the engine to run in enclosed
areas; otherwise, inhalation of the noxious
exhaust gases can lead to loss of consciousness
and death. Exhaust gases contain carbon mon-
oxide, an odorless and colorless, but highly toxic
gas. Never leave an unattended vehicle with the
engine running; otherwise, such a vehicle repre-
sents a potential safety hazard.
Before leaving the car while the engine is run-
ning, place the transmission in neutral or move
the selector lever to position P and forcefully
apply the parking brake to prevent the car from
moving. <
Avoid frequent starting in quick succes-
sion or repeated start attempts in which
the engine does not start. Otherwise, the fuel is
not burned or inadequately burned and there is
a danger of overheating and damaging the cat-
alytic converter. <
Do not let the engine warm up with the vehicle
at a standstill. Move of f immediately at a moder-
ate engine speed.
When starting the engine, do not depress the
accelerator pedal.
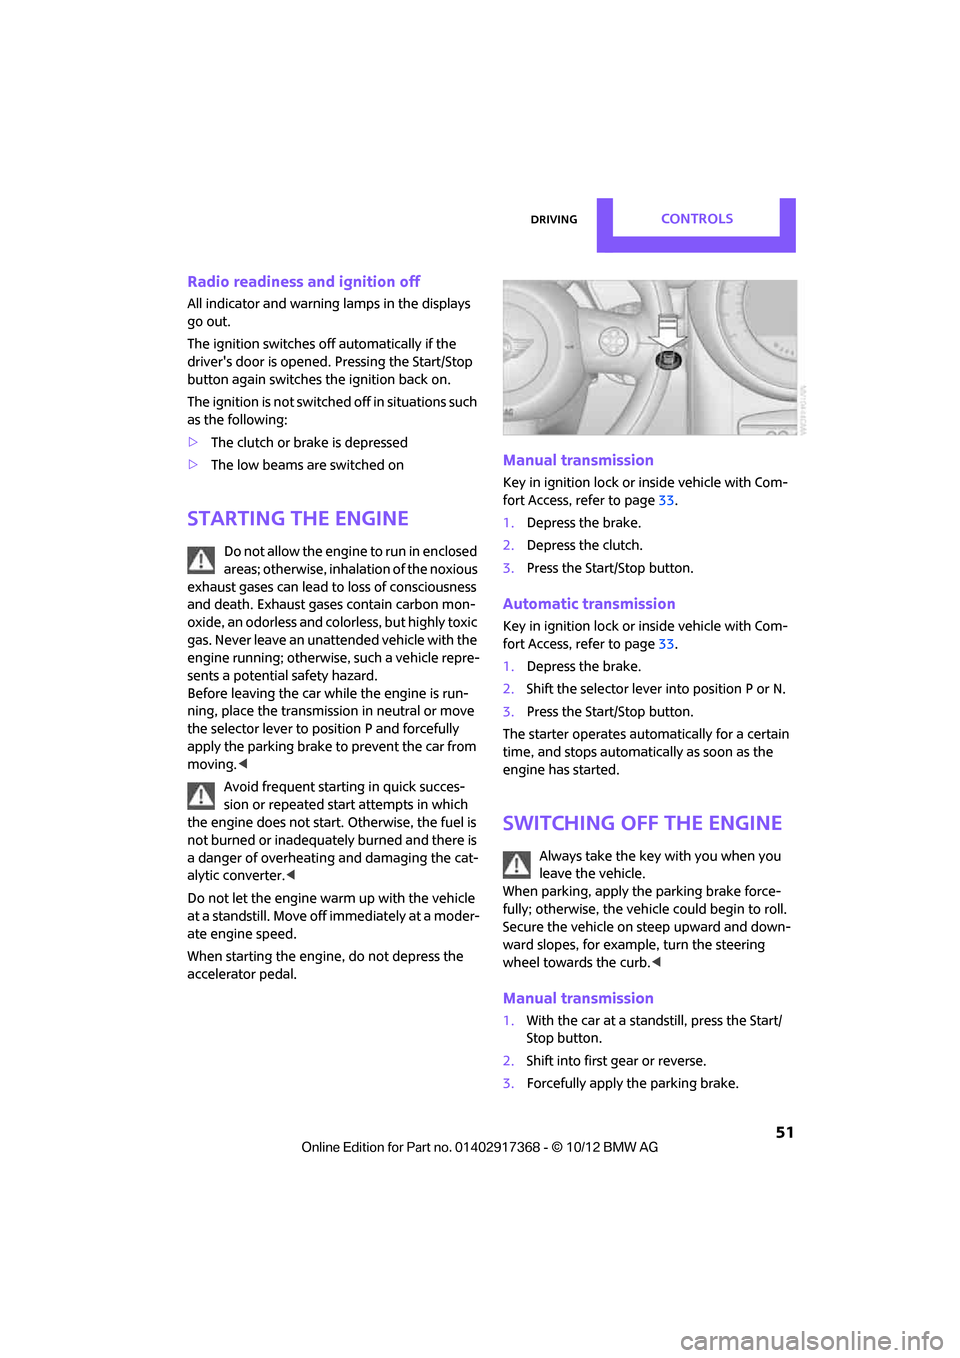
Manual transmission
Key in ignition lock or inside vehicle with Com-
fort Access, refer to page 33.
1. Depress the brake.
2. Depress the clutch.
3. Press the Start/Stop button.
Automatic transmission
Key in ignition lock or inside vehicle with Com-
fort Access, refer to page 33.
1. Depress the brake.
2. Shift the selector lever into position P or N.
3. Press the Start/Stop button.
The starter operates auto matically for a certain
time, and stops automatically as soon as the
engine has started.
Switching off the engine
Always take the key with you when you
leave the vehicle.
When parking, apply the parking brake force-
fully; otherwise, the vehicle could begin to roll.
Secure the vehicle on steep upward and down-
ward slopes, for example, turn the steering
wheel towards the curb. <
Manual transmission
1.With the car at a standstill, press the Start/
Stop button.
2. Shift into first gear or reverse.
3. Forcefully apply the parking brake.
00320051004F004C00510048000300280047004C0057004C005200510003
Page 108 of 275
Things to remember when drivingDRIVING TIPS
107
MINI Paceman:
MINI Countryman: rear seat backrest
Before folding down the rear seat back-
rests, make sure that the range of motion
for the backrests is unobstructed. Particularly
with a folded down midd le section, make sure
that there is no one within the range of motion
of the backrest and that no one reaches into that
region. Otherwise, injury or damage can
result. <
To ensure that the safety systems con-
tinue to provide optimized protection,
observe the safety belt information on
page 42.<
5-seater: the rear seat ba ck is divided in the fol-
lowing proportions: 40-20-40.
When the outer rear seat backs are folded
down, no one may sit in the middle posi-
tion. <
If necessary, remove the third head restraint,
refer to Removing head restraints, page 41.
Open the center belt and insert in the take-up
on the headliner, see page 43.
Expand the cargo area by raising the rear seat
backrests to a steeper angle.
The backrests can be adjusted as needed in
10 stages between a comfort position and a
transport position or can be folded down.
In the comfort position, the backrests are as far
back as possible; in the transport position, they
are in an approximatel y vertical position.
Before installing a ch ild restraint system,
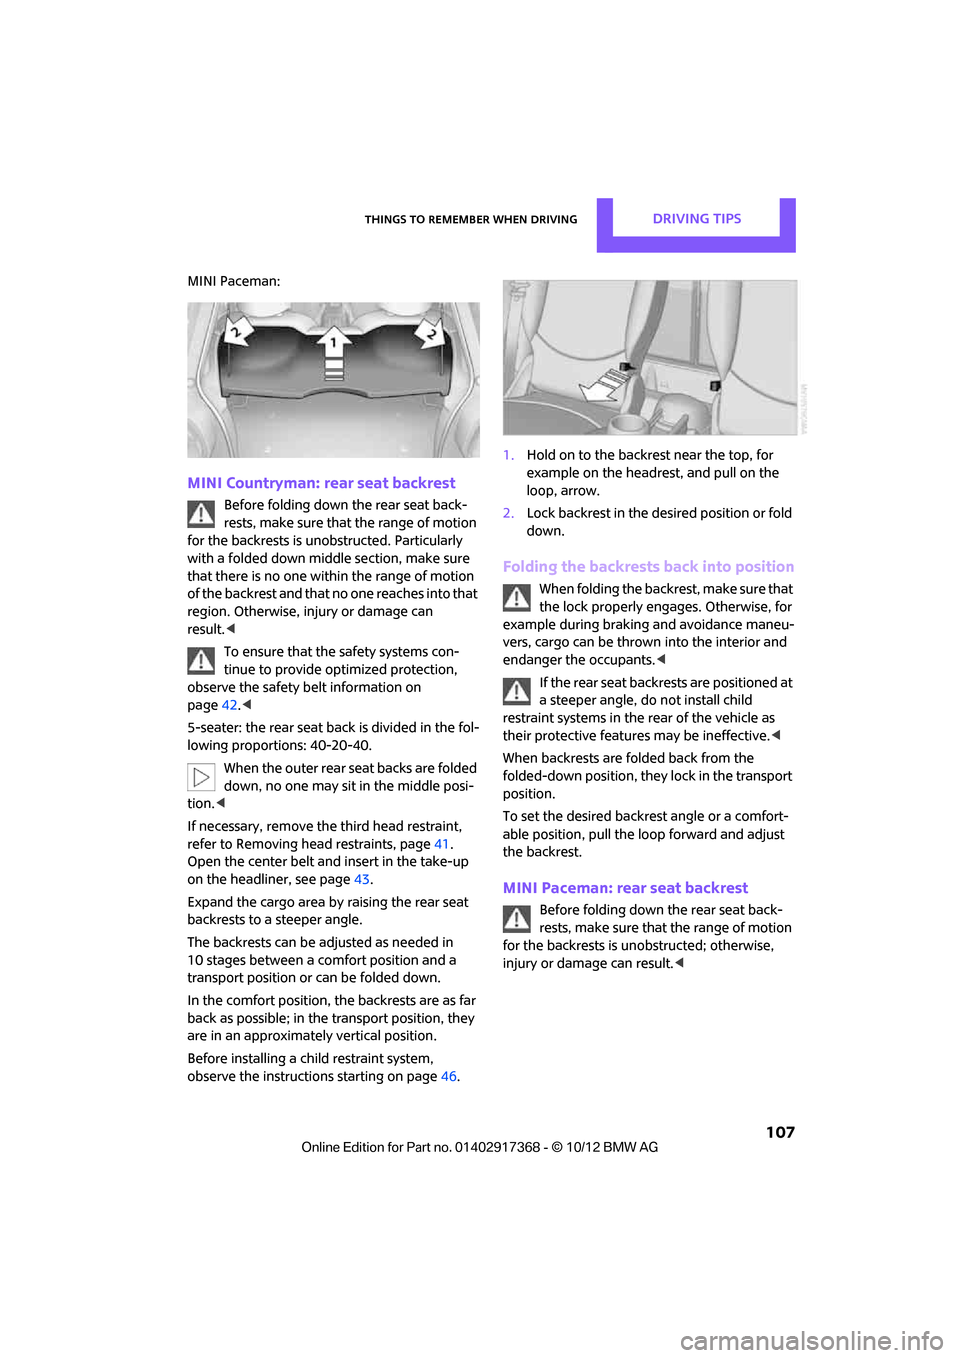
observe the instructio ns starting on page46. 1.
Hold on to the backrest near the top, for
example on the headrest, and pull on the
loop, arrow.
2. Lock backrest in the de sired position or fold
down.
Folding the backrests back into position
When folding the backre st, make sure that
the lock properly engages. Otherwise, for
example during braking and avoidance maneu-
vers, cargo can be thrown into the interior and
endanger the occupants. <
If the rear seat backrests are positioned at
a steeper angle, do not install child
restraint systems in the rear of the vehicle as
their protective featur es may be ineffective.<
When backrests are folded back from the
folded-down position, they lock in the transport
position.
To set the desired backrest angle or a comfort-
able position, pull the lo op forward and adjust
the backrest.
MINI Paceman: rear seat backrest
Before folding down the rear seat back-
rests, make sure that the range of motion
for the backrests is unobstructed; otherwise,
injury or dama ge can result.<
00320051004F004C00510048000300280047004C0057004C005200510003
Page 237 of 275

MOBILITYGiving and receiving assistance
236
Giving and receiving assistance
Vehicle equipment
In this chapter, all production, country, and
optional equipment that is offered in the model
range is described. Equipment is also described
that is not available because of, for example,
selected options or coun try version. This also
applies to safety relate d functions and systems.
Roadside Assistance
Roadside Assistance is available by phone
24 hours a day in many countries. You can
obtain assistance there in the event of a vehicle
breakdown.
First aid pouch
Some of the articles co ntained in the first aid
pouch have a limited service life. Therefore,
check the expiration dates of the contents regu-
larly and replace any item s in good time, if nec-
essary.
The first aid pouch is located on the rear cargo
well by the left side trim panel or under the pull-
out floor panel.
Warning triangle
In the cargo area under the loading sill.
To remove, open the two clasps.
Jump-starting
If the car's own battery is flat, your MINI's engine
can be started by connecting two jumper cables
to another vehicle's battery. You can also use
the same method to help start another vehicle.
Only use jumper cables with fully-insulated
clamp handles.
Do not touch any electrically live parts
wh en t he e ngine is run nin g, or a fatal acci-
dent may occur. Carefully adhere to the follow-
ing sequence, both to prevent damage to one or
both vehicles, and to guard against possible per-
sonal injuries. <
Preparation
1.Check whether the battery of the other vehi-
cle has a voltage of 12 volts and approxi-
mately the same capa citance in Ah. This
information can be found on the battery.
2. Switch off the engine of the support vehicle.
3. Switch off any consumers in both vehicles.
There must not be any contact between
the bodies of the two vehicles; otherwise,
there is a danger of shorting. <
00320051004F004C00510048000300280047004C0057004C005200510003
Page 262 of 275
Everything from A to ZREFERENCE
261
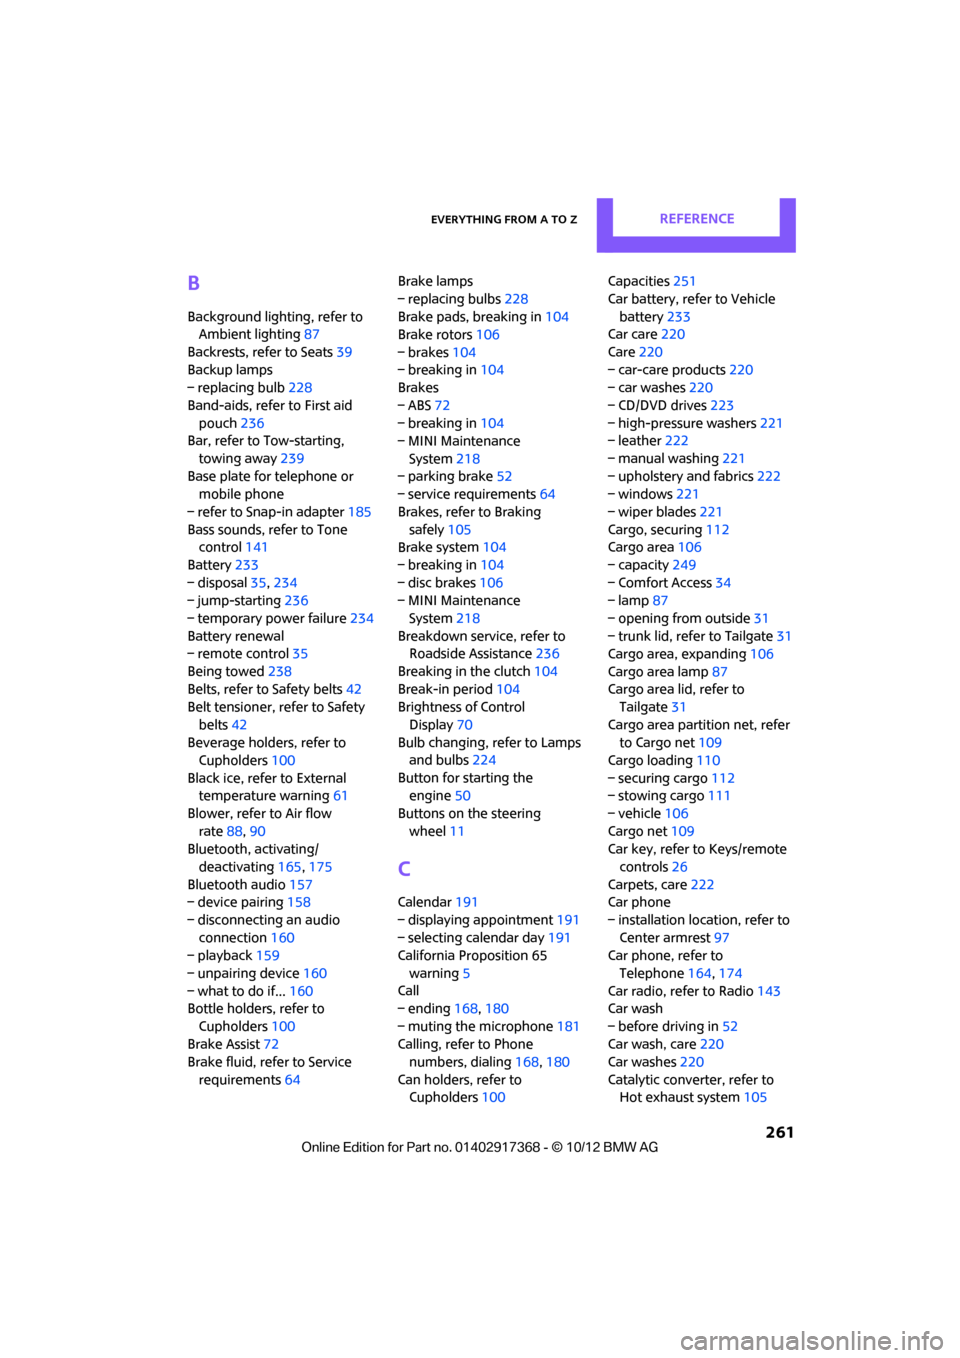
B
Background lighting, refer to
Ambient lighting 87
Backrests, refer to Seats 39
Backup lamps
– replacing bulb 228
Band-aids, refer to First aid pouch 236
Bar, refer to Tow-starting,
towing away 239
Base plate for telephone or mobile phone
– refer to Snap-in adapter 185
Bass sounds, refer to Tone control 141
Battery 233
– disposal 35,234
– jump-starting 236
– temporary power failure 234
Battery renewal
– remote control 35
Being towed 238
Belts, refer to Safety belts 42
Belt tensioner, refer to Safety
belts 42
Beverage holders, refer to Cupholders 100
Black ice, refer to External temperature warning 61
Blower, refer to Air flow rate 88,90
Bluetooth, activating/
deactivating 165,175
Bluetooth audio 157
– device pairing 158
– disconnecting an audio connection 160
– playback 159
– unpairing device 160
– what to do if... 160
Bottle holders, refer to
Cupholders 100
Brake Assist 72
Brake fluid, refer to Service
requirements 64 Brake lamps
– replacing bulbs
228
Brake pads, breaking in 104
Brake rotors 106
– brakes 104
– breaking in 104
Brakes
– ABS 72
– breaking in 104
– MINI Maintenance
System 218
– parking brake 52
– service requirements 64
Brakes, refer to Braking safely 105
Br ake system
104
– breaki ng
in104
– disc brakes 106
– MINI Maintenance
System 218
Breakdown service, refer to Roadside Assistance 236
Breaking in the clutch 104
Break-in period 104
Brightness of Control
Display 70
Bulb changing, refer to Lamps and bulbs 224
Button for starting the engine 50
Buttons on the steering wheel 11
C
Calendar 191
– displaying appointment 191
– selecting calendar day 191
California Proposition 65
warning 5
Call
– ending 168,180
– muting the microphone 181
Calling, refer to Phone numbers, dialing 168,180
Can holders, refer to Cupholders 100 Capacities
251
Car battery, refer to Vehicle battery 233
Car care 220
Care 220
– car-care products 220
– car washes 220
– CD/DVD drives 223
– high-pressure washers 221
– leather 222
– manual washing 221
– upholstery and fabrics 222
– windows 221
– wiper blades 221
Cargo, securing 112
Cargo area 106
– capacity 249
– Comfort Access 34
– lamp 87
– opening from outside 31
– trunk lid, refer to Tailgate 31
Cargo area, expanding 106
Cargo area lamp 87
Cargo area lid, refer to Tailgate 31
Cargo area partition net, refer to Cargo net 109
Cargo loading 110
– securing cargo 112
– stowing cargo 111
– vehicle 106
Cargo net 109
Car key, refer to Keys/remote
controls 26
Carpets, care 222
Car phone
– installation location, refer to Center armrest 97
Car phone, refer to
Telephone 164,174
Car radio, refer to Radio 143
Car wash
– before driving in 52
Car wa sh, care
220
Car w a
shes220
Catalytic converter, refer to Hot exhaust system 105
00320051004F004C00510048000300280047004C0057004C005200510003
Page 263 of 275
REFERENCEEverything from A to Z
262
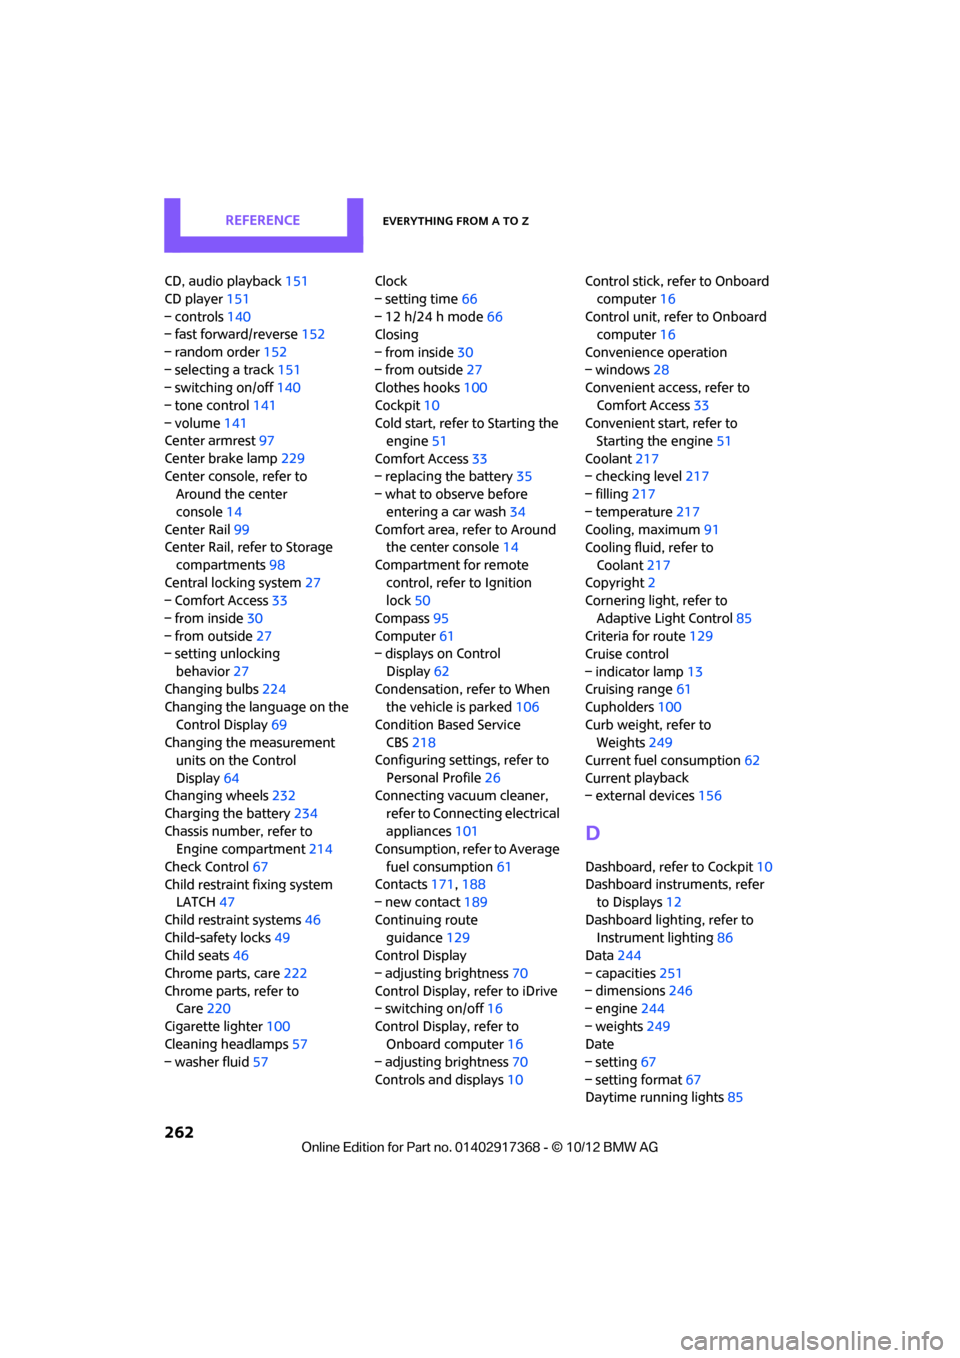
CD, audio playback151
CD player 151
– controls 140
– fast forward/reverse 152
– random order 152
– selecting a track 151
– switching on/off 140
– tone control 141
– volume 141
Center armrest 97
Center brake lamp 229
Center console, refer to Around the center
console 14
Center Rail 99
Center Rail, refer to Storage
compartments 98
Central locking system 27
– Comfort Access 33
– from inside 30
– from outside 27
– setting unlocking
behavior 27
Changing bulbs 224
Changing the language on the
Control Display 69
Changing the measurement units on the Control
Display 64
Changing wheels 232
Charging the battery 234
Chassis number, refer to Engine compartment 214
Check Control 67
Child restraint fixing system LATCH 47
Child restraint systems 46
Child-safety locks 49
Child seats 46
Chrome parts, care 222
Chrome parts, refer to Care 220
Cigarette lighter 100
Cleaning headlamps 57
– washer fluid 57 Clock
– setting time
66
– 12 h/24 h mode 66
Closing
– from inside 30
– from outside 27
Clothes hooks 100
Cockpit 10
Cold start, refer to Starting the engine 51
Comfort Access 33
– replacing the battery 35
– what to observe before
enteri ng a car wash
34
C o
mfort area, refer to Around
the center console 14
Compartment for remote control, refer to Ignition
lock 50
Compass 95
Computer 61
– displays on Control
Display 62
Condensation, refer to When the vehicle is parked 106
Condition Based Service CBS 218
Configuring settings, refer to
Personal Profile 26
Connecting vacuum cleaner,
refer to Connecting electrical
appliances 101
Consumption, refer to Average
fuel consumption 61
Contacts 171,188
– new contact 189
Continuing route guidance 129
Control Display
– adjusting brightness 70
Control Display, refer to iDrive
– switching on/off 16
Control Display, refer to Onboard computer 16
– adjusting brightness 70
Controls and displays 10Control stick, refer to Onboard
computer 16
Control unit, refer to Onboard computer 16
Convenience operation
– windows 28
Convenient access, refer to
Comfort Access 33
Convenient star t, refer to
Starting the engine 51
Coolant 217
– checking level 217
– filling 217
– temperature 217
Cooling, maximum 91
Cooling fluid, refer to
Coolant 217
Copyright 2
Cornering light, refer to
Adaptive Light Control 85
Criteria for route 129
Cruise control
– indicator lamp 13
Cruising range 61
Cupholders 100
Curb weight, refer to Weights 249
Current fuel consumption 62
Curren t playback
– external d
evices156
D
Dashboard, refer to Cockpit 10
Dashboard instruments, refer to Displays 12
Dashboard lighting, refer to Instrument lighting 86
Data 244
– capacities 251
– dimensions 246
– engine 244
– weights 249
Date
– setting 67
– setting format 67
Daytime running lights 85
00320051004F004C00510048000300280047004C0057004C005200510003
Page 264 of 275
Everything from A to ZREFERENCE
263
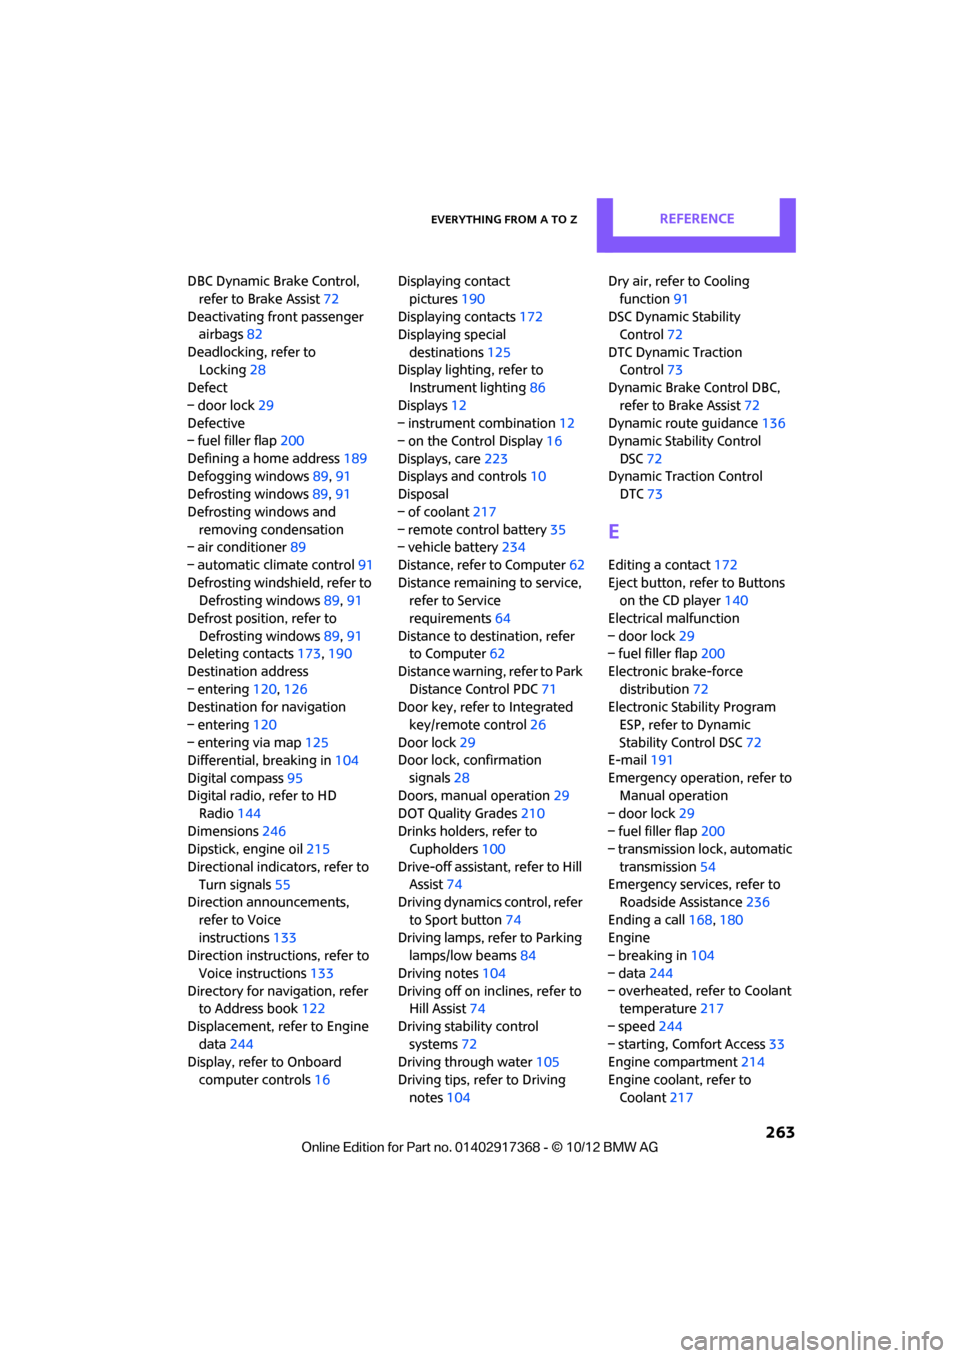
DBC Dynamic Brake Control, refer to Brake Assist 72
Deactivating front passenger airbags 82
Deadlocking, refer to Locking 28
Defect
– door lock 29
Defective
– fuel filler flap 200
Defining a home address 189
Defogging windows 89,91
Defrosting windows 89,91
Defrosting windows and removing condensation
– air conditioner 89
– automatic climate control 91
Defrosting windshield, refer to Defrosting windows 89,91
Defrost position, refer to Defrosting windows 89,91
Deleting contacts 173,190
Destination address
– entering 120,126
Destination for navigation
– entering 120
– entering via map 125
Differential, breaking in 104
Digital compass 95
Digital radio, refer to HD
Radio 144
Dimensions 246
Dipstick, engine oil 215
Directional indicators, refer to Turn signals 55
Direction announcements,
refer to Voice
instructions 133
Direction instructions, refer to
Voice instructions 133
Directory for navigation, refer to Address book 122
Displacement, refer to Engine data 244
Display, refer to Onboard
computer controls 16Displaying contact
pictures 190
Displaying contacts 172
Displaying special
destinations 125
Display lighting, refer to Instrument lighting 86
Displays 12
– instrument combination 12
– on the Control Display 16
Displays, care 223
Disp lays and controls
10
Disp osal
– of
coolant 217
– remote control battery 35
– vehicle battery 234
Distance, refe r to Computer 62
Distance remaining to service, refer to Service
requirements 64
Distance to dest ination, refer
to Computer 62
Distance warning, refer to Park Distance Control PDC 71
Door key, refer to Integrated
key/remote control 26
Door lock 29
Door lock, confirmation
signals 28
Doors, manual operation 29
DOT Quality Grades 210
Drinks holders, refer to Cupholders 100
Drive-off assistant, refer to Hill
Assist 74
Driving dynamics control, refer
to Sport button 74
Driving lamps, refer to Parking lamps/low beams 84
Driving notes 104
Driving off on inclines, refer to Hill Assist 74
Driving stability control systems 72
Driving through water 105
Driving tips, refer to Driving notes 104 Dry air, refer to Cooling
function 91
DSC Dynamic Stability Control 72
DTC Dynamic Traction Control 73
Dynamic Brake Control DBC,
refer to Brake Assist 72
Dynamic route guidance 136
Dynamic Stability Control
DSC 72
Dynamic Traction Control DTC 73
E
Editing a contact 172
Eject button, refer to Buttons on the CD player 140
Electrical malfunction
– door lock 29
– fuel filler flap 200
Electronic brake-force distribution 72
Electronic Stability Program
ESP, refer to Dynamic
Stability Control DSC 72
E-mail 191
Emergency operation, refer to Manual operation
– door lock 29
– fuel filler flap 200
– transmission lock, automatic
transmission 54
Emergency services, refer to Roadside Assistance 236
Ending a call 168,180
Engine
– breaking in 104
– data 244
– overheated, refer to Coolant temperature 217
– speed 244
– starting, Comfort Access 33
Engine compartment 214
Engine coolant, refer to Coolant 217
00320051004F004C00510048000300280047004C0057004C005200510003
Page 265 of 275
REFERENCEEverything from A to Z
264
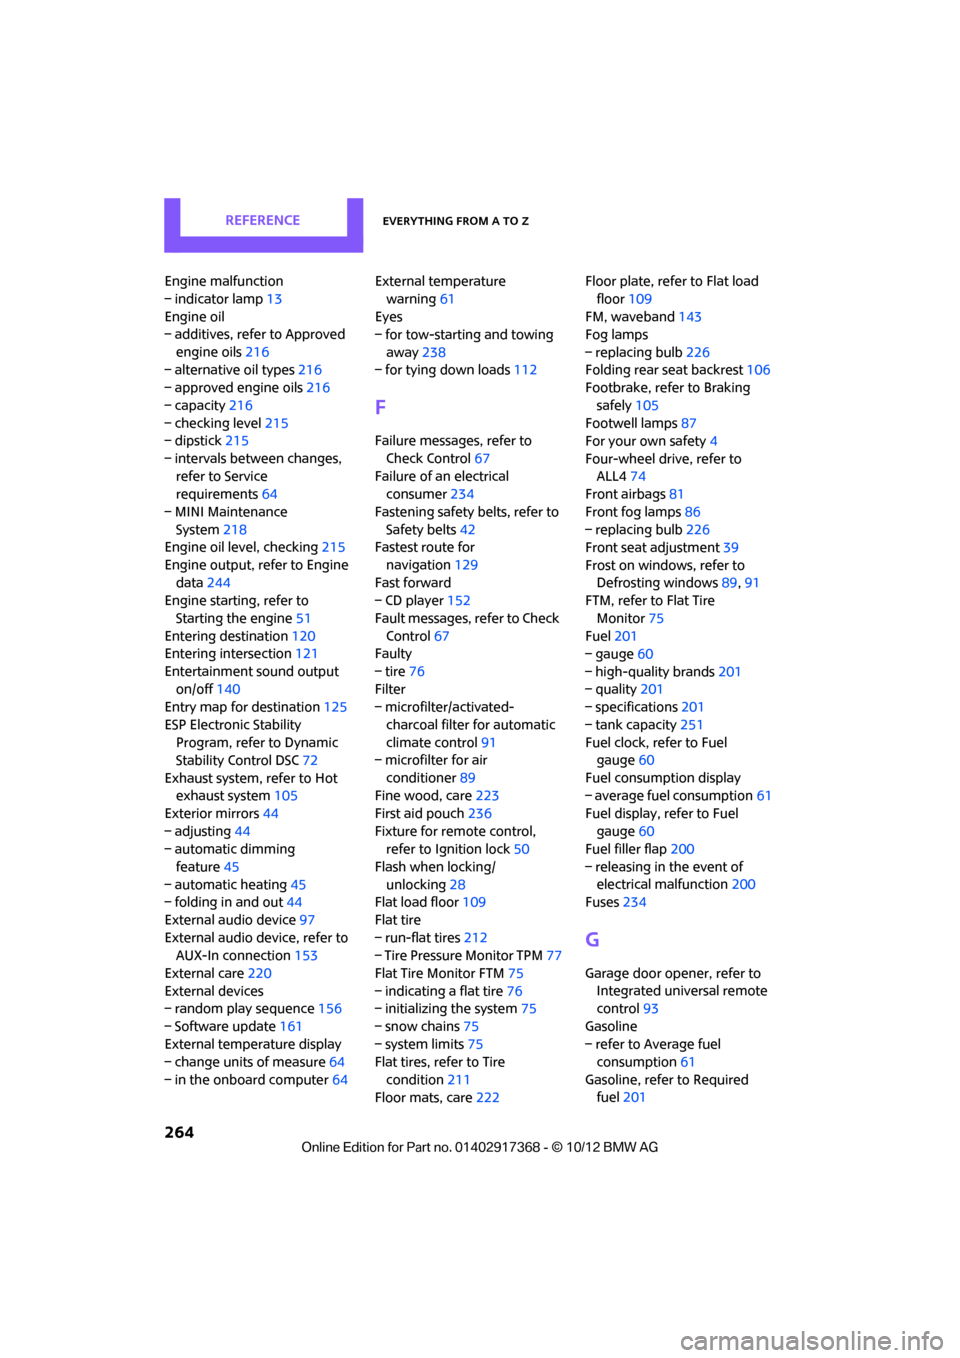
Engine malfunction
– indicator lamp13
Engine oil
– additives, refer to Approved
engine oils 216
– alternative oil types 216
– approved engine oils 216
– capacity 216
– checking level 215
– dipstick 215
– intervals between changes, refer to Service
requirements 64
– MINI Maintenance System 218
Engine oil level, checking 215
Engine output, refer to Engine data 244
Engine starti ng, refer to
Starting the engine 51
Entering destination 120
Entering intersection 121
Entertainment sound output on/off 140
Entry map for destination 125
ESP Electronic Stability Program, refer to Dynamic
Stability Control DSC 72
Exhaust system, refer to Hot exhaust system 105
Exterior mirrors 44
– adjusting 44
– automatic dimming
feature 45
– automatic heating 45
– folding in and out 44
External audio device 97
External audio device, refer to AUX-In connection 153
External care 220
External devices
– random play sequence 156
– Software update 161
External temperature display
– change units of measure 64
– in the onboard computer 64External temperature
warning 61
Eyes
– for tow-starting and towing
away 238
– for tying down loads 112
F
Failure messages, refer to
Check Control 67
Failure of an electrical consumer 234
Fastening safety belts, refer to Safety belts 42
Fastest route for
navigation 129
Fast forward
– CD player 152
Fault messages, refer to Check Control 67
Faulty
– tire 76
Filter
– microfilter/activated-
charcoal filter for automatic
climate control 91
– microfilter for air
conditioner 89
Fine wood, care 223
First aid pouch 236
Fixture for remote control, refer to Ignition lock 50
Flash when locking/ unlocking 28
Flat load floor 109
Flat tire
– run-flat tires 212
– Tire Pressure Monitor TPM 77
Flat Tire Monitor FTM 75
– indicating a flat tire 76
– initializing the system 75
– snow chains 75
– system limits 75
Flat tires, refer to Tire
condition 211
Floor mats, care 222 Floor plate, refer to Flat load
floor 109
FM, waveband 143
Fog lamps
– replacing bulb 226
Folding rear seat backrest 106
Footbrake, refer to Braking
safely 105
Footwell lamps 87
For your own safety 4
Four-wheel drive, refer to ALL4 74
Front airbags 81
Front fog lamps 86
– replacing bulb 226
Front seat adjustment 39
Frost on windows, refer to Defrosting windows 89,91
FTM, refer to Flat Tire
Monitor 75
Fuel 201
– gauge 60
– high-quality brands 201
– quality 201
– specificati
o
ns201
– tank capacity 251
Fuel clock, refer to Fuel gauge 60
Fuel consumption display
– average fuel consumption 61
Fuel display, refer to Fuel gauge 60
Fuel filler flap 200
– releasing in the event of electrical malfunction 200
Fuses 234
G
Garage door opener, refer to
Integrated universal remote
control 93
Gasoline
– refer to Average fuel consumption 61
Gasoline, refer to Required fuel 201
00320051004F004C00510048000300280047004C0057004C005200510003
Page 267 of 275
REFERENCEEverything from A to Z
266
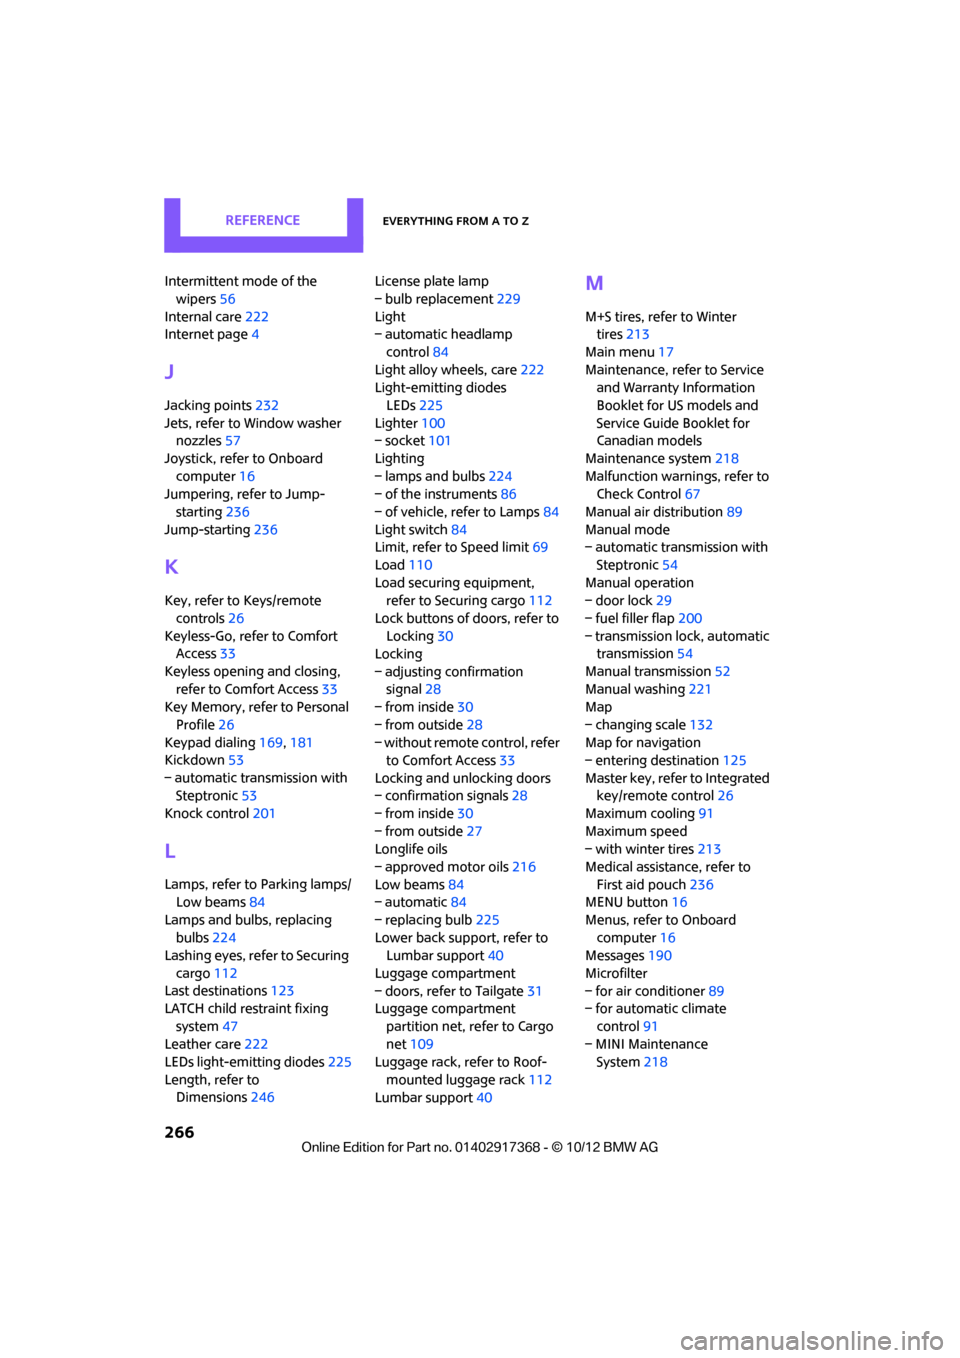
Intermittent mode of the wipers 56
Internal care 222
Internet page 4
J
Jacking points 232
Jets, refer to Window washer nozzles 57
Joystick, refer to Onboard computer 16
Jumpering, refer to Jump-
starting 236
Jump-starting 236
K
Key, refer to Keys/remote
controls 26
Keyless-Go, refer to Comfort Access 33
Keyless opening and closing, refer to Comfort Access 33
Key Memory, refer to Personal
Profile 26
Keypad dialing 169,181
Kickdown 53
– automatic transmission with Steptronic 53
Knock control 201
L
Lamps, refer to Parking lamps/
Low beams 84
Lamps and bulbs, replacing bulbs 224
Lashing eyes, refer to Securing
cargo 112
Last destinations 123
LATCH child restraint fixing
system 47
Leather care 222
LEDs light-emitting diodes 225
Length, refer to Dimensions 246 License plate lamp
– bulb replacement
229
Light
– automatic headlamp
control 84
Light alloy wheels, care 222
Light-emitting diodes
LEDs 225
Lighter 100
– socket 101
Lighting
– lamps and bulbs 224
– of the instruments 86
– of vehicle, refer to Lamps 84
Light switch 84
Limit, refer to Speed limit 69
Load 110
Load securing equipment, refer to Securing cargo 112
Lock buttons of doors, refer to Locking 30
Locking
– adjusting confirmation signal 28
– from inside 30
– from outside 28
– without remote control, refer
to Comfort Access 33
Locking and unlocking doors
– confirmation signals 28
– from inside 30
– from outside 27
Longlife oils
– approved motor oils 216
Low beams 84
– automatic 84
– replacing bulb 225
Lower back support, refer to Lumbar support 40
Luggage compartment
– doors, refer to Tailgate 31
Luggage compartment
partition net, refer to Cargo
net 109
Luggage rack, refer to Roof-
mounted luggage rack 112
Lumbar support 40
M
M+S tires, refer to Winter
tires 213
Main menu 17
Maintenance, refer to Service and Warranty Information
Booklet for US models and
Service Guide Booklet for
Canadian models
Maintenance system 218
Malfunction warnings, refer to Check Control 67
Manual air distribution 89
Manual mode
– automatic transmission with
Steptronic 54
Manual operation
– door lock 29
– fuel filler flap 200
– transmission lock, automatic transmission 54
Manual transmission 52
Manual washing 221
Map
– changing scale 132
Map for navigation
– entering destination 125
Master key, refer to Integrated key/remote control 26
Maximum cooling 91
Maximum speed
– with winter tires 213
Medical assistance, refer to First aid pouch 236
MENU button 16
Menus, refer to Onboard computer 16
Messages 190
Microfilter
– for air conditioner 89
– for automatic climate
control 91
– MINI Maintenance System 218
00320051004F004C00510048000300280047004C0057004C005200510003