parking sensors MINI Countryman 2015 Owner's Manual (Mini Connected)
[x] Cancel search | Manufacturer: MINI, Model Year: 2015, Model line: Countryman, Model: MINI Countryman 2015Pages: 283, PDF Size: 6.76 MB
Page 80 of 283

For example, the sensors are unable to detect
fog or hazy weather. To avoid safety risks, you
should always switch on the lamps manually
under these conditions. ◀
The exterior lighting goes out automatically af‐
ter the vehicle is switched off.
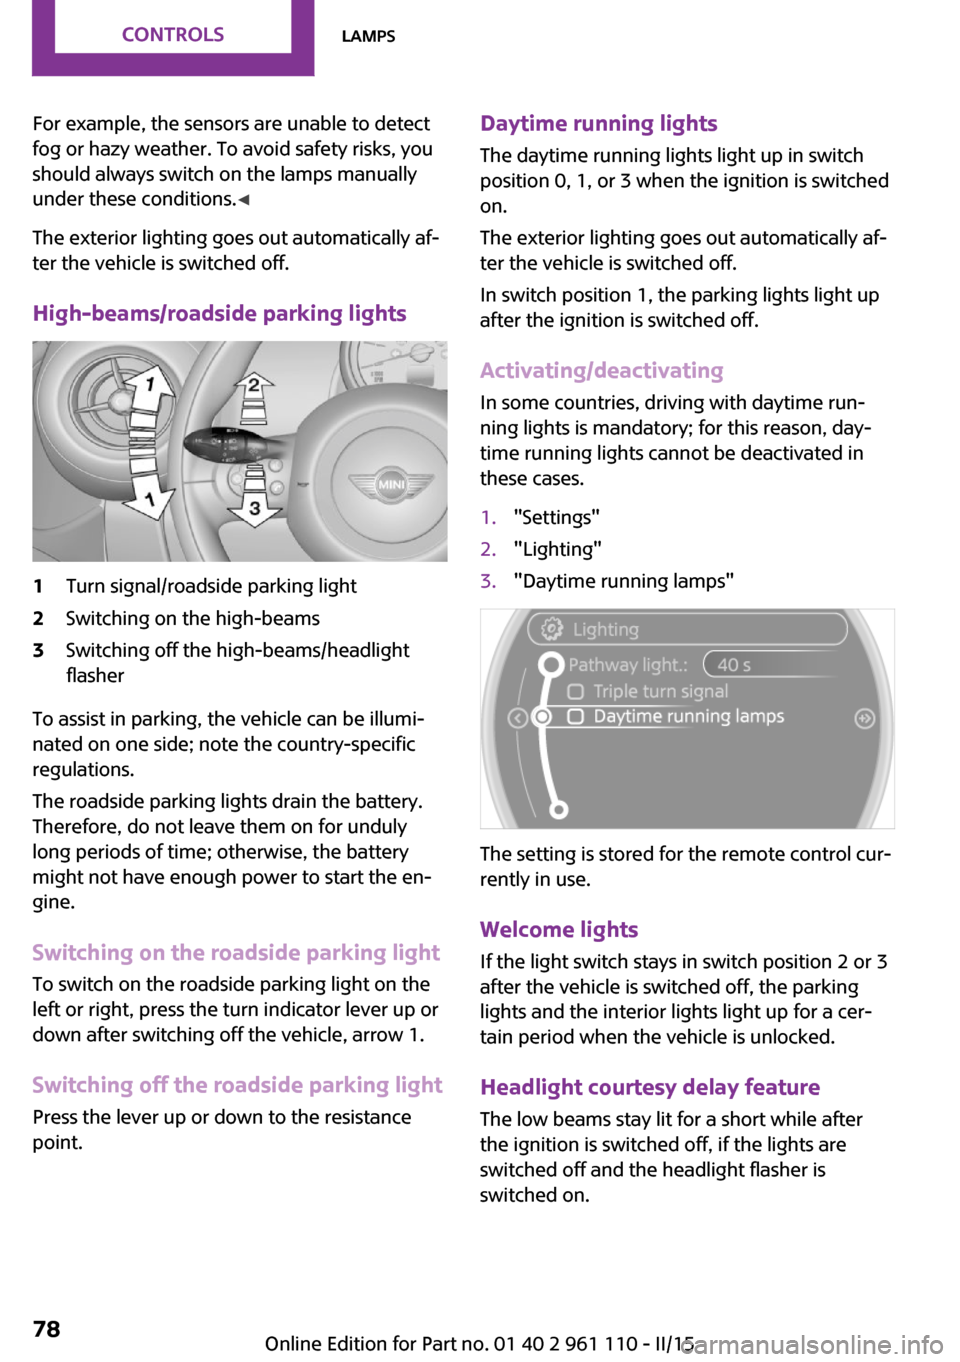
High-beams/roadside parking lights1Turn signal/roadside parking light2Switching on the high-beams3Switching off the high-beams/headlight
flasher
To assist in parking, the vehicle can be illumi‐
nated on one side; note the country-specific
regulations.
The roadside parking lights drain the battery.
Therefore, do not leave them on for unduly
long periods of time; otherwise, the battery
might not have enough power to start the en‐
gine.
Switching on the roadside parking light
To switch on the roadside parking light on the
left or right, press the turn indicator lever up or
down after switching off the vehicle, arrow 1.
Switching off the roadside parking light
Press the lever up or down to the resistance
point.
Daytime running lights
The daytime running lights light up in switch
position 0, 1, or 3 when the ignition is switched
on.
The exterior lighting goes out automatically af‐
ter the vehicle is switched off.
In switch position 1, the parking lights light up
after the ignition is switched off.
Activating/deactivating
In some countries, driving with daytime run‐
ning lights is mandatory; for this reason, day‐
time running lights cannot be deactivated in
these cases.1."Settings"2."Lighting"3."Daytime running lamps"
The setting is stored for the remote control cur‐
rently in use.
Welcome lights If the light switch stays in switch position 2 or 3
after the vehicle is switched off, the parking
lights and the interior lights light up for a cer‐
tain period when the vehicle is unlocked.
Headlight courtesy delay feature The low beams stay lit for a short while after
the ignition is switched off, if the lights are
switched off and the headlight flasher is
switched on.
Seite 78CONTROLSLamps78
Online Edition for Part no. 01 40 2 961 110 - II/15
Page 99 of 283

▷The transmission position D is disengaged.▷DSC intervenes.
Maintaining, storing the current speedPress button 1 or button 3.
The current speed is maintained and stored. It
is displayed briefly in the tachometer.
On downhill gradients, it may prove impossible
to maintain the set speed if the engine braking
power is insufficient. On uphill gradients, it may
prove impossible to maintain the set speed if
the engine power output is insufficient.
Increasing speed
▷Press button 1 repeatedly until the desired
speed is reached.
Each time the button is pressed, the speed
increases by approx. 1 mph/1 km/h.▷Press and hold button 1 until the desired
speed is reached.
The vehicle accelerates without pressure on
the accelerator pedal. After the button is
released, the achieved speed is maintained
and stored.
Decreasing speed
Press button 3 repeatedly or hold it until the
desired speed is reached.
The functions are the same those when the
speed is increased, only that the speed is re‐
duced.
Resuming a speed stored beforehand Press button 4.
The last stored speed is resumed and main‐
tained.
The stored speed is cleared when the ignition is
switched off.
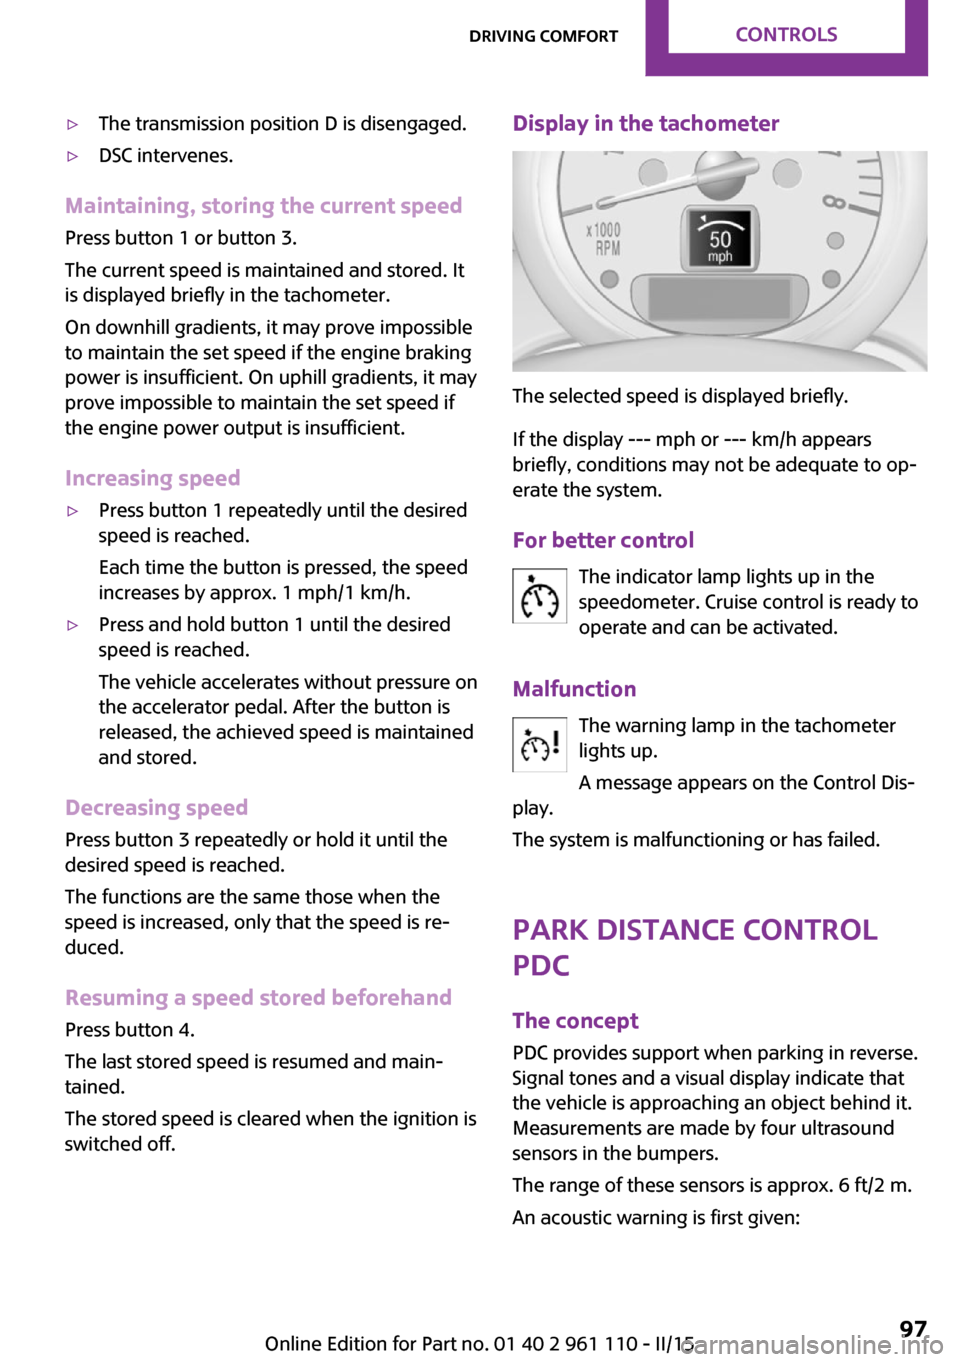
Display in the tachometer
The selected speed is displayed briefly.
If the display --- mph or --- km/h appears
briefly, conditions may not be adequate to op‐
erate the system.
For better control The indicator lamp lights up in the
speedometer. Cruise control is ready to
operate and can be activated.
Malfunction The warning lamp in the tachometer
lights up.
A message appears on the Control Dis‐
play.
The system is malfunctioning or has failed.
Park Distance Control
PDC
The concept
PDC provides support when parking in reverse.
Signal tones and a visual display indicate that
the vehicle is approaching an object behind it.
Measurements are made by four ultrasound
sensors in the bumpers.
The range of these sensors is approx. 6 ft/2 m.
An acoustic warning is first given:
Seite 97Driving comfortCONTROLS97
Online Edition for Part no. 01 40 2 961 110 - II/15
Page 100 of 283

▷By the two corner sensors at ap‐
prox. 24 in/60 cm.▷By the rear middle sensors at approx.
5 ft/1.50 m.
Avoid driving quickly with PDC
PDC is a parking aid that can display ob‐
jects when the vehicle approaches them slowly,
as is the case during parking maneuvers. Avoid
driving toward an object quickly as the system
may then be too late in issuing a warning for
technical reasons. ◀
Automatic operation
The system is activated after approx. one sec‐ ond when reverse gear or selector lever posi‐
tion R is engaged while the engine is running or
the ignition is switched on. Await this short pe‐
riod before setting the vehicle into motion.
Signal tones
The closer the vehicle is to the object, the
shorter the intervals become. If the distance to
a detected object is less than approx.
12 in/30 cm, a continuous tone is sounded.
If the distance remains constant, for example
when driving parallel to a wall, the signal tone
is stopped after approx. 3 seconds.
PDC with visual warning
Displaying the approach to an object on the
Control Display. The contours of distant objects
are displayed on the Control Display before a
signal tone is output. The display is shown on
the Control Display as soon as reverse gear or
selector lever position R is engaged.
System limits Check the traffic situation as well
PDC cannot serve as a substitute for the
driver's personal judgment of the traffic situa‐
tion. Check the traffic situation around the ve‐
hicle with your own eyes. Otherwise, an acci‐
dent could result from road users or objects
located outside of the PDC detection range.
Loud noises from outside and inside the vehicle
may prevent you from hearing the PDC's signal
tone. ◀
Malfunction The warning light lights up. A message
appears on the Control Display. PDC is
malfunctioning or has failed. Have the
system checked.
To ensure full functionality of the sensors, keep
the sensors clean and free of ice. When using
high-pressure washers, do not spray the sen‐
sors for long periods and maintain a distance of
at least 12 in/30 cm.Seite 98CONTROLSDriving comfort98
Online Edition for Part no. 01 40 2 961 110 - II/15