remote control MINI Countryman 2016 (Mini Connected) Owner's Guide
[x] Cancel search | Manufacturer: MINI, Model Year: 2016, Model line: Countryman, Model: MINI Countryman 2016Pages: 282, PDF Size: 6.79 MB
Page 146 of 282

This volume is independent of the volume of
the audio sources.
Settings are stored for the remote control cur‐
rently in use.
Map view
Selecting the map view
1."Navigation"2."Map"
Overview
1Function bar2Route section with traffic obstruction3Traffic sign for traffic obstruction4Planned route5Current location6Upper status field7Lower status field
Lines in the map Streets and routes are displayed in different
colors and styles depending on their classifica‐
tion. Dashed lines represent railways and ferry
connections. Country borders are indicated by
thin lines.
Traffic obstructions
Small triangles along the planned route indicate
route sections with traffic obstructions, de‐
pending on the map scale. The direction of the
triangles indicates the direction of the obstruc‐
tion.
The traffic signs indicate the significance of the
obstruction.▷Red traffic sign: the obstruction affects the
planned route or direction.▷Gray traffic sign: the obstruction does not
affect the planned route or direction.
Traffic bulletins, refer to page 147.
Planned route After destination guidance is started, the plan‐
ned route is displayed on the map.
Status fields
To show/hide: press the MINI joystick.
▷Upper status field: time, telephone, and en‐
tertainment details.▷Lower status field: symbol for active desti‐
nation guidance, status of traffic bulletins,
time of arrival, and distance to destination.
Function bar
The following functions are available in the
function bar:
SymbolFunction Start/end destination guidance. Switch spoken instructions on/
off. Change the route criteria. Search for a special destina‐
tion.Seite 146NAVIGATIONDestination guidance146
Online Edition for Part no. 01 40 2 964 459 - VI/15
Page 147 of 282

SymbolFunction Display traffic bulletins. Open the interactive map. Adjust the map views. Adjust the arrow view. Change the scale.
Changing the map section
"Interactive map"
▷To shift the map: move the MINI joystick in
the required direction.▷To shift the map diagonally: move the
MINI joystick in the required direction and
turn the MINI joystick.
Changing the scale
1. Select the symbol.2.To change the scale: turn the MINI joystick.
Automatically scaled map scale
In the map view facing north, turn the MINI joy‐
stick in any direction until the AUTO is dis‐
played for the scale. The entire route between
the current location and the destination is dis‐
played on the map.
Settings for the map view
The settings are stored for the remote control
currently in use.
1."Navigation"2."Map"3.Open "Options".4."Settings"5.To set the map view:▷"Day/night mode"
Select and create the necessary settings
depending on the light conditions."Traffic conditions/gray map" active:
the setting is disregarded.▷"Traffic conditions/gray map"
The map is optimized for displaying
traffic bulletins.
Symbols for the Points of Interest are no
longer displayed.
Arrow view
When destination guidance is activated, the ar‐
row view can additionally be displayed in the
map view on the right side of the display.
1."Navigation"2.Open "Options".3."Arrow display on map"
The arrow view is shown on the map.
Traffic bulletins
Overview
▷Display the traffic bulletins from radio sta‐
tions that broadcast the TI Traffic Informa‐
tion of a traffic information service. Infor‐
mation on traffic obstructions and hazards
is updated continuously.▷The traffic bulletins are indicated on the
map by symbols.
The symbol in the function bar of the map
view turns red if there are traffic bulletins that
affect the calculated route.
Seite 147Destination guidanceNAVIGATION147
Online Edition for Part no. 01 40 2 964 459 - VI/15
Page 154 of 282
ToneVehicle features and op‐
tions
This chapter describes all standard, country-
specific and optional features offered with the
series. It also describes features that are not
necessarily available in your car, e. g., due to
the selected options or country versions. This
also applies to safety-related functions and sys‐
tems.
When using the features and systems described
here, adhere to local regulations.
General information The sound settings are stored for the remote
control currently in use.
Treble, bass, balance,
and fader▷"Treble": treble adjustment.▷"Bass": depth adjustment.▷"Balance": left/right volume distribution.▷"Fader": front/rear volume distribution.
Setting treble, bass, balance, and fader
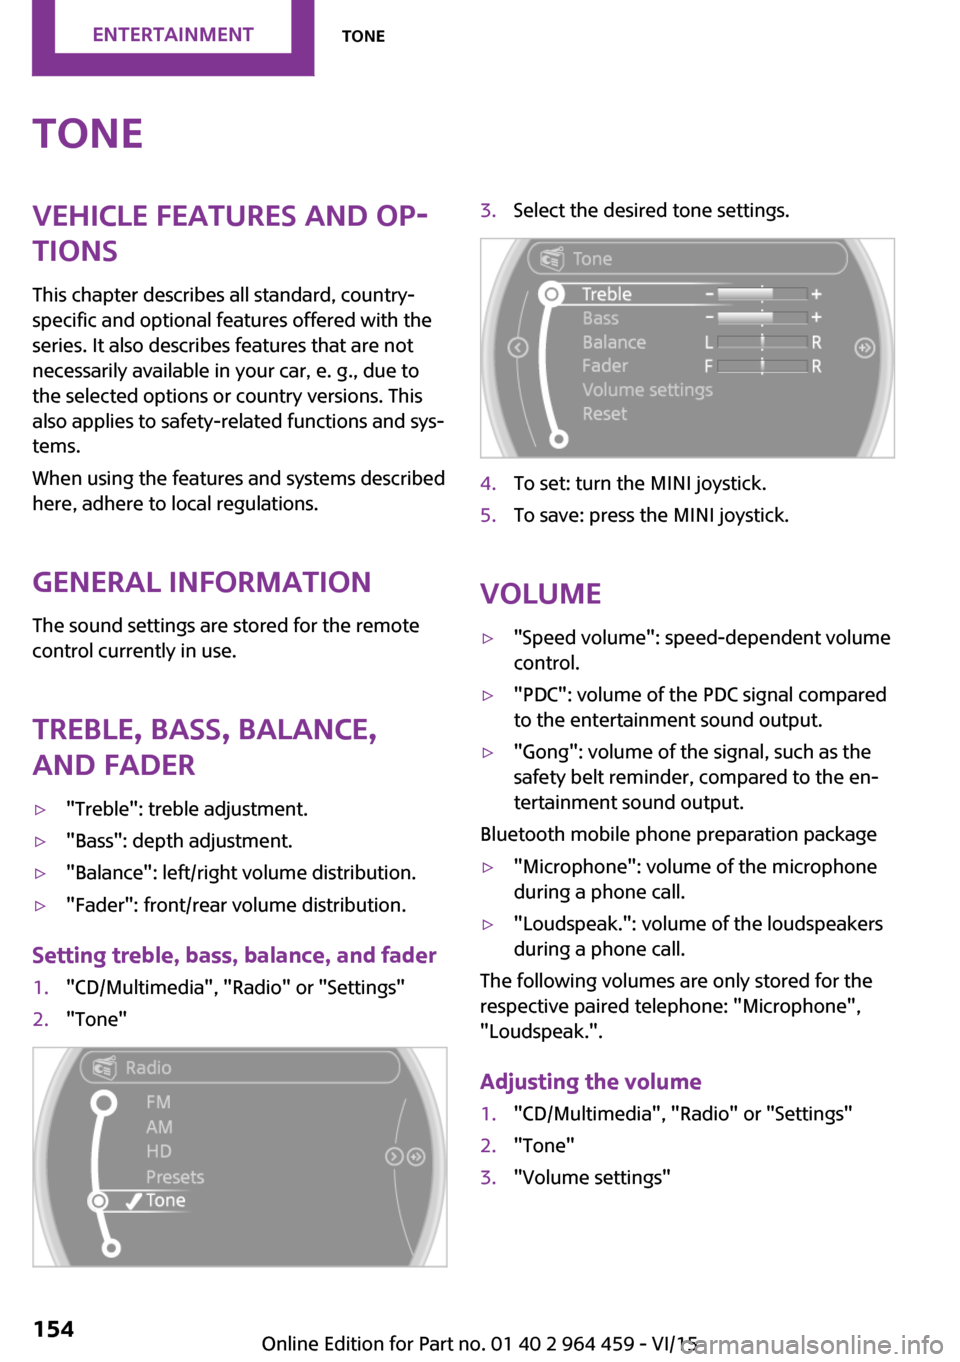
1."CD/Multimedia", "Radio" or "Settings"2."Tone"3.Select the desired tone settings.4.To set: turn the MINI joystick.5.To save: press the MINI joystick.
Volume
▷"Speed volume": speed-dependent volume
control.▷"PDC": volume of the PDC signal compared
to the entertainment sound output.▷"Gong": volume of the signal, such as the
safety belt reminder, compared to the en‐
tertainment sound output.
Bluetooth mobile phone preparation package
▷"Microphone": volume of the microphone
during a phone call.▷"Loudspeak.": volume of the loudspeakers
during a phone call.
The following volumes are only stored for the
respective paired telephone: "Microphone",
"Loudspeak.".
Adjusting the volume
1."CD/Multimedia", "Radio" or "Settings"2."Tone"3."Volume settings"Seite 154ENTERTAINMENTTone154
Online Edition for Part no. 01 40 2 964 459 - VI/15
Page 157 of 282

3.Select the desired station.
Selecting the waveband using the
button on the radio
Press the button repeatedly until the
desired waveband is displayed.
Changing the station Turn and press the MINI joystick
or
Press the button
or
Press the buttons on the steering wheel.
All saved stations are stored for the remote
control currently in use.
Storing a station
1."Radio"2."FM" or "AM"3.Highlight the desired station.4.Press the MINI joystick.5.Select the desired memory location.Press and hold the MINI joystick to store a sta‐
tion that is displayed in the station list but is not
being played.
The stations are stored for the remote control
currently in use.
Selecting a station manually Station selection via the frequency.1."Radio"2."FM" or "AM"3."Manual"4.To select a frequency: turn the MINI joy‐
stick.
To save a station: press and hold the
MINI joystick.
RDS
RDS broadcasts additional information, such as
the station name, in the FM wave band.
Switching the RDS on/off
1."Radio"2."FM"Seite 157RadioENTERTAINMENT157
Online Edition for Part no. 01 40 2 964 459 - VI/15
Page 158 of 282
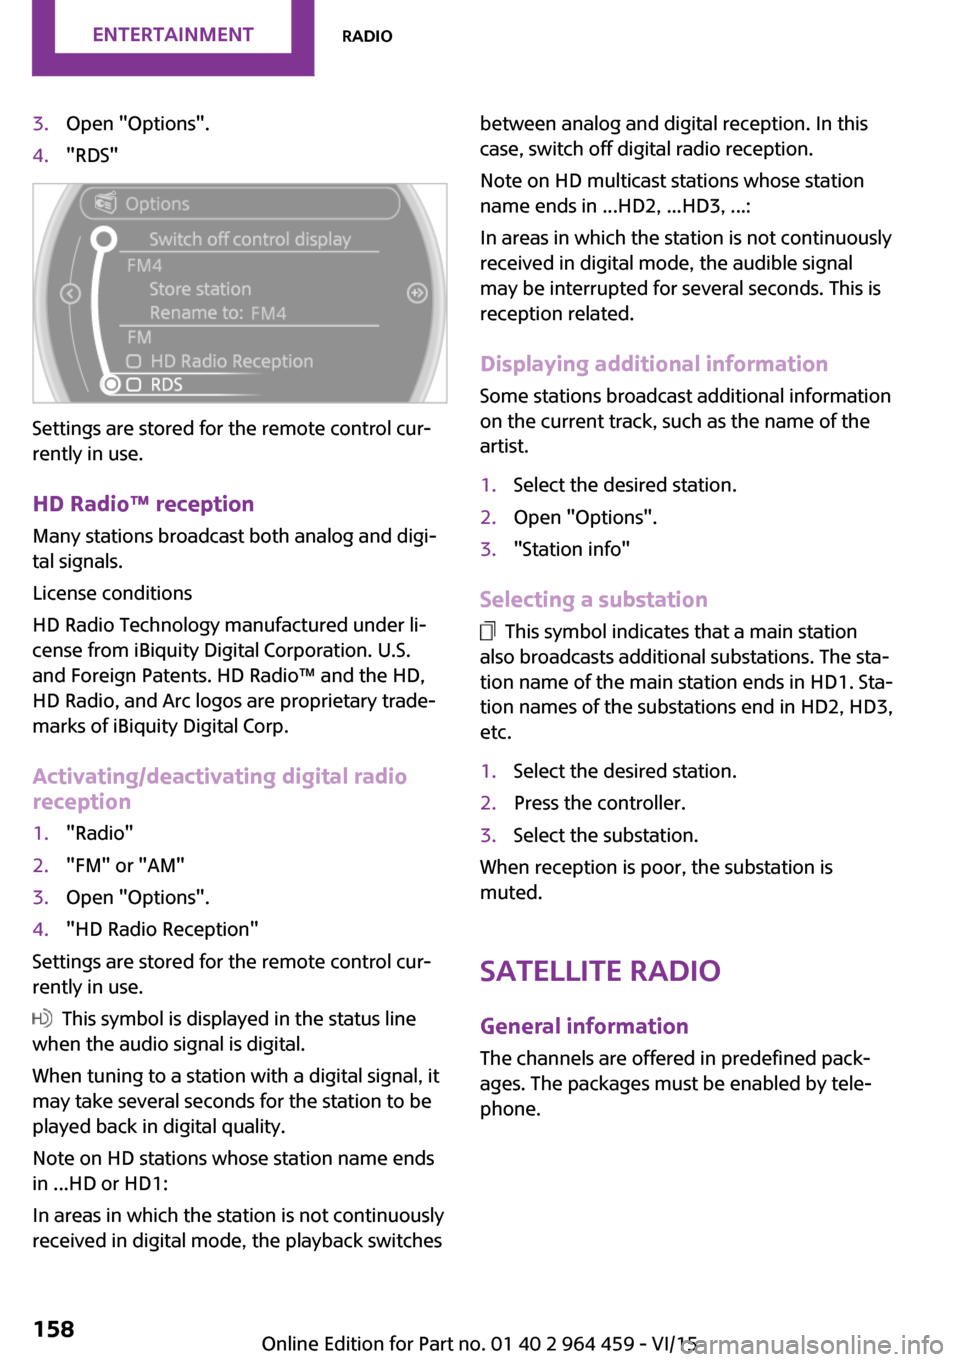
3.Open "Options".4."RDS"
Settings are stored for the remote control cur‐
rently in use.
HD Radio™ reception
Many stations broadcast both analog and digi‐
tal signals.
License conditions
HD Radio Technology manufactured under li‐
cense from iBiquity Digital Corporation. U.S.
and Foreign Patents. HD Radio™ and the HD,
HD Radio, and Arc logos are proprietary trade‐
marks of iBiquity Digital Corp.
Activating/deactivating digital radio
reception
1."Radio"2."FM" or "AM"3.Open "Options".4."HD Radio Reception"
Settings are stored for the remote control cur‐
rently in use.
This symbol is displayed in the status line
when the audio signal is digital.
When tuning to a station with a digital signal, it
may take several seconds for the station to be
played back in digital quality.
Note on HD stations whose station name ends
in ...HD or HD1:
In areas in which the station is not continuously
received in digital mode, the playback switches
between analog and digital reception. In this
case, switch off digital radio reception.
Note on HD multicast stations whose station
name ends in ...HD2, ...HD3, ...:
In areas in which the station is not continuously
received in digital mode, the audible signal
may be interrupted for several seconds. This is
reception related.
Displaying additional information
Some stations broadcast additional information
on the current track, such as the name of the
artist.1.Select the desired station.2.Open "Options".3."Station info"
Selecting a substation
This symbol indicates that a main station
also broadcasts additional substations. The sta‐
tion name of the main station ends in HD1. Sta‐
tion names of the substations end in HD2, HD3,
etc.
1.Select the desired station.2.Press the controller.3.Select the substation.
When reception is poor, the substation is
muted.
Satellite radioGeneral information
The channels are offered in predefined pack‐
ages. The packages must be enabled by tele‐
phone.
Seite 158ENTERTAINMENTRadio158
Online Edition for Part no. 01 40 2 964 459 - VI/15
Page 159 of 282

Navigation bar overviewSymbolFunction Change the list view. Select the category. Direct channel entry Timeshift Open the My Favorites category/
open a favorite. Manage the favorites. Traffic Jump
Managing a subscription
To be able to enable or unsubscribe from the
channels, you must have reception. It is usually
at its best when you have an unobstructed view
of the sky. The channel name is displayed in the
status line.
Enabling channelsThe Unsubscribed Channels category contains
all disabled channels.
1."Radio"2."Satellite radio"3. "Category"4.Select the Unsubscribed Channels category.5.Select the desired channel.The phone number and an electronic serial
number, ESN, are displayed.6.Select the phone number to have the chan‐
nel enabled.
You can unsubscribe from the channels again
via this phone number.
Unsubscribing from channels
1."Radio"2."Satellite radio"3.Open "Options".4."Manage subscription"5.The phone number and an electronic serial
number, ESN, are displayed.6.Call Sirius to unsubscribe from the channels.
Selecting channels
You can only listen to enabled channels.
The selected channel is stored for the remote
control currently in use.
Seite 159RadioENTERTAINMENT159
Online Edition for Part no. 01 40 2 964 459 - VI/15
Page 160 of 282
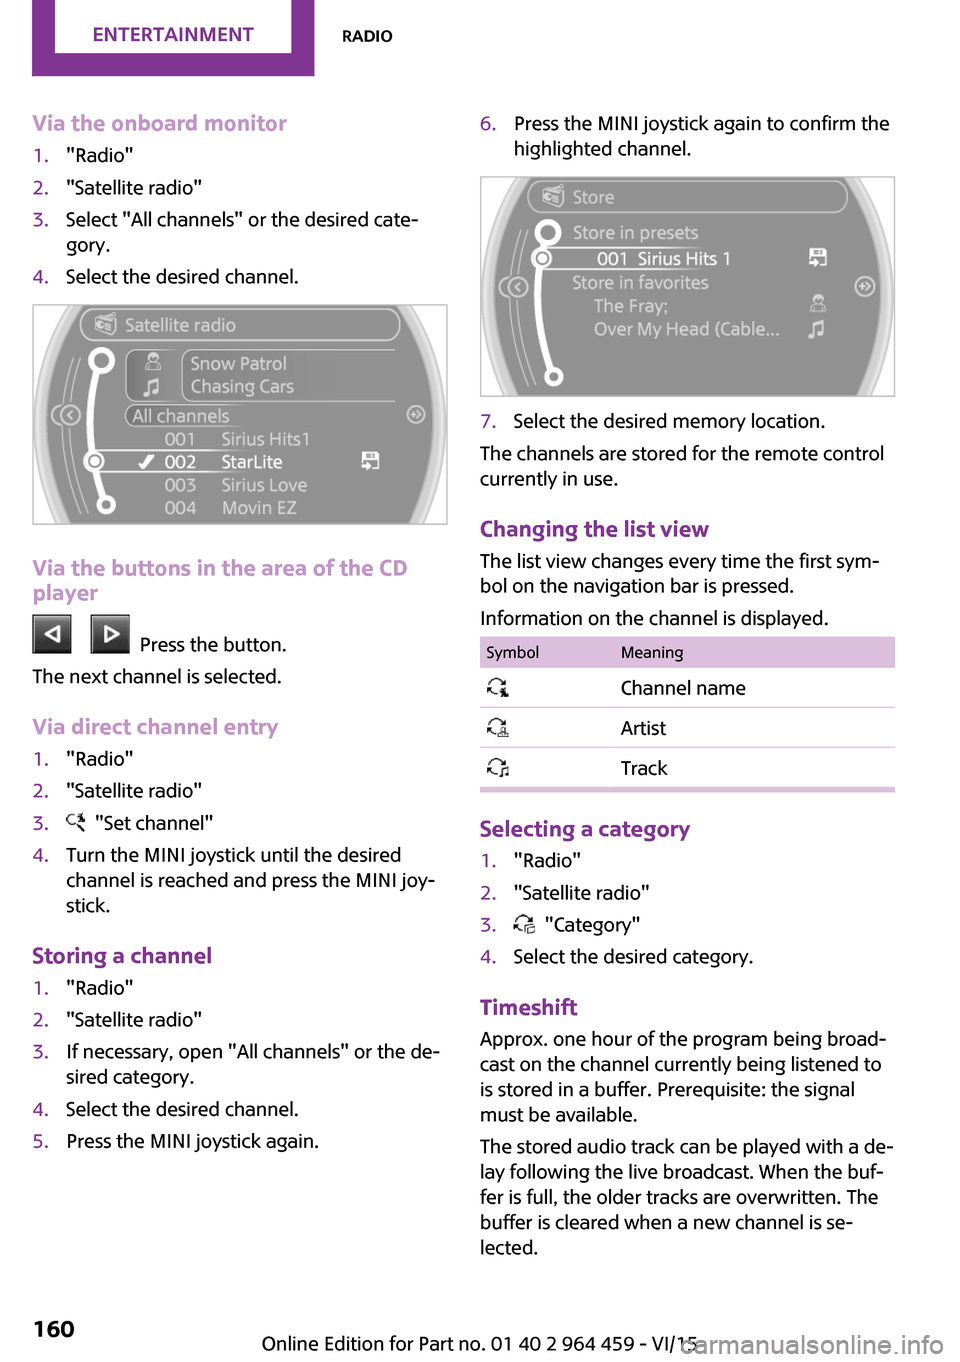
Via the onboard monitor1."Radio"2."Satellite radio"3.Select "All channels" or the desired cate‐
gory.4.Select the desired channel.
Via the buttons in the area of the CD
player
Press the button.
The next channel is selected.
Via direct channel entry
1."Radio"2."Satellite radio"3. "Set channel"4.Turn the MINI joystick until the desired
channel is reached and press the MINI joy‐
stick.
Storing a channel
1."Radio"2."Satellite radio"3.If necessary, open "All channels" or the de‐
sired category.4.Select the desired channel.5.Press the MINI joystick again.6.Press the MINI joystick again to confirm the
highlighted channel.7.Select the desired memory location.
The channels are stored for the remote control
currently in use.
Changing the list view
The list view changes every time the first sym‐
bol on the navigation bar is pressed.
Information on the channel is displayed.
SymbolMeaning Channel name Artist Track
Selecting a category
1."Radio"2."Satellite radio"3. "Category"4.Select the desired category.
Timeshift Approx. one hour of the program being broad‐
cast on the channel currently being listened to is stored in a buffer. Prerequisite: the signal
must be available.
The stored audio track can be played with a de‐
lay following the live broadcast. When the buf‐ fer is full, the older tracks are overwritten. The
buffer is cleared when a new channel is se‐
lected.
Seite 160ENTERTAINMENTRadio160
Online Edition for Part no. 01 40 2 964 459 - VI/15
Page 162 of 282
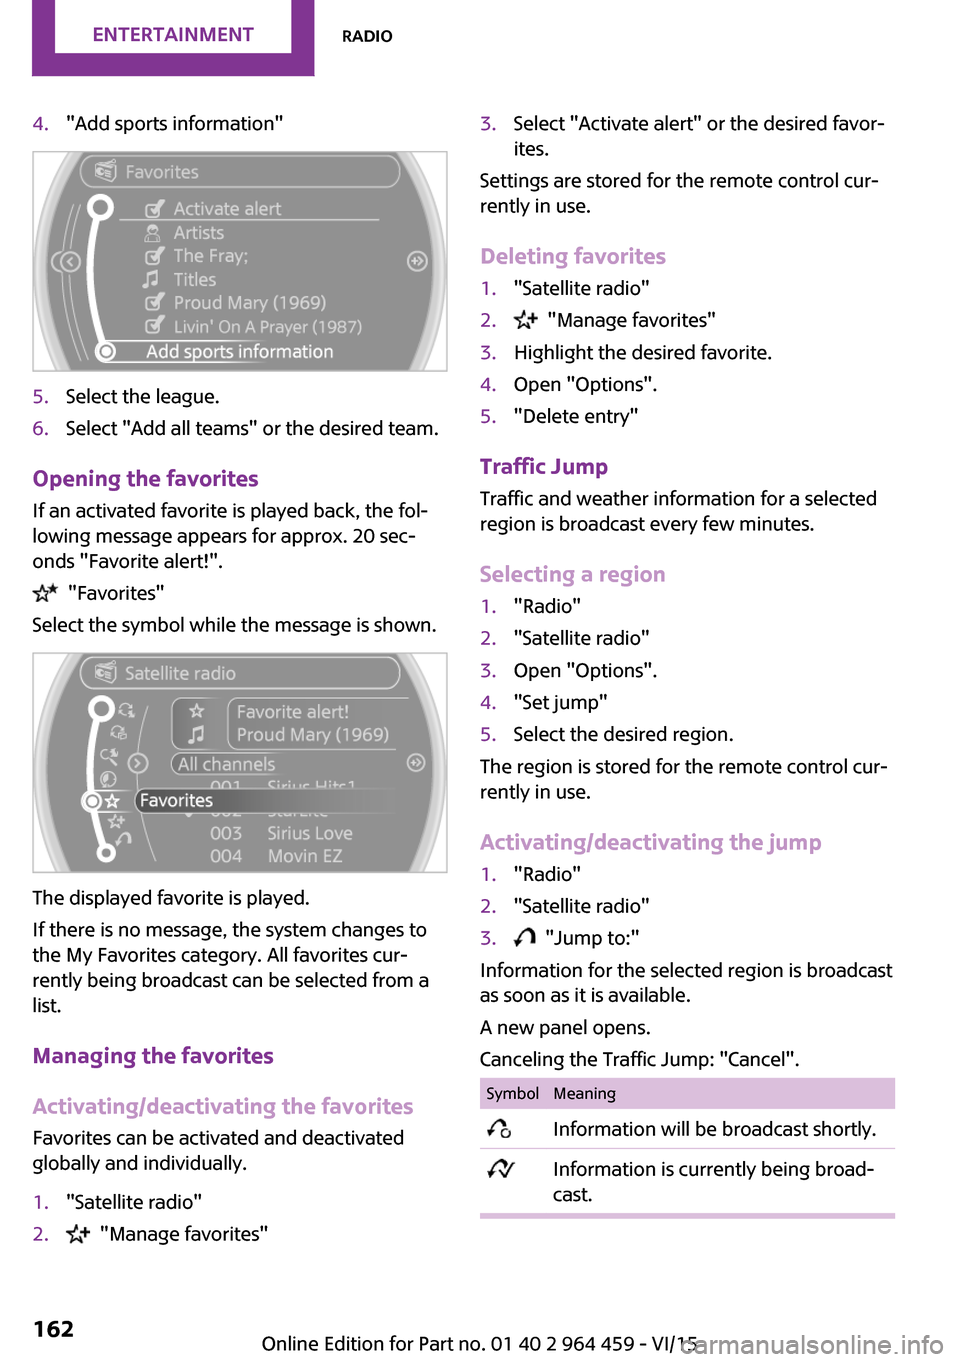
4."Add sports information"5.Select the league.6.Select "Add all teams" or the desired team.
Opening the favoritesIf an activated favorite is played back, the fol‐
lowing message appears for approx. 20 sec‐
onds "Favorite alert!".
"Favorites"
Select the symbol while the message is shown.
The displayed favorite is played.
If there is no message, the system changes to
the My Favorites category. All favorites cur‐
rently being broadcast can be selected from a
list.
Managing the favorites
Activating/deactivating the favorites
Favorites can be activated and deactivated
globally and individually.
1."Satellite radio"2. "Manage favorites"3.Select "Activate alert" or the desired favor‐
ites.
Settings are stored for the remote control cur‐
rently in use.
Deleting favorites
1."Satellite radio"2. "Manage favorites"3.Highlight the desired favorite.4.Open "Options".5."Delete entry"
Traffic Jump Traffic and weather information for a selected
region is broadcast every few minutes.
Selecting a region
1."Radio"2."Satellite radio"3.Open "Options".4."Set jump"5.Select the desired region.
The region is stored for the remote control cur‐
rently in use.
Activating/deactivating the jump
1."Radio"2."Satellite radio"3. "Jump to:"
Information for the selected region is broadcast
as soon as it is available.
A new panel opens.
Canceling the Traffic Jump: "Cancel".
SymbolMeaning Information will be broadcast shortly. Information is currently being broad‐
cast.Seite 162ENTERTAINMENTRadio162
Online Edition for Part no. 01 40 2 964 459 - VI/15
Page 181 of 282
▷A multi-character passkey may be needed.▷Did it take longer than 30 seconds to enter
the passkey? Repeat the pairing procedure.▷Are too many Bluetooth devices connected
to the mobile phone or vehicle? Delete con‐
nections with other devices if necessary.▷The mobile phone is in power-save mode
or has only a limited remaining battery life.
Charge the mobile phone via the charging
cable.▷Depending on the mobile phone, it is possi‐
ble that only one mobile phone can be con‐
nected to the vehicle. Unpair the connected
mobile phone from the vehicle and pair
and connect only one mobile phone.
The mobile phone no longer reacts.
▷Switch the mobile phone off and on again.▷Is the ambient temperature too high or
low? Do not expose the mobile phone to
extreme environmental conditions.
No phone book entries or only some phone
book entries are displayed, or they are incom‐
plete.
▷Transmission of the phone book entries is
not yet complete.▷It is possible that only the phone book en‐
tries of the mobile phone or the SIM card
are transmitted.▷It may not be possible to display phone
book entries with special characters.▷The number of phone book entries to be
stored is too high.▷Is the data volume of the contact too large,
e. g., due to stored information such as
notes? Reduce the data volume of the con‐
tact.
The phone connection quality is poor.
▷The strength of the Bluetooth signal on the
mobile phone can be adjusted, depending
on the mobile phone.▷Place the mobile phone in the area of the
center console.If all points in this list have been checked and
the required function is still not available, con‐
tact the hotline or a dealer’s service center or
another qualified service center or repair shop.
Controls Adjusting the volume
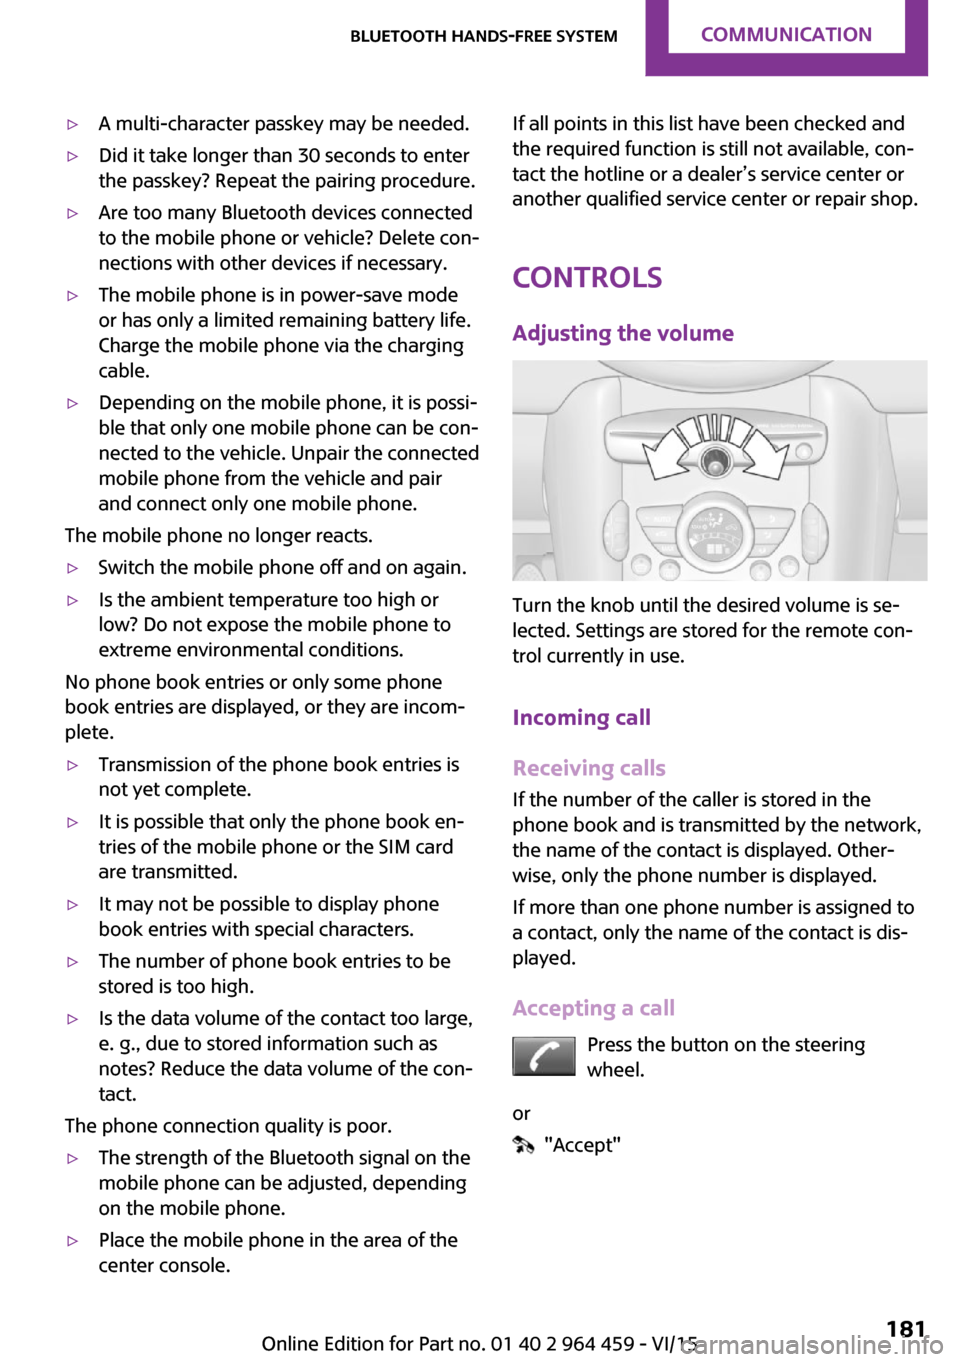
Turn the knob until the desired volume is se‐
lected. Settings are stored for the remote con‐
trol currently in use.
Incoming call
Receiving calls If the number of the caller is stored in the
phone book and is transmitted by the network,
the name of the contact is displayed. Other‐
wise, only the phone number is displayed.
If more than one phone number is assigned to
a contact, only the name of the contact is dis‐
played.
Accepting a call Press the button on the steering
wheel.
or
"Accept"
Seite 181Bluetooth hands-free systemCOMMUNICATION181
Online Edition for Part no. 01 40 2 964 459 - VI/15
Page 183 of 282
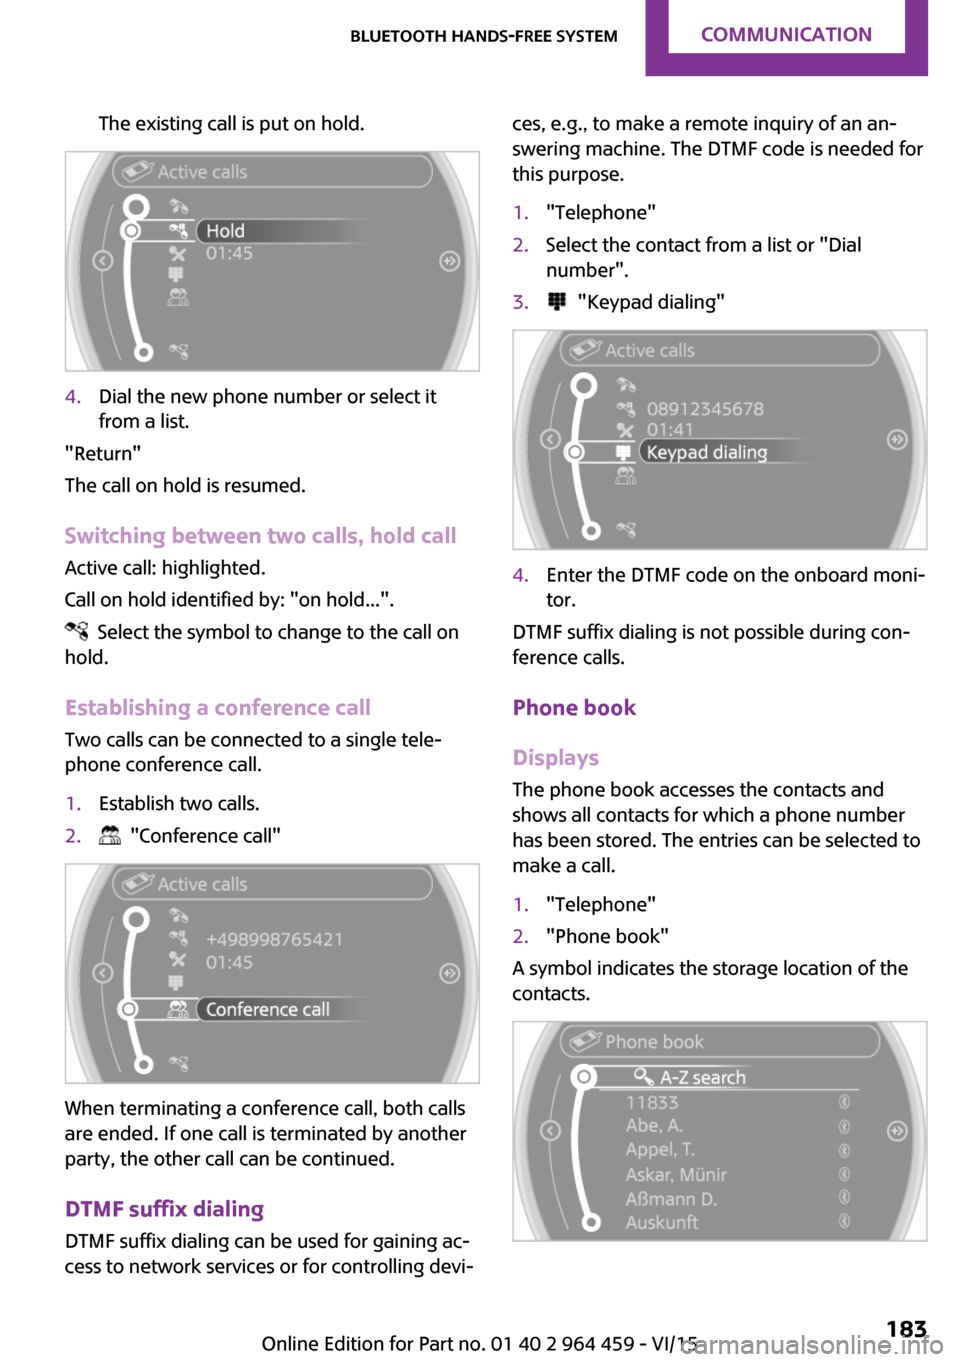
The existing call is put on hold.4.Dial the new phone number or select it
from a list.
"Return"
The call on hold is resumed.
Switching between two calls, hold call Active call: highlighted.
Call on hold identified by: "on hold...".
Select the symbol to change to the call on
hold.
Establishing a conference call
Two calls can be connected to a single tele‐
phone conference call.
1.Establish two calls.2. "Conference call"
When terminating a conference call, both calls
are ended. If one call is terminated by another
party, the other call can be continued.
DTMF suffix dialing
DTMF suffix dialing can be used for gaining ac‐
cess to network services or for controlling devi‐
ces, e.g., to make a remote inquiry of an an‐
swering machine. The DTMF code is needed for
this purpose.1."Telephone"2.Select the contact from a list or "Dial
number".3. "Keypad dialing"4.Enter the DTMF code on the onboard moni‐
tor.
DTMF suffix dialing is not possible during con‐
ference calls.
Phone book
Displays The phone book accesses the contacts and
shows all contacts for which a phone number
has been stored. The entries can be selected to
make a call.
1."Telephone"2."Phone book"
A symbol indicates the storage location of the
contacts.
Seite 183Bluetooth hands-free systemCOMMUNICATION183
Online Edition for Part no. 01 40 2 964 459 - VI/15