tires MINI COUNTRYMAN PACEMAN 2013 Owners Manual
[x] Cancel search | Manufacturer: MINI, Model Year: 2013, Model line: COUNTRYMAN PACEMAN, Model: MINI COUNTRYMAN PACEMAN 2013Pages: 275, PDF Size: 2.97 MB
Page 4 of 275
Contents
The fastest way to find information on a particu-
lar topic or item is by using the index, refer to
page260.
4 Notes
7 Reporting safety defects
AT A GLANCE 9
10Cockpit
16 Onboard computer
20 Letters and numbers
21 Voice activation system
CONTROLS 25
26Opening and closing
38 Adjustments
46 Transporting children safely
50 Driving
60 Controls overview
71 Technology for drivin g comfort and safety
84 Lamps
88 Climate
93 Practical interior accessories
DRIVING TIPS 103
104Things to remember when driving
NAVIGATION 117
118Navigation system
120 Destination entry
129 Route guidance
137 What to do if…
Entertainment 139
140On/off and tone
143 Radio
151 CD player
153 External devices
COMMUNICATIONS 163
164Hands-free device Bluetooth
174 Mobile phone preparation Bluetooth
187 Office
195 MINI Connected
MOBILITY 199
200Refueling
203 Wheels and tires
214 Engine compartment
218 Maintenance
220 Care
224 Replacing components
236 Giving and receiving assistance
REFERENCE 243
244Technical data
252 Short commands for the voice activation
system
260 Everything from A to Z
00320051004F004C00510048000300280047004C0057004C005200510003
Page 76 of 275
Technology for driving comfort and safetyCONTROLS
75
Flat Tire Monitor FTM
The concept
The system does not measure the actual infla-
tion pressure in the tires.
The system detects a pressure loss in a tire by
comparing the rotational speeds of the individ-
ual wheels while moving.
In the event of a pressure loss, the diameter and
therefore the rotational speed of the corre-
sponding wheel change. This is detected and
reported as a flat tire.
Functional requirement
The system must have been initialized while the
tire inflation pressure was correct; otherwise,
reliable signaling of a fl at tire is not ensured.
Initialize the system afte r every correction of the
tire inflation pressure and after every tire or
wheel change.
System limitations
Sudden serious tire damage caused by
external influences ca nnot be indicated in
advance. <
A natural, even pressure loss in all four tires can-
not be detected. Therefore, check the tire infla-
tion pressure regularly.
In the following situations, the system could be
delayed or malfunction:
> System has not been initialized
> Driving on snowy or slippery road surface
> Performance-oriented styl e of driving: slip in
the drive wheels, high lateral acceleration
> Snow chains are attached
Status display
The current status of the Flat Tire Monitor can be
displayed on the Control Display, e.g. whether or
not the FTM is active.
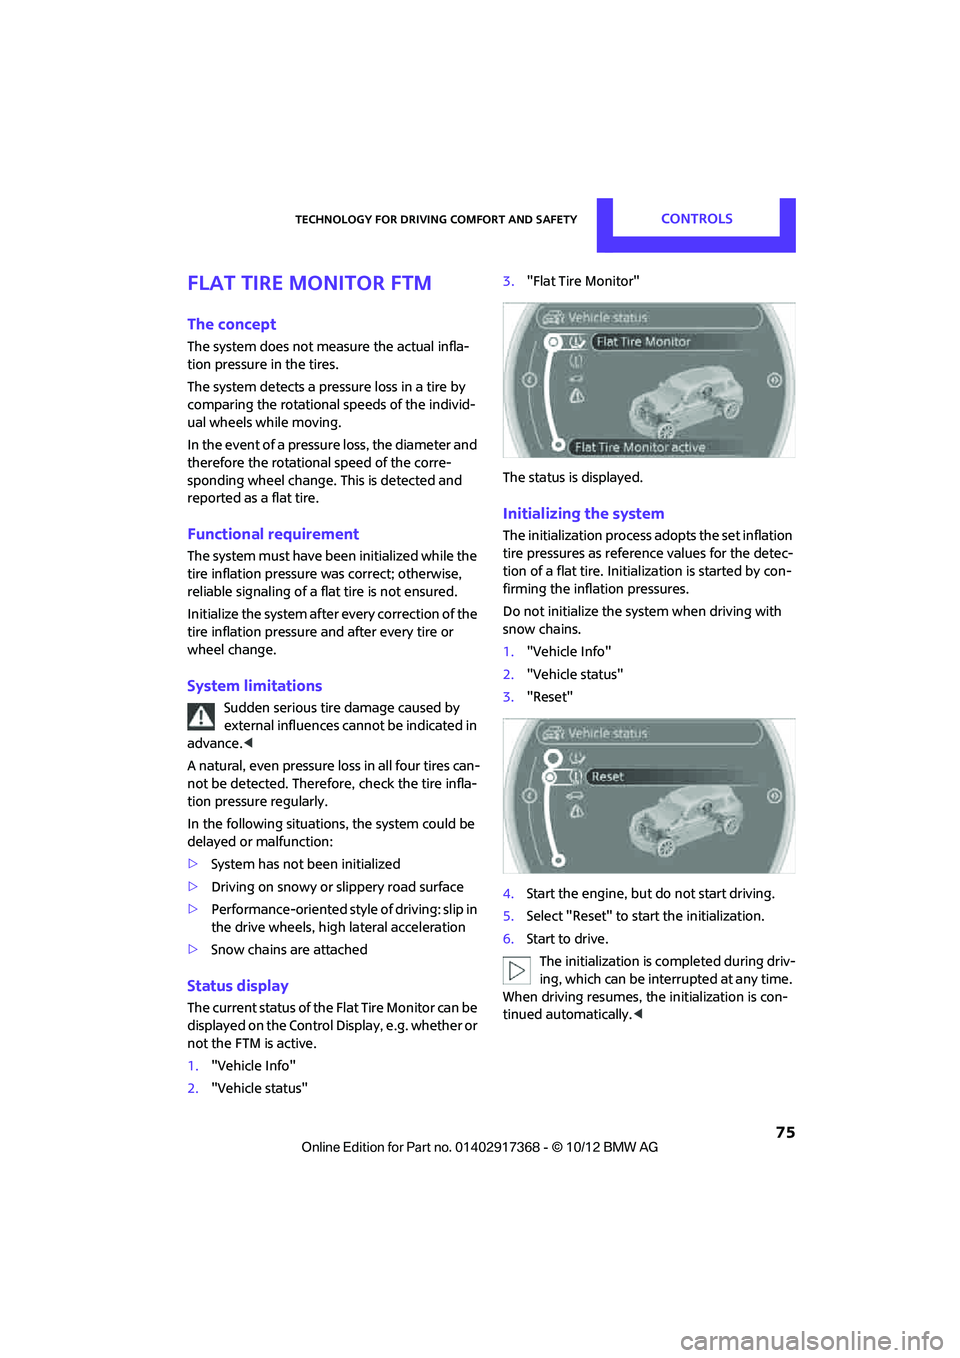
1. "Vehicle Info"
2. "Vehicle status" 3.
"Flat Tire Monitor"
The status is displayed.
Initializing the system
The initialization process adopts the set inflation
tire pressures as refere nce values for the detec-
tion of a flat tire. Initia lization is started by con-
firming the inflation pressures.
Do not initialize the system when driving with
snow chains.
1. "Vehicle Info"
2. "Vehicle status"
3. "Reset"
4. Start the engine, but do not start driving.
5. Select "Reset" to start the initialization.
6. Start to drive.
The initialization is completed during driv-
ing, which can be interrupted at any time.
When driving resumes, the initialization is con-
tinued automatically. <
00320051004F004C00510048000300280047004C0057004C005200510003
Page 77 of 275
CONTROLSTechnology for driving comfort and safety
76
Indication of a flat tire
The warning lamps come on in yellow
and red. A message appears on the
Control Display. An acoustic signal also
sounds.
There is a flat tire or a major loss in tire inflation
pressure.
1. Reduce speed and stop the vehicle with cau-
tion. Avoid sudden braking and steering
maneuvers.
2. Check whether the vehicle is equipped with
normal tires or with run-flat tires.
Run-flat tires, refer to page 212, are identi-
fied by a circular symbol containing the let-
ters RSC on the tire sidewall.
If the vehicle is not equipped with run-flat
tires, do not continue driving; continuing
to drive can result in serious accidents.<
When a flat tire is repo rted, the Dynamic Stability
Control DSC is activated.
Actions in the event of a flat tire
Normal tires
1. Identify the damaged tire.
To do so, check the infl ation pressure in all
four tires.
The inflation pressure display of the Mobility
Kit, page 230, can be used for this purpose.
If the inflation pressure in all four tires is cor-
rect, the Flat Tire Mo nitor might not have
been initialized. The system must then be
initialized.
If it is not possible to identify the damaged
tire, contact your MINI dealer
2. Use the Mobility Kit to remedy the flat tire on
the damaged wheel, refer to page 230.
Run-flat tires
You can continue driving with a damaged tire at
speeds up to 50 mph or 80 km/h.
Continued driving with a flat tire
When driving with a damaged tire:
1.Avoid sudden braking and steering maneu-
vers.
2. Do not exceed a speed of 50 mph or
80 km/h.
3. At the next opportunity, check the air pres-
sure in all four tires.
If the inflation pressure in all four tires is cor-
rect, the Flat Tire Monitor might not have
been initialized. The system must then be
initialized.
Possible driving distance with complete loss of
tire inflation pressure:
The distance it is possible to drive depends on
the load and the stress on the vehicle while driv-
ing.
With an average load, it may be possible to drive
for approx. 50 miles/80 km.
When driving with damaged tires, the handling
characteristics change, e. g. the vehicle will skid
sooner when braking, braking distances will be
longer, or self-steerin g response will change.
Adapt your driving style accordingly. Avoid turn-
ing abruptly and driving over obstacles such as
curbs, potholes, etc.
Since the possible driving distance depends to a
considerable degree on the strain exerted on
the vehicle while driving, it can be shorter or,
with a gentle driving styl e, can also be longer,
depending on the speed, road condition, exter-
nal temperature, vehicle load, etc.
Drive cautiously and do not exceed a
speed of 50 mph/80 km/h.
A loss of tire inflation pressure results in a
change in the handling characteristics, e.g.
reduced lane stability during braking, a longer
braking distance and alte red self-steering prop-
erties. <
00320051004F004C00510048000300280047004C0057004C005200510003
Page 78 of 275
Technology for driving comfort and safetyCONTROLS
77
Vibrations or loud noises while driving can
indicate final failure of the tire. Reduce
your speed and bring the vehicle to a stop; oth-
erwise, pieces of tire may come off, which could
result in an accident. Do not continue driving
and contact your MINI dealer. <
Tire Pressure Monitor
TPM
The concept
Measuring the inflation pressure in the four
mounted tires. The system notifies you if there is
a significant loss of pressure in one or more tires.
Functional requirement
The system must have been reset while the
inflation pressure was co rrect; otherwise, reli-
able signaling of a flat tire is not ensured.
Always use wheels with TPM electronics to
ensure that the system will operate properly.
Reset the system again after each correction of
the tire inflation pressure and after every tire or
wheel change.
System limitations
Sudden, serious tire damage caused by
external influences ca nnot be indicated in
advance. <
The system does not operate correctly if it has
not been reset. For example, a flat tire may be
indicated despite correct tire inflation pressures.
The system is inactive and cannot indicate a flat
tire:
> If a wheel without TPM electronics is
mounted
> Interference with TPM by other systems or
devices with the same transmission fre-
quency.
Status display
The current status of th e Tire Pressure Monitor
can be displayed by the onboard computer, e.g.
whether or not the TPM is activated.
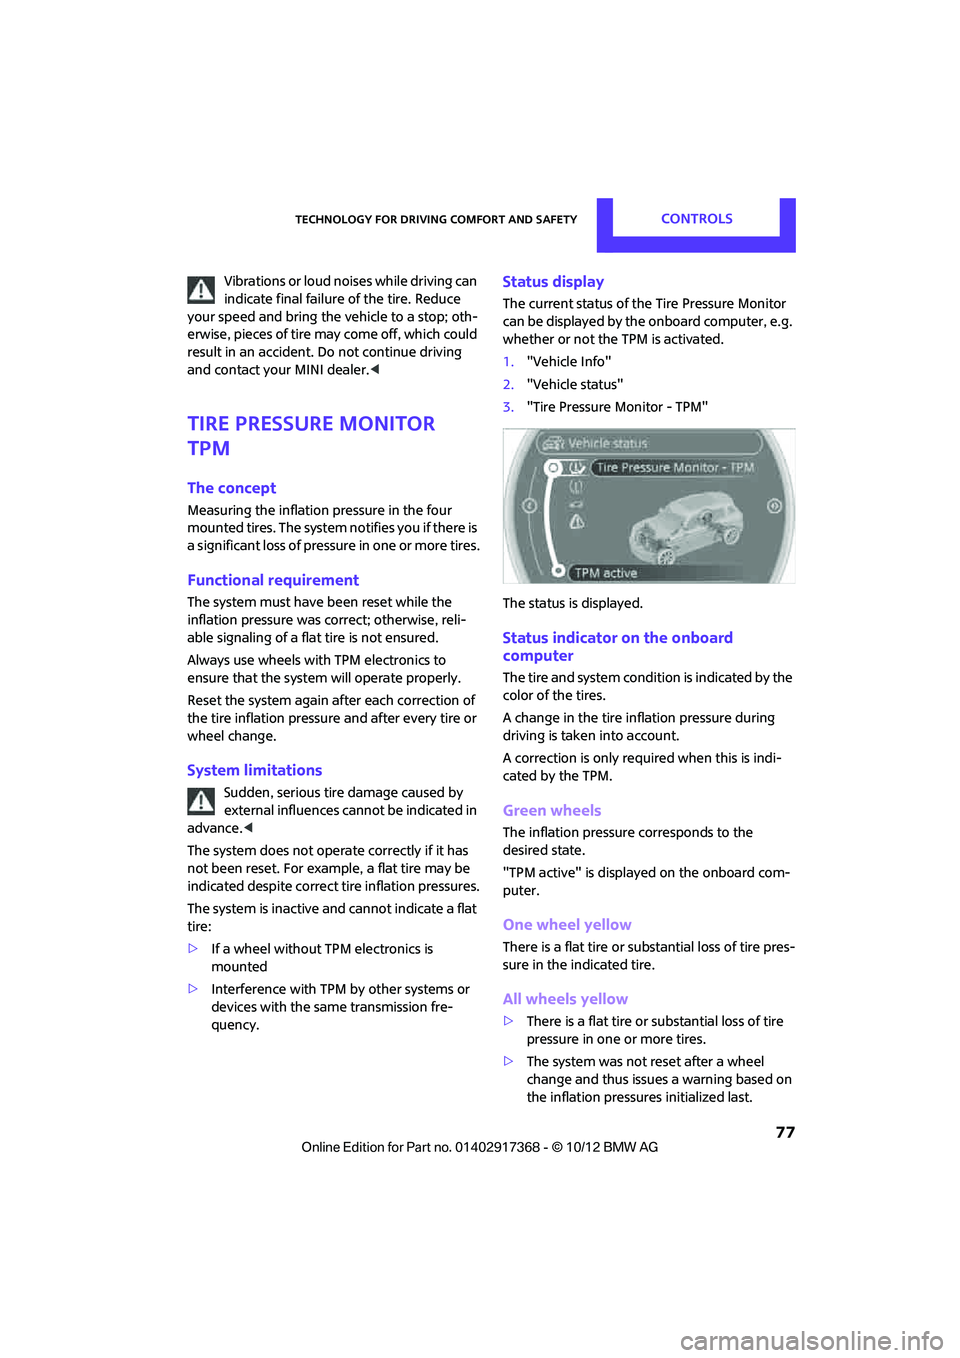
1. "Vehicle Info"
2. "Vehicle status"
3. "Tire Pressure Monitor - TPM"
The status is displayed.
Status indicator on the onboard
computer
The tire and system condit ion is indicated by the
color of the tires.
A change in the tire in flation pressure during
driving is taken into account.
A correction is only required when this is indi-
cated by the TPM.
Green wheels
The inflation pressure corresponds to the
desired state.
"TPM active" is displayed on the onboard com-
puter.
One wheel yellow
There is a flat tire or substantial loss of tire pres-
sure in the indicated tire.
All wheels yellow
> There is a flat tire or substantial loss of tire
pressure in one or more tires.
> The system was not reset after a wheel
change and thus issues a warning based on
the inflation pressures initialized last.
00320051004F004C00510048000300280047004C0057004C005200510003
Page 79 of 275
CONTROLSTechnology for driving comfort and safety
78
Gray wheels
The system cannot detect a puncture.
Reasons for this may be:
>TPM is being reset.
> Interference from systems or devices with
the same transmission frequency.
> Malfunction.
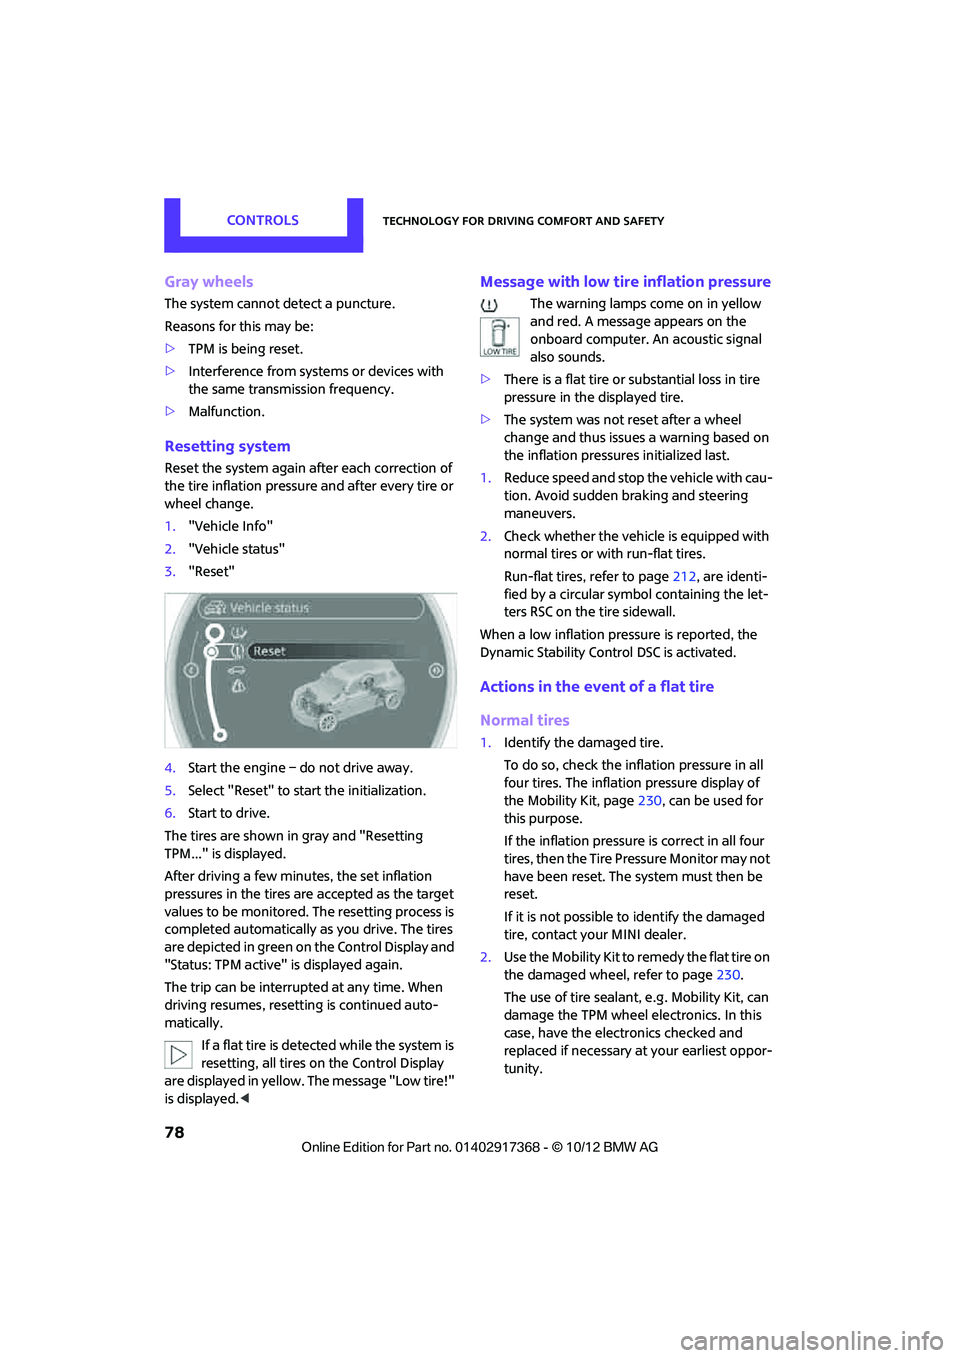
Resetting system
Reset the system again af ter each correction of
the tire inflation pressure and after every tire or
wheel change.
1. "Vehicle Info"
2. "Vehicle status"
3. "Reset"
4. Start the engine – do not drive away.
5. Select "Reset" to start the initialization.
6. Start to drive.
The tires are shown in gray and "Resetting
TPM..." is displayed.
After driving a few minutes, the set inflation
pressures in the tires are accepted as the target
values to be monitored. The resetting process is
completed automatically as you drive. The tires
are depicted in green on the Control Display and
"Status: TPM active" is displayed again.
The trip can be interrupted at any time. When
driving resumes, resett ing is continued auto-
matically.
If a flat tire is detected while the system is
resetting, all tires on the Control Display
are displayed in yellow. The message "Low tire!"
is displayed. <
Message with low tire inflation pressure
The warning lamps come on in yellow
and red. A message appears on the
onboard computer. An acoustic signal
also sounds.
> There is a flat tire or substantial loss in tire
pressure in the displayed tire.
> The system was not reset after a wheel
change and thus issues a warning based on
the inflation pressures initialized last.
1. Reduce speed and stop the vehicle with cau-
tion. Avoid sudden braking and steering
maneuvers.
2. Check whether the vehicle is equipped with
normal tires or with run-flat tires.
Run-flat tires, refer to page 212, are identi-
fied by a circular symbol containing the let-
ters RSC on the tire sidewall.
When a low inflation pressure is reported, the
Dynamic Stability Cont rol DSC is activated.
Actions in the event of a flat tire
Normal tires
1.Identify the damaged tire.
To do so, check the inflation pressure in all
four tires. The inflatio n pressure display of
the Mobility Kit, page 230, can be used for
this purpose.
If the inflation pressure is correct in all four
tires, then the Tire Pressure Monitor may not
have been reset. The system must then be
reset.
If it is not possible to identify the damaged
tire, contact your MINI dealer.
2. Use the Mobility Kit to remedy the flat tire on
the damaged wheel, refer to page 230.
The use of tire sealant, e.g. Mobility Kit, can
damage the TPM wheel electronics. In this
case, have the electronics checked and
replaced if necessary at your earliest oppor-
tunity.
00320051004F004C00510048000300280047004C0057004C005200510003
Page 80 of 275
Technology for driving comfort and safetyCONTROLS
79
Run-flat tires
You can continue driving with a damaged tire at
speeds up to 50 mph/80 km/h.If the vehicle is not equipped with run-flat
tires, do not continue driving; continuing
to drive can result in serious accidents. <
Continued driving with a flat tire
When driving with a damaged tire:
1.Avoid sudden braking and steering maneu-
vers.
2. Do not exceed a speed of 50 mph or
80 km/h.
3. At the next opportunity, check the air pres-
sure in all four tires.
If the inflation pressure is correct in all four
tires, then the Tire Pressure Monitor may not
have been reset. The system must then be
reset.
Possible driving distance with complete loss of
tire inflation pressure:
The distance it is possible to drive depends on
the load and the stress on the vehicle while driv-
ing.
With an average load, it may be possible to drive
for approx. 50 miles/80 km.
When driving with damaged tires, the handling
characteristics change, e. g. the vehicle will skid
sooner when braking, braking distances will be
longer, or self-steering response will change.
Adapt your driving style accordingly. Avoid turn-
ing abruptly and driving over obstacles such as
curbs, potholes, etc.
Since the possible driving distance depends to a
considerable degree on the strain exerted on
the vehicle while driving, it can be shorter or,
with a gentle dr iving style, can also be longer,
depending on the speed, road condition, exter-
nal temperature, vehicle load, etc. Drive cautiously and do not exceed a
speed of 50 mph/80 km/h.
A loss of tire inflation pressure results in a
change in the handling characteristics, e.g.
reduced lane stability during braking, a longer
braking distance and alte red self-steering prop-
erties. <
Vibrations or loud noises while driving can
indicate complete failure of the tire.
Reduce your speed and bring the vehicle to a
stop; otherwise, pieces of tire may come off,
which could result in an accident. Do not con-
tinue driving and contact your MINI dealer. <
Malfunction
The small warning lamp flashes in yel-
low and then lights up continuously; the
larger warning lamp lights up in yellow.
On the onboard computer, the tires are
shown in gray and a message appears.
No flat tire can be detected.
Display in the following situations:
> Wheel without TPM electronics is mounted:
If need be, have it checked by your MINI
dealer.
> Malfunction:
Have the system checked
> TPM was unable to complete the resetting
procedure; reset the system again.
The small warning lamp flashes in yel-
low and then lights up continuously; the
larger warning lamp lights up in yellow.
On the onboard computer, the tires are
shown in gray and a message appears.
No flat tire can be detected.
Display in the following situation:
> Interference due to sy stems or devices that
use the same radio frequency:
The system automatically reactivates once it
is outside of the field of interference.
00320051004F004C00510048000300280047004C0057004C005200510003
Page 81 of 275
CONTROLSTechnology for driving comfort and safety
80
Message for unsuccessful system reset
Yellow warning lamp comes on. A mes-
sage appears on the onboard com-
puter.
The system has detected a wheel change, but
has not yet been reset. It is not possible to pro-
vide a reliable warning about the current infla-
tion pressure.
Check the tire inflation pressure and reset the
system, page 78.
Declaration according to NHTSA/
FMVSS 138 Tire Pressure Monitoring
Systems
Each tire, including the spare, should be
checked monthly when cold and inflated to the
inflation pressure recommended by the vehicle
manufacturer on the vehicle placard or tire infla-
tion pressure label. If your vehicle has tires of a
different size than the size indicated on the vehi-
cle placard or tire inflation pressure label, you
should determine the proper tire inflation pres-
sure for those tires. As an added safety feature,
your vehicle has been equipped with a tire pres-
sure monitoring system TPMS that illuminates a
low tire pressure telltal e when one or more of
your tires are significantly underinflated.
Accordingly, when the low tire pressure telltale
illuminates, you should st op and check your tires
as soon as possible, and inflate them to the
proper pressure. Driving on a significantly
underinflated tire causes the tire to overheat
and can lead to tire fail ure. Underinflation also
reduces fuel efficiency and tire tread life, and
may affect the vehicle's handling and stopping
ability. Please note that the TPMS is not a substi-
tute for proper tire maintenance, and it is the
driver's responsibility to maintain correct tire
pressure, even if underi nflation has not reached
the level at which the TPMS low tire pressure tell-
tale illuminates.
The TPMS malfunction indicator is combined
with the low tire pressure telltale. When the sys-
tem detects a malfunction, the telltale will flash
for approximately one minute and then remain continuously lit. This
sequence will continue
upon subsequent vehicle startups as long as the
malfunction exists. When the malfunction indi-
cator is illuminated, the system may not be able
to detect or signal low tire pressure as intended.
TPMS malfunctions may occur for a variety of
reasons, including the installation of replace-
ment or alternate tires or wheels on the vehicle
that prevent the TPMS from functioning prop-
erly. Always check the TP MS malfunction telltale
after replacing one or mo re tires or wheels on
your vehicle to ensure that the replacement or
alternate tires and wheels allow the TPMS to
continue to function properly.
00320051004F004C00510048000300280047004C0057004C005200510003
Page 105 of 275
DRIVING TIPSThings to remember when driving
104
Things to remember when driving
Vehicle equipment
In this chapter, all production, country, and
optional equipment that is offered in the model
range is described. Equipment is also described
that is not available because of, for example,
selected options or coun try version. This also
applies to safety relate d functions and systems.
Break-in period
Moving parts need breaking-in time to adjust to
each other. Please follow the instructions below
in order to achieve the optimal service life and
economy of operation for your vehicle.
Engine and differential
Always obey all official speed limits.
Up to 1,200 miles/2,000 km
Drive at varying engine and road speeds, but do
not exceed the following:
> Gasoline engine
4,500 rpm or 100 mph/160 km/h
Avoid full-throttle operation and use of the
transmission's kickdown mode.
After driving 1,200 miles/2,000 km
Engine and vehicle speeds can be gradually
increased.
Tires
Due to technical factors associated with their
manufacture, tires do not achieve their full trac-
tion potential until after an initial break-in
period. Therefore, drive cautiously during the
first 200 miles/300 km.
Brake system
Brakes require an initial break-in period of
approx. 300 miles/500 km to achieve optimized
contact and wear patterns between brake pads
and rotors. Drive cautiously during this break-in
period.
Clutch
The function of the clutch reaches its optimal
level only after a distan ce driven of approx.
300 miles/500 km. During this break-in period,
engage the clutch gently.
Following part replacement
The same break-in procedures should be
observed if any of the components mentioned
above have to be renewed in the course of the
vehicle's operating life.
General driving notes
Ground clearance
When driving, make sure that there is suf-
ficient ground clearance, such as when
entering underground parking garages, driving
over curbs or when driving in winter; otherwise
damage to the vehicle may result. <
Closing tailgate
Only drive with the tailgate closed. Failure
to do so may endanger passengers or
other road users or may damage the vehicle in
the event of an accident or a braking and eva-
sive maneuver. In addi tion, exhaust gas may
flow into the passenger compartment. <
00320051004F004C00510048000300280047004C0057004C005200510003
Page 106 of 275
Things to remember when drivingDRIVING TIPS
105
If special circumstances make it absolutely nec-
essary to drive with the tailgate open:
1. Close all windows and the glass sunroof.
2. Switch off recirculated -air mode and switch
the airflow control of the air conditioner or
automatic climate control to high, refer to
page 88 or 90.
Hot exhaust system
As in all vehicles, extremely high tempera-
tures are generated on the exhaust sys-
tem. Do not remove the heat shields installed
adjacent to various sect ions of the exhaust sys-
tem, and never apply undercoating to them.
When driving, standing at idle and while park-
ing, take care to avoid possible contact between
the hot exhaust system and any highly flamma-
ble materials such as hay, leaves, grass, etc. Such
contact could lead to a fire, with the risk of seri-
ous personal injuries and property damage. Do
not touch hot exhaust tail pipes. Otherwise,
there is a risk of burns. <
Hydroplaning
When driving on wet or slushy roads,
reduce road speed. If you do not, a wedge
of water can form betw een tires and road sur-
face. This situation, known as hydroplaning, can
cause partial or complete loss of tire contact
with the road surface, so that the car cannot be
steered or braked properly. <
The risk of hydroplaning increases with declining
tread depth on the tires, refer also to Tread
depth on page 211.
Driving through water
Drive through water on the road only if it is
not deeper than 1 ft/30 cm, and then only
at walking speed at the most. Otherwise, the
vehicle's engine, the electrical systems and the
transmission may be damaged. <
Parking brake on inclines
On inclines, do not hold the vehicle with
the clutch; use the parking brake. Other-
wise, greater clutch wear will result. <
For information on driving off using Hill Assist,
refer to page 74.
Braking safely
Your MINI is equipped with ABS. If you are in a
situation which requires full braking, it is best to
brake using maximum brake pressure. Since the
vehicle maintains steeri ng responsiveness, you
can still avoid possible obstacles with a mini-
mum of steering effort.
The pulsation of the brake pedal, together with
the sound of hydraulic regulation, indicates that
ABS is functioning properly.
Objects in the movement range of the
pedals
Keep floor mats, carp et, and other objects
out of the movement range of the pedals;
otherwise, they may inhi bit the function of the
pedals during driving. Do not place additional
floor mats onto an existing one or onto other
objects. Only use floor mats that have been
approved for the vehicle and can be appropri-
ately fastened. Make sure that the floor mats are
securely fastened again after they have been
removed, e.g. for cleaning. <
Driving in wet conditions
When roads are wet or there is heavy rain, briefly
exert gentle pressure on the brake pedal every
few miles. Monitor traffic conditions to ensure
that this maneuver does not endanger other
road users. The heat generated in this process
helps dry the pads and rotors to ensure that.
Then full braking force will be immediately avail-
able when it is needed.
00320051004F004C00510048000300280047004C0057004C005200510003
Page 107 of 275
DRIVING TIPSThings to remember when driving
106
Hills
To prevent overheating and the resulting
reduced efficiency of the brake system,
drive long or steep downhill gradients in the
gear in which the least braking is required. Even
light but consistent brake pressure can lead to
high temperatures, brake wear and possibly
even brake failure. <
You can increase the engine's braking effect by
shifting down, all the way to first gear if neces-
sary. This strategy helps you avoid placing
excessive loads on the brake system. Downshift-
ing in manual mode of the automatic transmis-
sion, page 54.
Never drive with the clutch held down,
with the transmission in neutral or with
the engine switched off; otherwise, engine brak-
ing action will not be present or there will be no
power assistance to the brakes or steering.
Never allow floor mats, carpets or any other
objects to protrude into the area around the
pedals; otherwise, pedal function could be
impaired. <
Corrosion on brake rotors
When the vehicle is driven only occasionally,
during extended periods when the vehicle is not
used at all, and in op erating conditions where
brake applications are less frequent, there is an
increased tendency for corrosion to form on
rotors, while contaminants accumulate on the
brake pads. This occurs because the minimum
pressure which must be exerted by the pads
during brake applications to clean the rotors is
not reached.
Should corrosion form on the brake rotors, the
brakes will tend to respond with a pulsating
effect that even extended application will fail to
cure.
When the vehicle is parked
Condensation forms while the automatic climate
control is in operation, and then exits under the
vehicle. Traces of condensed water under the
vehicle are therefore normal. In the MINI Cooper S, the coolant pump may
continue to run for some time after the engine is
switched off. This will
generate noise in the
engine compartment.
Cargo loading
To avoid loading the tires beyond their
approved carrying capacity, never over-
load the vehicle. Overloading can lead to over-
heating and increases the rate at which damage
develops inside the tires. The ultimate result can
assume the form of a sudden blowout. <
Avoid fluid spills in the cargo area as they
could damage the vehicle. <
Expanding cargo area
Cargo area cover
Do not place any objects on the cover;
otherwise, they could endanger the car's
occupants, e.g. in the case of braking or sudden
swerving, or they may damage the cover. <
When you open the tailgate, the roll-up cover is
raised.
To load bulky luggage, the cover can be
removed.
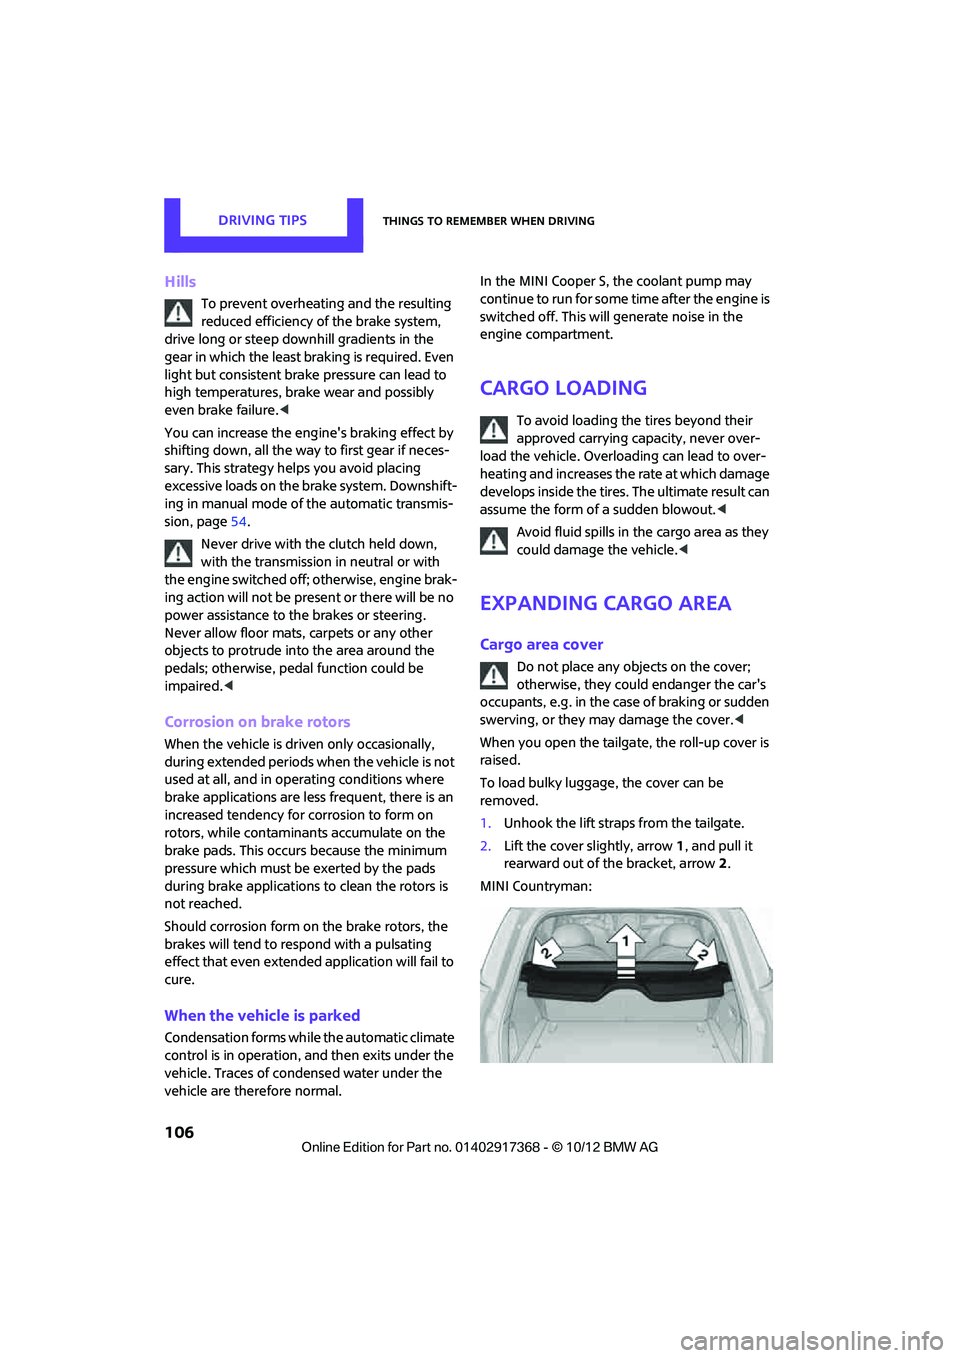
1. Unhook the lift straps from the tailgate.
2. Lift the cover slightly, arrow 1, and pull it
rearward out of the bracket, arrow 2.
MINI Countryman:
00320051004F004C00510048000300280047004C0057004C005200510003