check engine light MINI Coupe 2013 User Guide
[x] Cancel search | Manufacturer: MINI, Model Year: 2013, Model line: Coupe, Model: MINI Coupe 2013Pages: 292, PDF Size: 7.02 MB
Page 245 of 292

Use a clean tissue, cloth or something similar,
or hold the bulb by its base. ◀
Caring for the headlamps, refer to page 260.
For bulb replacement that is not described
here, please contact the service center or a
workshop that works according to the repair
procedures of the manufacturer with corre‐
spondingly trained personnel.
For checking and adjusting headlamp aim,
please contact your MINI dealer.
Light-emitting diodes LEDs Light-emitting diodes installed behind translu‐
cent lenses serve as the light source for many
of the controls and displays in the vehicle.
These light-emitting diodes, which operate us‐
ing a concept similar to that applied in conven‐
tional lasers, are officially designated as Class 1
light-emitting diodes.
Do not remove the covers
Do not remove the covers, and never
stare into the unfiltered light for several hours;
otherwise, irritation of the retina could result. ◀
Headlamp glass
Condensation can form on the inside of the
headlamps in cool or humid weather. When the
light is switched on, the condensation evapo‐
rates after a short time. The headlamps do not
need to be changed.
If the condensation in the headlamps does not
evaporate after trips with the lights switched
on, and the amount of moisture in the head‐
lamps increases, for example if water droplets
form, have them checked by your service cen‐
ter.
Bi-xenon headlamps These bulbs have a very long life and the likeli‐
hood of failure is very low, provided that they
are not switched on and off excessively. If a
bulb should nevertheless fail, you can continuedriving cautiously with the front fog lamps, pro‐
vided this is permitted by local laws.
Do not perform work/bulb replacement
on xenon headlamps
Have any work on the xenon lighting system,
including bulb replacement, performed only by
a service center.
Due to the high voltage present in the system,
there is the danger of fatal injuries if work is
carried out improperly. ◀
Front lamps, bulb replacement
Halogen low beams and high beams
Bulb H13, 60/55 watt
Wear protective goggles and gloves
Halogen bulbs are pressurized. Therefore,
wear protective goggles and gloves. Otherwise,
there is a danger of injuries if the bulb is acci‐
dentally damaged during replacement. ◀
Attach the cover carefully
When attaching the cover, proceed care‐
fully; otherwise, leaks may occur, causing dam‐
age to the headlamp system. ◀
Access to the bulbs through the engine
compartment
Follow the general instructions on lamps and
bulbs, refer to page 244.
Low beam/high beam bulbs can be changed
from the engine compartment.Seite 245Replacing componentsMobility245
Online Edition for Part no. 01 40 2 919 017 - II/13
Page 252 of 292

3.Mount the new wheel.4.Screw in at least two bolts crosswise.5.Screw in the remaining lug bolts.6.Fully tighten all lug bolts in a diagonal pat‐
tern.7.Lower the vehicle.8.Remove the jack.
Retightening the lug bolts
Retighten the lug bolts diagonally.
Checking that the lug bolts are tight
Always have the lug bolts checked with a
calibrated torque wrench as soon as possible to
ensure that they are tightened to the specified
torque. Otherwise, incorrectly tightened lug
bolts are a hidden safety risk. ◀
The tightening torque equals
103.3 lb ft/140 Nm.
Replace the defective tire as soon as possible
and have the new wheel balanced.
Vehicle battery Maintenance
The battery is maintenance-free, i.e., the elec‐
trolyte will last for the life of the battery in tem‐
perate climate conditions.
The service center will be happy to answer any
questions on the battery.
Battery replacement Use approved vehicle batteries
Only use vehicle batteries that have been
approved for your vehicle by the manufacturer;
otherwise, the vehicle could be damaged and
systems or functions may not be fully availa‐
ble. ◀
Have the vehicle battery registered by the serv‐
ice center after it is replaced to ensure that all comfort functions are available without restric‐
tions and that any associated Check Control
messages are no longer displayed.
Charging the battery
Note Do not connect the charger to the socket
Do not connect the battery charger to the
socket installed in the vehicle at the factory as
this could damage the battery. ◀
Only charge the battery in the vehicle when the
engine is switched off. Connections, refer to
page 254.
General information Ensure that the battery is sufficiently charged to
achieve the full battery life.
It may be necessary to charge the battery in
the following cases:▷When the vehicle is frequently used to
travel short distances.▷When the vehicle has not been driven for
more than one month.
Power failure
After a temporary power failure, some equip‐
ment will be restricted in its use and will need
to be reinitialized. In addition, certain individual
settings will be lost and must be updated:
▷Time and date: the values must be up‐
dated, refer to page 79.▷Radio: the stations need to be stored again,
refer to page 161.▷Onboard monitor: full functionality will be
restored after some time.
Indicator/warning lamps
Lights up red: the vehicle battery is no
longer being charged. Alternator mal‐
function.
Switch off all unnecessary electrical consumers.
Have the battery checked immediately.
Seite 252MobilityReplacing components252
Online Edition for Part no. 01 40 2 919 017 - II/13
Page 253 of 292

Lights up yellow: the battery charge
level is very low, the battery is old, or it
is not securely connected.
Charge the battery by taking a long drive or us‐
ing an external charger. If the indicators appear
again, have the battery checked as soon as
possible.
Disposing of old batteries Have used batteries disposed of by the
service center after they are replaced or
take them to a recycling center.
Maintain the battery in an upright position for
transport and storage. Secure the battery so
that it does not tip over during transport.
Fuses Replacing fuses
Never attempt to repair a blown fuse and
do not replace a defective fuse with a substi‐ tute of another color or amperage rating; this
could lead to a circuit overload, ultimately re‐
sulting in a fire in the vehicle. ◀
Fuses should be replaced by the service center.
Information on the fuses can be found on the
inside of the covers.
In the engine compartment
Opening the cover
Press the snap lock.
In interior
On the right side of the footwell.
Opening the cover
Push out at the recess.
Seite 253Replacing componentsMobility253
Online Edition for Part no. 01 40 2 919 017 - II/13
Page 256 of 292

the battery, or to the engine or body
ground of the vehicle to be started.
Body ground:
Starting the engine
Never use spray fluids to start the engine.
1.Start the engine of the assisting vehicle and
let it run for several minutes at a slightly in‐
creased idle speed.2.Start the engine of the vehicle being started
in the usual way.
If the first starting attempt is not successful,
wait a few minutes before making another
attempt in order to allow the discharged
battery to recharge.3.Let both engines run for several minutes.4.Disconnect the jumper cables in the reverse
order.
Check the battery and recharge if necessary.
Tow-starting and towing
Notes Observe applicable laws and regulations
Observe applicable laws and regulations
for tow-starting and towing. ◀
No additional passengers
Do not transport any passengers other
than the driver in a vehicle that is being
towed. ◀
Using a tow fitting
The screw-in tow fitting must always be carried
in the vehicle. It can be screwed in at the front
or rear of the MINI.
Tow fitting, information on use▷Use only the tow fitting provided with
the vehicle and screw it all the way in.▷Use the tow fitting for towing on paved
roads only.▷Avoid lateral loading of the tow fitting, e.g.,
do not lift the vehicle by the tow fitting.
Otherwise, damage to the tow fitting and the
vehicle can occur. ◀
Access to the screw thread Push out the tow fitting cover at the appropri‐
ate recess in the bumper.
Front
Rear
John Cooper Works with aerodynamic bumper:
Pull out the tow fitting cover in the bumper in
the lower section, arrow.
Seite 256MobilityBreakdown assistance256
Online Edition for Part no. 01 40 2 919 017 - II/13
Page 280 of 292

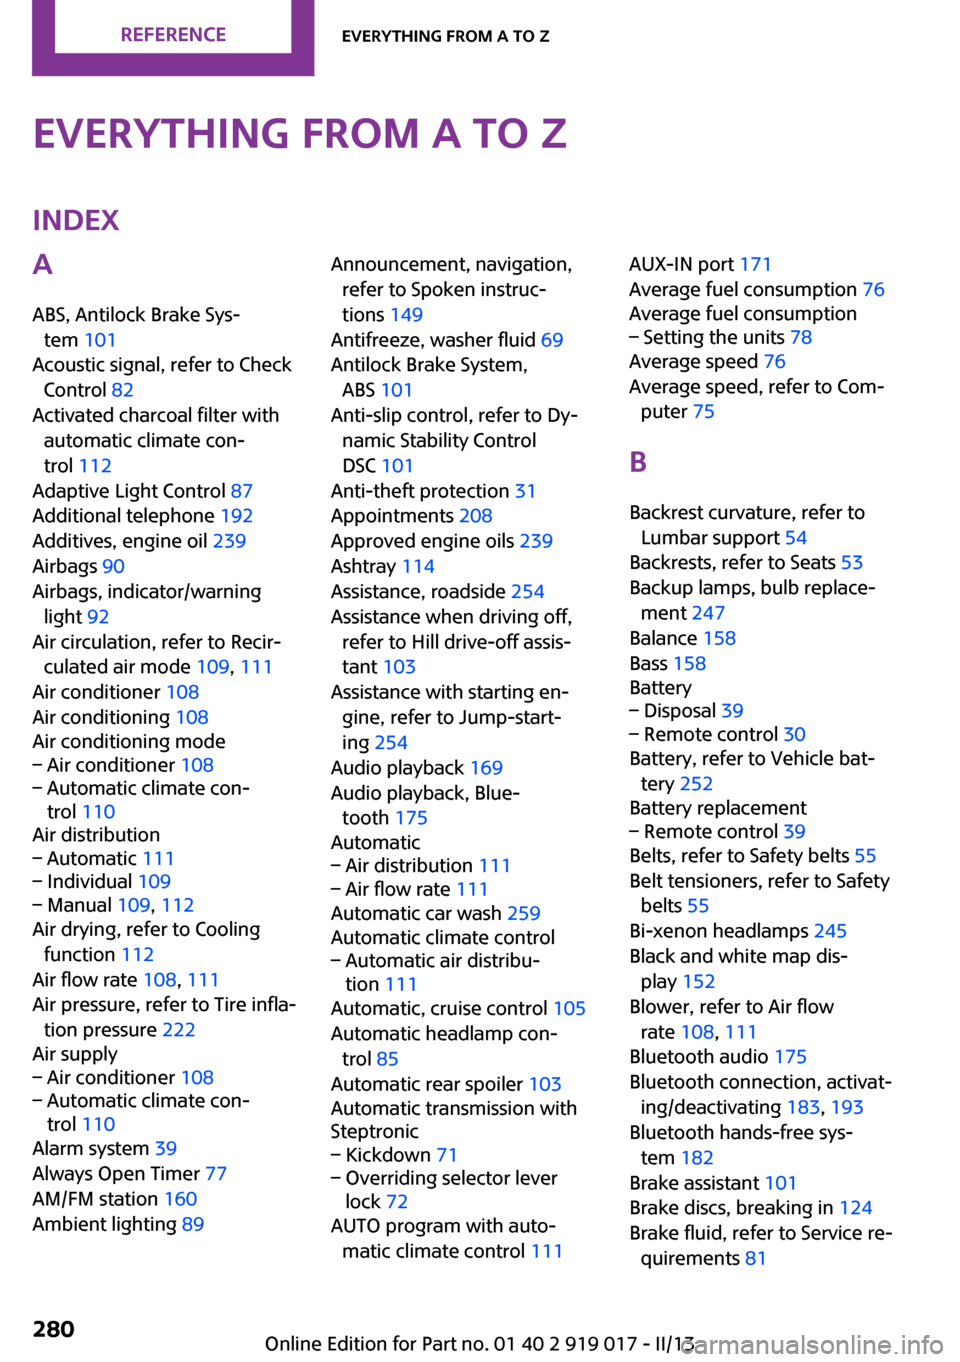
Everything from A to ZIndexA
ABS, Antilock Brake Sys‐ tem 101
Acoustic signal, refer to Check Control 82
Activated charcoal filter with automatic climate con‐
trol 112
Adaptive Light Control 87
Additional telephone 192
Additives, engine oil 239
Airbags 90
Airbags, indicator/warning light 92
Air circulation, refer to Recir‐ culated air mode 109, 111
Air conditioner 108
Air conditioning 108
Air conditioning mode– Air conditioner 108– Automatic climate con‐
trol 110
Air distribution
– Automatic 111– Individual 109– Manual 109, 112
Air drying, refer to Cooling
function 112
Air flow rate 108, 111
Air pressure, refer to Tire infla‐ tion pressure 222
Air supply
– Air conditioner 108– Automatic climate con‐
trol 110
Alarm system 39
Always Open Timer 77
AM/FM station 160
Ambient lighting 89
Announcement, navigation,
refer to Spoken instruc‐
tions 149
Antifreeze, washer fluid 69
Antilock Brake System, ABS 101
Anti-slip control, refer to Dy‐ namic Stability Control
DSC 101
Anti-theft protection 31
Appointments 208
Approved engine oils 239
Ashtray 114
Assistance, roadside 254
Assistance when driving off, refer to Hill drive-off assis‐
tant 103
Assistance with starting en‐ gine, refer to Jump-start‐
ing 254
Audio playback 169
Audio playback, Blue‐ tooth 175
Automatic– Air distribution 111– Air flow rate 111
Automatic car wash 259
Automatic climate control
– Automatic air distribu‐
tion 111
Automatic, cruise control 105
Automatic headlamp con‐ trol 85
Automatic rear spoiler 103
Automatic transmission with
Steptronic
– Kickdown 71– Overriding selector lever
lock 72
AUTO program with auto‐
matic climate control 111
AUX-IN port 171
Average fuel consumption 76
Average fuel consumption– Setting the units 78
Average speed 76
Average speed, refer to Com‐ puter 75
B Backrest curvature, refer to Lumbar support 54
Backrests, refer to Seats 53
Backup lamps, bulb replace‐ ment 247
Balance 158
Bass 158
Battery
– Disposal 39– Remote control 30
Battery, refer to Vehicle bat‐
tery 252
Battery replacement
– Remote control 39
Belts, refer to Safety belts 55
Belt tensioners, refer to Safety belts 55
Bi-xenon headlamps 245
Black and white map dis‐ play 152
Blower, refer to Air flow rate 108, 111
Bluetooth audio 175
Bluetooth connection, activat‐ ing/deactivating 183, 193
Bluetooth hands-free sys‐ tem 182
Brake assistant 101
Brake discs, breaking in 124
Brake fluid, refer to Service re‐ quirements 81
Seite 280ReferenceEverything from A to Z280
Online Edition for Part no. 01 40 2 919 017 - II/13
Page 285 of 292

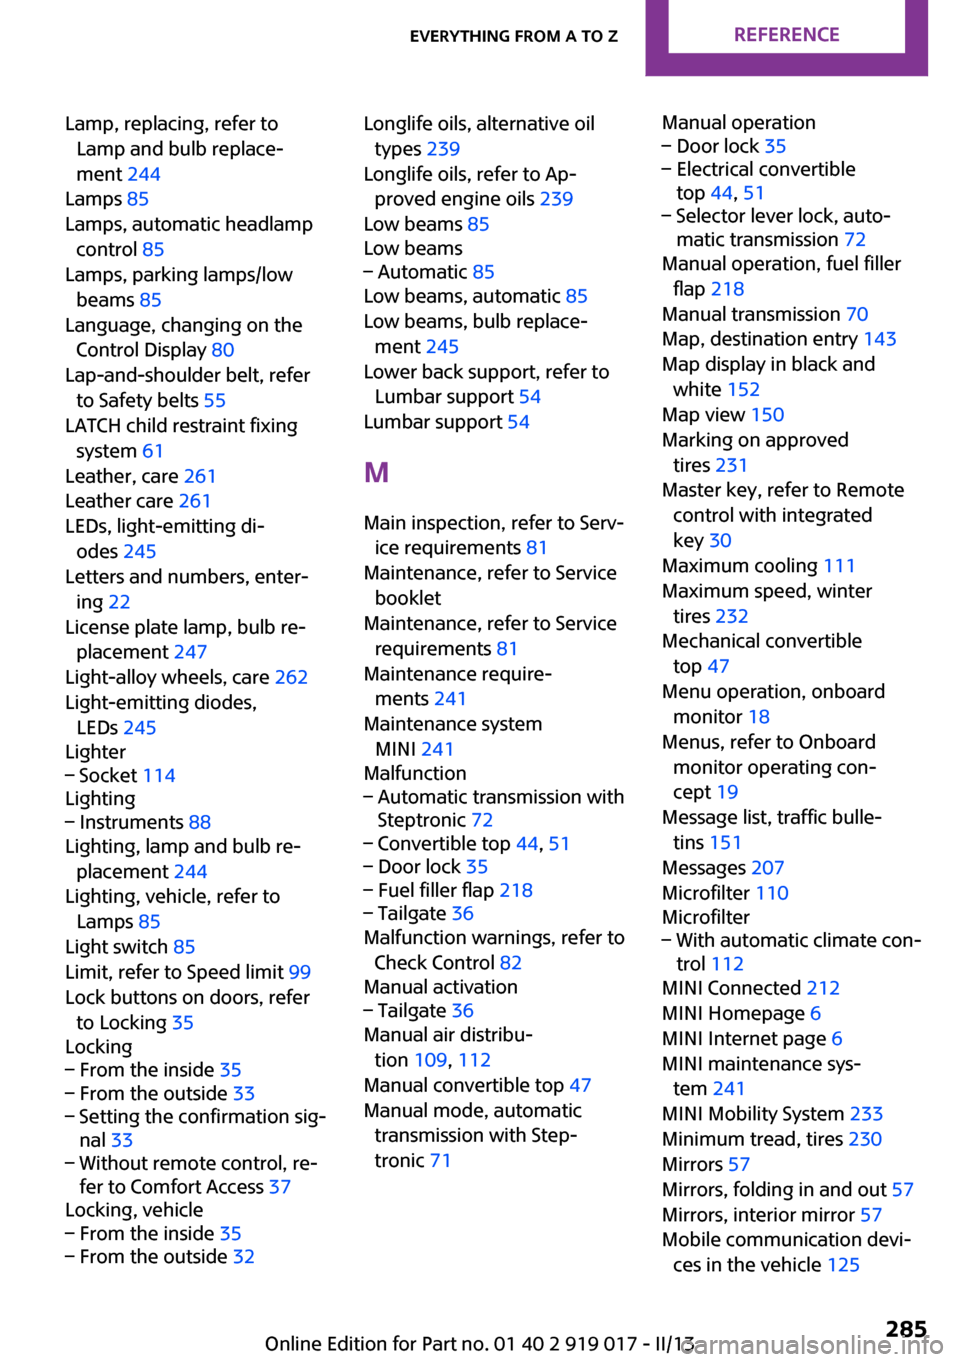
Lamp, replacing, refer toLamp and bulb replace‐
ment 244
Lamps 85
Lamps, automatic headlamp control 85
Lamps, parking lamps/low beams 85
Language, changing on the Control Display 80
Lap-and-shoulder belt, refer to Safety belts 55
LATCH child restraint fixing system 61
Leather, care 261
Leather care 261
LEDs, light-emitting di‐ odes 245
Letters and numbers, enter‐ ing 22
License plate lamp, bulb re‐ placement 247
Light-alloy wheels, care 262
Light-emitting diodes, LEDs 245
Lighter– Socket 114
Lighting
– Instruments 88
Lighting, lamp and bulb re‐
placement 244
Lighting, vehicle, refer to Lamps 85
Light switch 85
Limit, refer to Speed limit 99
Lock buttons on doors, refer to Locking 35
Locking
– From the inside 35– From the outside 33– Setting the confirmation sig‐
nal 33– Without remote control, re‐
fer to Comfort Access 37
Locking, vehicle
– From the inside 35– From the outside 32Longlife oils, alternative oil
types 239
Longlife oils, refer to Ap‐ proved engine oils 239
Low beams 85
Low beams– Automatic 85
Low beams, automatic 85
Low beams, bulb replace‐ ment 245
Lower back support, refer to Lumbar support 54
Lumbar support 54
M
Main inspection, refer to Serv‐ ice requirements 81
Maintenance, refer to Service booklet
Maintenance, refer to Service requirements 81
Maintenance require‐ ments 241
Maintenance system MINI 241
Malfunction
– Automatic transmission with
Steptronic 72– Convertible top 44, 51– Door lock 35– Fuel filler flap 218– Tailgate 36
Malfunction warnings, refer to
Check Control 82
Manual activation
– Tailgate 36
Manual air distribu‐
tion 109, 112
Manual convertible top 47
Manual mode, automatic transmission with Step‐
tronic 71
Manual operation– Door lock 35– Electrical convertible
top 44, 51– Selector lever lock, auto‐
matic transmission 72
Manual operation, fuel filler
flap 218
Manual transmission 70
Map, destination entry 143
Map display in black and white 152
Map view 150
Marking on approved tires 231
Master key, refer to Remote control with integrated
key 30
Maximum cooling 111
Maximum speed, winter tires 232
Mechanical convertible top 47
Menu operation, onboard monitor 18
Menus, refer to Onboard monitor operating con‐
cept 19
Message list, traffic bulle‐ tins 151
Messages 207
Microfilter 110
Microfilter
– With automatic climate con‐
trol 112
MINI Connected 212
MINI Homepage 6
MINI Internet page 6
MINI maintenance sys‐ tem 241
MINI Mobility System 233
Minimum tread, tires 230
Mirrors 57
Mirrors, folding in and out 57
Mirrors, interior mirror 57
Mobile communication devi‐ ces in the vehicle 125
Seite 285Everything from A to ZReference285
Online Edition for Part no. 01 40 2 919 017 - II/13
Page 289 of 292

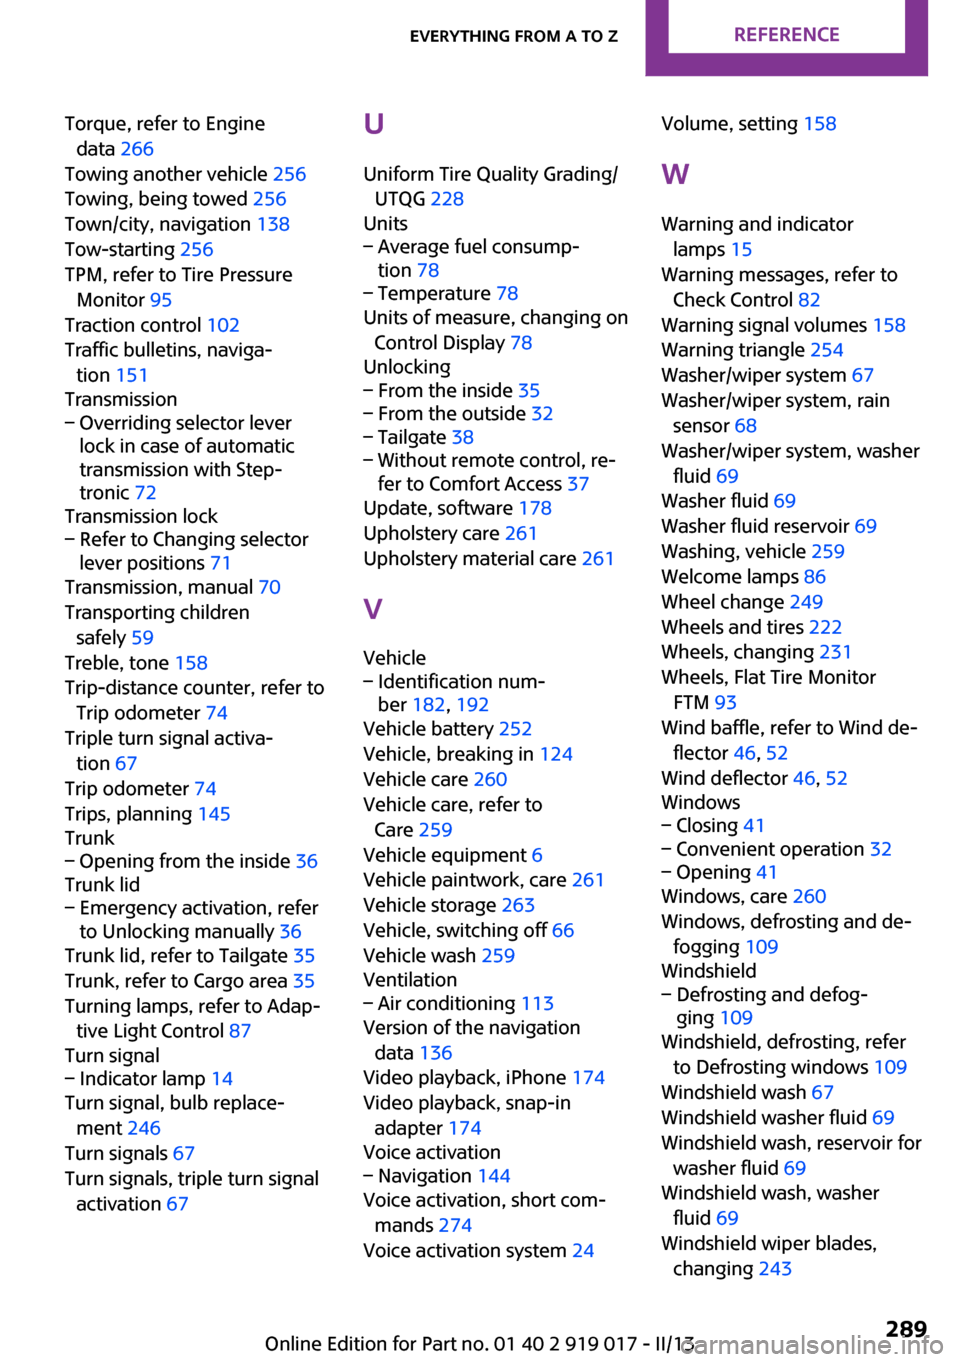
Torque, refer to Enginedata 266
Towing another vehicle 256
Towing, being towed 256
Town/city, navigation 138
Tow-starting 256
TPM, refer to Tire Pressure Monitor 95
Traction control 102
Traffic bulletins, naviga‐ tion 151
Transmission– Overriding selector lever
lock in case of automatic
transmission with Step‐
tronic 72
Transmission lock
– Refer to Changing selector
lever positions 71
Transmission, manual 70
Transporting children safely 59
Treble, tone 158
Trip-distance counter, refer to Trip odometer 74
Triple turn signal activa‐ tion 67
Trip odometer 74
Trips, planning 145
Trunk
– Opening from the inside 36
Trunk lid
– Emergency activation, refer
to Unlocking manually 36
Trunk lid, refer to Tailgate 35
Trunk, refer to Cargo area 35
Turning lamps, refer to Adap‐ tive Light Control 87
Turn signal
– Indicator lamp 14
Turn signal, bulb replace‐
ment 246
Turn signals 67
Turn signals, triple turn signal activation 67
U
Uniform Tire Quality Grading/ UTQG 228
Units– Average fuel consump‐
tion 78– Temperature 78
Units of measure, changing on
Control Display 78
Unlocking
– From the inside 35– From the outside 32– Tailgate 38– Without remote control, re‐
fer to Comfort Access 37
Update, software 178
Upholstery care 261
Upholstery material care 261
V
Vehicle
– Identification num‐
ber 182, 192
Vehicle battery 252
Vehicle, breaking in 124
Vehicle care 260
Vehicle care, refer to Care 259
Vehicle equipment 6
Vehicle paintwork, care 261
Vehicle storage 263
Vehicle, switching off 66
Vehicle wash 259
Ventilation
– Air conditioning 113
Version of the navigation
data 136
Video playback, iPhone 174
Video playback, snap-in adapter 174
Voice activation
– Navigation 144
Voice activation, short com‐
mands 274
Voice activation system 24
Volume, setting 158
W Warning and indicator lamps 15
Warning messages, refer to Check Control 82
Warning signal volumes 158
Warning triangle 254
Washer/wiper system 67
Washer/wiper system, rain sensor 68
Washer/wiper system, washer fluid 69
Washer fluid 69
Washer fluid reservoir 69
Washing, vehicle 259
Welcome lamps 86
Wheel change 249
Wheels and tires 222
Wheels, changing 231
Wheels, Flat Tire Monitor FTM 93
Wind baffle, refer to Wind de‐ flector 46, 52
Wind deflector 46, 52
Windows– Closing 41– Convenient operation 32– Opening 41
Windows, care 260
Windows, defrosting and de‐ fogging 109
Windshield
– Defrosting and defog‐
ging 109
Windshield, defrosting, refer
to Defrosting windows 109
Windshield wash 67
Windshield washer fluid 69
Windshield wash, reservoir for washer fluid 69
Windshield wash, washer fluid 69
Windshield wiper blades, changing 243
Seite 289Everything from A to ZReference289
Online Edition for Part no. 01 40 2 919 017 - II/13