change language MINI Coupe 2014 Owner's Manual (Mini Connected)
[x] Cancel search | Manufacturer: MINI, Model Year: 2014, Model line: Coupe, Model: MINI Coupe 2014Pages: 288, PDF Size: 6.72 MB
Page 28 of 288
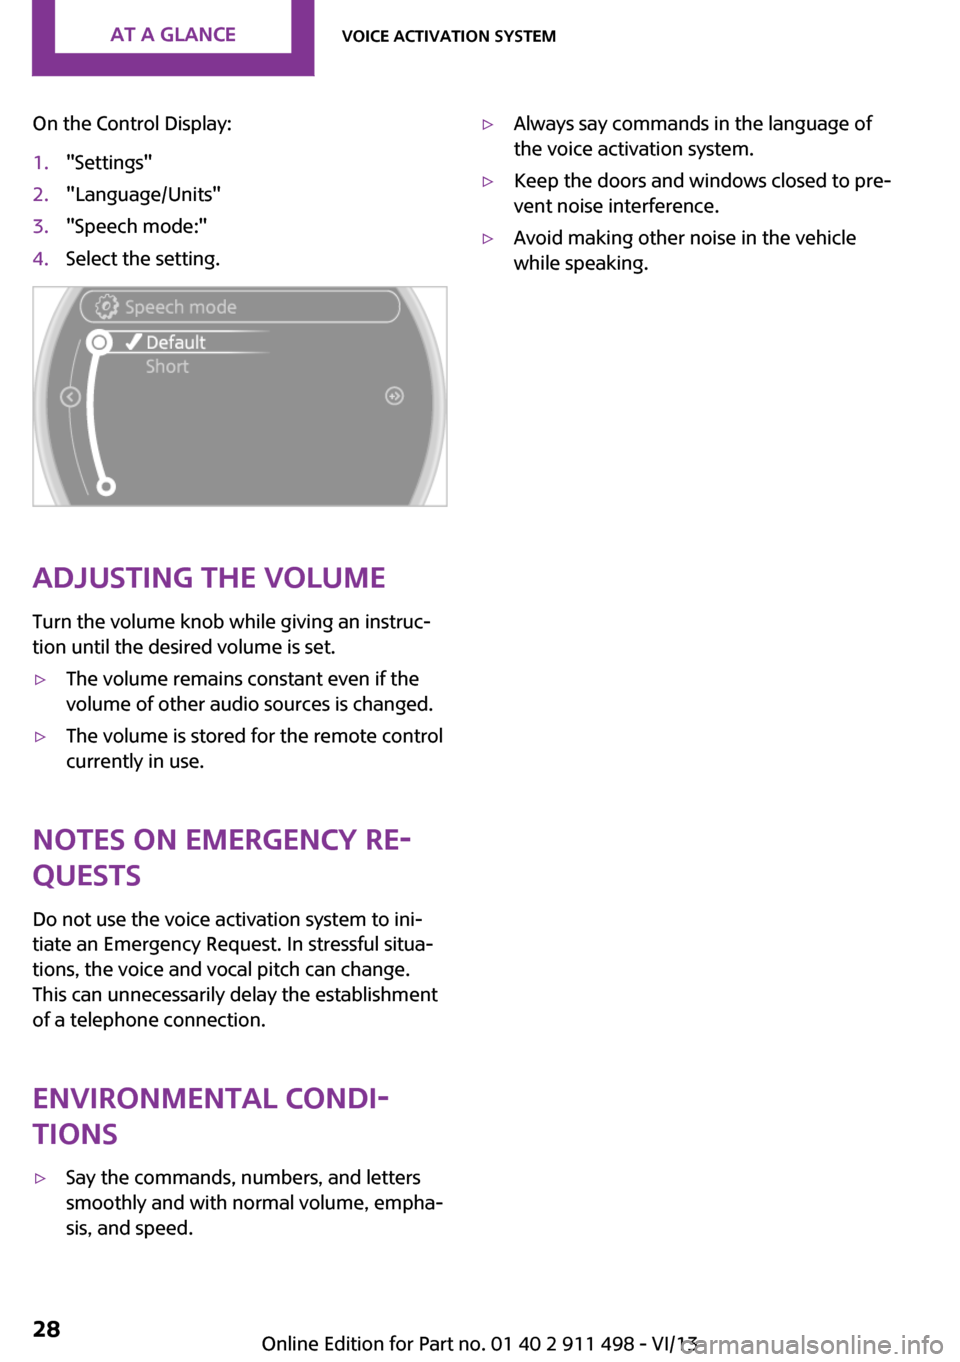
On the Control Display:1."Settings"2."Language/Units"3."Speech mode:"4.Select the setting.
Adjusting the volumeTurn the volume knob while giving an instruc‐
tion until the desired volume is set.
▷The volume remains constant even if the
volume of other audio sources is changed.▷The volume is stored for the remote control
currently in use.
Notes on Emergency Re‐
quests
Do not use the voice activation system to ini‐
tiate an Emergency Request. In stressful situa‐
tions, the voice and vocal pitch can change.
This can unnecessarily delay the establishment
of a telephone connection.
Environmental condi‐
tions
▷Say the commands, numbers, and letters
smoothly and with normal volume, empha‐
sis, and speed.▷Always say commands in the language of
the voice activation system.▷Keep the doors and windows closed to pre‐
vent noise interference.▷Avoid making other noise in the vehicle
while speaking.Seite 28At a glanceVoice activation system28
Online Edition for Part no. 01 40 2 911 498 - VI/13
Page 79 of 288
changed. The settings are stored for the remote
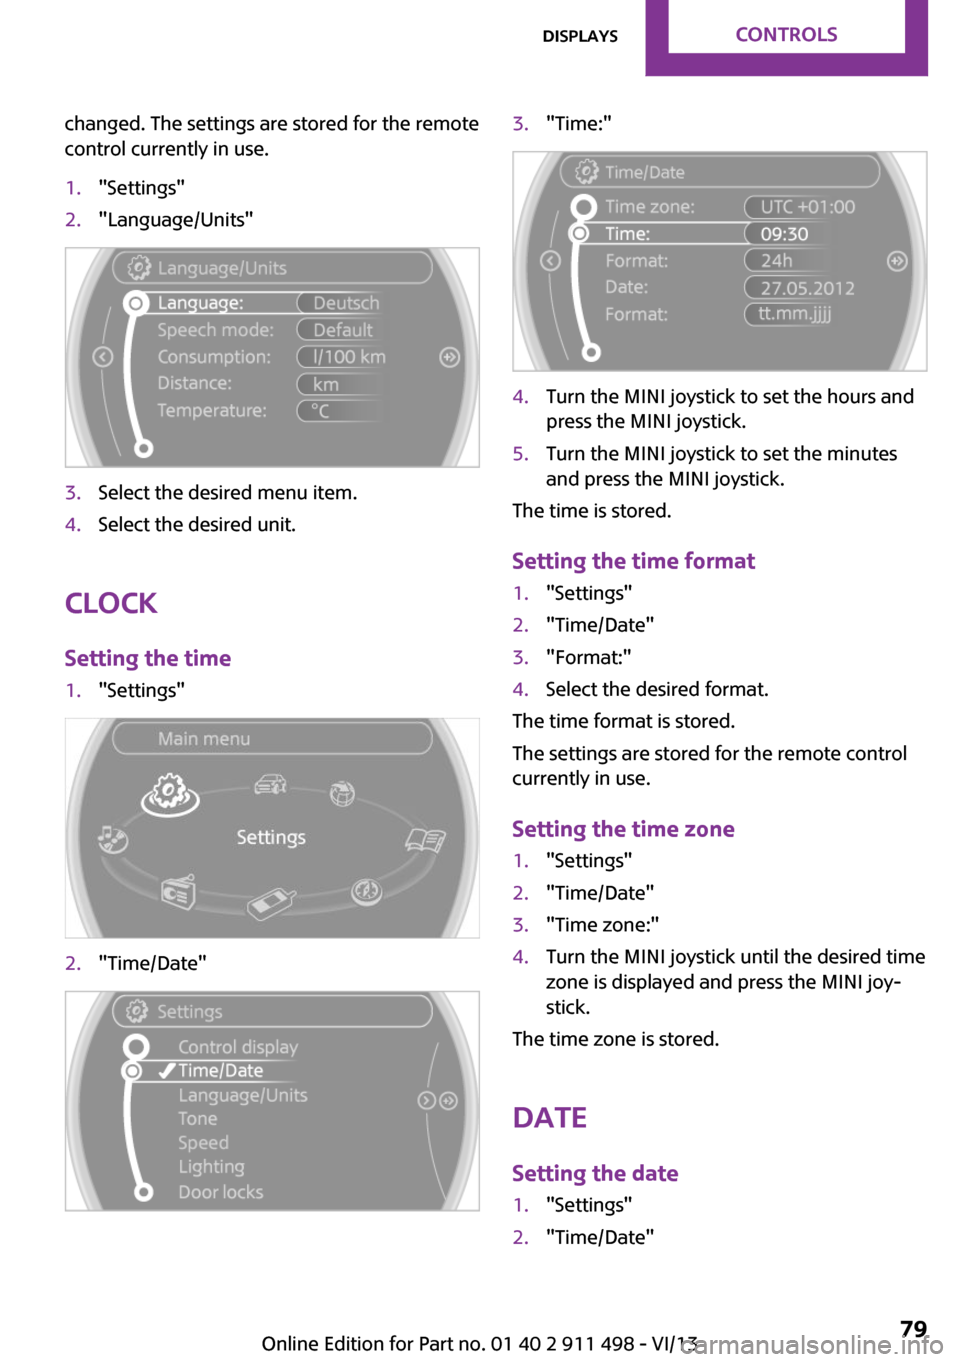
control currently in use.1."Settings"2."Language/Units"3.Select the desired menu item.4.Select the desired unit.
Clock
Setting the time
1."Settings"2."Time/Date"3."Time:"4.Turn the MINI joystick to set the hours and
press the MINI joystick.5.Turn the MINI joystick to set the minutes
and press the MINI joystick.
The time is stored.
Setting the time format
1."Settings"2."Time/Date"3."Format:"4.Select the desired format.
The time format is stored.
The settings are stored for the remote control
currently in use.
Setting the time zone
1."Settings"2."Time/Date"3."Time zone:"4.Turn the MINI joystick until the desired time
zone is displayed and press the MINI joy‐
stick.
The time zone is stored.
Date
Setting the date
1."Settings"2."Time/Date"Seite 79DisplaysControls79
Online Edition for Part no. 01 40 2 911 498 - VI/13
Page 80 of 288
3."Date:"4.Turn the MINI joystick until the desired day
is displayed and press the MINI joystick.5.Make the necessary settings for the month
and year.
The date is stored.
Setting the date format
1."Settings"2."Time/Date"3."Format:"4.Select the desired format.
The settings are stored for the remote control
currently in use.
Settings on the Control Display
Language
Setting the language
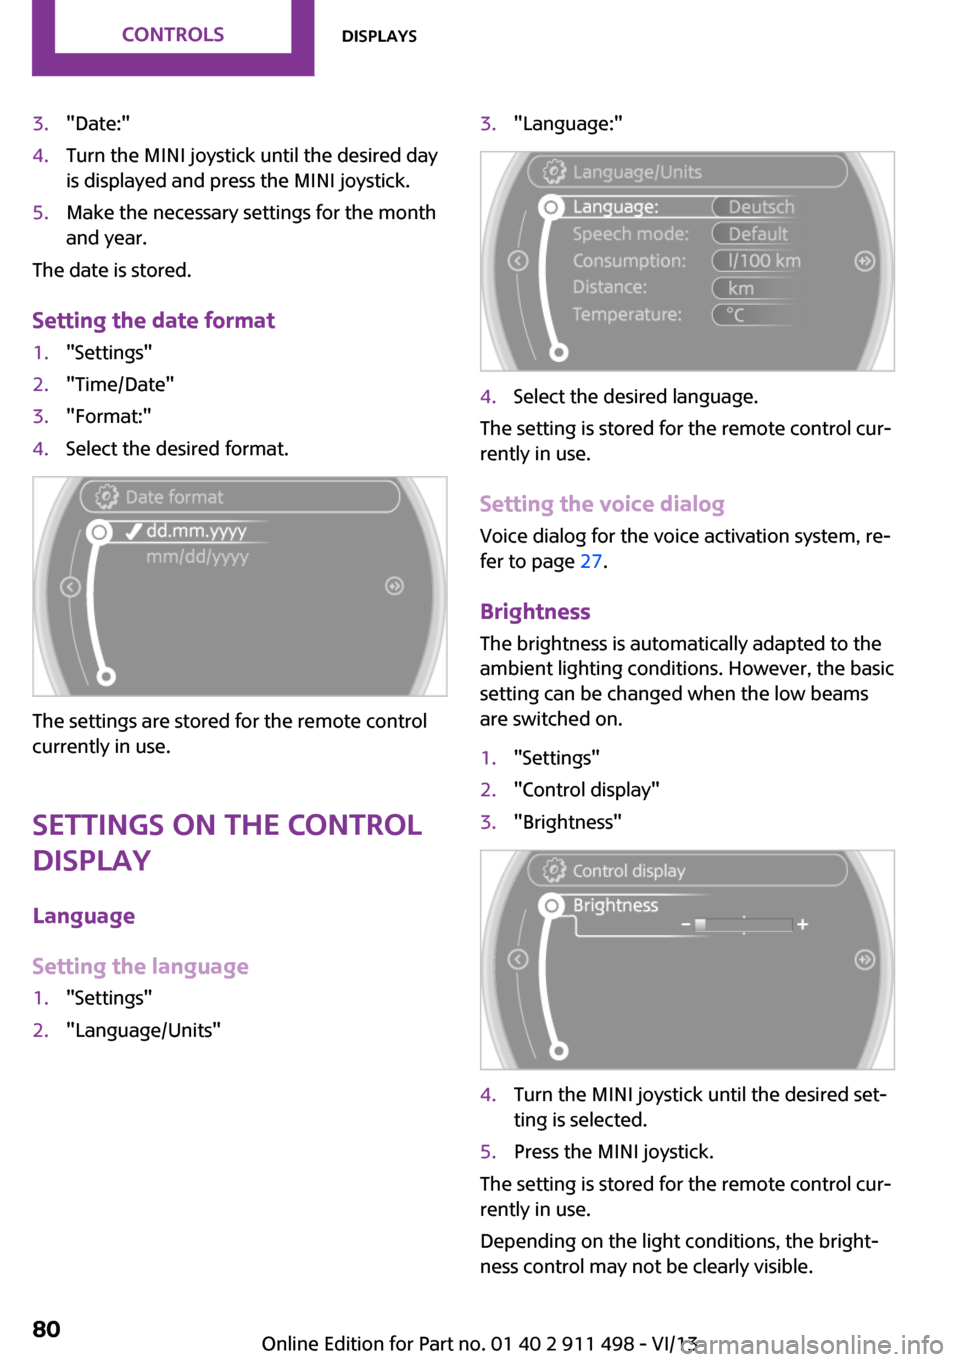
1."Settings"2."Language/Units"3."Language:"4.Select the desired language.
The setting is stored for the remote control cur‐
rently in use.
Setting the voice dialog Voice dialog for the voice activation system, re‐
fer to page 27.
Brightness
The brightness is automatically adapted to the
ambient lighting conditions. However, the basic
setting can be changed when the low beams
are switched on.
1."Settings"2."Control display"3."Brightness"4.Turn the MINI joystick until the desired set‐
ting is selected.5.Press the MINI joystick.
The setting is stored for the remote control cur‐
rently in use.
Depending on the light conditions, the bright‐
ness control may not be clearly visible.
Seite 80ControlsDisplays80
Online Edition for Part no. 01 40 2 911 498 - VI/13
Page 144 of 288
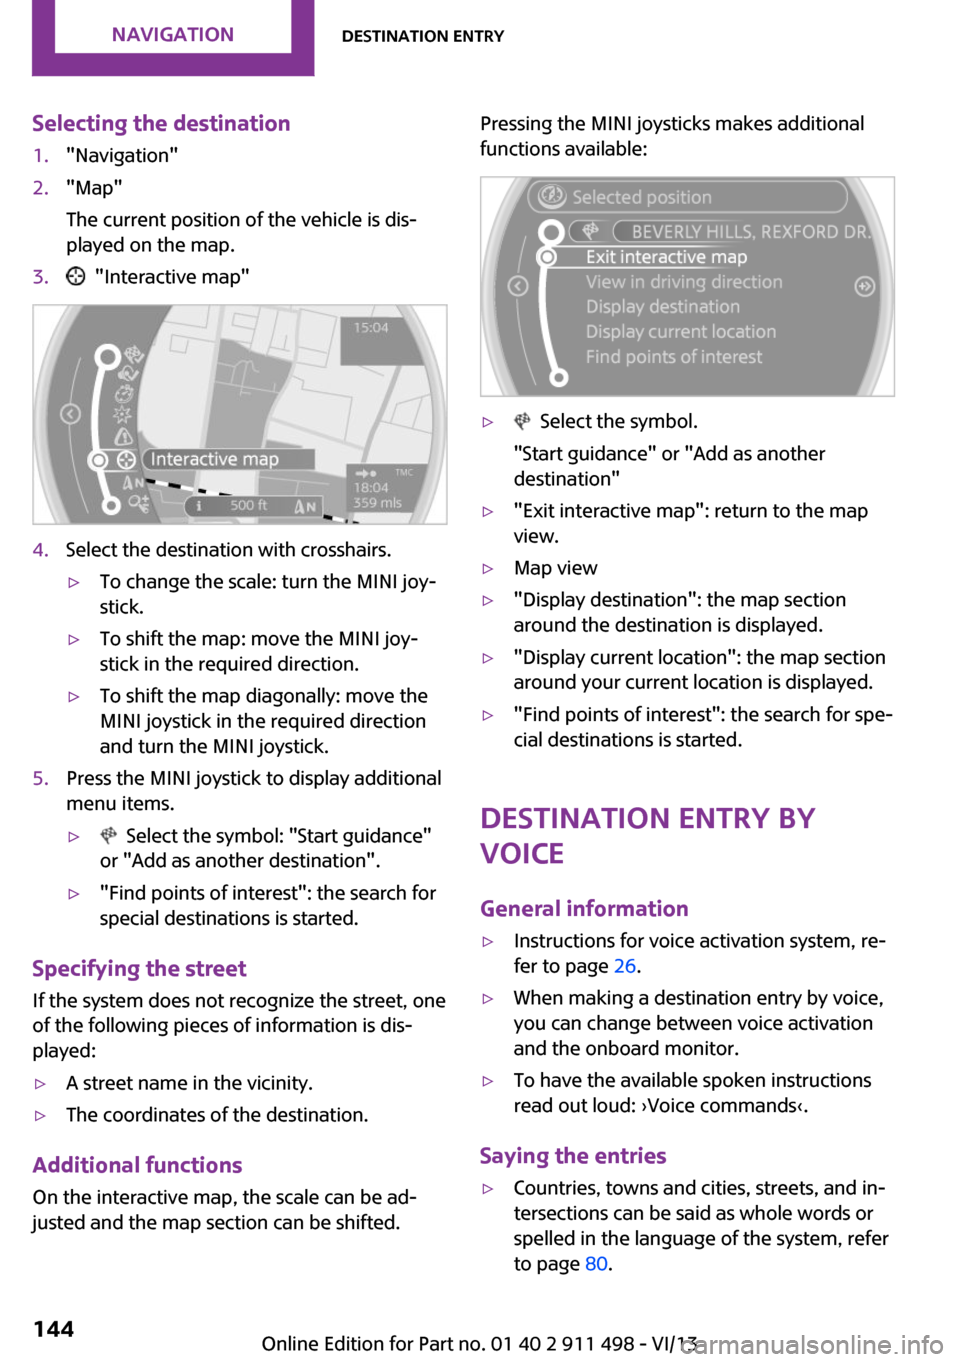
Selecting the destination1."Navigation"2."Map"
The current position of the vehicle is dis‐
played on the map.3. "Interactive map"4.Select the destination with crosshairs.▷To change the scale: turn the MINI joy‐
stick.▷To shift the map: move the MINI joy‐
stick in the required direction.▷To shift the map diagonally: move the
MINI joystick in the required direction
and turn the MINI joystick.5.Press the MINI joystick to display additional
menu items.▷ Select the symbol: "Start guidance"
or "Add as another destination".▷"Find points of interest": the search for
special destinations is started.
Specifying the street
If the system does not recognize the street, one
of the following pieces of information is dis‐
played:
▷A street name in the vicinity.▷The coordinates of the destination.
Additional functions
On the interactive map, the scale can be ad‐
justed and the map section can be shifted.
Pressing the MINI joysticks makes additional
functions available:▷ Select the symbol.
"Start guidance" or "Add as another
destination"▷"Exit interactive map": return to the map
view.▷Map view▷"Display destination": the map section
around the destination is displayed.▷"Display current location": the map section
around your current location is displayed.▷"Find points of interest": the search for spe‐
cial destinations is started.
Destination entry by
voice
General information
▷Instructions for voice activation system, re‐
fer to page 26.▷When making a destination entry by voice,
you can change between voice activation
and the onboard monitor.▷To have the available spoken instructions
read out loud: ›Voice commands‹.
Saying the entries
▷Countries, towns and cities, streets, and in‐
tersections can be said as whole words or
spelled in the language of the system, refer
to page 80.Seite 144NavigationDestination entry144
Online Edition for Part no. 01 40 2 911 498 - VI/13
Page 280 of 288
Gear change– Automatic transmission with
Steptronic 72
Gear display, automatic trans‐
mission with Steptronic 71
Glass sunroof, electrical
– Convenient operation 34– Remote control 34
GPS navigation, refer to Navi‐
gation system 136
H Halogen headlamps, bulb re‐ placement 245
Hand car wash, care 260
Hands-free microphone 18
Hazard warning system 18
HD Radio 161
Head airbags 90
Headlamp control, auto‐ matic 85
Headlamp courtesy delay fea‐
ture 86
Headlamp flasher 68, 86
Headlamp flasher, indicator lamp 17
Headlamps 85
Headlamps, care 260
Headlamps, cleaning, washer fluid 70
Head restraints 57
Head restraints
– Adjusting the height 57– Removing 57
Heatable
– Windshield 112
Heating
– Rear window 109, 112– Seats 56– Windshield 112
Height adjustment
– Seats 54
High beams 86
High beams, bulb replace‐ ment 245
High beams, indicator
lamp 17
Hill drive-off assistant 103
Hills 126
Holder for remote control, re‐ fer to Ignition lock 65
Homepage 6
Hood 236
Hood, closing 237
Hood, opening 237
Hood, unlocking 237
Horn 14
House number, entering for navigation 139
Hydraulic brake assistant 101
I
Ice warning, refer to External temperature warning 74
Icy roads, refer to External temperature warning 74
Identification marks, run-flat tires 232
Identification marks, tires 228
iDrive– Changing settings 80– Changing the date and
time 79– Changing the language 80– Changing the units of meas‐
ure and display format 78– Setting the brightness 80
Ignition 65
Ignition key position 1, refer to Radio ready state 65
Ignition key position 2, refer to Ignition on 65
Ignition key, refer to Remote control with integrated
key 32
Ignition lock 65
Ignition, switched off 66
Ignition, switched on 65
Indicator and warning lamps 17
Indicator and warning lamps– Tire Pressure Monitor
TPM 97
Individual air distribution 109
Inflation pressure monitor, re‐ fer to Flat Tire Monitor 93
Inflation pressure monitor, re‐ fer to Tire Pressure Monitor
TPM 95
Inflation pressure, refer to Tire inflation pressure 222
Information on the navigation data 136
Initializing
– Refer to Setting the time and
date 79
Initializing, Flat Tire Monitor
FTM 94
Instrument cluster, refer to Displays 16
Instrument lighting 88
Instruments, refer to Cock‐ pit 14
Integrated key 32
Interactive map 143
Interior lamps 88
Interior lamps
– Remote control 35
Interior mirror 58
Interior temperature, setting
– Air conditioner 108– Automatic climate con‐
trol 110
Internet page 6
Intersection, entering for navi‐ gation 139
J
Jump-starting 254
K Keyless Go, refer to Comfort Access 39
Keyless opening and closing, refer to Comfort Access 39
Seite 280ReferenceEverything from A to Z280
Online Edition for Part no. 01 40 2 911 498 - VI/13