key MINI Coupe 2014 Owner's Manual
[x] Cancel search | Manufacturer: MINI, Model Year: 2014, Model line: Coupe, Model: MINI Coupe 2014Pages: 224, PDF Size: 5.46 MB
Page 20 of 224

Opening and closingVehicle equipmentThis chapter describes all series equipment as
well as country-specific and special equipment
offered for this model series.Therefore, it also
describes equipment that may not be found in
your vehicle, for instance due to the selected
special equipment or the country version. This
also applies to safety-related functions and sys‐
tems.
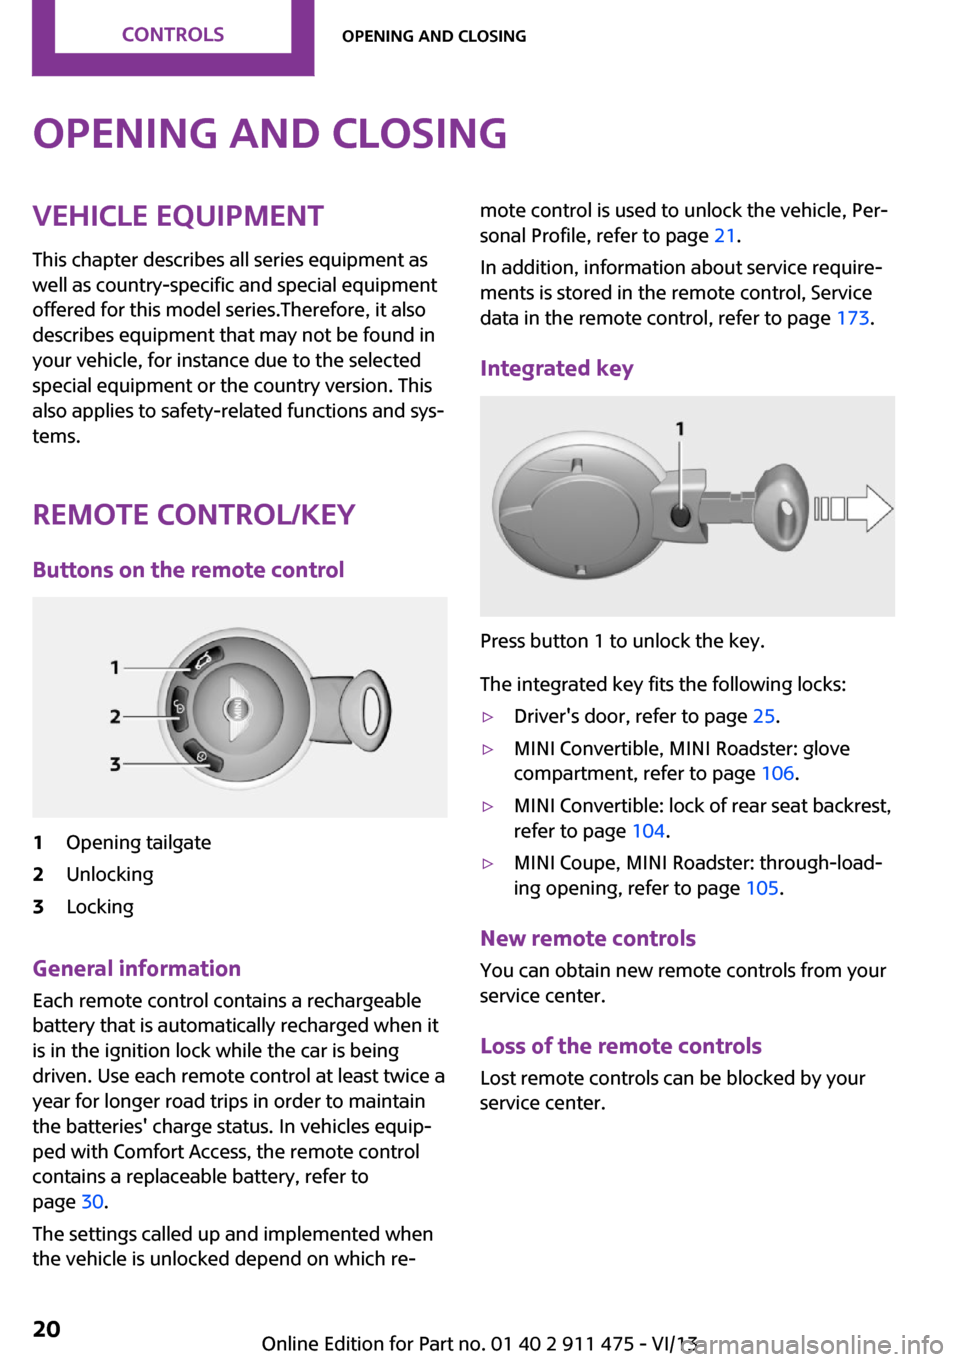
Remote control/key Buttons on the remote control1Opening tailgate2Unlocking3Locking
General information
Each remote control contains a rechargeable
battery that is automatically recharged when it
is in the ignition lock while the car is being
driven. Use each remote control at least twice a
year for longer road trips in order to maintain
the batteries' charge status. In vehicles equip‐
ped with Comfort Access, the remote control
contains a replaceable battery, refer to
page 30.
The settings called up and implemented when
the vehicle is unlocked depend on which re‐
mote control is used to unlock the vehicle, Per‐
sonal Profile, refer to page 21.
In addition, information about service require‐
ments is stored in the remote control, Service
data in the remote control, refer to page 173.
Integrated key
Press button 1 to unlock the key.
The integrated key fits the following locks:
▷Driver's door, refer to page 25.▷MINI Convertible, MINI Roadster: glove
compartment, refer to page 106.▷MINI Convertible: lock of rear seat backrest,
refer to page 104.▷MINI Coupe, MINI Roadster: through-load‐
ing opening, refer to page 105.
New remote controls
You can obtain new remote controls from your
service center.
Loss of the remote controls Lost remote controls can be blocked by your
service center.
Seite 20ControlsOpening and closing20
Online Edition for Part no. 01 40 2 911 475 - VI/13
Page 24 of 224

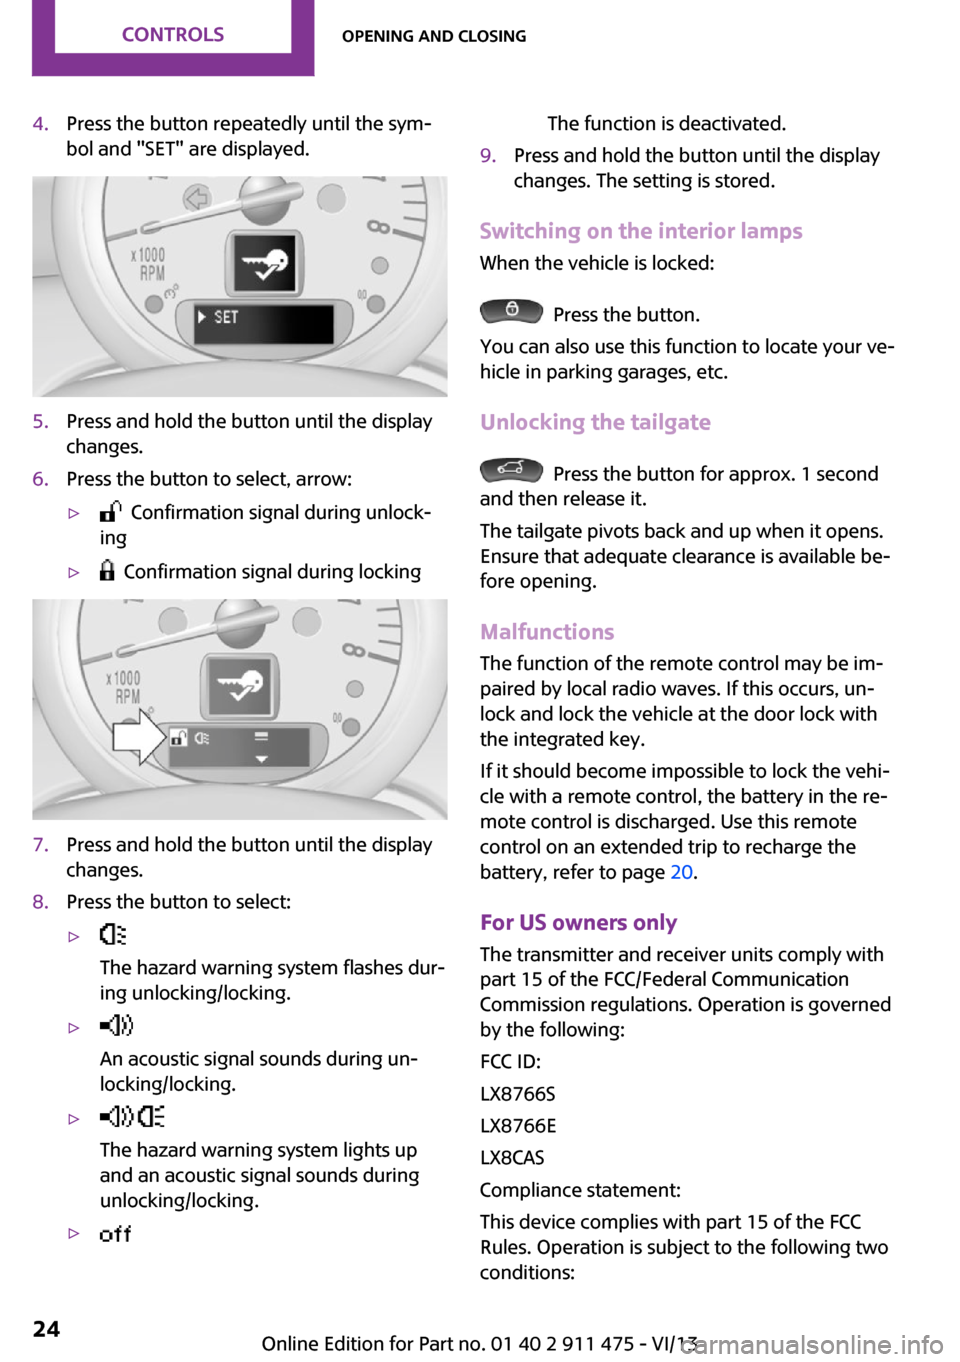
4.Press the button repeatedly until the sym‐
bol and "SET" are displayed.5.Press and hold the button until the display
changes.6.Press the button to select, arrow:▷ Confirmation signal during unlock‐
ing▷ Confirmation signal during locking7.Press and hold the button until the display
changes.8.Press the button to select:▷
The hazard warning system flashes dur‐
ing unlocking/locking.▷
An acoustic signal sounds during un‐
locking/locking.▷
The hazard warning system lights up
and an acoustic signal sounds during
unlocking/locking.▷ The function is deactivated.9.Press and hold the button until the display
changes. The setting is stored.
Switching on the interior lamps
When the vehicle is locked:
Press the button.
You can also use this function to locate your ve‐
hicle in parking garages, etc.
Unlocking the tailgate
Press the button for approx. 1 second
and then release it.
The tailgate pivots back and up when it opens.
Ensure that adequate clearance is available be‐
fore opening.
Malfunctions The function of the remote control may be im‐
paired by local radio waves. If this occurs, un‐
lock and lock the vehicle at the door lock with
the integrated key.
If it should become impossible to lock the vehi‐
cle with a remote control, the battery in the re‐
mote control is discharged. Use this remote
control on an extended trip to recharge the
battery, refer to page 20.
For US owners only The transmitter and receiver units comply with
part 15 of the FCC/Federal Communication
Commission regulations. Operation is governed
by the following:
FCC ID:
LX8766S
LX8766E
LX8CAS
Compliance statement:
This device complies with part 15 of the FCC
Rules. Operation is subject to the following two
conditions:
Seite 24ControlsOpening and closing24
Online Edition for Part no. 01 40 2 911 475 - VI/13
Page 25 of 224

▷This device may not cause harmful interfer‐
ence, and▷this device must accept any interference re‐
ceived, including interference that may
cause undesired operation.
Any unauthorized modifications or changes to
these devices could void the user's authority to
operate this equipment.
Using the door lock
Sets how the vehicle is to be unlocked, refer to
page 22.
In some vehicle equipment versions, only the
driver's door can be unlocked and locked via
the door lock.
Locking from the outside
Do not lock the vehicle from the outside if
there are people in it, as the vehicle cannot be
unlocked from inside without special knowl‐
edge. ◀
Locking the doors and tailgate at once
To lock all doors, the fuel filler flap, and the tail‐
gate at once:
1.With the doors closed, lock the vehicle us‐
ing the button for the central locking sys‐
tem in the interior, refer to page 25.2.Unlock and open the driver's or front pas‐
senger door, refer to page 26.3.To lock the vehicle:▷Lock the driver's door using the
integrated key in the door lock, or▷Press down the lock button of the front
passenger door and close the door
from the outside.
Convenient opening and closing
In vehicles with an alarm system or Comfort Ac‐
cess, the windows can be operated via the door
lock.
MINI Convertible: sliding sunroof and
convertible top operation in addition.
Opening/closing
Turn the key to the unlock or lock position and
hold it there.
In the MINI Convertible, the convertible top is
closed, followed by the sliding sunroof and side
windows.
Keep the closing area clear
Watch during the opening and closing
process to be sure that no one becomes trap‐
ped. Releasing the key stops the motion. ◀
Manual operation If an electrical malfunction occurs, the driver's
door can be unlocked or locked by turning the
integrated key to the end positions of the door
lock.
Opening and closing:
from the inside
The switch can be used to lock or unlock the
doors and tailgate when the doors are closed,
Seite 25Opening and closingControls25
Online Edition for Part no. 01 40 2 911 475 - VI/13
Page 27 of 224

The central locking system remains un‐
locked.9.Press and hold the button until the display
changes. The setting is stored.
Tailgate
Opening
The tailgate pivots back and up when it opens.
Ensure that adequate clearance is available be‐
fore opening.
Provide edge protection
Sharp or angular objects can hit the rear
window while driving and damage the heating
wires of the rear window. Provide edge protec‐
tion. ◀
In some market-specific versions, the tailgate
can only be unlocked using the remote control
if the vehicle was unlocked first.
Press and hold the button of the re‐
mote control or the button in the handle, ar‐
row. The tailgate is unlocked and can be
opened.
MINI Convertible
The open tailgate can be loaded with a maxi‐
mum weight of 175 lbs/80 kg.
Manual release In the event of an electrical malfunction, the
tailgate can be unlocked manually.
MINI Coupe, MINI Roadster:
Pull the handle. The tailgate is unlocked.
MINI Convertible:
1.Using the integrated key, unlock the lock of
the rear seat backrests 1.Seite 27Opening and closingControls27
Online Edition for Part no. 01 40 2 911 475 - VI/13
Page 30 of 224

Do not depress the brake or the clutch; other‐
wise, the engine will start.
Starting the engine The engine can be started or the ignition can
be switched on, refer to page 55, when a re‐
mote control is inside the vehicle. It is not nec‐
essary to insert a remote control into the igni‐
tion lock.
Switching off the engine in cars with
automatic transmission
The engine can only be switched off with the
selector lever in position P, refer to page 62.
To switch off the engine with the selector lever
in position N, the remote control must be in‐
serted in the ignition lock.
Before driving a vehicle with automatic
transmission into a car wash1.Insert the remote control into the ignition
switch.2.Depress the brake pedal.3.Move the selector lever to position N.4.Switch the engine off.
The vehicle can roll.
Malfunction The Comfort Access functions can be disturbed
by local radio waves, such as by a mobile
phone in the immediate vicinity of the remote
control or when a mobile phone is being
charged in the vehicle.
If this occurs, open or close the vehicle using
the buttons on the remote control or use the
integrated key in the door lock.
To start the engine afterward, insert the remote
control into the ignition switch.
Warning lamps The warning lamp in the instrument
cluster lights up when you attempt to
start the engine: the engine cannot be started.
The remote control is not in the vehicle or has a
malfunction. Take the remote control with you
inside the vehicle or have it checked. If neces‐
sary, insert another remote control into the ig‐
nition switch.
The warning lamp in the instrument
cluster lights up while the engine is run‐
ning: the remote control is no longer in‐
side the vehicle.
After switching off the engine, the engine can
only be started again within approx. 10 sec‐
onds if no door has been opened.
The indicator lamp lights up: replace
the remote control battery.
Replacing the battery
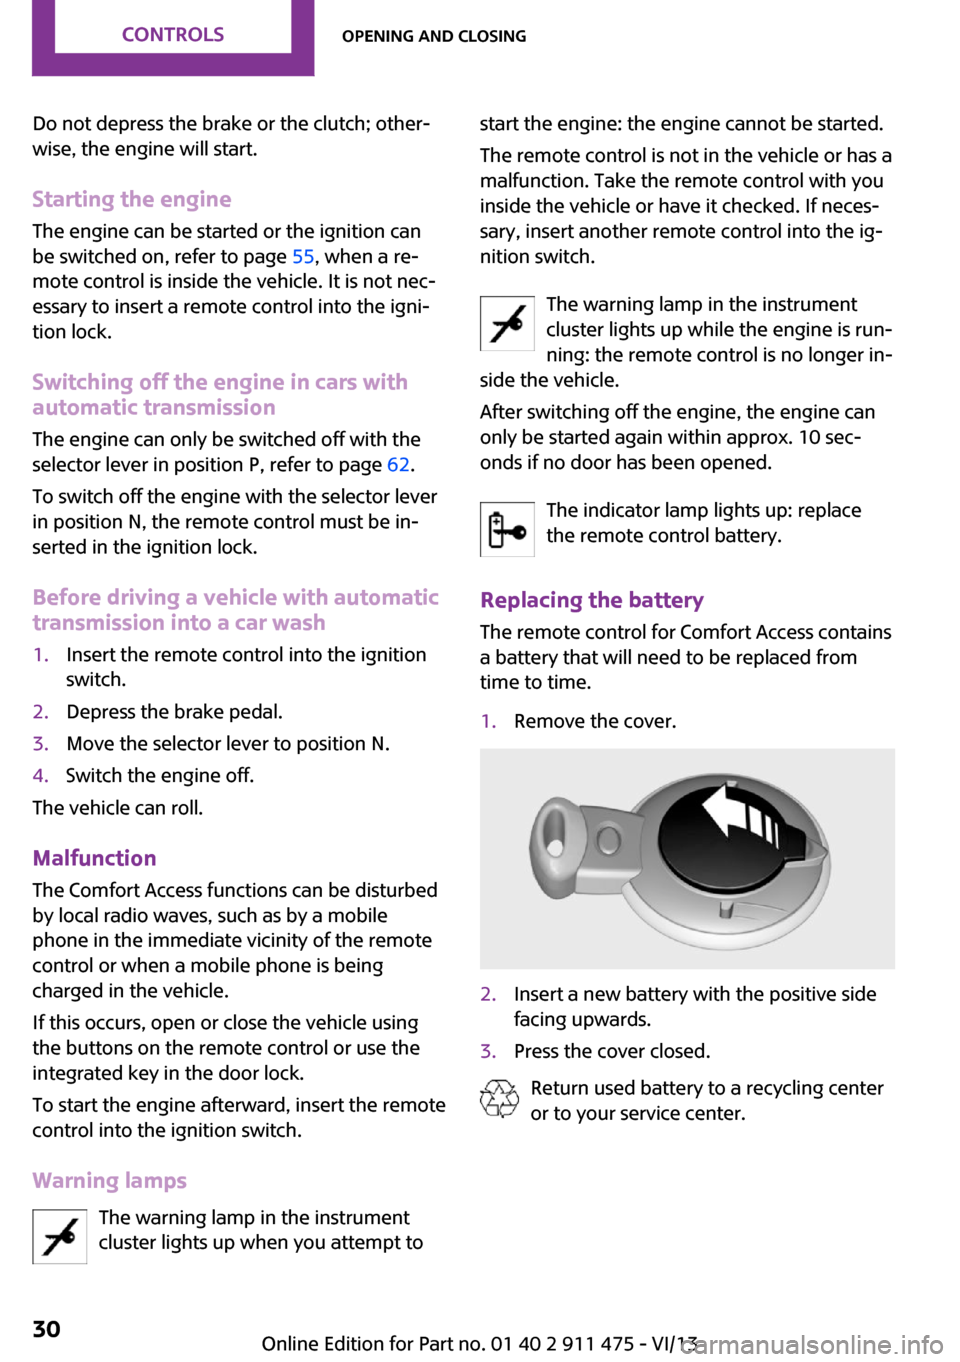
The remote control for Comfort Access contains
a battery that will need to be replaced from
time to time.1.Remove the cover.2.Insert a new battery with the positive side
facing upwards.3.Press the cover closed.
Return used battery to a recycling center
or to your service center.
Seite 30ControlsOpening and closing30
Online Edition for Part no. 01 40 2 911 475 - VI/13
Page 31 of 224

Alarm system
The concept
The enabled alarm system reacts to the follow‐
ing:▷Opening of a door, the hood or the tailgate.▷Movements inside the vehicle.▷Changes in the vehicle tilt, e.g., during at‐
tempts to steal a wheel or tow the car.▷Interruptions in battery voltage.
Depending on the market-specific version, the
alarm system briefly signals unauthorized entry
attempts by:
▷By sounding an acoustic alarm.▷By switching on the hazard warning system.
Tilt alarm sensor
The tilt of the vehicle is monitored.
The alarm system responds in situations such as
attempts to steal a wheel or tow the car.
Interior motion sensor
MINI Coupe
For the interior motion sensor to function prop‐
erly, the windows must be closed.
MINI Convertible, MINI RoadsterThe interior of the car is monitored up to the
height of the seat cushions. Thus the alarm sys‐
tem is armed together with the interior motion
sensor even if the convertible top is open. An
alarm can be triggered unintentionally by fall‐
ing objects such as leaves, refer to Avoiding un‐
intentional alarms.
Avoiding unintentional alarms
The tilt alarm sensor and interior motion sensor
can be switched off together, such as in the fol‐
lowing situations:
▷In duplex garages.▷During transport on car-carrying trains, at
sea or on a trailer.▷When animals are to remain in the vehicle.
Switching off the tilt alarm sensor and
interior motion sensor
▷ Press the button on the remote
control twice in succession.▷Lock the vehicle twice with the integrated
key.
The LEDs flash in short succession for approx.
2 seconds. The tilt alarm sensor and interior
motion sensor remain switched off until the ve‐
hicle is unlocked and locked again.
Power windows
General information Take the remote control with you
Take the remote control with you when
leaving the vehicle so that children, for exam‐
ple, cannot operate the power windows and in‐
jure themselves. ◀
If, after having been opened and closed a num‐
ber of times in close succession, a window can
only be closed, the system is overheated. Let
the system cool down for several minutes with
the ignition switched on or the engine running.
Opening
▷Press the switch downward.Seite 31Opening and closingControls31
Online Edition for Part no. 01 40 2 911 475 - VI/13
Page 35 of 224

windows; otherwise, the windows will not be
lowered, and it will not be possible to open the
convertible top.
Convenient opening and closing Convenient operation is possible via the remote
control, refer to page 22, and the door lock, re‐
fer to page 25.
Manual closing in case of electrical
malfunction
Only close the convertible top manually ifthere is an electrical malfunction
Only close the convertible top manually if this is
absolutely necessary; never open it manually.
Damage may occur if incorrectly operated. The
closing procedure must be fully completed;
otherwise, there is a risk of injury or damage. ◀
Before closing1.Take the hex key and screwdriver out of the
onboard vehicle tool kit, refer to page 175.2.Pry out the trunk lamp in the left side trim
using the screwdriver, arrow.3.Using the screwdriver, unscrew the gold-
colored screw by approx. one and a half
turns.Unlocking the convertible top1.Release the screw, arrow, using the hex key
and take it out.2.Slide the cover in the direction of travel, ar‐
row 1, and twist it out sideways, arrow 2. If
necessary, push the plastic trim, arrow 3,
inward slightly.3.Pull the sensor out of the cover, arrow, and
set it down on the inside side trim.Seite 35Opening and closingControls35
Online Edition for Part no. 01 40 2 911 475 - VI/13
Page 36 of 224

4.Release the second screw, arrow, using the
hex key to unlock the convertible top.5.Take out the screw.6.Lift the side frame slightly, arrow 1, and pull
the sensor and cable forward out of the
guide.7.Pivot the cable out sideways, arrow 2.
When setting it down, ensure that the cable
is not pinched.8.Unlock the second side frame.
Closing the convertible top
1.Hold on to the convertible top on the re‐
spective side frames with both hands.2.Lift it out on both sides and pivot it forward
onto the cowl.3.In the vehicle, pry out the cover in the mid‐
dle of the roof using the screwdriver.
Closing the sliding sunroof
1.Insert the hex key into the opening de‐
signed for this purpose in the middle of the
roof and press upward, arrow 1.2.Turn the hex key in the direction of arrow 2.3.Open the two locks and take off the locking
pieces.
Ensure that the locking pieces do not fall
onto the vehicle, as this could cause dam‐
age.4.Insert the pins into the respective mount on
the cowl, arrow.
Locking the convertible top
Turn the hex key opposite to the direction of
arrow 2 until the convertible top is locked.
Please contact your service center to eliminate
the malfunction.
Seite 36ControlsOpening and closing36
Online Edition for Part no. 01 40 2 911 475 - VI/13
Page 41 of 224

Opening1.Fold out the handle and turn it all the way
to the end, arrow.2.Push the unlocked convertible top upward
at the handle and open it about a hand's
width.3.Press the switch back to open the
convertible top. The windows opens during
this procedure.
Closing
1.Press the switch forward.2.Pull the convertible top onto the windshield
frame.3.Turn the handle clockwise until it engages
audibly.The convertible top is locked.
If the convertible top was open for a
lengthy period, it may be necessary to ap‐
ply greater force when locking the top.4.Fold the handle back in.5.Close the windows if necessary.
Manual closing in case of electrical
malfunction
Only close the convertible top manually if
there is an electrical malfunction
Only close the convertible top manually if this is
absolutely necessary; never open it manually.
Damage may occur if incorrectly operated. The
closing procedure must be fully completed;
otherwise, there is a risk of injury or damage. ◀
Before closing
Lower the side windows slightly, switch off the
engine, and switch off the ignition.
1.Take out the cover plate, refer to
page 104.2.Take out the cargo area insert, arrow.3.Using the hex key from the onboard vehicle
tool kit, unscrew the gold-colored screw,Seite 41Opening and closingControls41
Online Edition for Part no. 01 40 2 911 475 - VI/13
Page 104 of 224

Rear cover1.Pull the releases, arrow 1, on the left and
right.2.Pull the cover down out of the brackets, ar‐
row 2.
MINI Coupe, MINI Roadster: through- loading opening
Securing cargo
Always secure transported snowboards or
similar objects as they could otherwise endan‐
ger occupants during braking or swerving. ◀
1.Fold the seat forward if necessary.2.Unlock the lock using the integrated key,
refer to page 20.3.Pull the handle and fold down the lid.
MINI Coupe, MINI Roadster: storage
compartment in cargo area
The front of the cargo area contains a storage
compartment under a cover panel.
The figure shows an example of the cargo area
of the MINI Coupe.
1.Open the through-loading opening from
the passenger compartment.2.Fold up the cover panel, arrow 1.
MINI Convertible: cargo area
Do not place objects on the cargo cover
Do not place objects on the cargo cover;
otherwise, the cover or the convertible top
could be damaged. ◀
Loading aid When the convertible top is closed, unlocking
and folding up the convertible top may make it
easier to load the vehicle.
1.Unlock the convertible top with the han‐
dles, see arrows 1.2.Raise the convertible top, see arrow 2.3.Fold back the handles and rest them on the
brackets 3.Seite 104ControlsInterior equipment104
Online Edition for Part no. 01 40 2 911 475 - VI/13