wheel MINI Hardtop 2 Door 2005 User Guide
[x] Cancel search | Manufacturer: MINI, Model Year: 2005, Model line: Hardtop 2 Door, Model: MINI Hardtop 2 Door 2005Pages: 165, PDF Size: 2.32 MB
Page 53 of 165

51
OVERVIEW REPAIRS OPERATIONCONTROLS DATA INDEX
IGNITION LOCK
STARTING THE ENGINE
0 Steering locked
The key can be inserted or removed in this
position only.To lock the steering:1. Remove the key2. Turn the steering wheel slightly to the
left or right until the lock engages.A sound alarm goes off if the key remains in
the ignition after opening the driver's door.Interlock Vehicles with Continuously Variable auto
-
matic Transmission (CVT):
The ignition key cannot be turned to
position
0 and removed until the selector
lever is in position
P.
1 Steering unlocked
Individual electrical accessories are ready
for operation.You will find that it is often easier to turn
the ignition key from position
0 to
position
1 when you move the steering
wheel slightly to help disengage the lock.
2 Ignition switched on
All electrical accessories are ready for oper
-
ation.3 Starting the engine
Vehicles with manual transmission:
Step on the clutch when starting the
vehicle. A lockout prevents the engine from
starting if the clutch is not depressed.<
Do not allow the engine to run in enclosed spaces. Breathing the nox
-
ious exhaust gases can lead to uncon
-
sciousness and death. The exhaust gases
contain carbon monoxide, an odorless and
colorless, but highly toxic gas.
Do not leave the vehicle unattended with
the engine running. This is a safety hazard.
When driving, standing at idle, and parking
the vehicle, take care to avoid contact
between the hot exhaust system and flam
-
mable materials, e.g. hay, grass, leaves, etc.
Such contact could lead to a fire resulting in
serious personal injury and property dam
-
age.
vehicle at a standstill. Move off immedi
-
ately at a moderate engine speed.
Page 55 of 165
53
OVERVIEW REPAIRS OPERATIONCONTROLS DATA INDEX
PARKING BRAKE
MANUAL TRANSMISSION
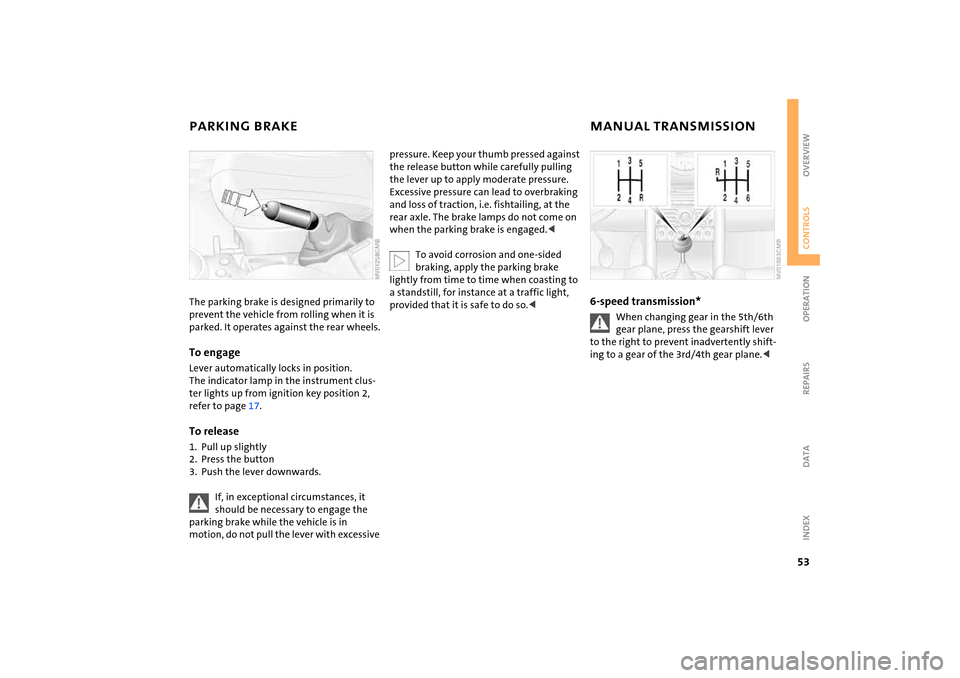
The parking brake is designed primarily to prevent the vehicle from rolling when it is
parked. It operates against the rear wheels.To engageLever automatically locks in position.
The indicator lamp in the instrument clus
-
ter lights up from ignition key position
2,
refer to page
17.
To release1. Pull up slightly2. Press the button3. Push the lever downwards.
If, in exceptional circumstances, it should be necessary to engage the
parking brake while the vehicle is in
motion, do not pull the lever with excessive
pressure. Keep your thumb pressed against
the release button while carefully pulling
the lever up to apply moderate pressure.
Excessive pressure can lead to overbraking
and loss of traction, i.e. fishtailing, at the
rear axle. The brake lamps do not come on
when the parking brake is engaged.<
To avoid corrosion and one-sided braking, apply the parking brake
lightly from time to time when coasting to
a standstill, for instance at a traffic light,
provided that it is safe to do so.<
6-speed transmission*
When changing gear in the 5th/6th gear plane, press the gearshift lever
to the right to prevent inadvertently shift
-
ing to a gear of the
3rd/4th gear plane.<
Page 57 of 165
55
OVERVIEW REPAIRS OPERATIONCONTROLS DATA INDEX
CONTINUOUSLY VARIABLE AUTOMATIC TRANSMISSION (CVT)
*
selector lever to position
P and engage the
parking brake before getting out of your
vehicle with the engine running.
Do not leave the vehicle unattended with
the engine running. This is a safety haz
-
ard.<
If the selector lever is not placed in position
P when the vehicle is parked,
the position display of the selector lever
stays on. This can lead to battery dis
-
charge.<
P Park
Select only when the vehicle is completely
stopped. The transmission locks to prevent
the rear wheels from turning.R Reverse
Select only when the vehicle is completely
stopped.N Neutral Idle
Engage this gear, for example, when you
are in a car wash. The vehicle can roll.D Drive: CVT driving position
This position is designed for driving under
all normal operating conditions. Kickdown Kickdown can be used to achieve maxi
-
mum vehicle performance.
Press the accelerator pedal past the
increased resistance point at the full-throt
-
tle position.
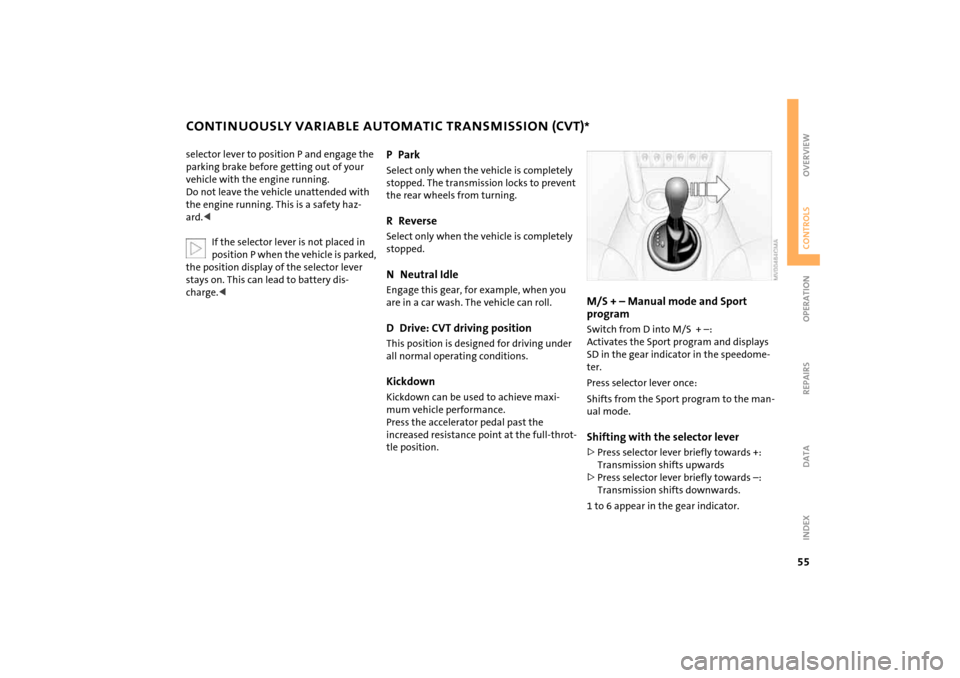
M/S
+ – Manual mode and Sport
program Switch from D into M/S
+ –:
Activates the Sport program and displays
SD in the gear indicator in the speedome
-
ter. Press selector lever once:Shifts from the Sport program to the man
-
ual mode.Shifting with the selector lever>Press selector lever briefly towards +:
Transmission shifts upwards>Press selector lever briefly towards –:
Transmission shifts downwards.1 to 6 appear in the gear indicator.
Page 58 of 165
56
CONTINUOUSLY VARIABLE AUTOMATIC TRANSMISSION (CVT)
*
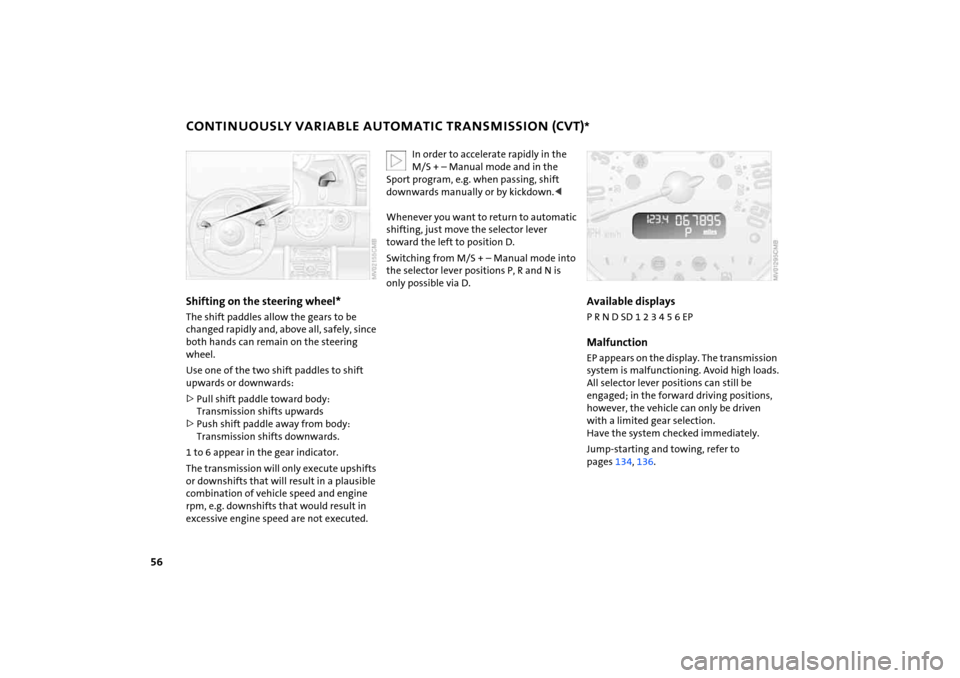
Shifting on the steering wheel* The shift paddles allow the gears to be
changed rapidly and, above all, safely, since
both hands can remain on the steering
wheel.Use one of the two shift paddles to shift
upwards or downwards:>Pull shift paddle toward body:
Transmission shifts upwards>Push shift paddle away from body:
Transmission shifts downwards.1 to 6 appear in the gear indicator.
The transmission will only execute upshifts
or downshifts that will result in a plausible
combination of vehicle speed and engine
rpm, e.g. downshifts that would result in
excessive engine speed are not executed.
In order to accelerate rapidly in the M/S
+ – Manual mode and in the
Sport program, e.g. when passing, shift
downwards manually or by kickdown.<
Whenever you want to return to automatic
shifting, just move the selector lever
toward the left to position D.Switching from M/S
+ – Manual mode into
the selector lever positions P, R and N is
only possible via D.
Available displaysP R N D SD 1 2 3 4 5 6 EPMalfunctionEP appears on the display. The transmission
system is malfunctioning. Avoid high loads.
All selector lever positions can still be
engaged; in the forward driving positions,
however, the vehicle can only be driven
with a limited gear selection.
Have the system checked immediately.Jump-starting and towing, refer to
pages
134
, 136
.
Page 63 of 165

61
OVERVIEW REPAIRS OPERATIONCONTROLS DATA INDEX
CRUISE CONTROL
*
On the multifunction steering wheel
and sports steering wheelAbove approx. 20
mph
/ 30
km/h the cruise
control maintains and stores any desired
speed.
Do not use cruise control on twisting roads, when high traffic density pre
-
vents driving at a constant speed, or when
the road surface does not permit driving at
a constant speed, e.g. due to snow, rain, ice,
or loose surfaces.<
To activate via the multifunction steering wheelFrom ignition key position
1:
Press button
2.
The indicator lamp in the instrument clus
-
ter lights up.
Cruise control is active.To activate via the sports steering
wheel1. Start the engine2. Press button
2.
The indicator lamp in the instrument clus
-
ter lights up.
Cruise control is active.
To deactivate Press button
2 repeatedly until the indica
-
tor lamp goes out.The cruise control is deactivated when the
ignition key is turned to position
0.
The stored speed is cleared.To maintain and store speed or to
acceleratePress button
3.
The system maintains and stores the cur
-
rent vehicle speed. Every time you tap the
button, the speed increases by approx.
1 mph
/ 2
km/h.
Page 64 of 165
62
CRUISE CONTROL
*
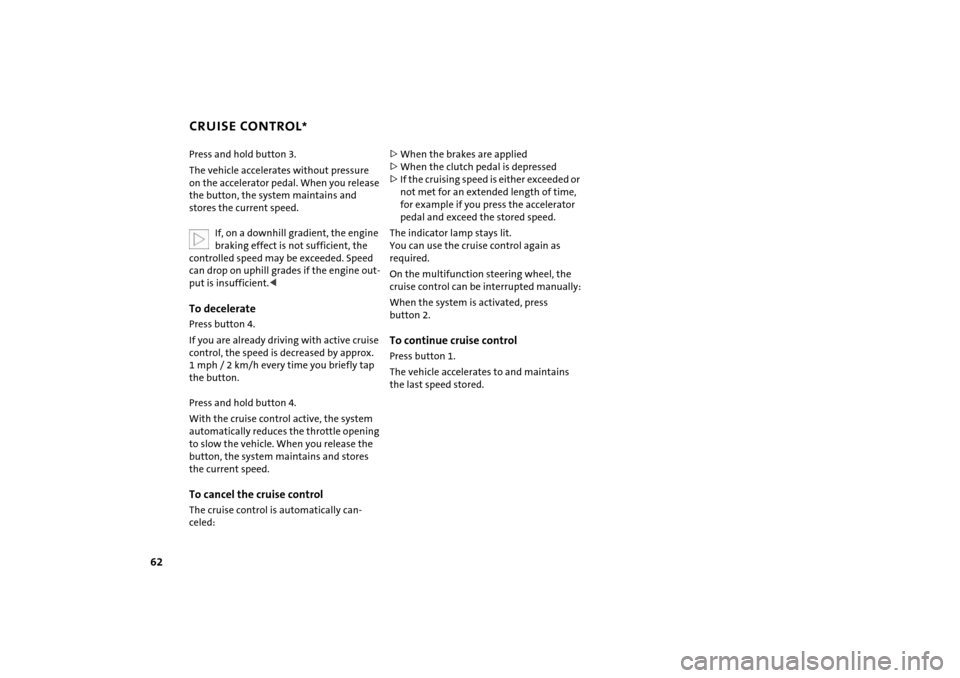
Press and hold button
3.
The vehicle accelerates without pressure
on the accelerator pedal. When you release
the button, the system maintains and
stores the current speed.
If, on a downhill gradient, the engine braking effect is not sufficient, the
controlled speed may be exceeded. Speed
can drop on uphill grades if the engine out
-
put is insufficient.
If you are already driving with active cruise
control, the speed is decreased by approx.
1 mph
/ 2
km/h every time you briefly tap
the button.
Press and hold button
4.
With the cruise control active, the system
automatically reduces the throttle opening
to slow the vehicle. When you release the
button, the system maintains and stores
the current speed.To cancel the cruise controlThe cruise control is automatically can
-
celed:
>When the brakes are applied>When the clutch pedal is depressed>If the cruising speed is either exceeded or
not met for an extended length of time,
for example if you press the accelerator
pedal and exceed the stored speed.The indicator lamp stays lit.
You can use the cruise control again as
required.On the multifunction steering wheel, the
cruise control can be interrupted manually:When the system is activated, press
button
2.
To continue cruise controlPress button
1.
The vehicle accelerates to and maintains
the last speed stored.
Page 70 of 165
68
ALL SEASON TRACTION CONTROL (ASC)
*
The conceptThis system optimizes driving stability and
traction, especially when just starting off,
when accelerating or when cornering. ASC recognizes the danger present in trac
-
tion loss and will increase driving stability
and traction by reducing the engine's out
-
put and, if necessary, by applying the
brakes to the front wheels. ASC is operational each time you start the
engine. It contains the following functions:>Antilock Brake System (ABS)>Cornering Brake Control (CBC)>Electronic Brake Force Distribution (EBD).
The laws of physics cannot be repealed, even with ASC. An appropri
-
ate driving style always remains the
responsibility of the driver. Avoid using the
additional safety margin provided by the
system as an excuse for taking unnecessary
risks.
Do not make any modifications to the ASC
system. Allow only authorized technicians
to perform service procedures on the
ASC.<
Indicator lamp
The indicator lamp will go out shortly after the ignition has been
switched on, refer to pages
17, 18
.
If the indicator lamp flashes:
ASC controls the drive and braking forces.The indicator lamp stays lit:
The system is defective or was turned off
using the button. Have the system checked
as soon as possible.
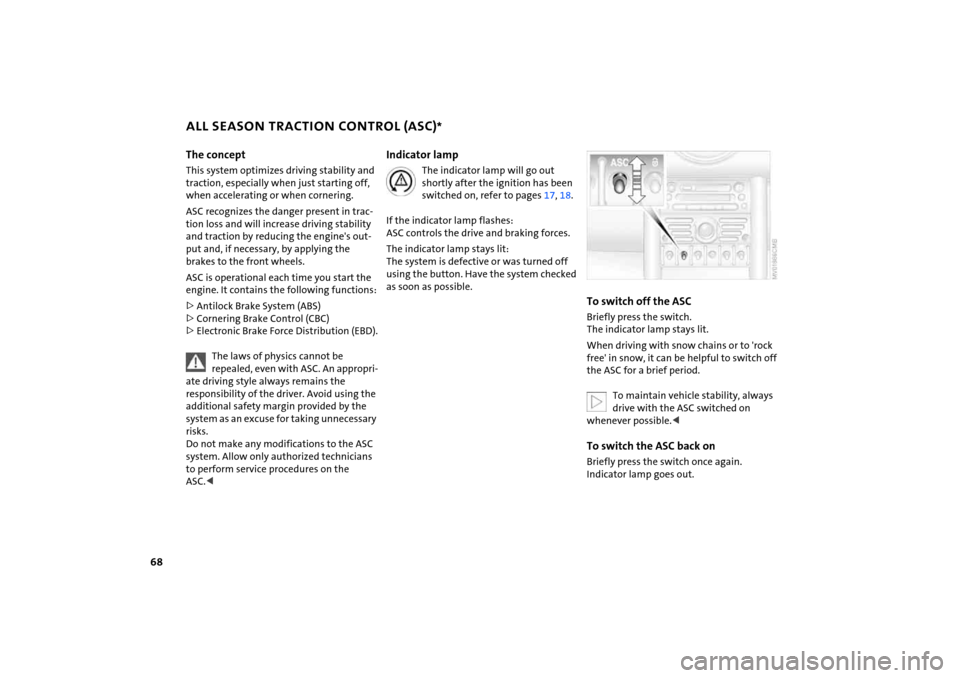
To switch off the ASCBriefly press the switch.
The indicator lamp stays lit.When driving with snow chains or to 'rock
free' in snow, it can be helpful to switch off
the ASC for a brief period.
To maintain vehicle stability, always drive with the ASC switched on
whenever possible.<
To switch the ASC back onBriefly press the switch once again.
Indicator lamp goes out.
Page 71 of 165
69
OVERVIEW REPAIRS OPERATIONCONTROLS DATA INDEX
DYNAMIC STABILITY CONTROL (DSC)
*
The conceptThis system optimizes driving stability and
traction, especially when just starting off,
when accelerating or when cornering. It
also maintains driving stability even in crit
-
ical driving situations.DSC recognizes unstable vehicle conditions,
such as understeering or oversteering, and,
as far as is possible within the laws of phys
-
ics, helps keep the vehicle on a steady
course by reducing the rpms and by brake
applications to the individual wheels.The DSC is operational every time you start
the engine. It contains the following func
-
tions:>All Season traction Control (ASC)>Antilock Brake System (ABS)>Cornering Brake Control (CBC)>Electronic Brake Force Distribution (EBD).
The laws of physics cannot be repealed, even with DSC. An appro
-
priate driving style always remains the
responsibility of the driver. Avoid using the
additional safety margin provided by the
system as an excuse for taking unnecessary
risks.
Do not make any modifications to the DSC
system. Allow only authorized technicians
to perform service procedures on the
DSC.
switched on, refer to pages
17, 18
.
If the indicator lamp flashes:
DSC controls the drive and braking forces. The indicator lamp stays lit:
The system is defective or was turned off
using the button. Have the system checked
as soon as possible.
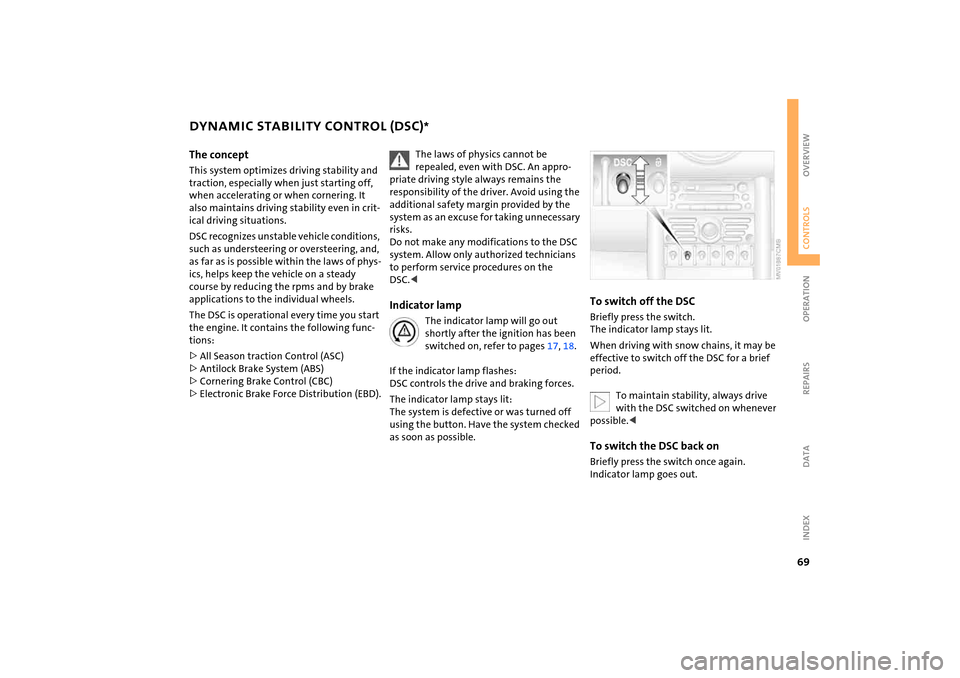
To switch off the DSCBriefly press the switch.
The indicator lamp stays lit.When driving with snow chains, it may be
effective to switch off the DSC for a brief
period.
To maintain stability, always drive with the DSC switched on whenever
possible.<
To switch the DSC back onBriefly press the switch once again.
Indicator lamp goes out.
Page 72 of 165

70
ANTILOCK BRAKE SYSTEM (ABS) The concept The ABS keeps the wheels from locking
while braking, thereby enhancing active
driving safety. ABS also includes Electronic Brake Force
Distribution (EBD).Safe brakingYour vehicle is equipped with ABS as a stan
-
dard feature. The best way to brake the
vehicle in critical situations requiring brak
-
ing is to apply maximum pressure to the
brake pedal: panic stop.
Since the vehicle remains maneuverable,
you can still go around any obstacles with
the smallest possible steering movements.The pulsation of the brake pedal, together
with the sound of hydraulic regulation,
indicates to you that ABS is actively taking
effect.
Cornering Brake Control (CBC)Cornering Brake Control (CBC) is an
enhancement of ABS that improves vehicle
stability especially when braking during
cornering.
When the vehicle is being braked, the rear
wheels are relieved from load, and this can
cause the vehicle to oversteer in curves.
CBC counteracts this by making use of uni
-
lateral braking pressure to generate a sta
-
bilizing counter torque while braking out
-
side of the ABS control range.Electronic Brake Force Distribution
(EBD)In order to achieve a short braking distance
when the vehicle is fully loaded, your vehi
-
cle is equipped with relatively large brakes
on the rear axle. EBV continuously moni
-
tors the speeds of the rear wheels in rela
-
tion to the front wheels in order to prevent
overbraking of the rear wheels even when
the vehicle has a light load. If the rear
wheels tend to lock, the EBV controls their
slip, ensuring operating stability.
Page 73 of 165
71
OVERVIEW REPAIRS OPERATIONCONTROLS DATA INDEX
FLAT TIRE MONITOR The conceptAs you drive, the Flat Tire Monitor keeps
track of the tire inflation pressure in all four
tires. The system alerts you when there is a
substantial pressure loss in one of the tires
relative to another.The tire inflation pressures are monitored
based on the speeds of the four wheels in
relation to one another. A flat tire is
detected as the result of differences in cer
-
tain speed ratios, and a warning is gener
-
ated.System requirementsSo that the system can 'familiarize' itself
with the correct inflation pressure, please
do the following:1. Check the tire inflation pressure in all
tires2. Compare them with the inflation pres
-
sure table, refer to page
98, and adjust
the pressures if necessary
3. Initialize the system.
System limitations
The Flat Tire Monitor cannot alert you to severe and sudden tire damage
caused by external factors, nor does it
detect the gradual and minor loss of pres
-
sure in all four tires.
-
sure loss or to the system not functioning:>Driving on snow-covered or slippery
roads>Performance-oriented driving: slip at the
drive wheels, high rates of lateral accel
-
eration>When driving with snow chains, false
warnings and undetected pressure loss
may occur>When driving with a space-saver spare
tire, the Flat Tire Monitor cannot func
-
tion.
Initializing the system
The system must be reinitialized immediately after changing a tire
and wheel, or after correcting the pressure
in any tire. This requires a bit of driving.<
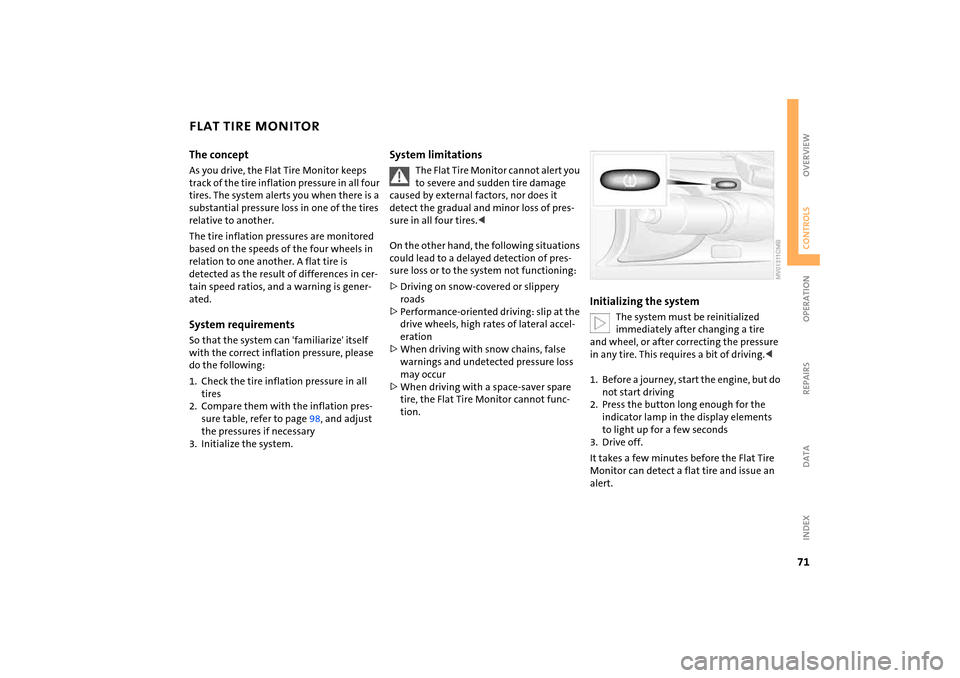
1. Before a journey, start the engine, but do
not start driving2. Press the button long enough for the
indicator lamp in the display elements
to light up for a few seconds3. Drive off.It takes a few minutes before the Flat Tire
Monitor can detect a flat tire and issue an
alert.