stop start MINI Hardtop 2 Door 2005 Owner's Manual
[x] Cancel search | Manufacturer: MINI, Model Year: 2005, Model line: Hardtop 2 Door, Model: MINI Hardtop 2 Door 2005Pages: 165, PDF Size: 2.32 MB
Page 18 of 165

16
INDICATOR AND WARNING LAMPS Technology that monitors itselfThe system runs a check on the indicator
and warning lamps marked by
+ each time
you switch on the ignition. They each light
up once for different periods of time.
If a malfunction should occur in one of
these systems, the corresponding lamp
does not go out after the engine is started
or it lights up while the vehicle is moving.
You will see below the correct way to react
to this.
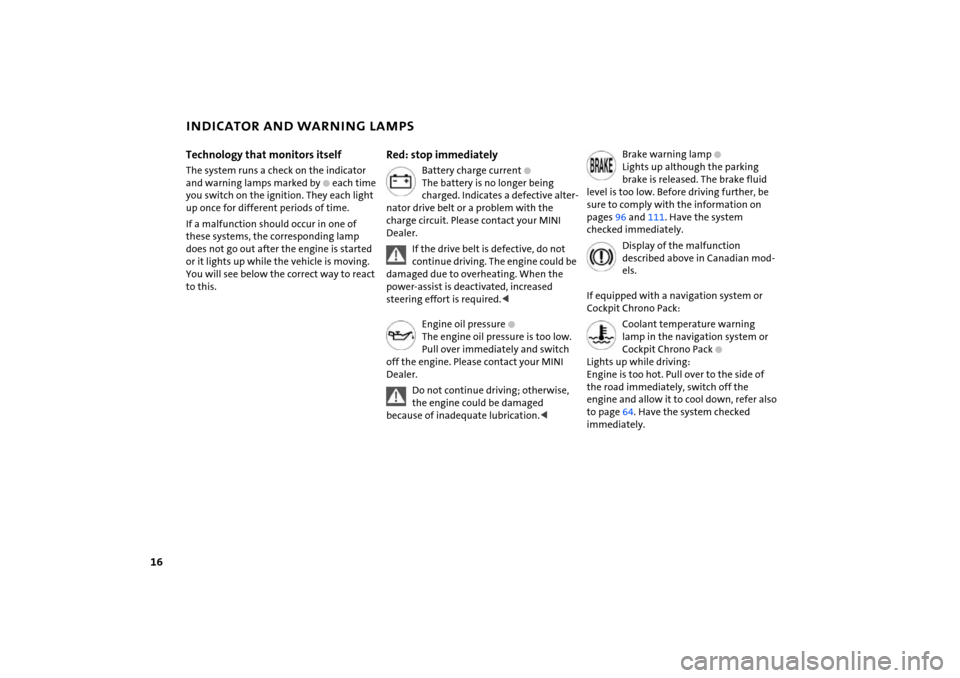
Red: stop immediately
Battery charge current
+
The battery is no longer being
charged. Indicates a defective alter
-
nator drive belt or a problem with the
charge circuit. Please contact your MINI
Dealer.
If the drive belt is defective, do not continue driving. The engine could be
damaged due to overheating. When the
power-assist is deactivated, increased
steering effort is required.
The engine oil pressure is too low.
Pull over immediately and switch
off the engine. Please contact your MINI
Dealer.Do not continue driving; otherwise, the engine could be damaged
because of inadequate lubrication.<
Brake warning lamp
+
Lights up although the parking
brake is released. The brake fluid
level is too low. Before driving further, be
sure to comply with the information on
pages 96 and
111
. Have the system
checked immediately.
Display of the malfunction described above in Canadian mod
-
els.
If equipped with a navigation system or
Cockpit Chrono Pack:
Coolant temperature warning lamp in the navigation system or
Cockpit Chrono Pack
+
Lights up while driving:
Engine is too hot. Pull over to the side of
the road immediately, switch off the
engine and allow it to cool down, refer also
to page
64. Have the system checked
immediately.
Page 19 of 165

17
OVERVIEW REPAIRS OPERATION CONTROLS DATA INDEX
INDICATOR AND WARNING LAMPSYellow: stop immediately
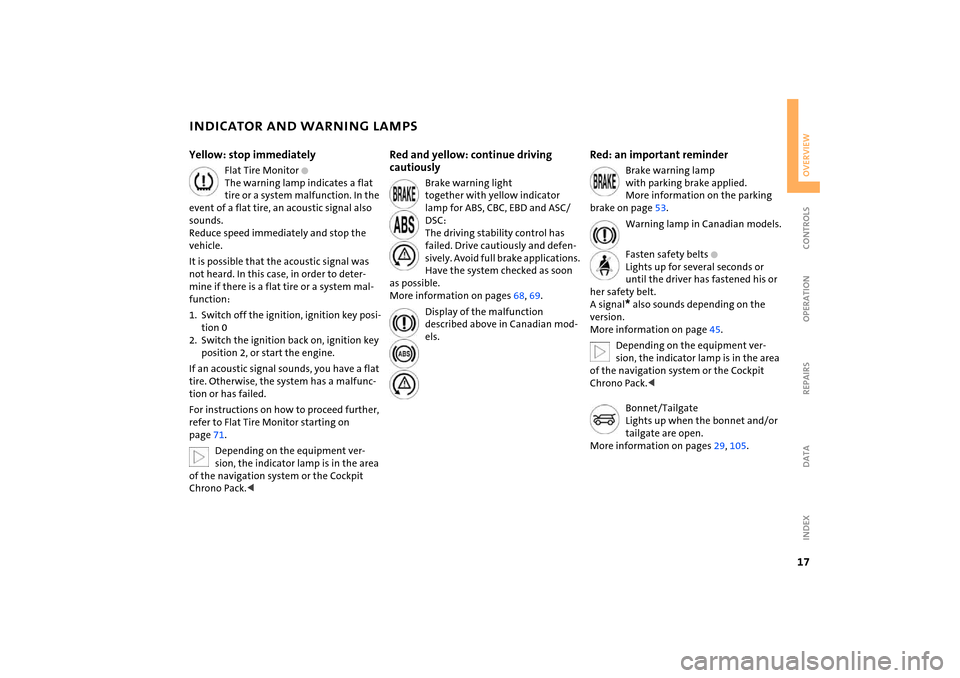
Flat Tire Monitor
+
The warning lamp indicates a flat
tire or a system malfunction. In the
event of a flat tire, an acoustic signal also
sounds.
Reduce speed immediately and stop the
vehicle.It is possible that the acoustic signal was
not heard. In this case, in order to deter
-
mine if there is a flat tire or a system mal
-
function:1. Switch off the ignition, ignition key posi
-
tion 0
2. Switch the ignition back on, ignition key
position 2, or start the engine.If an acoustic signal sounds, you have a flat
tire. Otherwise, the system has a malfunc
-
tion or has failed.For instructions on how to proceed further,
refer to Flat Tire Monitor starting on
page
71.Depending on the equipment ver
-
sion, the indicator lamp is in the area
of the navigation system or the Cockpit
Chrono Pack.<
Red and yellow: continue driving
cautiously
Brake warning light
together with yellow indicator
lamp for ABS, CBC, EBD and ASC/
DSC:
The driving stability control has
failed. Drive cautiously and defen
-
sively. Avoid full brake applications.
Have the system checked as soon
as possible.
More information on pages
68, 69
.
Display of the malfunction described above in Canadian mod
-
els.
Red: an important reminder
Brake warning lamp
with parking brake applied.
More information on the parking
brake on page
53.
Warning lamp in Canadian models.
Fasten safety belts
+
Lights up for several seconds or
until the driver has fastened his or
her safety belt.
A signal
* also sounds depending on the
version.
More information on page
45.
Depending on the equipment ver
-
sion, the indicator lamp is in the area
of the navigation system or the Cockpit
Chrono Pack.
Lights up when the bonnet and/or
tailgate are open.
More information on pages
29, 105
.
Page 54 of 165

52
STARTING THE ENGINE
SWITCHING OFF THE ENGINE
StartingWhen starting the engine, do not press the
accelerator pedal.
Do not stop the starting procedure too early, and do not continue it for
more than approx. 20
seconds. Release the
ignition key immediately when the engine
starts.
Extended starting attempts, characterized
by excessively frequent or long periods
with the starter engaged, can lead to dam
-
age in the catalytic converter.
hot or cold:When starting the engine, press the gas
pedal down halfway.Cold start at very low temperatures, above
approx. +5
7
/ –15
6, at high altitudes
above 3,300
ft / 1,000 m:
>For the initial start attempt, allow the
starter to remain engaged somewhat
longer, approx. 10
seconds.
>When starting the engine, press the gas
pedal down halfway.
Manual transmission1. Engage the parking brake2. Put the manual gearshift lever in neutral3. Depress the clutch pedal, especially at
low temperatures4. Start the engine.
Move the gearshift lever to neutral position and engage the parking
brake before leaving your vehicle with the
engine running.
Do not leave the vehicle unattended with
the engine running. This is a safety haz
-
ard.
P or N
3. Start the engine.
Move the selector lever to position
P
and engage the parking brake before
leaving your vehicle with the engine run
-
ning.
Do not leave the vehicle unattended with
the engine running. This is a safety haz
-
ard.<
You should never remove the ignition key when the vehicle is in motion, as
the steering lock could engage.
When you leave the vehicle, always remove
the ignition key and engage the steering
lock.
When parking on inclines, engage the park
-
ing brake, or the vehicle could roll.
Continuously Variable automatic
Transmission (CVT)Engage selector lever position
P, turn the
ignition key to position
1 or 0.
Page 138 of 165

136
TOWING AND TOW-STARTINGUsing the towing eyelet The screw-in towing eyelet is stored in the
onboard tool kit, refer to page
120
; be sure
that it remains with the vehicle at all times.
It can be attached at the front or rear of
your vehicle.
To prevent damage to the towing eyelet and the vehicle, please observe
the following instructions:
Use only the towing eyelet supplied with
the vehicle and screw it in firmly until it
stops. Use the towing eyelet for towing on
paved roads only. Avoid subjecting the
towing eyelet to lateral loads, e.g. do not
lift the vehicle using the towing eyelet.<
Access to the threaded socket The illustration shows by way of example
the MINI COOPER and the MINI COOPER
Convertible.Pry out the cover in the front or rear
bumper by inserting a screwdriver into the
recess.Being towed
Make sure that the ignition key is in position
1; otherwise the steering
lock could engage and prevent the vehicle
from being steered. There is no power
assist while the engine is off. Therefore,
you will need to exert more force to brake
and steer the vehicle.<
Turn on the hazard warning flashers, if
required by national regulations. If the
electrical system has failed, clearly identify
the vehicle being towed, e.g. by placing a
sign or a warning triangle in the rear win
-
dow.MINI or MINI Convertible with manual
transmission:Put the manual gearshift lever in Neutral.MINI or MINI Convertible with Continu
-
ously Variable automatic Transmission
(CVT):
Only tow vehicles with Continuously Variable automatic Transmission
(CVT) with a tow truck, otherwise the trans
-
mission can be damaged, refer to
page
137
.<
Towing methodsIn some countries, it is not permitted to
tow the vehicle with a tow bar or tow rope
on public roads.Familiarize yourself with the applicable
towing regulations for the country in which
you are driving.