sensor MINI Hardtop 2 Door 2015 Owner's Manual (Mini Connected)
[x] Cancel search | Manufacturer: MINI, Model Year: 2015, Model line: Hardtop 2 Door, Model: MINI Hardtop 2 Door 2015Pages: 244, PDF Size: 11.11 MB
Page 19 of 244
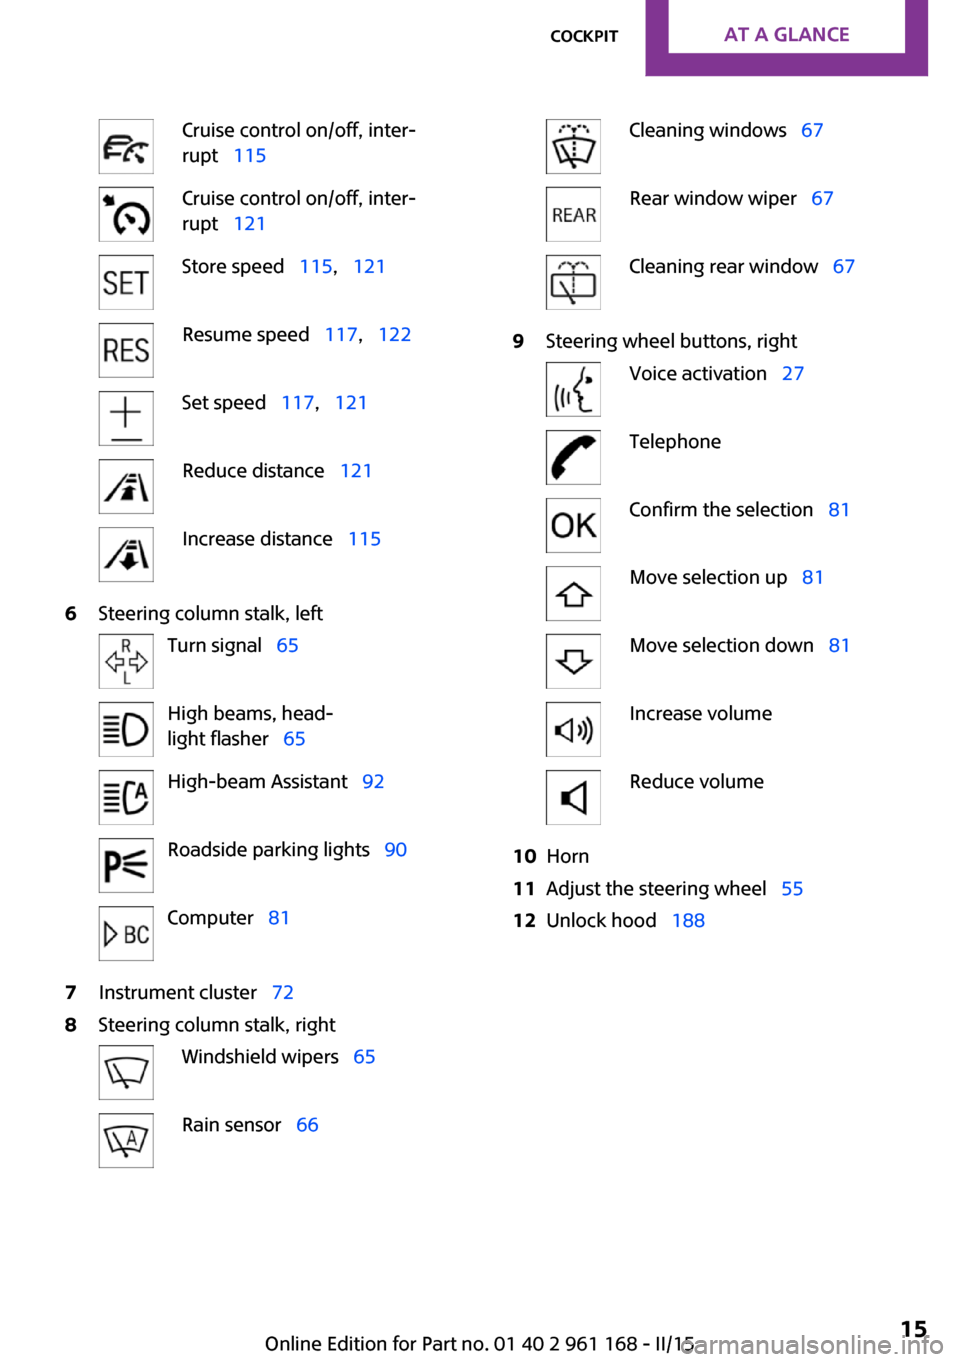
Cruise control on/off, inter‐
rupt 115Cruise control on/off, inter‐
rupt 121Store speed 115, 121Resume speed 117, 122Set speed 117, 121Reduce distance 121Increase distance 1156Steering column stalk, leftTurn signal 65High beams, head‐
light flasher 65High-beam Assistant 92Roadside parking lights 90Computer 817Instrument cluster 728Steering column stalk, rightWindshield wipers 65Rain sensor 66Cleaning windows 67Rear window wiper 67Cleaning rear window 679Steering wheel buttons, rightVoice activation 27TelephoneConfirm the selection 81Move selection up 81Move selection down 81Increase volumeReduce volume10Horn11Adjust the steering wheel 5512Unlock hood 188Seite 15CockpitAT A GLANCE15
Online Edition for Part no. 01 40 2 961 168 - II/15
Page 42 of 244
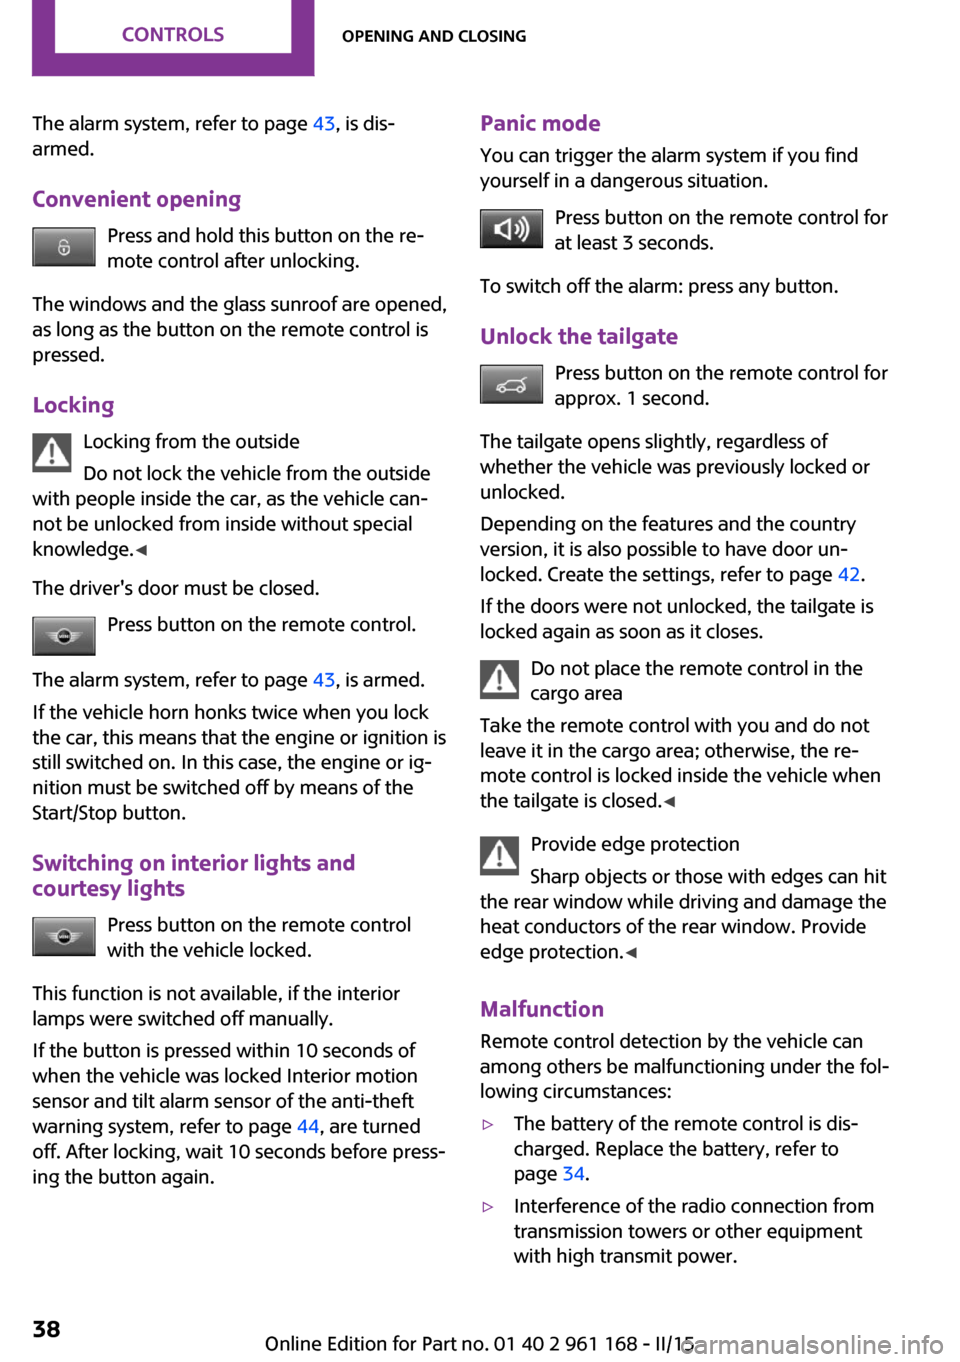
The alarm system, refer to page 43, is dis‐
armed.
Convenient opening Press and hold this button on the re‐
mote control after unlocking.
The windows and the glass sunroof are opened,
as long as the button on the remote control is
pressed.
Locking Locking from the outside
Do not lock the vehicle from the outside
with people inside the car, as the vehicle can‐
not be unlocked from inside without special
knowledge. ◀
The driver's door must be closed. Press button on the remote control.
The alarm system, refer to page 43, is armed.
If the vehicle horn honks twice when you lock
the car, this means that the engine or ignition is
still switched on. In this case, the engine or ig‐
nition must be switched off by means of the
Start/Stop button.
Switching on interior lights and
courtesy lights
Press button on the remote control
with the vehicle locked.
This function is not available, if the interior
lamps were switched off manually.
If the button is pressed within 10 seconds of
when the vehicle was locked Interior motion
sensor and tilt alarm sensor of the anti-theft
warning system, refer to page 44, are turned
off. After locking, wait 10 seconds before press‐
ing the button again.Panic mode
You can trigger the alarm system if you find
yourself in a dangerous situation.
Press button on the remote control for
at least 3 seconds.
To switch off the alarm: press any button.
Unlock the tailgate Press button on the remote control for
approx. 1 second.
The tailgate opens slightly, regardless of whether the vehicle was previously locked or
unlocked.
Depending on the features and the country
version, it is also possible to have door un‐
locked. Create the settings, refer to page 42.
If the doors were not unlocked, the tailgate is
locked again as soon as it closes.
Do not place the remote control in the
cargo area
Take the remote control with you and do not
leave it in the cargo area; otherwise, the re‐
mote control is locked inside the vehicle when
the tailgate is closed. ◀
Provide edge protection
Sharp objects or those with edges can hit
the rear window while driving and damage the
heat conductors of the rear window. Provide edge protection. ◀
Malfunction Remote control detection by the vehicle can
among others be malfunctioning under the fol‐
lowing circumstances:▷The battery of the remote control is dis‐
charged. Replace the battery, refer to
page 34.▷Interference of the radio connection from
transmission towers or other equipment
with high transmit power.Seite 38CONTROLSOpening and closing38
Online Edition for Part no. 01 40 2 961 168 - II/15
Page 48 of 244
To reel off the alarm: press any button.
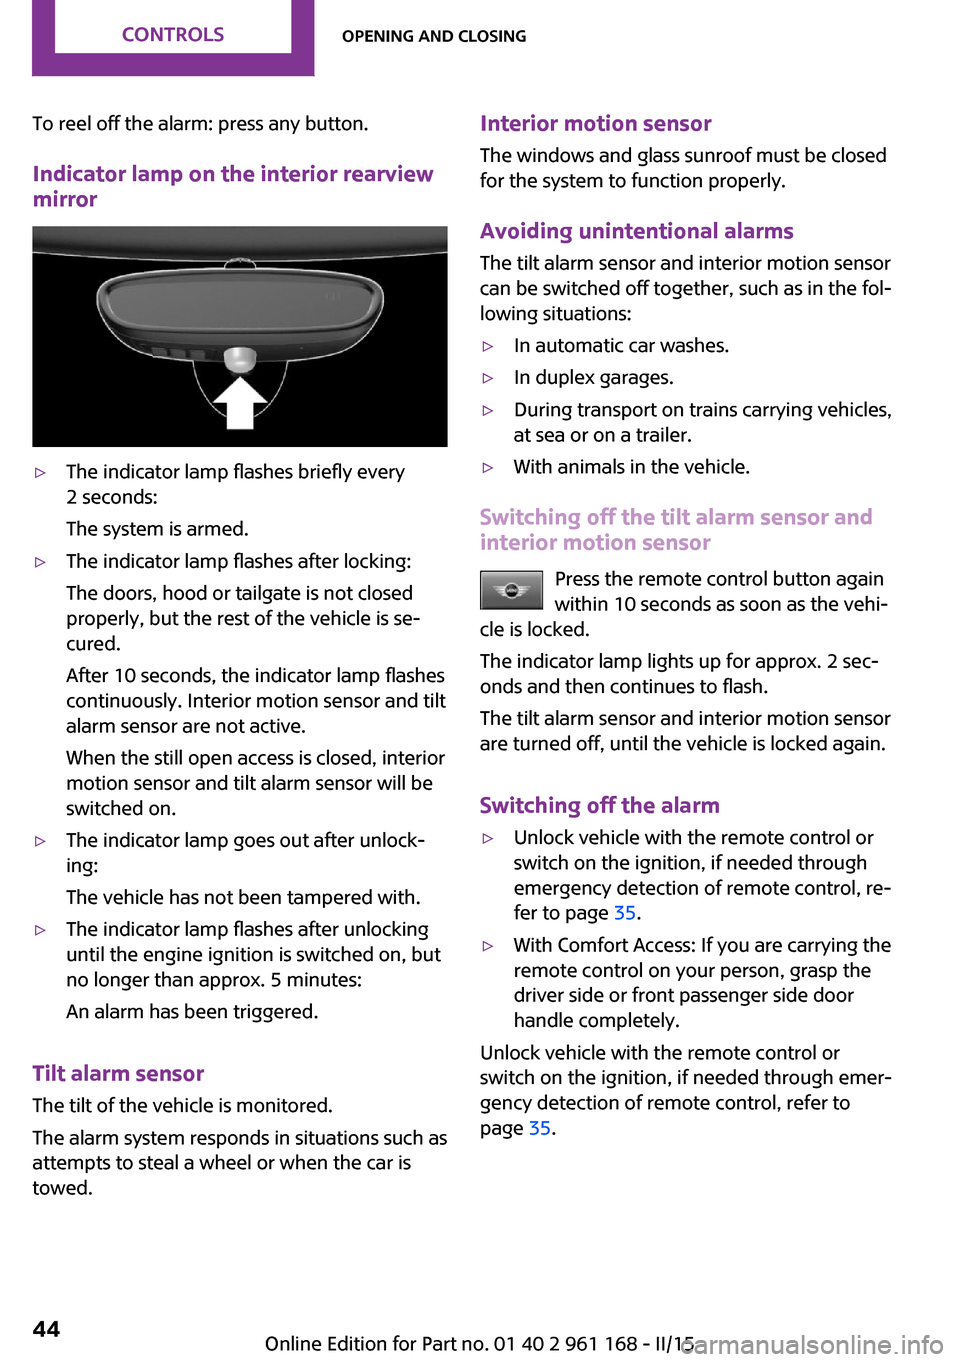
Indicator lamp on the interior rearview
mirror▷The indicator lamp flashes briefly every
2 seconds:
The system is armed.▷The indicator lamp flashes after locking:
The doors, hood or tailgate is not closed
properly, but the rest of the vehicle is se‐
cured.
After 10 seconds, the indicator lamp flashes
continuously. Interior motion sensor and tilt
alarm sensor are not active.
When the still open access is closed, interior
motion sensor and tilt alarm sensor will be
switched on.▷The indicator lamp goes out after unlock‐
ing:
The vehicle has not been tampered with.▷The indicator lamp flashes after unlocking
until the engine ignition is switched on, but
no longer than approx. 5 minutes:
An alarm has been triggered.
Tilt alarm sensor The tilt of the vehicle is monitored.
The alarm system responds in situations such as
attempts to steal a wheel or when the car is
towed.
Interior motion sensor
The windows and glass sunroof must be closed
for the system to function properly.
Avoiding unintentional alarms
The tilt alarm sensor and interior motion sensor
can be switched off together, such as in the fol‐
lowing situations:▷In automatic car washes.▷In duplex garages.▷During transport on trains carrying vehicles,
at sea or on a trailer.▷With animals in the vehicle.
Switching off the tilt alarm sensor and
interior motion sensor
Press the remote control button again
within 10 seconds as soon as the vehi‐
cle is locked.
The indicator lamp lights up for approx. 2 sec‐
onds and then continues to flash.
The tilt alarm sensor and interior motion sensor
are turned off, until the vehicle is locked again.
Switching off the alarm
▷Unlock vehicle with the remote control or
switch on the ignition, if needed through
emergency detection of remote control, re‐
fer to page 35.▷With Comfort Access: If you are carrying the
remote control on your person, grasp the
driver side or front passenger side door
handle completely.
Unlock vehicle with the remote control or
switch on the ignition, if needed through emer‐
gency detection of remote control, refer to
page 35.
Seite 44CONTROLSOpening and closing44
Online Edition for Part no. 01 40 2 961 168 - II/15
Page 70 of 244

Switching on
Push wiper lever up.
The lever automatically returns to its initial po‐
sition when released.
▷Normal wiper speed: push up once.
The wipers switch to intermittent operation
when the vehicle is stationary.▷Fast wiper speed: press up twice or press
once beyond the resistance point.
Wipers change to normal speed when vehi‐
cle comes to standstill.
Switch off and brief wipe
Push wiper lever down.
The lever automatically returns to its initial po‐
sition when released.
▷Single wipe: press down once.▷To switch off normal wipe: press down
once.▷To switch off fast wipe: press down twice.Interval mode or rain sensor
The concept
Without the rain sensor, the frequency of the
wiper operation is preset.
The rain sensor automatically controls the time
between wipes depending on the intensity of
the rainfall. The sensor is located on the wind‐
shield, directly behind the interior rearview mir‐
ror.
Activating/deactivating
Press button on the wiper lever.
The LED in the wiper lever lights up and wiping
starts. When wipers are frozen to windshield,
wiper operation is deactivated.
Deactivate the rain sensor in car washes
Deactivate the rain sensor when passing
through an automatic car wash; otherwise, un‐
intentional wiping can cause damages. ◀
Setting the frequency or sensitivity of the rain sensor
Turn the thumbwheel.
Seite 66CONTROLSDriving66
Online Edition for Part no. 01 40 2 961 168 - II/15
Page 83 of 244
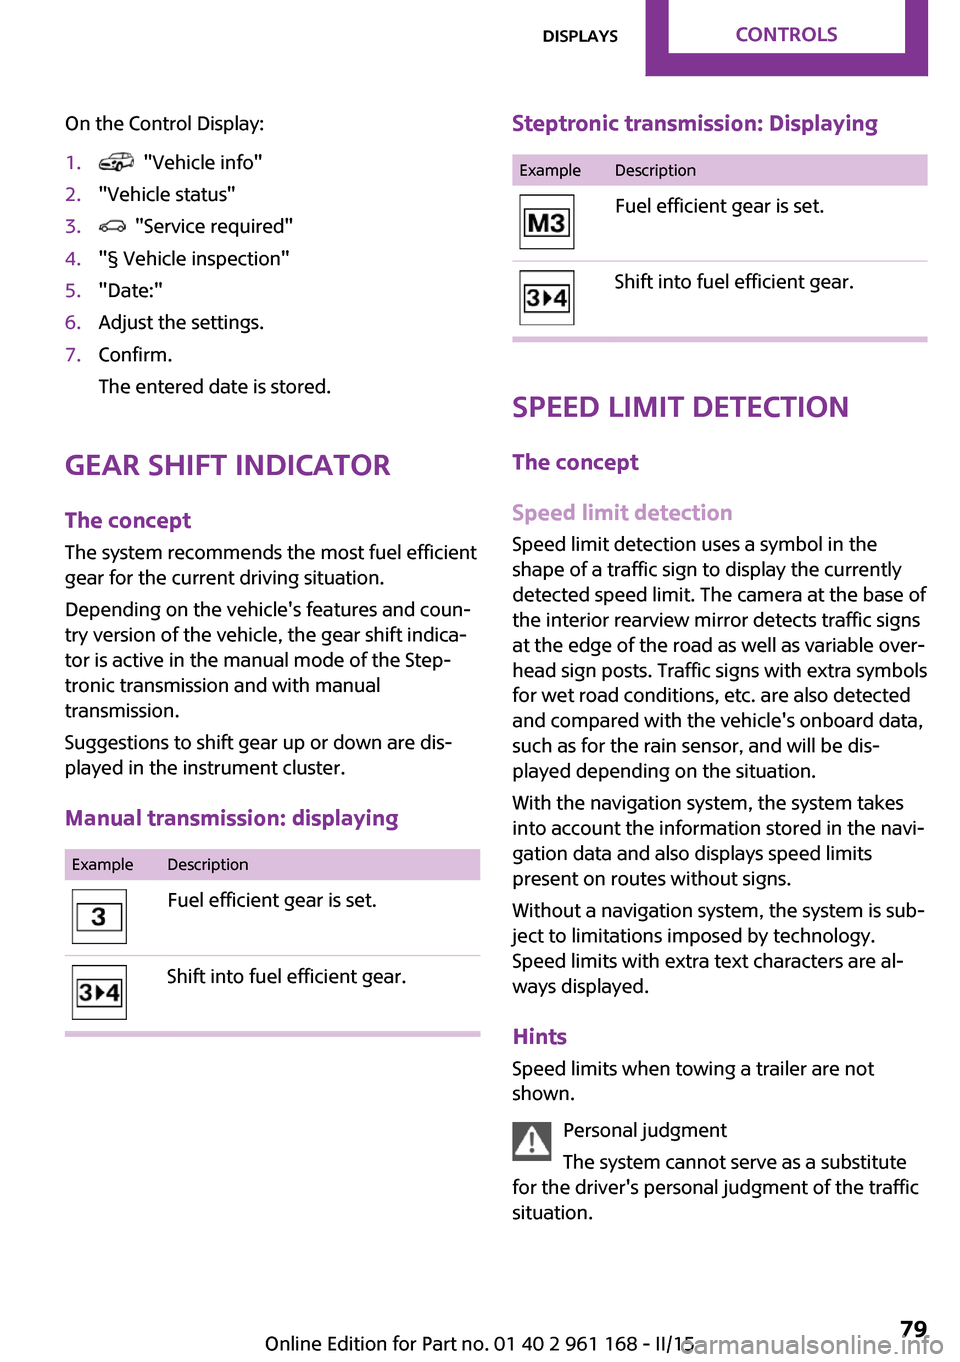
On the Control Display:1. "Vehicle info"2."Vehicle status"3. "Service required"4."§ Vehicle inspection"5."Date:"6.Adjust the settings.7.Confirm.
The entered date is stored.
Gear shift indicator
The concept
The system recommends the most fuel efficient
gear for the current driving situation.
Depending on the vehicle's features and coun‐
try version of the vehicle, the gear shift indica‐
tor is active in the manual mode of the Step‐
tronic transmission and with manual
transmission.
Suggestions to shift gear up or down are dis‐
played in the instrument cluster.
Manual transmission: displaying
ExampleDescriptionFuel efficient gear is set.Shift into fuel efficient gear.Steptronic transmission: DisplayingExampleDescriptionFuel efficient gear is set.Shift into fuel efficient gear.
Speed limit detection
The concept
Speed limit detection
Speed limit detection uses a symbol in the
shape of a traffic sign to display the currently
detected speed limit. The camera at the base of
the interior rearview mirror detects traffic signs
at the edge of the road as well as variable over‐
head sign posts. Traffic signs with extra symbols
for wet road conditions, etc. are also detected
and compared with the vehicle's onboard data,
such as for the rain sensor, and will be dis‐
played depending on the situation.
With the navigation system, the system takes
into account the information stored in the navi‐
gation data and also displays speed limits
present on routes without signs.
Without a navigation system, the system is sub‐
ject to limitations imposed by technology.
Speed limits with extra text characters are al‐
ways displayed.
Hints
Speed limits when towing a trailer are not
shown.
Personal judgment
The system cannot serve as a substitute
for the driver's personal judgment of the traffic
situation.
Seite 79DisplaysCONTROLS79
Online Edition for Part no. 01 40 2 961 168 - II/15
Page 95 of 244

Switching on
With the ignition switched off, press the lever
either up or down past the resistance point for
approx. 2 seconds.
Switch off Briefly press the lever to the resistance point in
the opposite direction.
Welcome lights and
headlight courtesy de‐
lay feature
Welcome lights When the vehicle is parked, leave the switch in
position
or : parking and interior lights
come on briefly when the vehicle is unlocked
depending on the ambient brightness.
Activating/deactivating
1. "Settings"2."Lighting"3."Welcome lights"
Settings are stored for the profile currently in
use.
Headlight courtesy delay feature
The low beams stay lit for a short while after
the radio-ready state is switched off if the lights
are turned off and the headlight flasher is
switched on.
Setting the duration
1. "Settings"2."Lighting"3."Pathway lighting:"4.Set length of time.
Settings are stored for the profile currently in
use.
Automatic headlight
control
Position of switch
: the low beams are acti‐
vated and off automatically, e.g., in tunnels, in
twilight or if there is precipitation. The indicator
lamp in the instrument cluster lights up.
A blue sky with the sun low on the horizon can
cause the lights to be switched on.
The low beams always stay on when the fog
lights are activated.
Personal responsibility
The automatic headlight control cannot
serve as a substitute for your personal judg‐
ment in determining when to turn the lights on
in response to ambient lighting conditions.
E. g. the sensors are unable to detect fog or
hazy weather. To avoid safety risks under these
conditions, you should always switch on the
lights manually. ◀
Daytime running lights
With the ignition switched on, the daytime run‐
ning lights light up in position
, or
. After the ignition is switched off, the park‐
ing lights light up in position
.
Activating/deactivating
In some countries, daytime running lights are
mandatory, so it may not be possible to deacti‐
vate the daytime running lights.
On the Control Display:
1. "Settings"2."Lighting"3."Daytime running lamps"
Settings are stored for the remote control cur‐
rently in use.
Seite 91LightsCONTROLS91
Online Edition for Part no. 01 40 2 961 168 - II/15
Page 102 of 244
After installing a child seat, make sure that the
indicator lamp for the front-seat passenger air‐
bags lights up. This indicates that the child seat
has been detected and the front-seat passen‐
ger airbags are not activated.
Strength of the driver's and front-seat
passenger airbag
The explosive power that activates driver's/
front passenger's airbags very much depends
on the positions of the driver's/front passeng‐
er's seat.
With a respective message appearing on Con‐
trol Display calibrate the front seats to keep the
accuracy of this function over the long-term.
Calibrating the front seats
A corresponding message appears on the Con‐
trol Display.1.Move the respective seat all the way for‐
ward.2.Move the respective seat forward again. It
moves forward briefly.3.Readjust the seat to the desired position.
The calibration procedure is completed when
the message on the Control Display disappears.
If the message continues to be displayed, re‐
peat the calibration.
If the message does not disappear after a re‐
peat calibration, have the system checked as
soon as possible.
Unobstructed area of movement
Ensure that the area of movement of the
seats is unobstructed to avoid personal injury
or damage to objects. ◀
Tire Pressure Monitor
TPM
The concept The system monitors tire inflation pressure in
the four mounted tires. The system warns you if
there is a significant loss of pressure in one or
more tires. For this purpose, sensors in the tire
valves measure the tire inflation pressure.
Hints Tire damage due to external factors
Sudden tire damage caused by external
circumstances cannot be recognized in ad‐
vance. ◀
With use of the system observe further infor‐
mation found under Tire inflation pressure, re‐
fer to page 174.
Functional requirements
The system must have been reset with the cor‐
rect tire inflation pressure; otherwise, reliable
signaling of tire pressure loss is not assured.
Reset the system after each adjustment of the
tire inflation pressure and after every tire or
wheel change.
Always use wheels with TPM electronics to en‐
sure that the system will operate properly.
Status display
The current status of the Tire Pressure Monitor
TPM can be displayed on the Control Display,
e.g., whether or not the TPM is active.
On the Control Display:1. "Vehicle info"2."Vehicle status"3. "Tire Pressure Monitor (TPM)"
The status is displayed.
Seite 98CONTROLSSafety98
Online Edition for Part no. 01 40 2 961 168 - II/15
Page 127 of 244
PDC Park Distance Con‐
trol
The concept
PDC supports you when parking. Slowly ap‐
proaching an object behind or, with the appro‐ priate equipment, also in front of your vehicle issignaled by:▷Signal tones.▷Visual display.
General information
Ultrasound sensors in the bumpers measure
the distances from objects.
The maneuvering range, depending on obsta‐
cles and environmental conditions, is approx.
6 ft/2 m.
An acoustic warning is first given:
▷By the front middle sensors and the two
corner sensors at approx. 24 in/60 cm.▷By the rear middle sensors at approx.
5 ft/1.50 m.
Hints
Check the traffic situation as well
PDC cannot serve as a substitute for the
driver's personal judgment of the traffic situa‐
tion. Check the traffic situation around the ve‐
hicle with your own eyes. Otherwise, an acci‐
dent could result from road users or objects
located outside of the PDC detection range.
Loud noises from outside and inside the vehicle
may prevent you from hearing the PDC's signal tone. ◀
Avoid driving fast with PDC
Avoid approaching an object too fast.
Avoid driving off fast while PDC is not yet ac‐
tive.
For technical reasons, the system may other‐
wise be too late in issuing a warning. ◀
At a glance
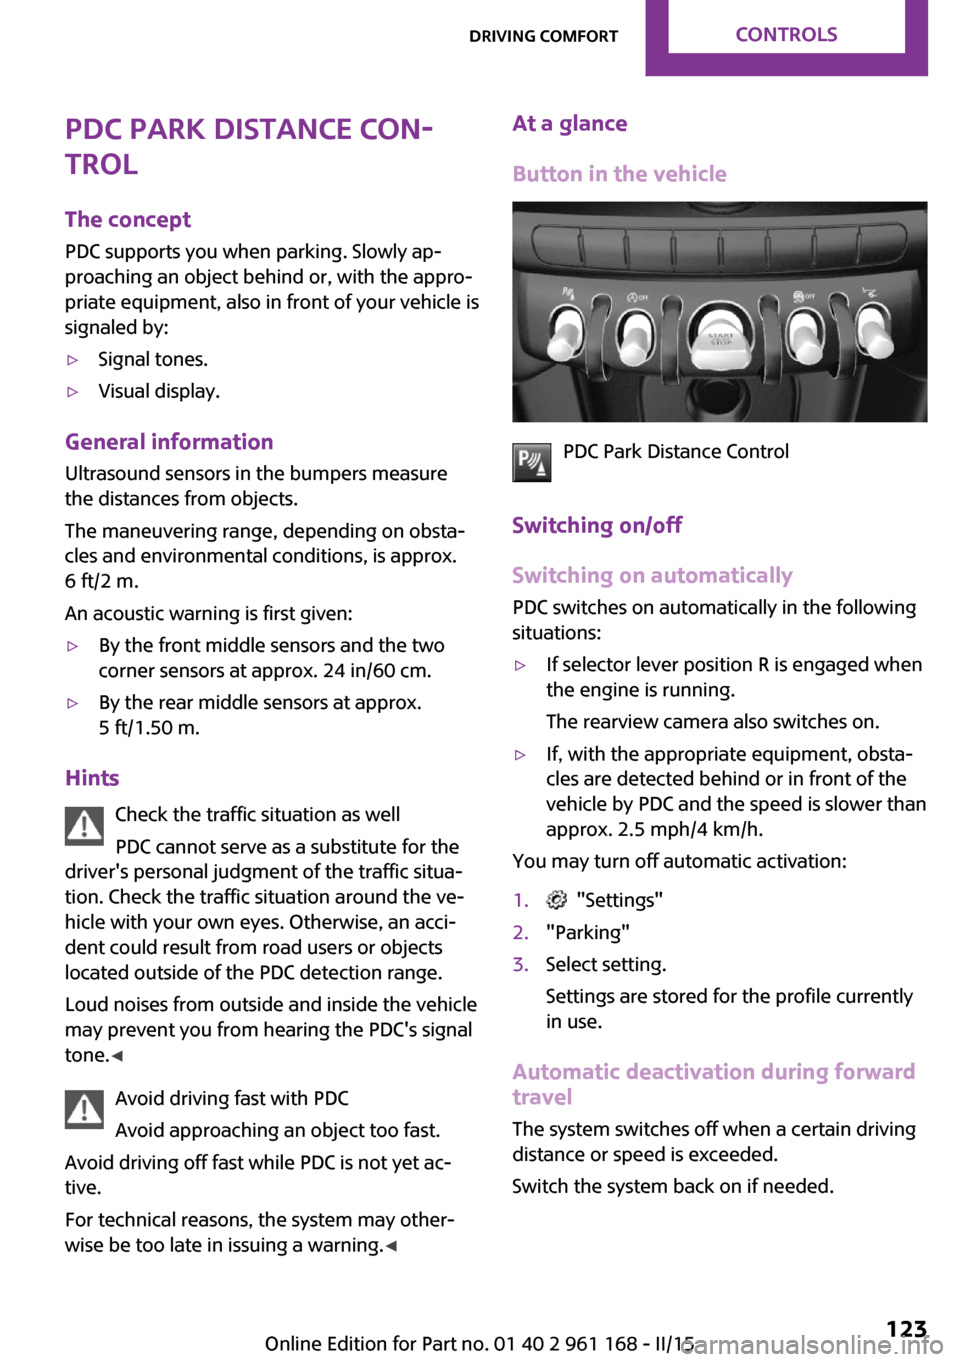
Button in the vehicle
PDC Park Distance Control
Switching on/off
Switching on automatically
PDC switches on automatically in the following
situations:
▷If selector lever position R is engaged when
the engine is running.
The rearview camera also switches on.▷If, with the appropriate equipment, obsta‐
cles are detected behind or in front of the
vehicle by PDC and the speed is slower than
approx. 2.5 mph/4 km/h.
You may turn off automatic activation:
1. "Settings"2."Parking"3.Select setting.
Settings are stored for the profile currently
in use.
Automatic deactivation during forward
travel
The system switches off when a certain driving
distance or speed is exceeded.
Switch the system back on if needed.
Seite 123Driving comfortCONTROLS123
Online Edition for Part no. 01 40 2 961 168 - II/15
Page 128 of 244
Switching on/off manuallyPress button.▷On: the LED lights up.▷Off: the LED goes out.
The rearview camera image is displayed when
the reverse gear is engaged by pressing the
button.
Display
Signal tones
When approaching an object, an intermittent
sound indicates the position of the object. E. g.
if an object is detected to the left rear of the ve‐
hicle, a signal tone sounds from the left rear
speaker.
The shorter the distance to the object, the
shorter the intervals.
If the distance to a detected object is less than
approx. 10 in/25 cm, a continuous tone is sounded.
If objects are located both in front of and to the
rear of the vehicle, an alternating continuous
signal is sounded.
The signal tone is switched off, when selector
lever position P is engaged on vehicles with Steptronic transmission.
Volume
The volume of the PDC signal tone can be ad‐
justed similar to the sound and volume settings
of the radio.
Settings are stored for the profile currently in
use.
Visual warning
The approach of the vehicle to an object can be
shown on the Control Display. Objects that are
farther away are already displayed on the Con‐
trol Display before a signal sounds.
A display appears as soon as Park Distance
Control (PDC) is activated.
The range of the sensors is represented in col‐
ors: red, green and yellow.
When the image of the rearview camera is dis‐
played, the reel can be made to PDC:
"Rear view camera"
System limits
Limits of ultrasonic measurement Ultrasonic measuring might not function under
the following circumstances:
▷For small children and animals.▷For persons with certain clothing, e.g.
coats.▷With external interference of the ultra‐
sound, e.g. from passing vehicles or loud
machines.▷When sensors are dirty, iced over, damaged
or out of position.▷Under certain weather conditions such as
high relative humidity, rain, snowfall, ex‐
treme heat or strong wind.▷With tow bars and trailer couplings of other
vehicles.▷With thin or wedge-shaped objects.▷With moving objects.▷With elevated, protruding objects such as
ledges or cargo.▷With objects with corners and sharp edges.▷With objects with a fine surface structure
such as fences.▷For objects with porous surfaces.
Low objects already displayed, e.g., curbs, can
move into the blind area of the sensors before
or after a continuous tone sounds.
Seite 124CONTROLSDriving comfort124
Online Edition for Part no. 01 40 2 961 168 - II/15
Page 129 of 244
False warnings
PDC may issue a warning under the following
conditions even though there is no obstacle
within the detection range:▷In heavy rain.▷When sensors are very dirty or covered with
ice.▷When sensors are covered in snow.▷On rough road surfaces.▷On uneven surfaces, such as speed bumps.▷In large buildings with right angles and
smooth walls, e.g., in underground garages.▷In automatic car washes.▷Through heavy pollution.▷Due to other ultrasound sources, e.g.,
sweeping machines, high pressure steam
cleaners or neon lights.
The malfunction is signaled by a continuous
tone alternating between the front and rear
speakers. As soon as the malfunction due
to other ultrasound sources is no longer
present, the system is again fully functional.
Malfunction
A Check Control message, refer to page 73, is
displayed in the instrument cluster.
Red symbol is displayed, and the range
of the sensors is dimmed on the Control
Display.
PDC has failed. Have the system checked.
To ensure full functionality:
▷Keep the sensors clean and free of ice.▷dimmedDo not put any stickers on sensors.▷When using high-pressure washers, do not
spray the sensors for long periods and
maintain a distance of at least 12 in/30 cm.Rearview camera
The concept
The rearview camera provides assistance in
parking and maneuvering backwards. The area
behind the vehicle is shown on the Control Dis‐
play.
Note Check the traffic situation as well
Check the traffic situation around the ve‐
hicle with your own eyes. Otherwise, an acci‐
dent could result from road users or objects
that are not lidtured by the camera. ◀
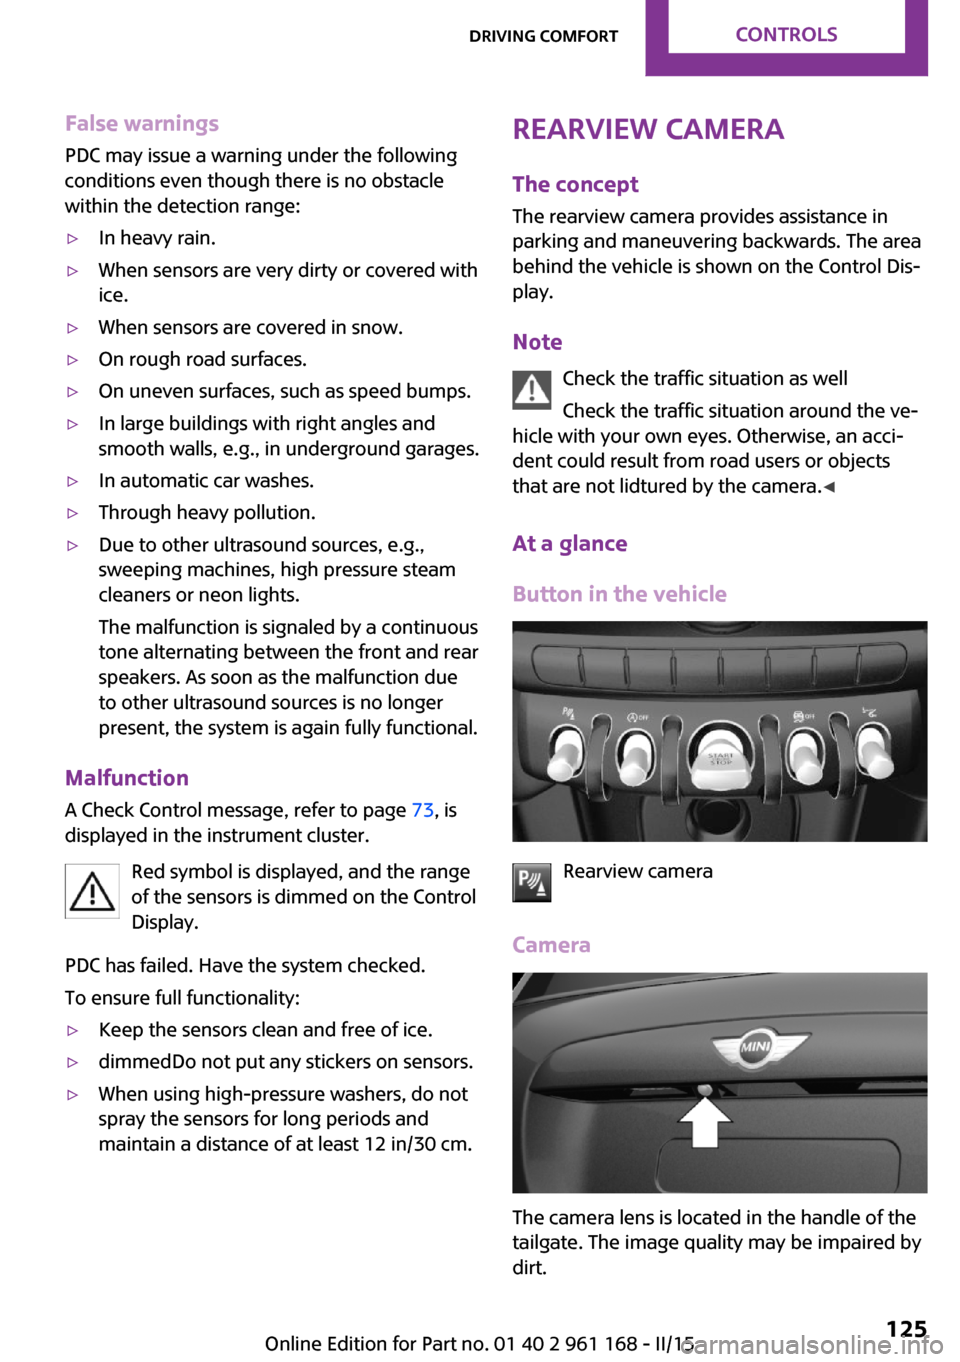
At a glance
Button in the vehicle
Rearview camera
Camera
The camera lens is located in the handle of the
tailgate. The image quality may be impaired by
dirt.
Seite 125Driving comfortCONTROLS125
Online Edition for Part no. 01 40 2 961 168 - II/15