change wheel MINI Paceman 2014 (Mini Connected) User Guide
[x] Cancel search | Manufacturer: MINI, Model Year: 2014, Model line: Paceman, Model: MINI Paceman 2014Pages: 282, PDF Size: 6.76 MB
Page 95 of 282
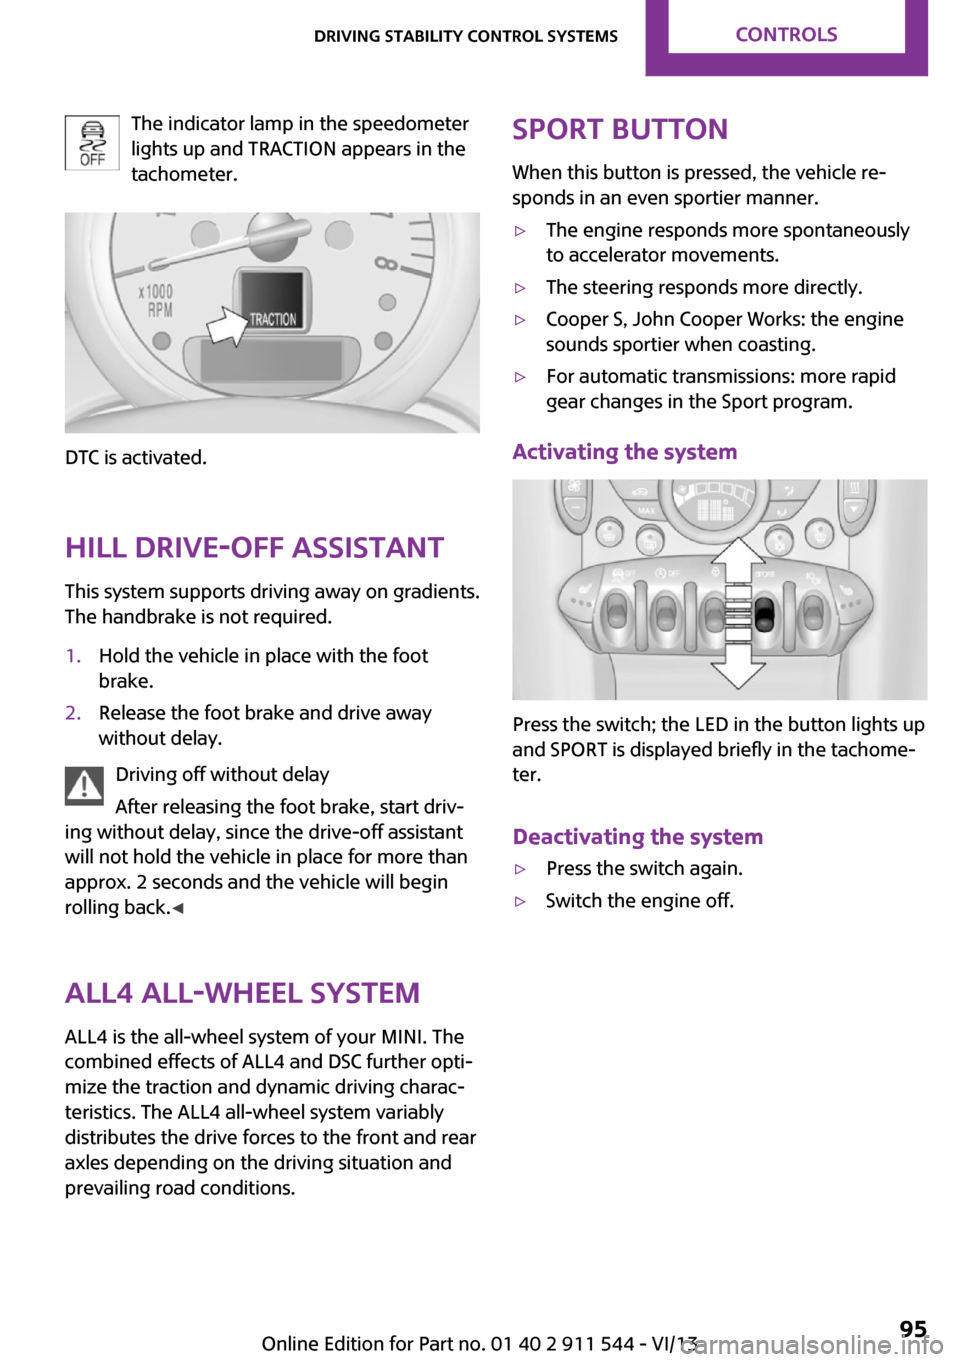
The indicator lamp in the speedometer
lights up and TRACTION appears in the
tachometer.
DTC is activated.
Hill drive-off assistant This system supports driving away on gradients.
The handbrake is not required.
1.Hold the vehicle in place with the foot
brake.2.Release the foot brake and drive away
without delay.
Driving off without delay
After releasing the foot brake, start driv‐
ing without delay, since the drive-off assistant
will not hold the vehicle in place for more than
approx. 2 seconds and the vehicle will begin
rolling back. ◀
ALL4 all-wheel system
ALL4 is the all-wheel system of your MINI. The
combined effects of ALL4 and DSC further opti‐
mize the traction and dynamic driving charac‐
teristics. The ALL4 all-wheel system variably
distributes the drive forces to the front and rear
axles depending on the driving situation and
prevailing road conditions.
Sport button
When this button is pressed, the vehicle re‐
sponds in an even sportier manner.▷The engine responds more spontaneously
to accelerator movements.▷The steering responds more directly.▷Cooper S, John Cooper Works: the engine
sounds sportier when coasting.▷For automatic transmissions: more rapid
gear changes in the Sport program.
Activating the system
Press the switch; the LED in the button lights up
and SPORT is displayed briefly in the tachome‐
ter.
Deactivating the system
▷Press the switch again.▷Switch the engine off.Seite 95Driving stability control systemsControls95
Online Edition for Part no. 01 40 2 911 544 - VI/13
Page 241 of 282
Due to the high voltage present in the system,
there is the danger of fatal injuries if work is
carried out improperly. ◀
Front lamps, bulb replacement
Halogen low beams and high beams
Bulb H13, 60/55 watt
Wear protective goggles and gloves
Halogen bulbs are pressurized. Therefore,
wear protective goggles and gloves. Otherwise,
there is a danger of injuries if the bulb is acci‐
dentally damaged during replacement. ◀
Attach the cover carefully
When attaching the cover, proceed care‐
fully; otherwise, leaks may occur, causing dam‐
age to the headlamp system. ◀
Access to the bulbs through the engine compartment
Follow the general instructions on lamps and
bulbs, refer to page 240.
Low beam/high beam bulbs can be changed
from the engine compartment.
To remove the cover:
1.Press the tab.2.Fold away the cover and take it out of the
holder.
Proceed in reverse order to attach the cover.
Attach the cover carefully
When attaching the cover, proceed care‐
fully; otherwise, leaks may occur, causing dam‐
age to the headlamp system. ◀
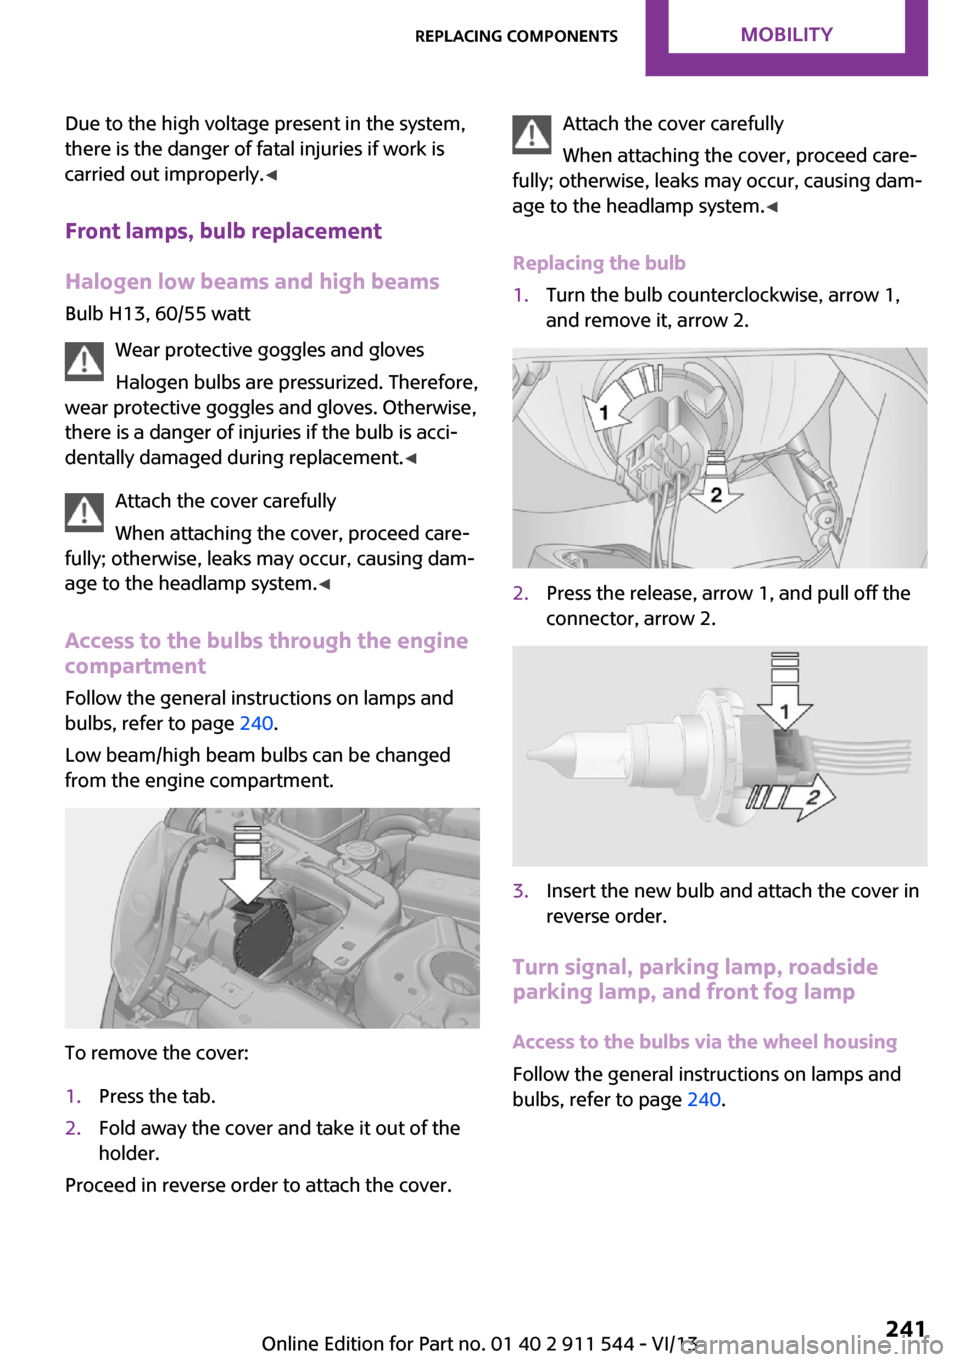
Replacing the bulb1.Turn the bulb counterclockwise, arrow 1,
and remove it, arrow 2.2.Press the release, arrow 1, and pull off the
connector, arrow 2.3.Insert the new bulb and attach the cover in
reverse order.
Turn signal, parking lamp, roadside
parking lamp, and front fog lamp
Access to the bulbs via the wheel housing
Follow the general instructions on lamps and
bulbs, refer to page 240.
Seite 241Replacing componentsMobility241
Online Edition for Part no. 01 40 2 911 544 - VI/13
Page 250 of 282
the battery, or to the engine or body
ground of the vehicle to be started.
Body ground:
Starting the engine
Never use spray fluids to start the engine.
1.Start the engine of the assisting vehicle and
let it run for several minutes at a slightly in‐
creased idle speed.2.Start the engine of the vehicle being started
in the usual way.
If the first starting attempt is not successful,
wait a few minutes before making another
attempt in order to allow the discharged
battery to recharge.3.Let both engines run for several minutes.4.Disconnect the jumper cables in the reverse
order.
Check the battery and recharge if necessary.
Tow-starting and towing
Notes Observe applicable laws and regulations
Observe applicable laws and regulations
for tow-starting and towing. ◀
No additional passengers
Do not transport any passengers other
than the driver in a vehicle that is being
towed. ◀
Using a tow fitting
The screw-in tow fitting must always be carried
in the vehicle. It can be screwed in at the front
or rear of the MINI.
The tow fitting is stowed in the following loca‐
tion, depending on the equipment:▷Under the right or left front seat.▷In the pouch of the wheel change set in the
cargo area.
Tow fitting, information on use
▷Use only the tow fitting provided with
the vehicle and screw it all the way in.▷Use the tow fitting for towing on paved
roads only.▷Avoid lateral loading of the tow fitting, e.g.,
do not lift the vehicle by the tow fitting.
Otherwise, damage to the tow fitting and the
vehicle can occur. ◀
Access to the screw thread Push out the tow fitting cover at the appropri‐
ate recess in the bumper.
Front
Seite 250MobilityBreakdown assistance250
Online Edition for Part no. 01 40 2 911 544 - VI/13
Page 271 of 282
Bluetooth connection, activat‐ing/deactivating 181, 191
Bluetooth hands-free sys‐ tem 180
Brake assistant 93
Brake discs, breaking in 122
Brake fluid, refer to Service re‐ quirements 74
Brake force distribution, elec‐ tronic 93
Brake pads, breaking in 122
Brakes– Handbrake 60
Brakes, MINI maintenance
system 237
Brakes, service require‐ ments 74
Brake system, MINI mainte‐ nance system 237
Braking, notes 123
Breakdown assistance, Road‐ side Assistance 248
Breaking in 122
Brightness on the Control Dis‐ play 74
Buckle tongue, rear
– Height adjustment 48
Button for starting the engine,
refer to Start/Stop button 58
C
Calendar 206
California Proposition 65 Warning 7
Car battery, refer to Vehicle battery 246
Car care products 255
Care, displays 257
Care, vehicle 255
Cargo area
– Comfort Access 39– Flat loading floor 111– Multi-function hook 113– Opening from the out‐
side 37– Partition net 112Cargo area, enlarging– Cargo cover 110
Cargo area lamp, refer to Inte‐
rior lamps 81
Cargo area tailgate, refer to Tailgate 37
Car horn, refer to Horn 14
Carpet, care 257
Car phone, refer to Tele‐ phone 180, 190
Car wash 254
CBC, Cornering Brake Con‐
trol 93
CBS Condition Based Serv‐ ice 237
CD 166
CD/DVD drives, care 257
CD player 166
Center armrest 115
Center console, refer to Around the center con‐
sole 18
Center rail 116
Center rail, refer to Storage compartments 116
Central locking
– Comfort Access 38– From the inside 36– From the outside 34
Central locking system
– Concept 33– From the outside 33
Central screen, see Control
Display 20
Changes, technical, refer to Safety 7
Changing wheels/tires 227
Check Control 75
Children, transporting 53
Child restraint fixing system LATCH 54
Child restraint fixing sys‐ tems 53
Child restraint fixing systems, mounting 53
Child seat, mounting 53
Child seats, refer to Transport‐
ing children safely 53
Chrome parts, care 257
Circulation of air, refer to Re‐ circulated air
mode 100, 102
Cleaning, displays 257
Cleaning, refer to Care 254
Climate 99
Climate mode– Ventilation 103
Clock 68
Clock
– 12h/24h format 72– Setting the time and date 72
Closing
– From the inside 36– From the outside 34
Clutch, breaking in 122
Cockpit 14
Cold start, refer to Starting the engine 59
Combination instrument, refer to Displays 16
Combination switch, refer to Turn signal/high beams/
headlamp flasher 61
Combination switch, refer to Washer/wiper system 61
Comfort Access
– In the car wash 40– Replacing the battery 41
Comfort area, refer to Around
the center console 18
Compartment for remote con‐ trol, refer to Ignition lock 58
Compass, digital 106
Computer 69
Computer, displaying informa‐ tion 69
Condition Based Service CBS 237
Confirmation signals for vehi‐ cle locking/unlocking 35
Connecting, mobile phone, re‐ fer to Pairing the mobile
phone 180, 191
Seite 271Everything from A to ZReference271
Online Edition for Part no. 01 40 2 911 544 - VI/13
Page 273 of 282
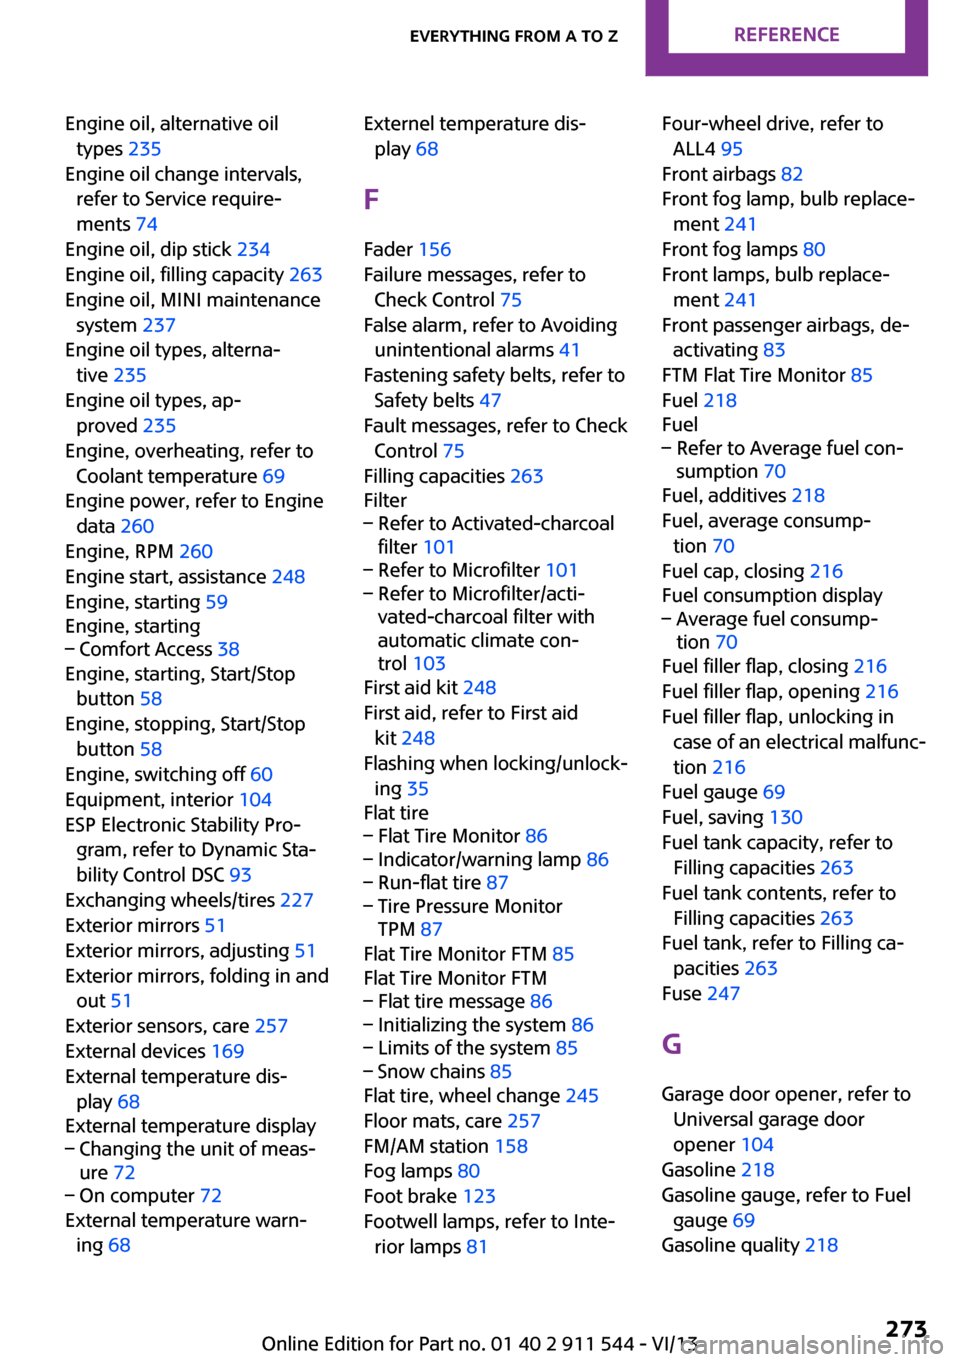
Engine oil, alternative oiltypes 235
Engine oil change intervals, refer to Service require‐
ments 74
Engine oil, dip stick 234
Engine oil, filling capacity 263
Engine oil, MINI maintenance system 237
Engine oil types, alterna‐ tive 235
Engine oil types, ap‐ proved 235
Engine, overheating, refer to Coolant temperature 69
Engine power, refer to Engine data 260
Engine, RPM 260
Engine start, assistance 248
Engine, starting 59
Engine, starting– Comfort Access 38
Engine, starting, Start/Stop
button 58
Engine, stopping, Start/Stop button 58
Engine, switching off 60
Equipment, interior 104
ESP Electronic Stability Pro‐ gram, refer to Dynamic Sta‐
bility Control DSC 93
Exchanging wheels/tires 227
Exterior mirrors 51
Exterior mirrors, adjusting 51
Exterior mirrors, folding in and out 51
Exterior sensors, care 257
External devices 169
External temperature dis‐ play 68
External temperature display
– Changing the unit of meas‐
ure 72– On computer 72
External temperature warn‐
ing 68
Externel temperature dis‐
play 68
F
Fader 156
Failure messages, refer to Check Control 75
False alarm, refer to Avoiding unintentional alarms 41
Fastening safety belts, refer to Safety belts 47
Fault messages, refer to Check Control 75
Filling capacities 263
Filter– Refer to Activated-charcoal
filter 101– Refer to Microfilter 101– Refer to Microfilter/acti‐
vated-charcoal filter with
automatic climate con‐
trol 103
First aid kit 248
First aid, refer to First aid kit 248
Flashing when locking/unlock‐ ing 35
Flat tire
– Flat Tire Monitor 86– Indicator/warning lamp 86– Run-flat tire 87– Tire Pressure Monitor
TPM 87
Flat Tire Monitor FTM 85
Flat Tire Monitor FTM
– Flat tire message 86– Initializing the system 86– Limits of the system 85– Snow chains 85
Flat tire, wheel change 245
Floor mats, care 257
FM/AM station 158
Fog lamps 80
Foot brake 123
Footwell lamps, refer to Inte‐ rior lamps 81
Four-wheel drive, refer to
ALL4 95
Front airbags 82
Front fog lamp, bulb replace‐ ment 241
Front fog lamps 80
Front lamps, bulb replace‐ ment 241
Front passenger airbags, de‐ activating 83
FTM Flat Tire Monitor 85
Fuel 218
Fuel– Refer to Average fuel con‐
sumption 70
Fuel, additives 218
Fuel, average consump‐ tion 70
Fuel cap, closing 216
Fuel consumption display
– Average fuel consump‐
tion 70
Fuel filler flap, closing 216
Fuel filler flap, opening 216
Fuel filler flap, unlocking in case of an electrical malfunc‐
tion 216
Fuel gauge 69
Fuel, saving 130
Fuel tank capacity, refer to Filling capacities 263
Fuel tank contents, refer to Filling capacities 263
Fuel tank, refer to Filling ca‐ pacities 263
Fuse 247
G Garage door opener, refer to Universal garage door
opener 104
Gasoline 218
Gasoline gauge, refer to Fuel gauge 69
Gasoline quality 218
Seite 273Everything from A to ZReference273
Online Edition for Part no. 01 40 2 911 544 - VI/13
Page 278 of 282
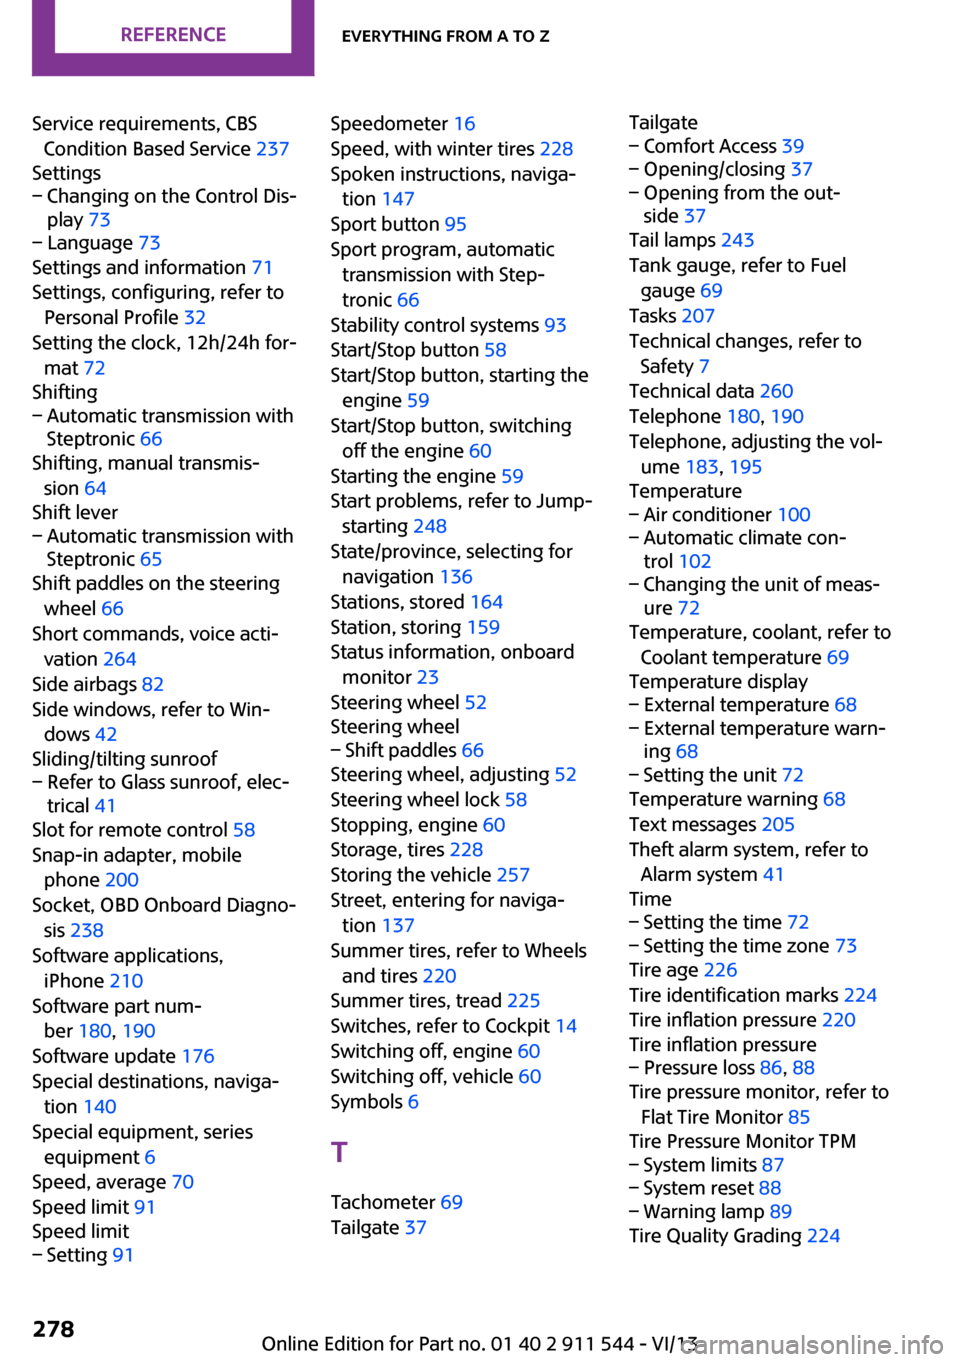
Service requirements, CBSCondition Based Service 237
Settings– Changing on the Control Dis‐
play 73– Language 73
Settings and information 71
Settings, configuring, refer to Personal Profile 32
Setting the clock, 12h/24h for‐ mat 72
Shifting
– Automatic transmission with
Steptronic 66
Shifting, manual transmis‐
sion 64
Shift lever
– Automatic transmission with
Steptronic 65
Shift paddles on the steering
wheel 66
Short commands, voice acti‐ vation 264
Side airbags 82
Side windows, refer to Win‐ dows 42
Sliding/tilting sunroof
– Refer to Glass sunroof, elec‐
trical 41
Slot for remote control 58
Snap-in adapter, mobile phone 200
Socket, OBD Onboard Diagno‐ sis 238
Software applications, iPhone 210
Software part num‐ ber 180, 190
Software update 176
Special destinations, naviga‐ tion 140
Special equipment, series equipment 6
Speed, average 70
Speed limit 91
Speed limit
– Setting 91Speedometer 16
Speed, with winter tires 228
Spoken instructions, naviga‐ tion 147
Sport button 95
Sport program, automatic transmission with Step‐
tronic 66
Stability control systems 93
Start/Stop button 58
Start/Stop button, starting the engine 59
Start/Stop button, switching off the engine 60
Starting the engine 59
Start problems, refer to Jump- starting 248
State/province, selecting for navigation 136
Stations, stored 164
Station, storing 159
Status information, onboard monitor 23
Steering wheel 52
Steering wheel– Shift paddles 66
Steering wheel, adjusting 52
Steering wheel lock 58
Stopping, engine 60
Storage, tires 228
Storing the vehicle 257
Street, entering for naviga‐ tion 137
Summer tires, refer to Wheels and tires 220
Summer tires, tread 225
Switches, refer to Cockpit 14
Switching off, engine 60
Switching off, vehicle 60
Symbols 6
T Tachometer 69
Tailgate 37
Tailgate– Comfort Access 39– Opening/closing 37– Opening from the out‐
side 37
Tail lamps 243
Tank gauge, refer to Fuel gauge 69
Tasks 207
Technical changes, refer to Safety 7
Technical data 260
Telephone 180, 190
Telephone, adjusting the vol‐ ume 183, 195
Temperature
– Air conditioner 100– Automatic climate con‐
trol 102– Changing the unit of meas‐
ure 72
Temperature, coolant, refer to
Coolant temperature 69
Temperature display
– External temperature 68– External temperature warn‐
ing 68– Setting the unit 72
Temperature warning 68
Text messages 205
Theft alarm system, refer to Alarm system 41
Time
– Setting the time 72– Setting the time zone 73
Tire age 226
Tire identification marks 224
Tire inflation pressure 220
Tire inflation pressure
– Pressure loss 86, 88
Tire pressure monitor, refer to
Flat Tire Monitor 85
Tire Pressure Monitor TPM
– System limits 87– System reset 88– Warning lamp 89
Tire Quality Grading 224
Seite 278ReferenceEverything from A to Z278
Online Edition for Part no. 01 40 2 911 544 - VI/13
Page 279 of 282
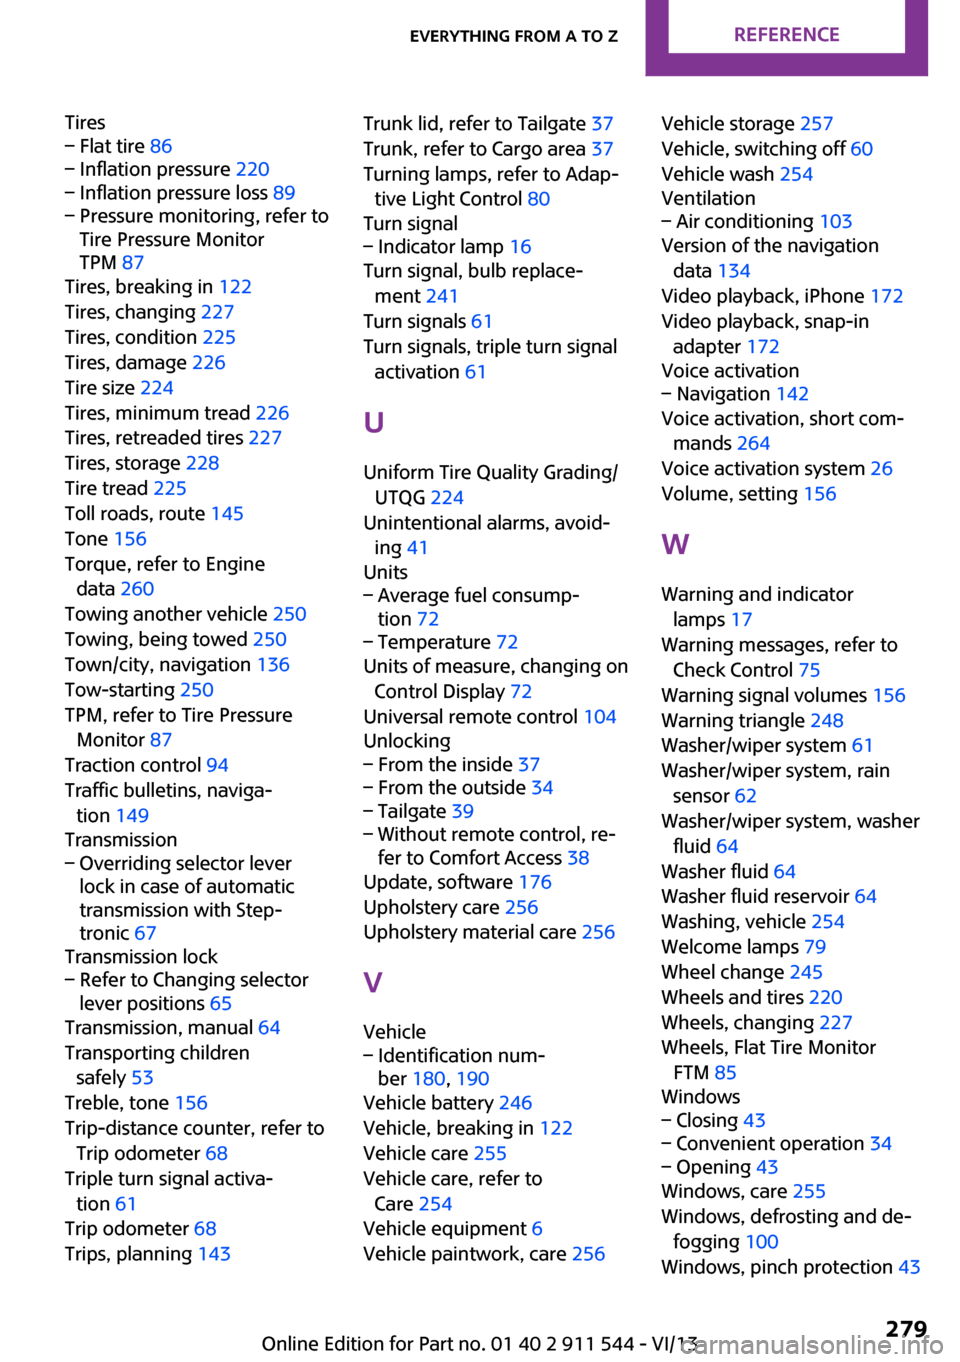
Tires– Flat tire 86– Inflation pressure 220– Inflation pressure loss 89– Pressure monitoring, refer to
Tire Pressure Monitor
TPM 87
Tires, breaking in 122
Tires, changing 227
Tires, condition 225
Tires, damage 226
Tire size 224
Tires, minimum tread 226
Tires, retreaded tires 227
Tires, storage 228
Tire tread 225
Toll roads, route 145
Tone 156
Torque, refer to Engine data 260
Towing another vehicle 250
Towing, being towed 250
Town/city, navigation 136
Tow-starting 250
TPM, refer to Tire Pressure Monitor 87
Traction control 94
Traffic bulletins, naviga‐ tion 149
Transmission
– Overriding selector lever
lock in case of automatic
transmission with Step‐
tronic 67
Transmission lock
– Refer to Changing selector
lever positions 65
Transmission, manual 64
Transporting children safely 53
Treble, tone 156
Trip-distance counter, refer to Trip odometer 68
Triple turn signal activa‐ tion 61
Trip odometer 68
Trips, planning 143
Trunk lid, refer to Tailgate 37
Trunk, refer to Cargo area 37
Turning lamps, refer to Adap‐ tive Light Control 80
Turn signal– Indicator lamp 16
Turn signal, bulb replace‐
ment 241
Turn signals 61
Turn signals, triple turn signal activation 61
U
Uniform Tire Quality Grading/ UTQG 224
Unintentional alarms, avoid‐ ing 41
Units
– Average fuel consump‐
tion 72– Temperature 72
Units of measure, changing on
Control Display 72
Universal remote control 104
Unlocking
– From the inside 37– From the outside 34– Tailgate 39– Without remote control, re‐
fer to Comfort Access 38
Update, software 176
Upholstery care 256
Upholstery material care 256
V
Vehicle
– Identification num‐
ber 180, 190
Vehicle battery 246
Vehicle, breaking in 122
Vehicle care 255
Vehicle care, refer to Care 254
Vehicle equipment 6
Vehicle paintwork, care 256
Vehicle storage 257
Vehicle, switching off 60
Vehicle wash 254
Ventilation– Air conditioning 103
Version of the navigation
data 134
Video playback, iPhone 172
Video playback, snap-in adapter 172
Voice activation
– Navigation 142
Voice activation, short com‐
mands 264
Voice activation system 26
Volume, setting 156
W Warning and indicator lamps 17
Warning messages, refer to Check Control 75
Warning signal volumes 156
Warning triangle 248
Washer/wiper system 61
Washer/wiper system, rain sensor 62
Washer/wiper system, washer fluid 64
Washer fluid 64
Washer fluid reservoir 64
Washing, vehicle 254
Welcome lamps 79
Wheel change 245
Wheels and tires 220
Wheels, changing 227
Wheels, Flat Tire Monitor FTM 85
Windows
– Closing 43– Convenient operation 34– Opening 43
Windows, care 255
Windows, defrosting and de‐ fogging 100
Windows, pinch protection 43
Seite 279Everything from A to ZReference279
Online Edition for Part no. 01 40 2 911 544 - VI/13