change language MINI Paceman 2014 Owner's Manual (Mini Connected)
[x] Cancel search | Manufacturer: MINI, Model Year: 2014, Model line: Paceman, Model: MINI Paceman 2014Pages: 282, PDF Size: 6.76 MB
Page 28 of 282
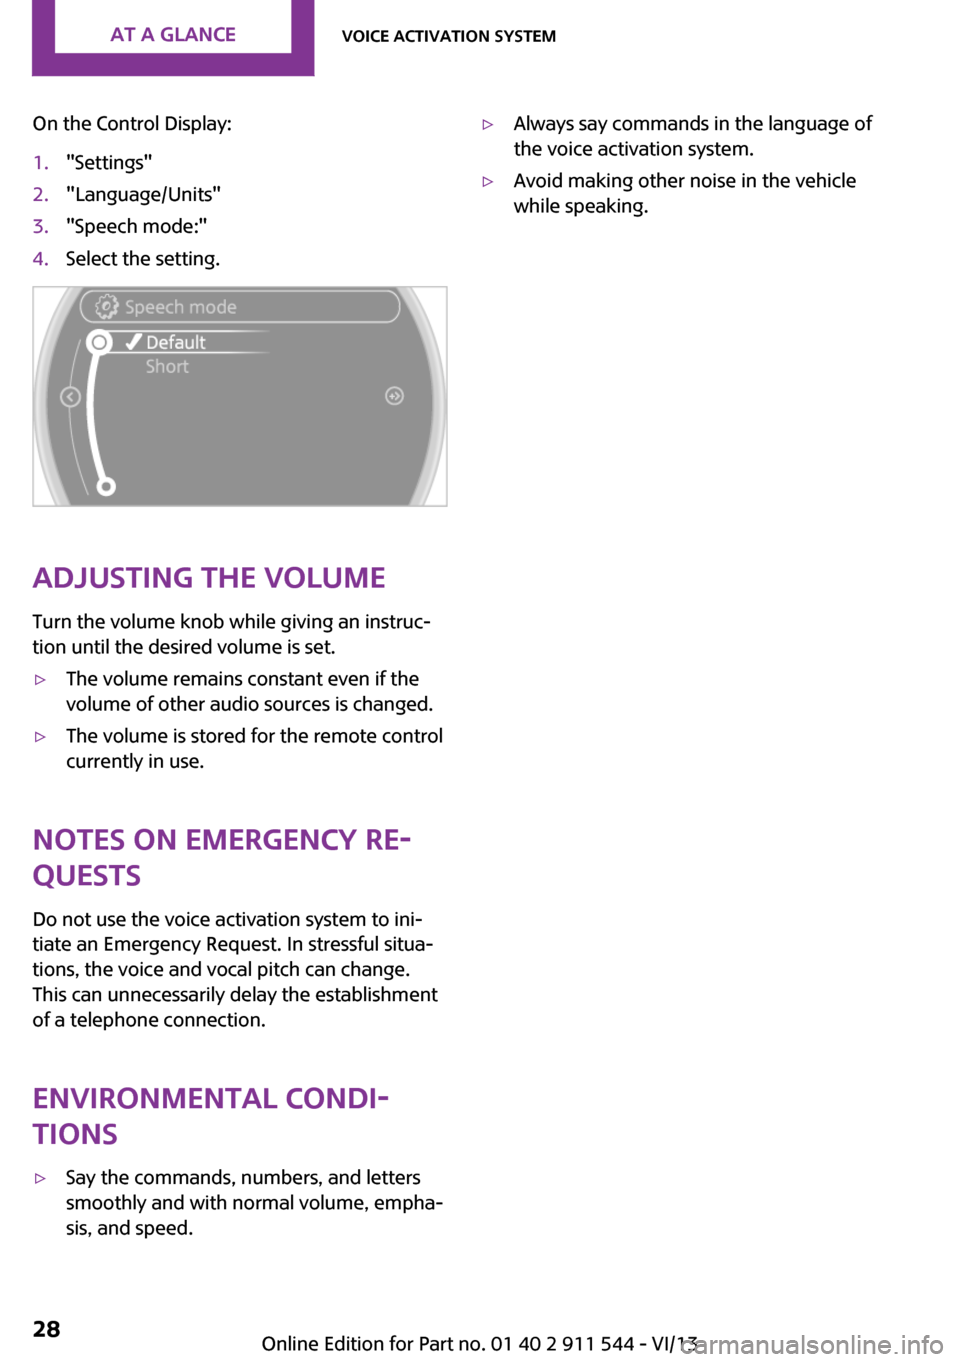
On the Control Display:1."Settings"2."Language/Units"3."Speech mode:"4.Select the setting.
Adjusting the volumeTurn the volume knob while giving an instruc‐
tion until the desired volume is set.
▷The volume remains constant even if the
volume of other audio sources is changed.▷The volume is stored for the remote control
currently in use.
Notes on Emergency Re‐
quests
Do not use the voice activation system to ini‐
tiate an Emergency Request. In stressful situa‐
tions, the voice and vocal pitch can change.
This can unnecessarily delay the establishment
of a telephone connection.
Environmental condi‐
tions
▷Say the commands, numbers, and letters
smoothly and with normal volume, empha‐
sis, and speed.▷Always say commands in the language of
the voice activation system.▷Avoid making other noise in the vehicle
while speaking.Seite 28At a glanceVoice activation system28
Online Edition for Part no. 01 40 2 911 544 - VI/13
Page 72 of 282
Next setting or information1.Within a setting or information display,
press the button on the turn indicator lever
repeatedly until "NEXT" is displayed.2.Hold the button down.
Direct change to the next setting or piece of in‐
formation.
Units of measure
The units of measure, such as for fuel consump‐
tion, route/distance, and temperature, can be
changed. The settings are stored for the remote
control currently in use.
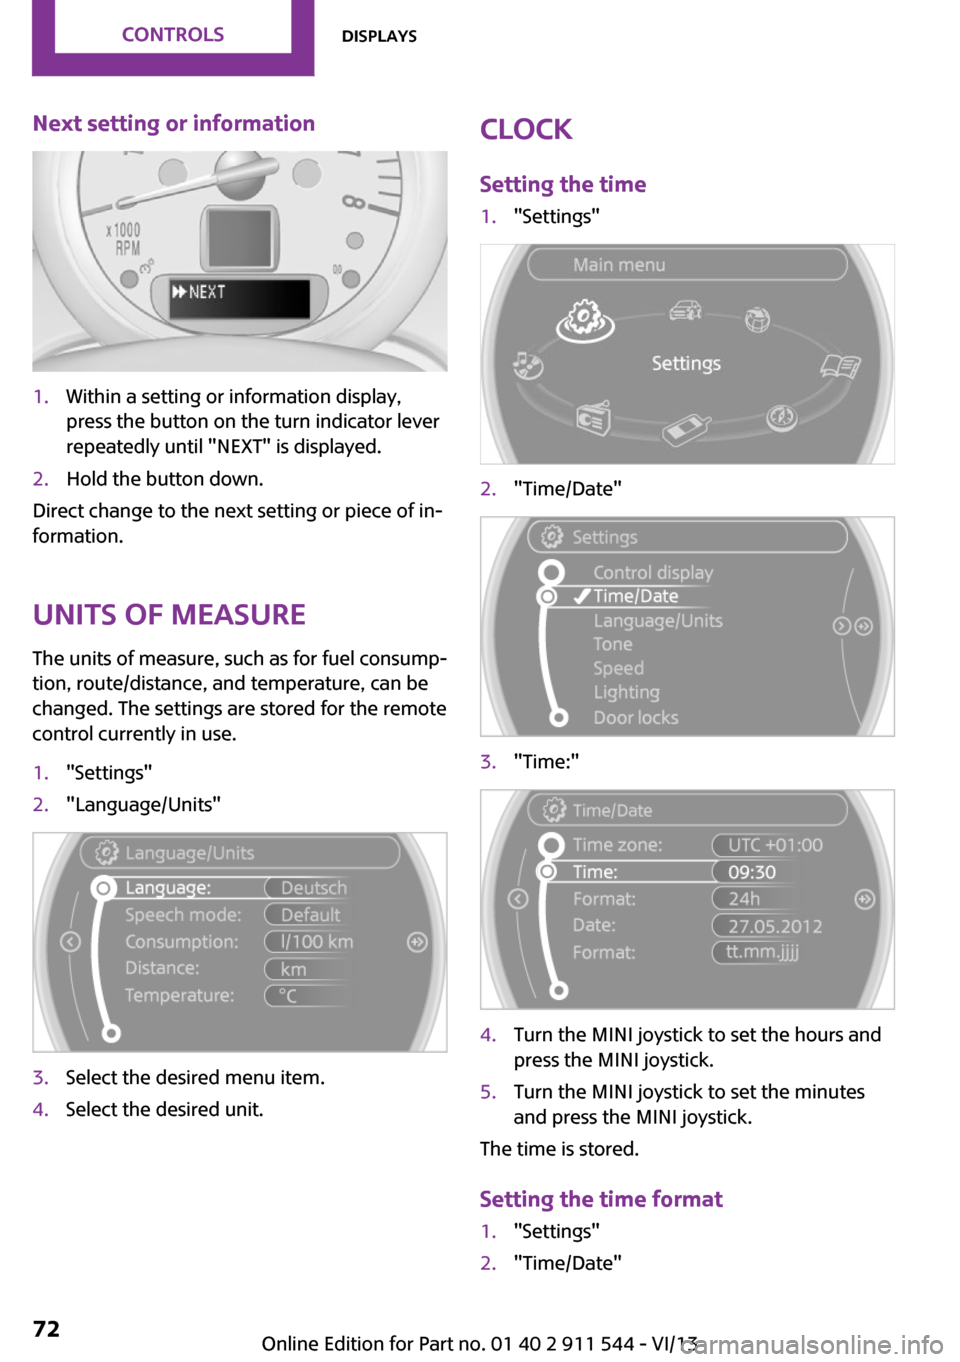
1."Settings"2."Language/Units"3.Select the desired menu item.4.Select the desired unit.Clock
Setting the time1."Settings"2."Time/Date"3."Time:"4.Turn the MINI joystick to set the hours and
press the MINI joystick.5.Turn the MINI joystick to set the minutes
and press the MINI joystick.
The time is stored.
Setting the time format
1."Settings"2."Time/Date"Seite 72ControlsDisplays72
Online Edition for Part no. 01 40 2 911 544 - VI/13
Page 106 of 282
Canada: if the LED does not flash rapidly af‐
ter approx. 60 seconds, change the dis‐
tance and repeat the step. If programming
was aborted by the hand-held transmitter,
hold down the memory button and press
and release the button on the hand-held
transmitter several times for 2 seconds.
Controls
Prior to operation
Before operating a unit with the Universal
Garage Door Opener, ensure that there are no
people, animals, or objects in the range of
movement of the system; otherwise, there is a
risk of injury or damage.
Also follow the safety instructions of the hand-
held transmitter. ◀
The system, such as the garage door, can be
operated using the button on the interior rear‐
view mirror with the engine running or the igni‐
tion switched on. When you are within the re‐
ception range of the system, press and hold the
button until the function is initiated. The LED on
the interior rearview mirror lights up continu‐
ously while the radio signal is being transmit‐
ted.
Deleting stored functions
Press the right and left buttons on the interior
rearview mirror simultaneously for approx.
20 seconds until the LED flashes rapidly. All
stored functions are deleted. The functions can‐
not be deleted individually.
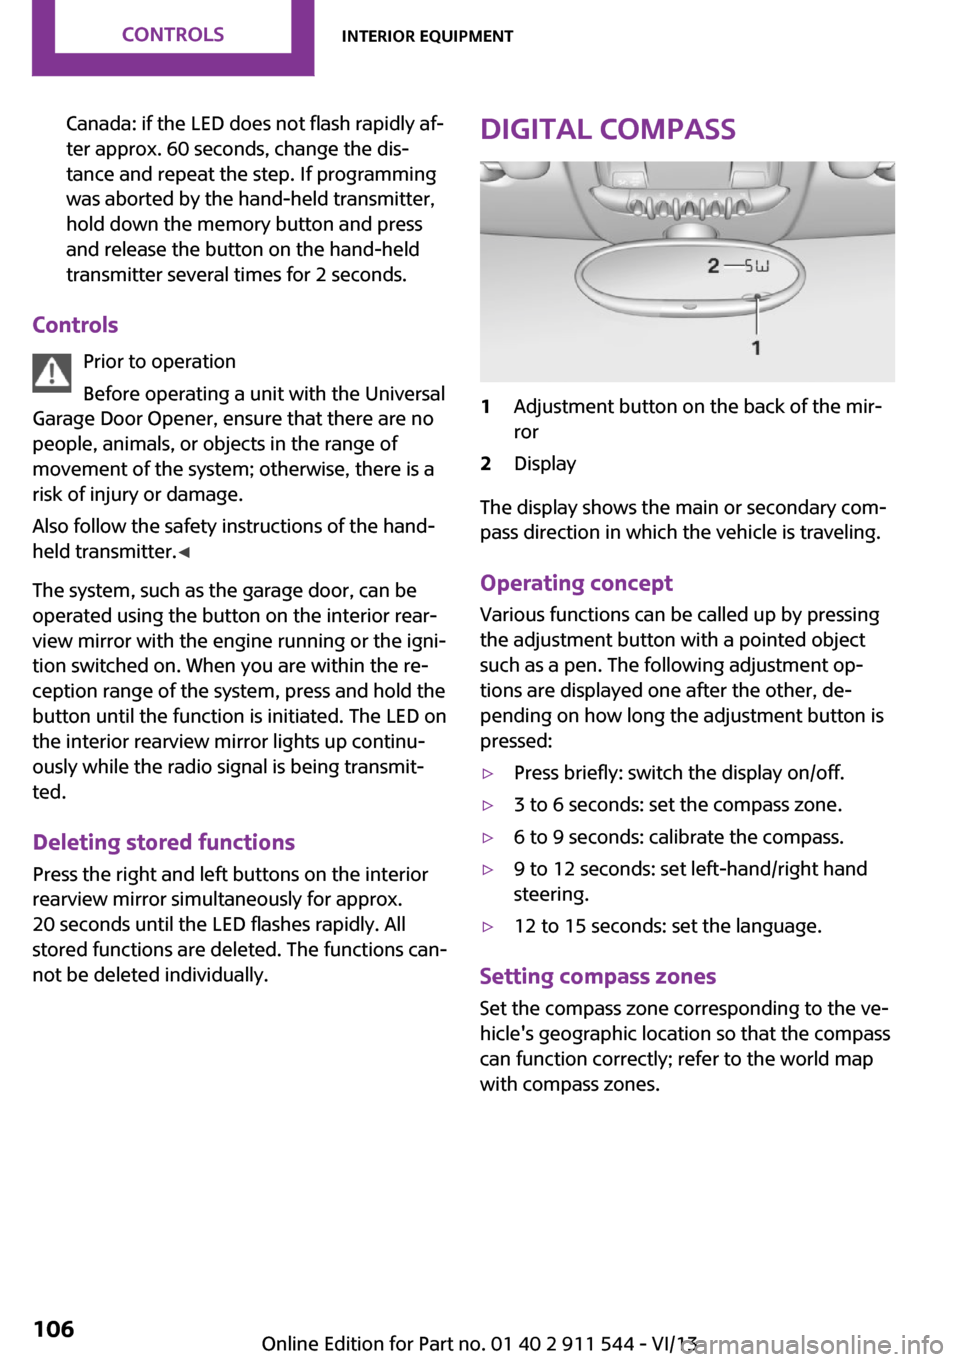
Digital compass1Adjustment button on the back of the mir‐
ror2Display
The display shows the main or secondary com‐
pass direction in which the vehicle is traveling.
Operating concept
Various functions can be called up by pressing
the adjustment button with a pointed object
such as a pen. The following adjustment op‐
tions are displayed one after the other, de‐
pending on how long the adjustment button is
pressed:
▷Press briefly: switch the display on/off.▷3 to 6 seconds: set the compass zone.▷6 to 9 seconds: calibrate the compass.▷9 to 12 seconds: set left-hand/right hand
steering.▷12 to 15 seconds: set the language.
Setting compass zones
Set the compass zone corresponding to the ve‐
hicle's geographic location so that the compass
can function correctly; refer to the world map
with compass zones.
Seite 106ControlsInterior equipment106
Online Edition for Part no. 01 40 2 911 544 - VI/13
Page 107 of 282

Press the adjustment button for 3‑4 seconds.
The number of the compass zone set is shown
in the display.
To change the zone setting, briefly press the
adjustment button repeatedly until the display
shows the number of the compass zone corre‐
sponding to the current location.
The compass is operational again after approx.
10 seconds.
Calibrating the digital compass The digital compass must be calibrated in the
following situations:▷An incorrect compass direction is shown.▷The cardinal direction displayed does not
change even if the direction of travel
changes.▷Not all compass directions are shown.
Procedure
1.Make sure that there are no large metal ob‐
jects or overhead power lines in the vicinity
of the vehicle and that there is enough
space to drive in a circle.2.Set the currently valid compass zone.3.Press the adjustment button for 6‑7 sec‐
onds to call up C. Then drive at least one full
circle at a maximum speed of
4 mph/7 km/h. When the system is cali‐
brated, the C is replaced by the compass di‐
rections.
Right-hand/left-hand steering
The digital compass is set for right-hand or left-
hand steering at the factory.
Setting the language
Press the adjustment button for 12‑13 seconds.
Briefly press the adjustment button again to
switch between English "E" and German "O".
The setting is automatically saved after approx.
10 seconds.
Seite 107Interior equipmentControls107
Online Edition for Part no. 01 40 2 911 544 - VI/13
Page 142 of 282
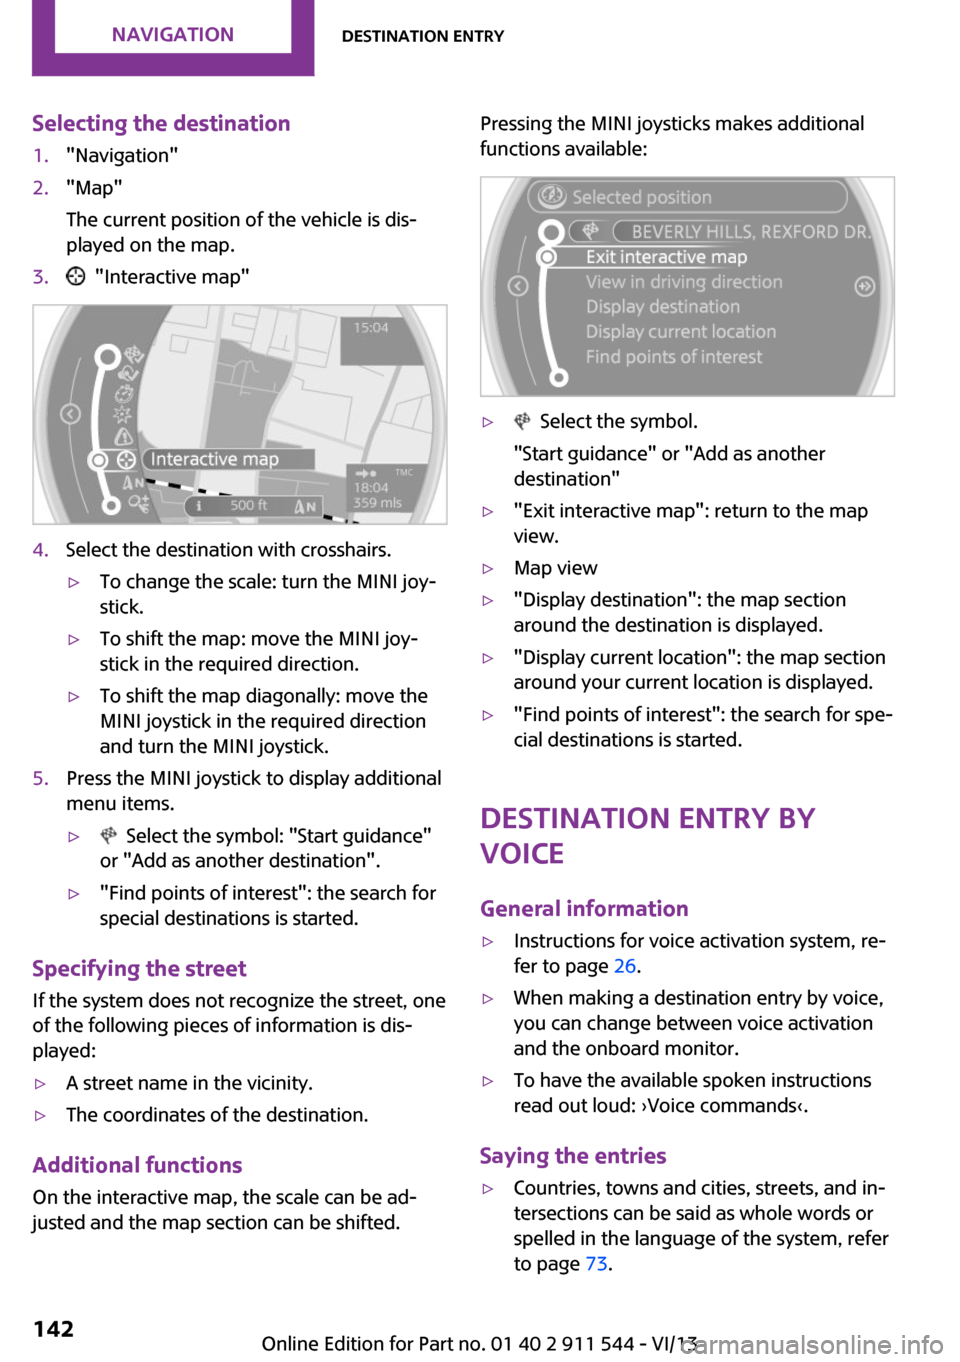
Selecting the destination1."Navigation"2."Map"
The current position of the vehicle is dis‐
played on the map.3. "Interactive map"4.Select the destination with crosshairs.▷To change the scale: turn the MINI joy‐
stick.▷To shift the map: move the MINI joy‐
stick in the required direction.▷To shift the map diagonally: move the
MINI joystick in the required direction
and turn the MINI joystick.5.Press the MINI joystick to display additional
menu items.▷ Select the symbol: "Start guidance"
or "Add as another destination".▷"Find points of interest": the search for
special destinations is started.
Specifying the street
If the system does not recognize the street, one
of the following pieces of information is dis‐
played:
▷A street name in the vicinity.▷The coordinates of the destination.
Additional functions
On the interactive map, the scale can be ad‐
justed and the map section can be shifted.
Pressing the MINI joysticks makes additional
functions available:▷ Select the symbol.
"Start guidance" or "Add as another
destination"▷"Exit interactive map": return to the map
view.▷Map view▷"Display destination": the map section
around the destination is displayed.▷"Display current location": the map section
around your current location is displayed.▷"Find points of interest": the search for spe‐
cial destinations is started.
Destination entry by
voice
General information
▷Instructions for voice activation system, re‐
fer to page 26.▷When making a destination entry by voice,
you can change between voice activation
and the onboard monitor.▷To have the available spoken instructions
read out loud: ›Voice commands‹.
Saying the entries
▷Countries, towns and cities, streets, and in‐
tersections can be said as whole words or
spelled in the language of the system, refer
to page 73.Seite 142NavigationDestination entry142
Online Edition for Part no. 01 40 2 911 544 - VI/13
Page 274 of 282
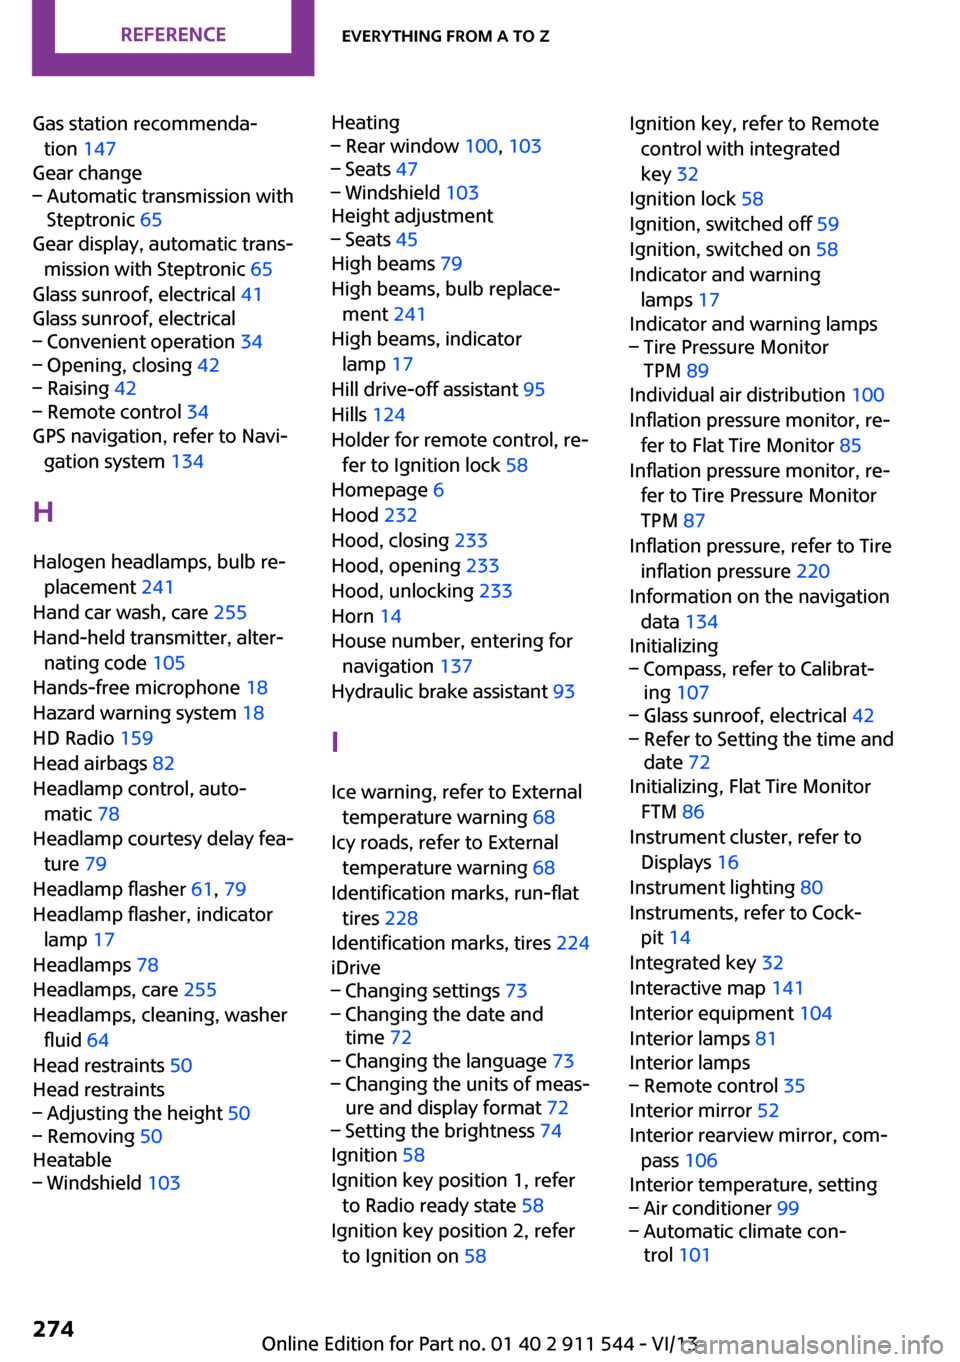
Gas station recommenda‐tion 147
Gear change– Automatic transmission with
Steptronic 65
Gear display, automatic trans‐
mission with Steptronic 65
Glass sunroof, electrical 41
Glass sunroof, electrical
– Convenient operation 34– Opening, closing 42– Raising 42– Remote control 34
GPS navigation, refer to Navi‐
gation system 134
H Halogen headlamps, bulb re‐ placement 241
Hand car wash, care 255
Hand-held transmitter, alter‐ nating code 105
Hands-free microphone 18
Hazard warning system 18
HD Radio 159
Head airbags 82
Headlamp control, auto‐ matic 78
Headlamp courtesy delay fea‐ ture 79
Headlamp flasher 61, 79
Headlamp flasher, indicator lamp 17
Headlamps 78
Headlamps, care 255
Headlamps, cleaning, washer fluid 64
Head restraints 50
Head restraints
– Adjusting the height 50– Removing 50
Heatable
– Windshield 103Heating– Rear window 100, 103– Seats 47– Windshield 103
Height adjustment
– Seats 45
High beams 79
High beams, bulb replace‐ ment 241
High beams, indicator lamp 17
Hill drive-off assistant 95
Hills 124
Holder for remote control, re‐ fer to Ignition lock 58
Homepage 6
Hood 232
Hood, closing 233
Hood, opening 233
Hood, unlocking 233
Horn 14
House number, entering for navigation 137
Hydraulic brake assistant 93
I
Ice warning, refer to External temperature warning 68
Icy roads, refer to External temperature warning 68
Identification marks, run-flat tires 228
Identification marks, tires 224
iDrive
– Changing settings 73– Changing the date and
time 72– Changing the language 73– Changing the units of meas‐
ure and display format 72– Setting the brightness 74
Ignition 58
Ignition key position 1, refer to Radio ready state 58
Ignition key position 2, refer to Ignition on 58
Ignition key, refer to Remote
control with integrated
key 32
Ignition lock 58
Ignition, switched off 59
Ignition, switched on 58
Indicator and warning lamps 17
Indicator and warning lamps– Tire Pressure Monitor
TPM 89
Individual air distribution 100
Inflation pressure monitor, re‐ fer to Flat Tire Monitor 85
Inflation pressure monitor, re‐ fer to Tire Pressure Monitor
TPM 87
Inflation pressure, refer to Tire inflation pressure 220
Information on the navigation data 134
Initializing
– Compass, refer to Calibrat‐
ing 107– Glass sunroof, electrical 42– Refer to Setting the time and
date 72
Initializing, Flat Tire Monitor
FTM 86
Instrument cluster, refer to Displays 16
Instrument lighting 80
Instruments, refer to Cock‐ pit 14
Integrated key 32
Interactive map 141
Interior equipment 104
Interior lamps 81
Interior lamps
– Remote control 35
Interior mirror 52
Interior rearview mirror, com‐ pass 106
Interior temperature, setting
– Air conditioner 99– Automatic climate con‐
trol 101Seite 274ReferenceEverything from A to Z274
Online Edition for Part no. 01 40 2 911 544 - VI/13
Page 278 of 282
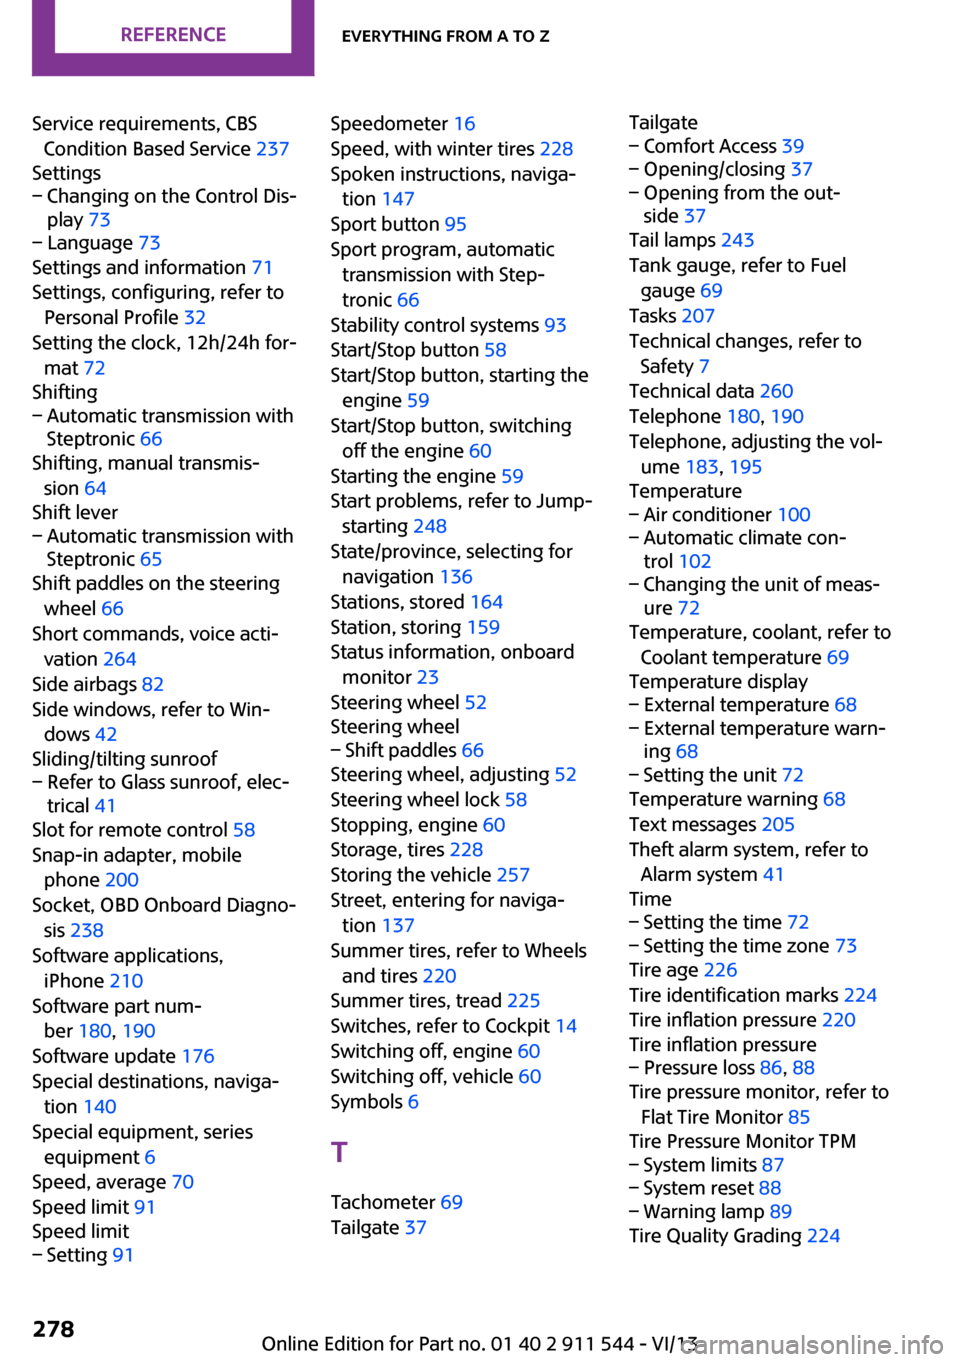
Service requirements, CBSCondition Based Service 237
Settings– Changing on the Control Dis‐
play 73– Language 73
Settings and information 71
Settings, configuring, refer to Personal Profile 32
Setting the clock, 12h/24h for‐ mat 72
Shifting
– Automatic transmission with
Steptronic 66
Shifting, manual transmis‐
sion 64
Shift lever
– Automatic transmission with
Steptronic 65
Shift paddles on the steering
wheel 66
Short commands, voice acti‐ vation 264
Side airbags 82
Side windows, refer to Win‐ dows 42
Sliding/tilting sunroof
– Refer to Glass sunroof, elec‐
trical 41
Slot for remote control 58
Snap-in adapter, mobile phone 200
Socket, OBD Onboard Diagno‐ sis 238
Software applications, iPhone 210
Software part num‐ ber 180, 190
Software update 176
Special destinations, naviga‐ tion 140
Special equipment, series equipment 6
Speed, average 70
Speed limit 91
Speed limit
– Setting 91Speedometer 16
Speed, with winter tires 228
Spoken instructions, naviga‐ tion 147
Sport button 95
Sport program, automatic transmission with Step‐
tronic 66
Stability control systems 93
Start/Stop button 58
Start/Stop button, starting the engine 59
Start/Stop button, switching off the engine 60
Starting the engine 59
Start problems, refer to Jump- starting 248
State/province, selecting for navigation 136
Stations, stored 164
Station, storing 159
Status information, onboard monitor 23
Steering wheel 52
Steering wheel– Shift paddles 66
Steering wheel, adjusting 52
Steering wheel lock 58
Stopping, engine 60
Storage, tires 228
Storing the vehicle 257
Street, entering for naviga‐ tion 137
Summer tires, refer to Wheels and tires 220
Summer tires, tread 225
Switches, refer to Cockpit 14
Switching off, engine 60
Switching off, vehicle 60
Symbols 6
T Tachometer 69
Tailgate 37
Tailgate– Comfort Access 39– Opening/closing 37– Opening from the out‐
side 37
Tail lamps 243
Tank gauge, refer to Fuel gauge 69
Tasks 207
Technical changes, refer to Safety 7
Technical data 260
Telephone 180, 190
Telephone, adjusting the vol‐ ume 183, 195
Temperature
– Air conditioner 100– Automatic climate con‐
trol 102– Changing the unit of meas‐
ure 72
Temperature, coolant, refer to
Coolant temperature 69
Temperature display
– External temperature 68– External temperature warn‐
ing 68– Setting the unit 72
Temperature warning 68
Text messages 205
Theft alarm system, refer to Alarm system 41
Time
– Setting the time 72– Setting the time zone 73
Tire age 226
Tire identification marks 224
Tire inflation pressure 220
Tire inflation pressure
– Pressure loss 86, 88
Tire pressure monitor, refer to
Flat Tire Monitor 85
Tire Pressure Monitor TPM
– System limits 87– System reset 88– Warning lamp 89
Tire Quality Grading 224
Seite 278ReferenceEverything from A to Z278
Online Edition for Part no. 01 40 2 911 544 - VI/13