park assist MINI Paceman 2014 Owner's Manual (Mini Connected)
[x] Cancel search | Manufacturer: MINI, Model Year: 2014, Model line: Paceman, Model: MINI Paceman 2014Pages: 282, PDF Size: 6.76 MB
Page 79 of 282
When the daytime running lights are activated,
the low beams are always switched on in
switch position 3 when the ignition is switched
on.
The exterior lighting goes out automatically af‐
ter the vehicle is switched off.
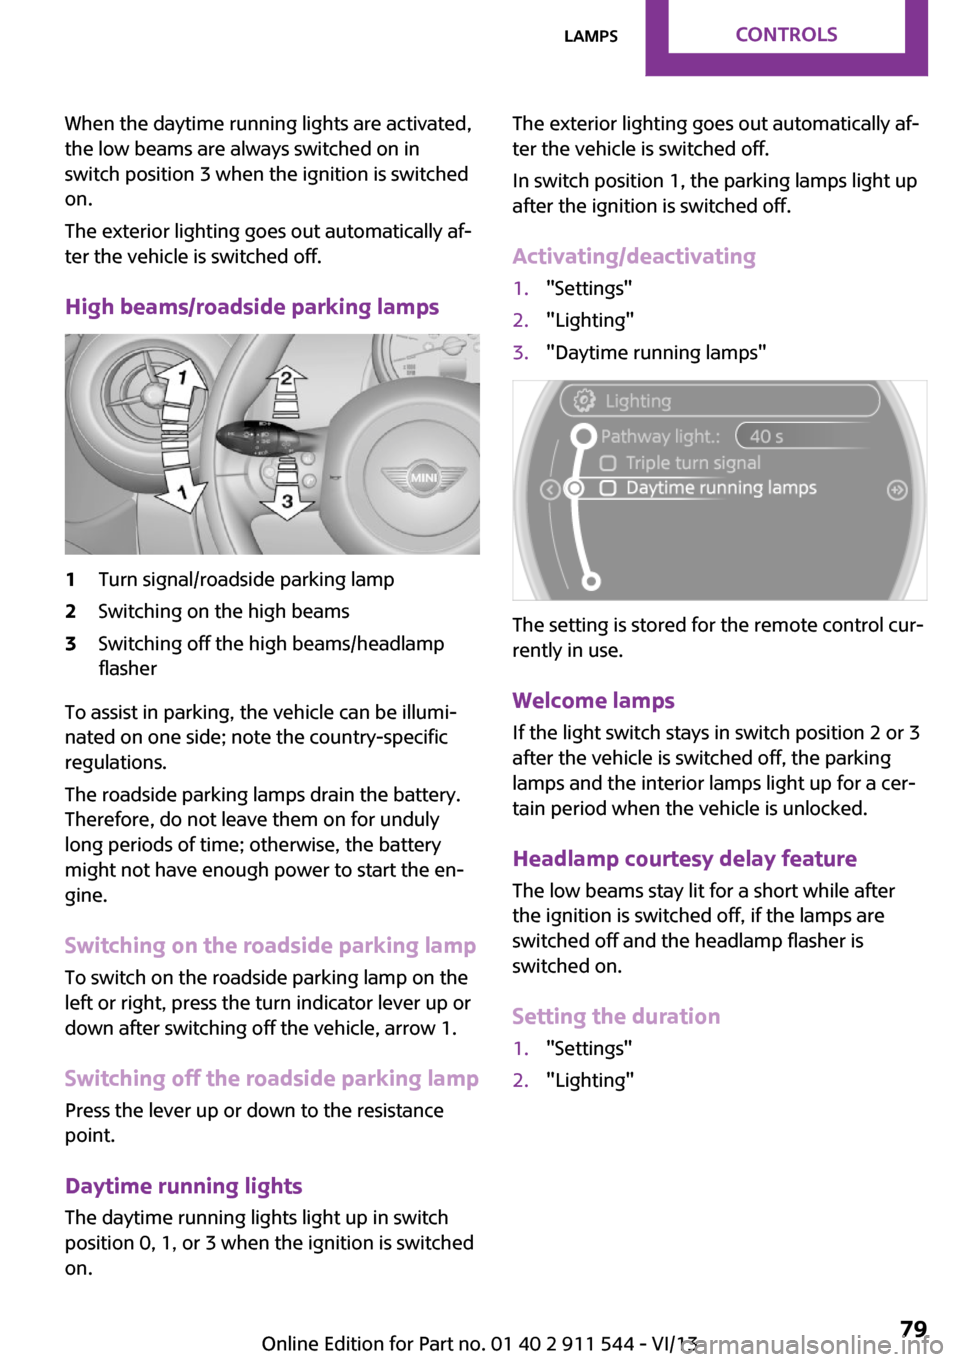
High beams/roadside parking lamps1Turn signal/roadside parking lamp2Switching on the high beams3Switching off the high beams/headlamp
flasher
To assist in parking, the vehicle can be illumi‐
nated on one side; note the country-specific
regulations.
The roadside parking lamps drain the battery.
Therefore, do not leave them on for unduly
long periods of time; otherwise, the battery
might not have enough power to start the en‐
gine.
Switching on the roadside parking lamp
To switch on the roadside parking lamp on the
left or right, press the turn indicator lever up or
down after switching off the vehicle, arrow 1.
Switching off the roadside parking lamp
Press the lever up or down to the resistance
point.
Daytime running lights
The daytime running lights light up in switch
position 0, 1, or 3 when the ignition is switched
on.
The exterior lighting goes out automatically af‐
ter the vehicle is switched off.
In switch position 1, the parking lamps light up
after the ignition is switched off.
Activating/deactivating1."Settings"2."Lighting"3."Daytime running lamps"
The setting is stored for the remote control cur‐
rently in use.
Welcome lamps If the light switch stays in switch position 2 or 3
after the vehicle is switched off, the parking
lamps and the interior lamps light up for a cer‐
tain period when the vehicle is unlocked.
Headlamp courtesy delay feature The low beams stay lit for a short while after
the ignition is switched off, if the lamps are
switched off and the headlamp flasher is
switched on.
Setting the duration
1."Settings"2."Lighting"Seite 79LampsControls79
Online Edition for Part no. 01 40 2 911 544 - VI/13
Page 123 of 282
Closing the tailgateDrive with the tailgate closed
Only drive with the tailgate closed; other‐
wise, passengers and other road users may be
endangered or the vehicle may be damaged if
an accident occurs or during braking or swerv‐
ing. In addition, exhaust fumes may enter the
passenger compartment. ◀
If, despite this, the vehicle must be driven with
the tailgate open:▷Drive moderately.▷Close all windows and the glass sunroof.▷Switch off recirculated air mode and greatly
increase the blower speed.
Hot exhaust system
Hot exhaust system
High temperatures are generated in the
exhaust system.
Do not remove the heat shields installed and
never apply undercoating to them. Make sure
that flammable materials, e. g. hay, leaves,
grass, etc. do not come in contact with the hot
exhaust system during driving, while in idle po‐
sition mode, or when parked. Such contact
could lead to a fire, and with it the risk of seri‐
ous personal injury as well as property damage.
Do not touch hot exhaust pipes; otherwise,
there is the danger of getting burned. ◀
Mobile communication devices in the
vehicle
Mobile communication devices in the ve‐
hicle
It is not recommended to use mobile phones,
such as mobile phones without a direct con‐
nection to an external aerial in the vehicle's
passenger compartment. Otherwise, the vehi‐
cle electronics and mobile communication de‐
vices can interfere with each other. In addition,
there is no assurance that the radiation gener‐
ated during transmission will be discharged
from the vehicle interior. ◀
Hydroplaning On wet or slushy roads, a wedge of water can
form between the tires and road surface.
This phenomenon is referred to as hydroplan‐
ing. It is characterized by a partial or complete
loss of contact between the tires and the road
surface, ultimately undermining your ability to
steer and brake the vehicle.
Hydroplaning
When driving on wet or slushy roads, re‐
duce your speed to prevent hydroplaning. ◀
The risk of hydroplaning increases as the tire
tread depth decreases. Minimum tread depth,
refer to page 226.
Driving through water Drive though calm water only if it is not deeper
than 12 inches/30 cm and at this height, no
faster than walking speed, up to
6 mph/10 km/h.
Using the handbrake on inclines Using the handbrake
On inclines, do not hold the vehicle sta‐
tionary with a slipping clutch for extended pe‐
riod; use the handbrake instead. Otherwise, the
clutch will be subject to increased wear. ◀
Support from the hill drive-off assistant, refer to
page 95.
Braking safely The vehicle is equipped with ABS as a standard
feature.
Applying the brakes fully is the most effective
way of braking in situations when this is neces‐
sary.
The vehicle maintains steering responsiveness.
You can still avoid any obstacles with a mini‐
mum of steering effort.Seite 123Things to remember when drivingDriving tips123
Online Edition for Part no. 01 40 2 911 544 - VI/13
Page 124 of 282
Pulsation of the brake pedal and sounds from
the hydraulic circuits indicate that ABS is in its
active mode.
Do not let your foot rest on the brake
pedal
Do not drive with your foot resting on the brake
pedal. Even light but consistent pedal pressure
can lead to high temperatures, brake wear and
possibly even brake failure. ◀
Objects in the area around the pedals No objects in the area around the pedals
Keep floor mats, carpets, and any other
objects out of the area of motion of the pedals;
otherwise, the function of the pedals could be
impeded while driving
Do not place additional floor mats over existing
mats or other objects.
Only use floor mats that have been approved
for the vehicle and can be properly fixed in
place.
Ensure that the floor mats are securely fastened
again when they are returned after being re‐
moved, such as for cleaning. ◀
Driving in wet conditions
When roads are wet or there is heavy rain, briefly exert gentle pressure on the brake pedal
every few miles.
Ensure that this action does not endanger other
road users.
The heat generated in this process helps dry
the brake discs and pads.
In this way braking efficiency will be available
when you need it.
HillsDrive long or steep downhill gradients in the
gear in which the least braking is required. Oth‐
erwise, the brake system may overheat, result‐
ing in a reduction in the brake system effi‐
ciency.You can increase the engine's braking effect by
shifting down, going all the way to first gear, if
necessary.
Downshifting in manual mode of the automatic
transmission, refer to page 66.
Avoid load on the brakes
Avoid placing excessive load on the brake
system. Light but consistent brake pressure can
lead to high temperatures, brake wear and
possibly even brake failure. ◀
Do not drive in neutral
Never drive with the transmission in neu‐
tral, with the engine switched off or with the
clutch depressed; otherwise, you will have nei‐
ther the braking action of the engine or nor its
power assistance when braking or steering. ◀
Brake disc corrosion Corrosion on the brake discs and contamina‐
tion on the brake pads are furthered by:▷Low mileage.▷Extended periods when the vehicle is not
used at all.▷Infrequent use of the brakes.
Corrosion occurs when the minimum pressure
that must be exerted by the pads during brake
applications to clean the discs is not reached.
Should corrosion form on the brake discs, the
brakes will tend to respond with a pulsating ef‐
fect that generally cannot be corrected.
When the vehicle is parked
When using the automatic climate control, con‐
densation water develops that exits under‐
neath the vehicle.
Therefore, traces of condensed water under the
vehicle are normal.
After the engine is switched off, the coolant
pump may continue running for some time in
the MINI Cooper S. This causes noises in the en‐
gine compartment.
Seite 124Driving tipsThings to remember when driving124
Online Edition for Part no. 01 40 2 911 544 - VI/13
Page 249 of 282
Do not touch live parts
To avoid the risk of potentially fatal injury,
always avoid all contact with electrical compo‐
nents while the engine is running. ◀
Preparation1.Check whether the battery of the other ve‐
hicle has a voltage of 12 volts and approxi‐
mately the same capacitance in Ah. This in‐
formation can be found on the battery.2.Switch off the engine of the assisting vehi‐
cle.3.Switch off any electronic systems/power
consumers in both vehicles.
Bodywork contact between vehicles
There must not be any contact between
the bodies of the two vehicles, otherwise there
is a danger of shorting. ◀
Connecting jumper cables
Connecting order
Connect the jumper cables in the correct
order; otherwise, there is the danger of injury
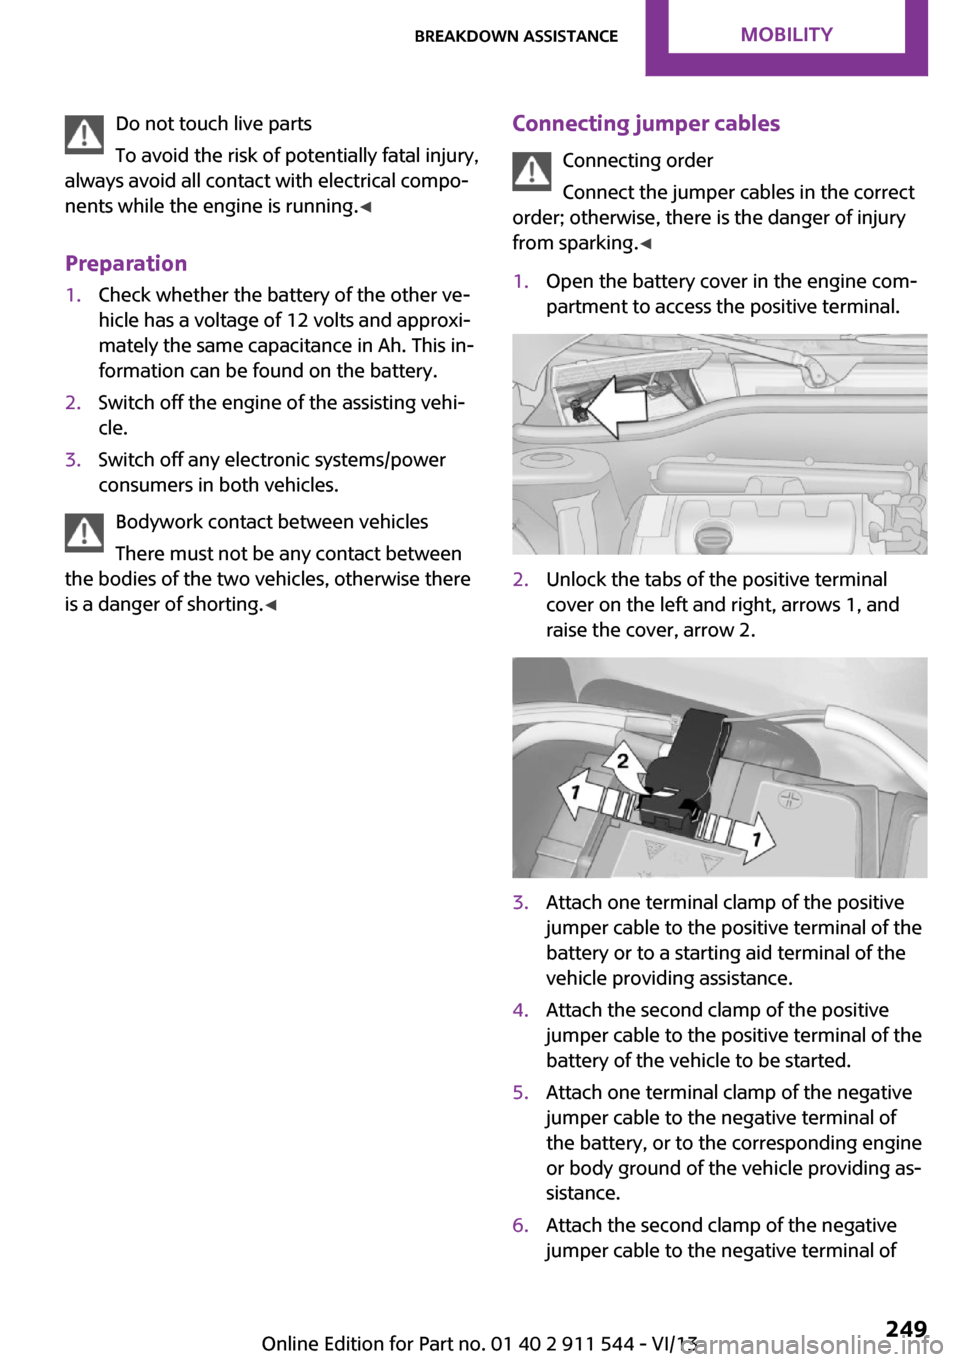
from sparking. ◀1.Open the battery cover in the engine com‐
partment to access the positive terminal.2.Unlock the tabs of the positive terminal
cover on the left and right, arrows 1, and
raise the cover, arrow 2.3.Attach one terminal clamp of the positive
jumper cable to the positive terminal of the
battery or to a starting aid terminal of the
vehicle providing assistance.4.Attach the second clamp of the positive
jumper cable to the positive terminal of the
battery of the vehicle to be started.5.Attach one terminal clamp of the negative
jumper cable to the negative terminal of
the battery, or to the corresponding engine
or body ground of the vehicle providing as‐
sistance.6.Attach the second clamp of the negative
jumper cable to the negative terminal ofSeite 249Breakdown assistanceMobility249
Online Edition for Part no. 01 40 2 911 544 - VI/13
Page 272 of 282
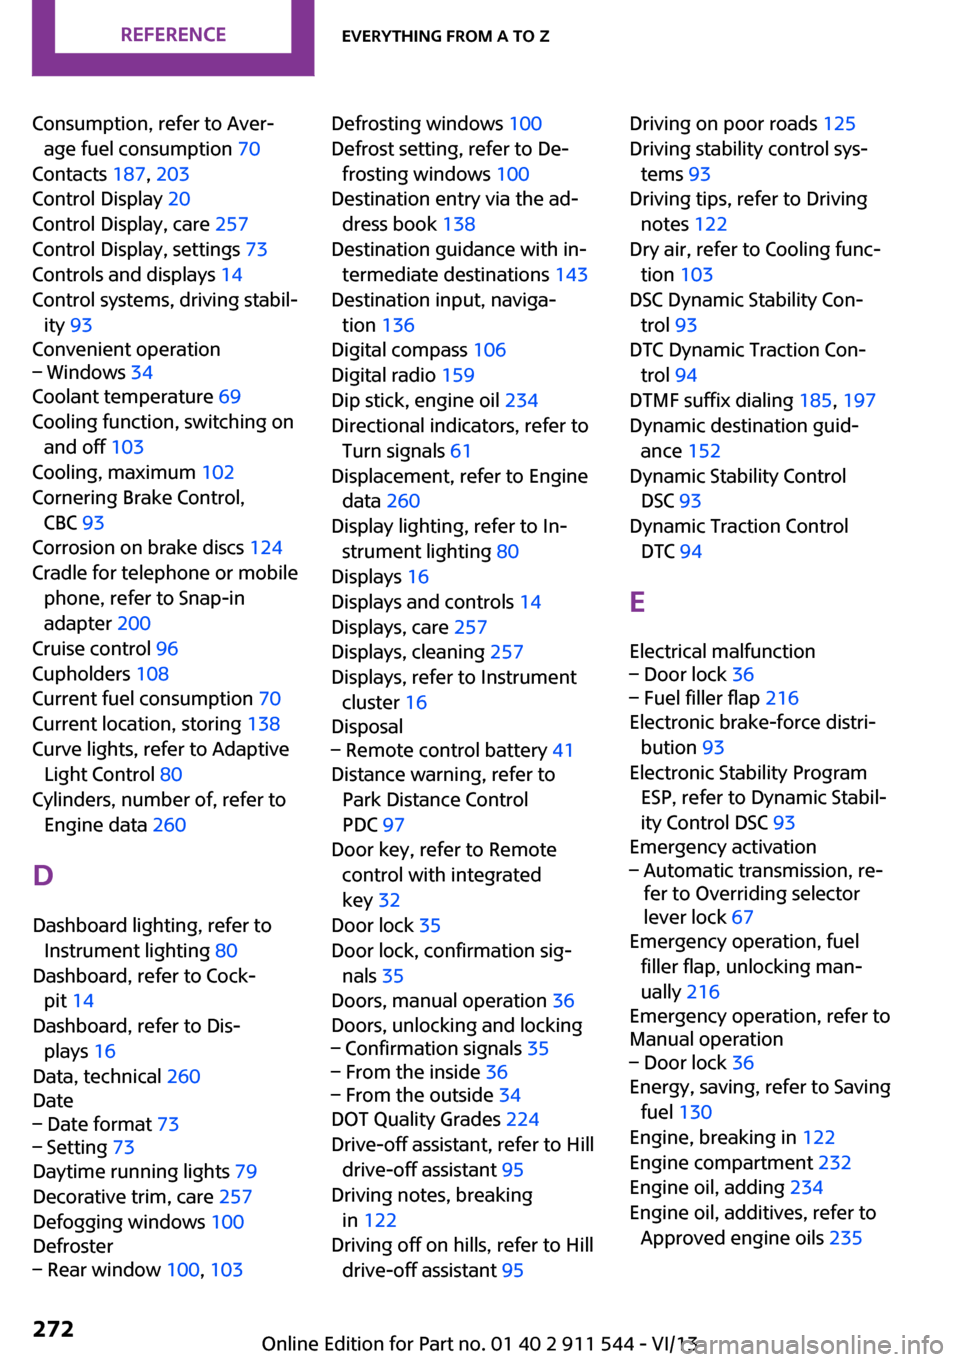
Consumption, refer to Aver‐age fuel consumption 70
Contacts 187, 203
Control Display 20
Control Display, care 257
Control Display, settings 73
Controls and displays 14
Control systems, driving stabil‐ ity 93
Convenient operation– Windows 34
Coolant temperature 69
Cooling function, switching on and off 103
Cooling, maximum 102
Cornering Brake Control, CBC 93
Corrosion on brake discs 124
Cradle for telephone or mobile phone, refer to Snap-in
adapter 200
Cruise control 96
Cupholders 108
Current fuel consumption 70
Current location, storing 138
Curve lights, refer to Adaptive Light Control 80
Cylinders, number of, refer to Engine data 260
D
Dashboard lighting, refer to Instrument lighting 80
Dashboard, refer to Cock‐ pit 14
Dashboard, refer to Dis‐ plays 16
Data, technical 260
Date
– Date format 73– Setting 73
Daytime running lights 79
Decorative trim, care 257
Defogging windows 100
Defroster
– Rear window 100, 103Defrosting windows 100
Defrost setting, refer to De‐ frosting windows 100
Destination entry via the ad‐ dress book 138
Destination guidance with in‐ termediate destinations 143
Destination input, naviga‐ tion 136
Digital compass 106
Digital radio 159
Dip stick, engine oil 234
Directional indicators, refer to Turn signals 61
Displacement, refer to Engine data 260
Display lighting, refer to In‐ strument lighting 80
Displays 16
Displays and controls 14
Displays, care 257
Displays, cleaning 257
Displays, refer to Instrument cluster 16
Disposal– Remote control battery 41
Distance warning, refer to
Park Distance Control
PDC 97
Door key, refer to Remote control with integrated
key 32
Door lock 35
Door lock, confirmation sig‐ nals 35
Doors, manual operation 36
Doors, unlocking and locking
– Confirmation signals 35– From the inside 36– From the outside 34
DOT Quality Grades 224
Drive-off assistant, refer to Hill drive-off assistant 95
Driving notes, breaking in 122
Driving off on hills, refer to Hill drive-off assistant 95
Driving on poor roads 125
Driving stability control sys‐ tems 93
Driving tips, refer to Driving notes 122
Dry air, refer to Cooling func‐ tion 103
DSC Dynamic Stability Con‐ trol 93
DTC Dynamic Traction Con‐ trol 94
DTMF suffix dialing 185, 197
Dynamic destination guid‐ ance 152
Dynamic Stability Control DSC 93
Dynamic Traction Control DTC 94
E Electrical malfunction– Door lock 36– Fuel filler flap 216
Electronic brake-force distri‐
bution 93
Electronic Stability Program ESP, refer to Dynamic Stabil‐
ity Control DSC 93
Emergency activation
– Automatic transmission, re‐
fer to Overriding selector
lever lock 67
Emergency operation, fuel
filler flap, unlocking man‐
ually 216
Emergency operation, refer to
Manual operation
– Door lock 36
Energy, saving, refer to Saving
fuel 130
Engine, breaking in 122
Engine compartment 232
Engine oil, adding 234
Engine oil, additives, refer to Approved engine oils 235
Seite 272ReferenceEverything from A to Z272
Online Edition for Part no. 01 40 2 911 544 - VI/13
Page 276 of 282
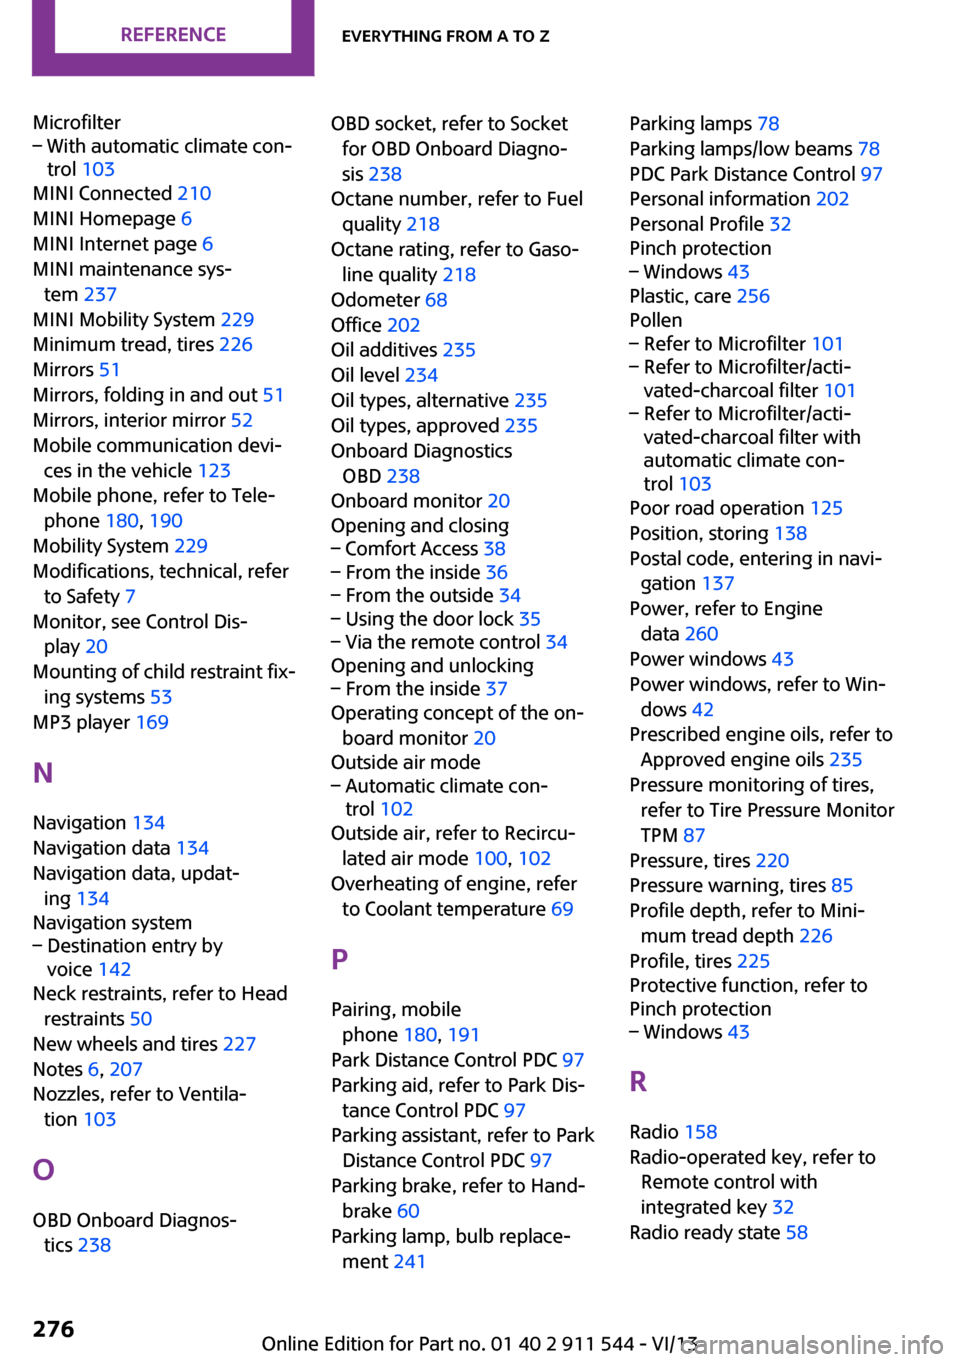
Microfilter– With automatic climate con‐
trol 103
MINI Connected 210
MINI Homepage 6
MINI Internet page 6
MINI maintenance sys‐ tem 237
MINI Mobility System 229
Minimum tread, tires 226
Mirrors 51
Mirrors, folding in and out 51
Mirrors, interior mirror 52
Mobile communication devi‐ ces in the vehicle 123
Mobile phone, refer to Tele‐ phone 180, 190
Mobility System 229
Modifications, technical, refer to Safety 7
Monitor, see Control Dis‐ play 20
Mounting of child restraint fix‐ ing systems 53
MP3 player 169
N
Navigation 134
Navigation data 134
Navigation data, updat‐ ing 134
Navigation system
– Destination entry by
voice 142
Neck restraints, refer to Head
restraints 50
New wheels and tires 227
Notes 6, 207
Nozzles, refer to Ventila‐ tion 103
O
OBD Onboard Diagnos‐ tics 238
OBD socket, refer to Socket
for OBD Onboard Diagno‐
sis 238
Octane number, refer to Fuel quality 218
Octane rating, refer to Gaso‐ line quality 218
Odometer 68
Office 202
Oil additives 235
Oil level 234
Oil types, alternative 235
Oil types, approved 235
Onboard Diagnostics OBD 238
Onboard monitor 20
Opening and closing– Comfort Access 38– From the inside 36– From the outside 34– Using the door lock 35– Via the remote control 34
Opening and unlocking
– From the inside 37
Operating concept of the on‐
board monitor 20
Outside air mode
– Automatic climate con‐
trol 102
Outside air, refer to Recircu‐
lated air mode 100, 102
Overheating of engine, refer to Coolant temperature 69
P Pairing, mobile phone 180, 191
Park Distance Control PDC 97
Parking aid, refer to Park Dis‐ tance Control PDC 97
Parking assistant, refer to Park Distance Control PDC 97
Parking brake, refer to Hand‐ brake 60
Parking lamp, bulb replace‐ ment 241
Parking lamps 78
Parking lamps/low beams 78
PDC Park Distance Control 97
Personal information 202
Personal Profile 32
Pinch protection– Windows 43
Plastic, care 256
Pollen
– Refer to Microfilter 101– Refer to Microfilter/acti‐
vated-charcoal filter 101– Refer to Microfilter/acti‐
vated-charcoal filter with
automatic climate con‐
trol 103
Poor road operation 125
Position, storing 138
Postal code, entering in navi‐ gation 137
Power, refer to Engine data 260
Power windows 43
Power windows, refer to Win‐ dows 42
Prescribed engine oils, refer to Approved engine oils 235
Pressure monitoring of tires, refer to Tire Pressure Monitor
TPM 87
Pressure, tires 220
Pressure warning, tires 85
Profile depth, refer to Mini‐ mum tread depth 226
Profile, tires 225
Protective function, refer to
Pinch protection
– Windows 43
R
Radio 158
Radio-operated key, refer to Remote control with
integrated key 32
Radio ready state 58
Seite 276ReferenceEverything from A to Z276
Online Edition for Part no. 01 40 2 911 544 - VI/13
Page 277 of 282
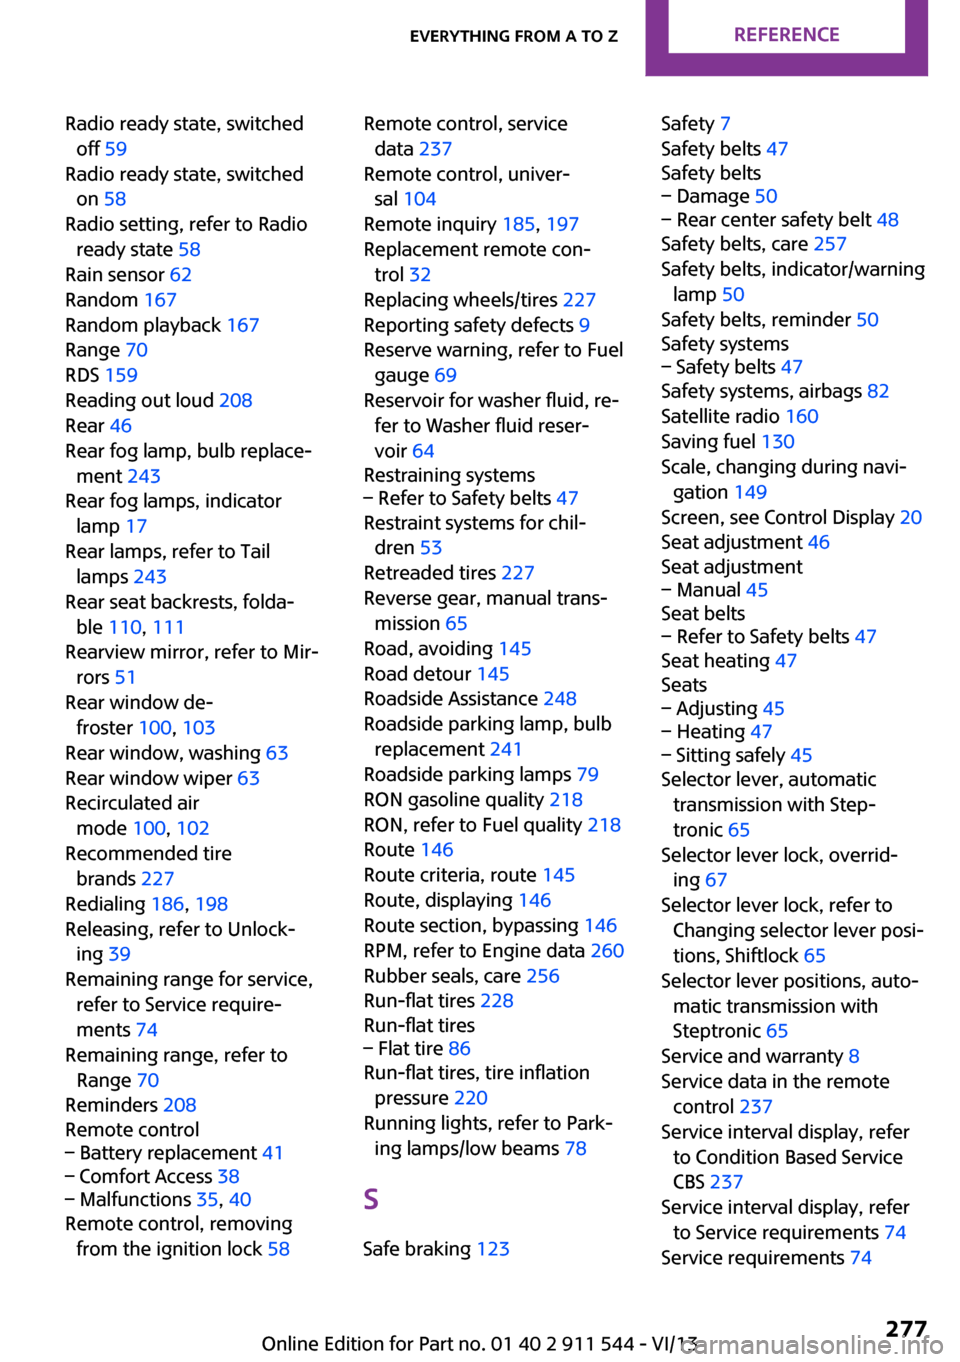
Radio ready state, switchedoff 59
Radio ready state, switched on 58
Radio setting, refer to Radio ready state 58
Rain sensor 62
Random 167
Random playback 167
Range 70
RDS 159
Reading out loud 208
Rear 46
Rear fog lamp, bulb replace‐ ment 243
Rear fog lamps, indicator lamp 17
Rear lamps, refer to Tail lamps 243
Rear seat backrests, folda‐ ble 110 , 111
Rearview mirror, refer to Mir‐ rors 51
Rear window de‐ froster 100, 103
Rear window, washing 63
Rear window wiper 63
Recirculated air mode 100, 102
Recommended tire brands 227
Redialing 186, 198
Releasing, refer to Unlock‐ ing 39
Remaining range for service, refer to Service require‐
ments 74
Remaining range, refer to Range 70
Reminders 208
Remote control– Battery replacement 41– Comfort Access 38– Malfunctions 35, 40
Remote control, removing
from the ignition lock 58
Remote control, service
data 237
Remote control, univer‐ sal 104
Remote inquiry 185, 197
Replacement remote con‐ trol 32
Replacing wheels/tires 227
Reporting safety defects 9
Reserve warning, refer to Fuel gauge 69
Reservoir for washer fluid, re‐ fer to Washer fluid reser‐
voir 64
Restraining systems– Refer to Safety belts 47
Restraint systems for chil‐
dren 53
Retreaded tires 227
Reverse gear, manual trans‐ mission 65
Road, avoiding 145
Road detour 145
Roadside Assistance 248
Roadside parking lamp, bulb replacement 241
Roadside parking lamps 79
RON gasoline quality 218
RON, refer to Fuel quality 218
Route 146
Route criteria, route 145
Route, displaying 146
Route section, bypassing 146
RPM, refer to Engine data 260
Rubber seals, care 256
Run-flat tires 228
Run-flat tires
– Flat tire 86
Run-flat tires, tire inflation
pressure 220
Running lights, refer to Park‐ ing lamps/low beams 78
S Safe braking 123
Safety 7
Safety belts 47
Safety belts– Damage 50– Rear center safety belt 48
Safety belts, care 257
Safety belts, indicator/warning lamp 50
Safety belts, reminder 50
Safety systems
– Safety belts 47
Safety systems, airbags 82
Satellite radio 160
Saving fuel 130
Scale, changing during navi‐ gation 149
Screen, see Control Display 20
Seat adjustment 46
Seat adjustment
– Manual 45
Seat belts
– Refer to Safety belts 47
Seat heating 47
Seats
– Adjusting 45– Heating 47– Sitting safely 45
Selector lever, automatic
transmission with Step‐
tronic 65
Selector lever lock, overrid‐ ing 67
Selector lever lock, refer to Changing selector lever posi‐
tions, Shiftlock 65
Selector lever positions, auto‐ matic transmission with
Steptronic 65
Service and warranty 8
Service data in the remote control 237
Service interval display, refer to Condition Based Service
CBS 237
Service interval display, refer to Service requirements 74
Service requirements 74
Seite 277Everything from A to ZReference277
Online Edition for Part no. 01 40 2 911 544 - VI/13