ECU MITSUBISHI COLT 2008 (in English) User Guide
[x] Cancel search | Manufacturer: MITSUBISHI, Model Year: 2008, Model line: COLT, Model: MITSUBISHI COLT 2008Pages: 450, PDF Size: 14.57 MB
Page 66 of 450

2-18 Seat and seat belts
2
3. Adjust the seat’s fore-aft position as desired, then pushdown the seatback locking lever and raise the seatback
until it locks. Push lightly on the seat to confirm that it has
been securely retained.
Bench seat*
Separated seat (5-door models)*
Page 67 of 450

Seat and seat belts2-19
2
Removing the rear seat
(5-door models, separated seat only)
E00410500032
To create more luggage space, yo u can remove the rear seat.
NOTE●Each side of the rear seat can be removed independently
of the other side.
● On vehicles equipped with a rear shelf panel, remove the
rear shelf panel.
(Refer to “Rear shelf panel” on page 5-70.)
To remove
1. Move the front seat to a position forward of the middle of
its fore-aft adjustment range. (Refer to “To adjust forward
or backward” on page 2-5.)
2. Place each head restraint in its lowest position. (Refer to “Head restraints” on page 2-10.)
3. Move the rear seat fully fo rward, then fold the seatback
forward until it is held securely . (Refer to “To adjust for-
ward or backward” on page 2-9 and “Folding the seat-
backs forward” on page 2-13.)
NOTE● If you do not move the rear seat fully forward, you will
not be able to fold the seatback forward. 4. Pull up the lock release leve
r (A) at the back of the seat
cushion. With the lock release lever still pulled, lift the
whole seat forward.
CAUTION!
● Be careful not to trap your hands or feet when
removing or refitting the seat. Also, be careful not to
drop or trip over the seat. If necessary, have some-
one help you remove it.
CAUTION!
●Do not slide the rear seat while pulling the lock
release lever. The fittings of the lock mechanism will
bend, possibly making unlocking impossible.
Page 68 of 450

2-20 Seat and seat belts
2
5. Pull the rear seat lock knob (B) to unlock the rear seat,
then lift the rear seat to remove it.To r e f i t
1. Fit the rear seat mounting (A) onto the retaining bar (B), then tilt the rear seat lock knob (C) and check that the
hook is securely attached to the retaining bar.
CAUTION!
● Do not sit or place luggage on the removed seat. Any
weight placed on the fold ed seat could deform the
seat mountings, preventing the seat from being
locked securely onto the floor.
Page 69 of 450

Seat and seat belts2-21
2
2. Gently tip the seat while supporting it by hand. Push theentire seat downward until it clicks into place. Check that
the seat is securely locked in position by trying to lift the
back of the seat cushion. 3. Adjust the seat’s fore-aft position as desired, then push
down the seatback locking le ver and raise the seatback
until it locks. Push lightly on the seat to confirm that it has
been securely retained.
Page 73 of 450
Seat and seat belts2-25
2
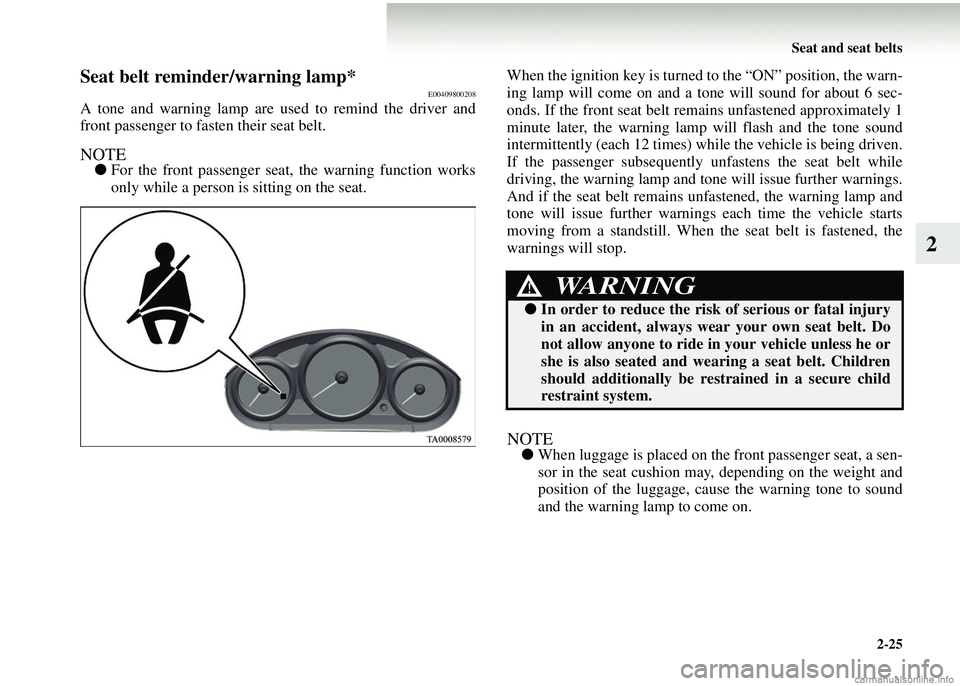
Seat belt reminder/warning lamp*E00409800208
A tone and warning lamp are used to remind the driver and
front passenger to fasten their seat belt.
NOTE●For the front passenger seat, the warning function works
only while a person is sitting on the seat. When the ignition key is turned to the “ON” position, the warn-
ing lamp will come on and a tone will sound for about 6 sec-
onds. If the front seat belt rema
ins unfastened approximately 1
minute later, the warning lamp will flash and the tone sound
intermittently (each 12 times) while the vehicle is being driven.
If the passenger subsequently unfastens the seat belt while
driving, the warning lamp and tone will issue further warnings.
And if the seat belt remains unfastened, the warning lamp and
tone will issue further warnings each time the vehicle starts
moving from a standstill. When th e seat belt is fastened, the
warnings will stop.
NOTE● When luggage is placed on th e front passenger seat, a sen-
sor in the seat cushion may, depending on the weight and
position of the luggage, cause the warning tone to sound
and the warning lamp to come on.
WARNING!
● In order to reduce the risk of serious or fatal injury
in an accident, always wear your own seat belt. Do
not allow anyone to ride in your vehicle unless he or
she is also seated and we aring a seat belt. Children
should additionally be re strained in a secure child
restraint system.
Page 82 of 450

2-34 Seat and seat belts
2
●Before purchasing a child rest raint system, try installing it
in the rear seat to make sure there is a good fit. Because of
the location of the seat belt buckles and the shape of the
seat cushion, it may be difficult to securely install some
manufacturer’s child restraint systems.
If the child restraint system can be pulled forward or to
either side easily on the seat cushion after the seat belt has
been tightened, choose an other manufacturer’s child
restraint system.NOTE● Depending on the seating position in the vehicle and the
child restraint system that you have, the child restraint can
be attached using one of the following two locations:
• To the lower anchorage in the rear seat ONLY if the
child restraint has ISOFIX mountings (See page 2-40).
• To the seat belt (See page 2-42, 2-45).
WARNING!
● When installing a child rest raint system, refer to the
instructions provided by the manufacturer of the
restraint system. Failure to do so can result in severe
or fatal injury to your child.
● After installation, push an d pull the child restraint
system back and forth, and si de to side, to see that it
is positively secured. If the child restraint system is
not installed securely, it may cause injury to the
child or other occupants in the case of accident or
sudden stops.
● When the child restraint sy stem is not in use, keep
your child or infant seat s ecured with the seat belt or
remove it from the vehicle in order to prevent injury
to your child.
Page 90 of 450

2-42 Seat and seat belts
2
3. Push and pull the child restraint system in all directions to
be sure it is firmly secured.
To remove
Remove the child restraint in accordance with the instructions
provided by the child rest raint system’s manufacturer.
Installing a child restraint system to a 3-point
type seat belt (with emergency/automatic locking
mechanism)
E00407000411
The 3-point type seat belts at the rear seating position can be
converted from normal emerge ncy locking retractor (ELR)
mode to automatic locking retractor (ALR) mode. It must be so
converted, when installing a child restraint system.WARNING!
●If there is any foreign mat erial in or around the con-
nectors, remove it befo re installing the child
restraint system. Make sure the seat belt is away
from, not looped through or otherwise interfering
with, the child restraint sy stem. If foreign matter is
not removed and/or the seat belt interferes with the
child restraint system, the child restraint system will
not be secured properly and could move forward in
the event of sudden braking or a collision, seriously
injuring the child and possibly other vehicle occu-
pants.
● When the vehicle is moving , do not adjust the seat
where the child restrain t system is installed.
Page 92 of 450

2-44 Seat and seat belts
2
5. After confirming that the belt is locked, grab the shoulderpart of the belt near the buckle and pull up to remove any
slack from the lap part of the belt. Remember, if the lap
part of the belt is not tight, the child restraint will not be
secure. It may help to put weight on the child restraint, or
push on the seatback while pulling up on the belt.
6. Before putting the child in the restraint, push and pull the restraint in all directions to be sure it is secure. Do this
before each use.
NOTE● If the seat belt does not lock, rewind it fully then perform
step 2 to 6 again.
To remove
1. Remove the plate from the buckle, then remove the seat
belt from the child restraint system.
2. Fully rewind the seat belt to deactivate the ALR mode.
WARNING!
●Before putting the child in the restraint, be abso-
lutely sure to make the conversion of the retractor
from the ELR mode to the ALR mode. By doing so,
the child restraint system is always tightly secured to
the seat by the automatic lock. If the conversion to
ALR is not made, the chil d restraint system could
move forward in the event of sudden braking or an
accident, seriously injuring the child or other occu-
pants.
Page 93 of 450

Seat and seat belts2-45
2
Installing a child restraint system to a
3-point type seat belt (with emergency locking
mechanism)
E00408700301
For safety, you are advised to install the child restraint system
using a 3-point type seat belt with emergency/automatic lock-
ing mechanism. If you cannot avoid installing it using another
type of seat belt, follow the instructions given below.
Installation:
1. Fasten the seat belt to secu re the child restraint system.
(For a rear-centre 3-point type seat belt (5-door models),
refer to “Rear-centre 3-point t ype seat belt” on page 2-26.)
Make sure you hear a “click” when you insert the latch
plate in the buckle.
2. Remove all slack by using the locking clip.
3. Push and pull the child restraint in all directions to make sure it is secure.
Front passenger seat
3-door models
Front passenger seat
5-door models
Page 170 of 450
4-4 Starting and driving
4
Floor matsCarrying children in the vehicle
●Never leave your vehicle un attended with the key and
children inside the vehicle. Children may play with the
driving controls and this could lead to an accident.
● Make sure that infants and small children are properly
restrained in accordance with applicable laws and regula-
tions, and for maximum protecti on in the event of an acci-
dent.
● Prevent children fr om playing in the luggage compart-
ment. It is highly dangerous to allow children to play there
while the vehicle is moving.
Loading luggage
When loading luggage, be careful not to load above the height
of the seats. This is dange rous not only because rearward
vision will be obstru cted, but also because the luggage may be
projected into the passenger compartment under hard braking.
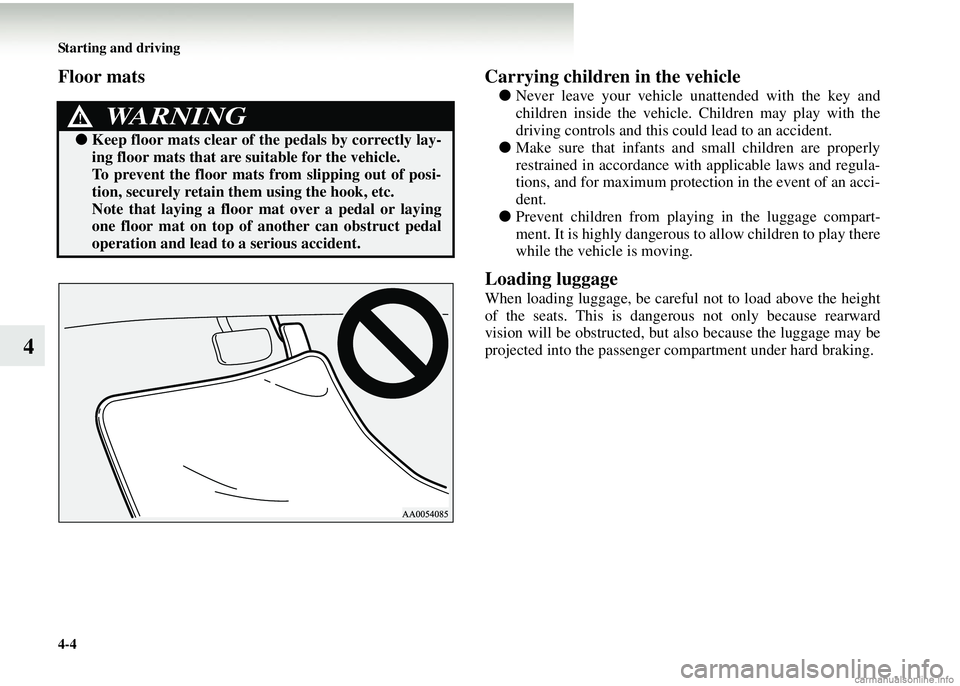
WARNING!
● Keep floor mats clear of th e pedals by correctly lay-
ing floor mats that are suitable for the vehicle.
To prevent the floor mats from slipping out of posi-
tion, securely retain th em using the hook, etc.
Note that laying a floor mat over a pedal or laying
one floor mat on top of an other can obstruct pedal
operation and lead to a serious accident.