jacking MITSUBISHI COLT 2011 Owner's Manual (in English)
[x] Cancel search | Manufacturer: MITSUBISHI, Model Year: 2011, Model line: COLT, Model: MITSUBISHI COLT 2011Pages: 274, PDF Size: 17.88 MB
Page 187 of 274
If the vehicle breaks down............................................................ 6-02
Emergency starting ....................................................................... 6-02
Engine overheating ....................................................................... 6-04
Tools, jack and tyre repair kit* ..................................................... 6-06
Jacking up the vehicle...................................................................6-12
Spare wheel*.................................................................................6-13
How to change a tyre .................................................................... 6-15
Towing .......................................................................................... 6-18
Operation under adverse driving conditions .................................6-22For emergencies6
Page 198 of 274
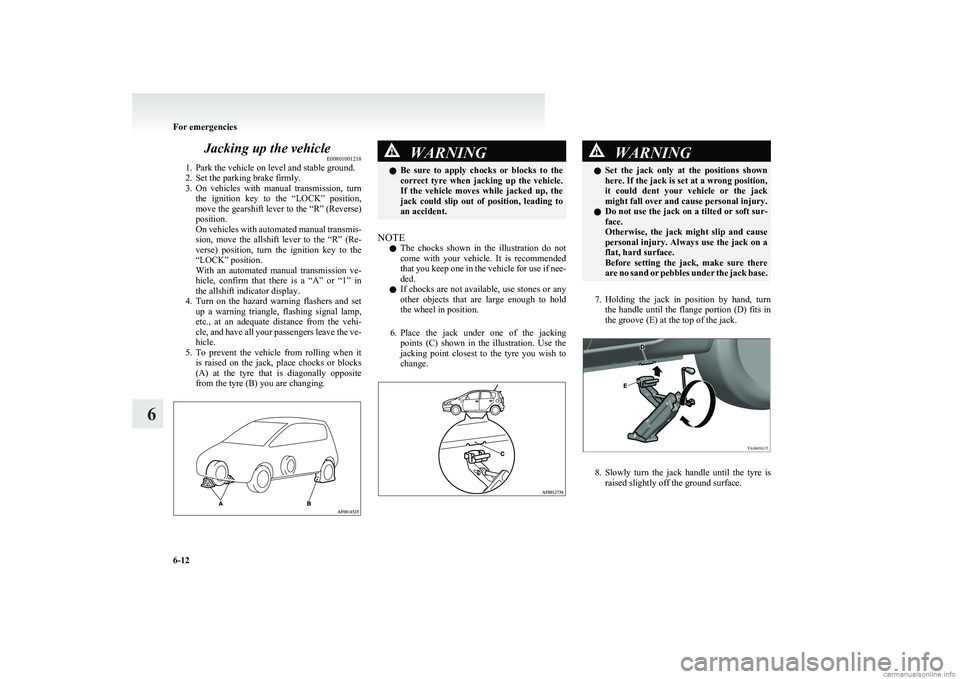
Jacking up the vehicleE00801001218
1. Park the vehicle on level and stable ground.
2. Set the parking brake firmly.
3. On vehicles with manual transmission, turn
the ignition key to the “LOCK” position,
move the gearshift lever to the “R” (Reverse)
position.
On vehicles with automated manual transmis-
sion, move the allshift lever to the “R” (Re-
verse) position, turn the ignition key to the
“LOCK” position.
With an automated manual transmission ve-
hicle, confirm that there is a “A” or “1” in
the allshift indicator display.
4. Turn on the hazard warning flashers and set
up a warning triangle, flashing signal lamp,
etc., at an adequate distance from the vehi-
cle, and have all your passengers leave the ve-
hicle.
5. To prevent the vehicle from rolling when it
is raised on the jack, place chocks or blocks
(A) at the tyre that is diagonally opposite
from the tyre (B) you are changing.WARNINGl Be sure to apply chocks or blocks to the
correct tyre when jacking up the vehicle.
If the vehicle moves while jacked up, the
jack could slip out of position, leading to
an accident.
NOTE
l The chocks shown in the illustration do not
come with your vehicle. It is recommended
that you keep one in the vehicle for use if nee-
ded.
l If chocks are not available, use stones or any
other objects that are large enough to hold
the wheel in position.
6. Place the jack under one of the jacking
points (C) shown in the illustration. Use the
jacking point closest to the tyre you wish to
change.
WARNINGl Set the jack only at the positions shown
here. If the jack is set at a wrong position,
it could dent your vehicle or the jack
might fall over and cause personal injury.
l Do not use the jack on a tilted or soft sur-
face.
Otherwise, the jack might slip and cause
personal injury. Always use the jack on a
flat, hard surface.
Before setting the jack, make sure there
are no sand or pebbles under the jack base.
7. Holding the jack in position by hand, turn
the handle until the flange portion (D) fits in
the groove (E) at the top of the jack.
8. Slowly turn the jack handle until the tyre is
raised slightly off the ground surface.
For emergencies
6-12
6
Page 199 of 274
WARNINGlStop jacking up the vehicle as soon as the
tyre is raised off the ground. It is danger-
ous to raise the vehicle any higher.
l Do not get under your vehicle while using
the jack.
l Do not bump the raised vehicle or leave it
sitting on the jack for a long time. Both
are very dangerous.
l Do not use a jack except the one that
came with your vehicle.
l The jack should not be used for any pur-
pose other than to change a tyre.
l No one should be in your vehicle when us-
ing the jack.
l Do not start or run the engine while your
vehicle is on the jack.
l Do not turn the raised wheel. The tyres
still on the ground could turn and make
your vehicle fall off the jack.Spare wheel* E00801101394
Check the air pressure of the spare tyre frequently
and make sure it is ready for emergency use at any
time.
Maintaining the spare wheel at the highest speci-
fied air pressure will ensure that it can always be
used under any conditions (city/high-speed driving,
varying load weight, etc.).
The spare wheel is stored beneath the luggage floor
board of the luggage compartment.
Compact spare wheel
The compact spare tyre is designed to save space in
the luggage compartment and its lighter weight
makes it easier to use if a flat tyre occurs.CAUTIONl The pressure should be periodically
checked and maintained at the specified
pressure while the tyre is stowed.
Driving with an insufficient tyre pressure
can lead to an accident. If you have no
choice but to drive with an insufficient
tyre pressure, keep your speed down and
inflate the tyre to the correct pressure as
soon as possible. (Refer to “Tyre inflation
pressures” on page 8-12.)
l The compact spare wheel is for tempora-
ry use only and should be removed as
soon as the original wheel can be re-
paired or replaced.
l The vehicle must not be driven at speeds
in excess of 80 km/h (50 mph) while using
the compact spare wheel.CAUTIONl The compact spare tyre is not as good as
a standard tyre in controllability and sta-
bility. When the compact spare tyre is
used, avoid quick starts, sudden braking
and sharp steering.
l Avoid driving through automatic vehicle
washers and over obstacles that could pos-
sibly damage the vehicle’s undercarriage.
Because the compact spare wheel is small-
er than the original wheel, the ground
clearance is slightly reduced.
l The compact spare wheel is specifically de-
signed for your vehicle and it should not
be used on any other vehicle.
l Do not use tyre chains with your compact
spare wheel. Because of the smaller tyre
size, a tyre chain will not fit properly.
This could cause damage to the wheel
and result in loss of the chain.
If a front tyre becomes flat when using
tyre chains, first replace a rear wheel
with the compact spare wheel and then
use the removed rear wheel to replace the
flat front wheel so that you can continue
to use the chains.
For emergencies
6-13
6
Page 201 of 274
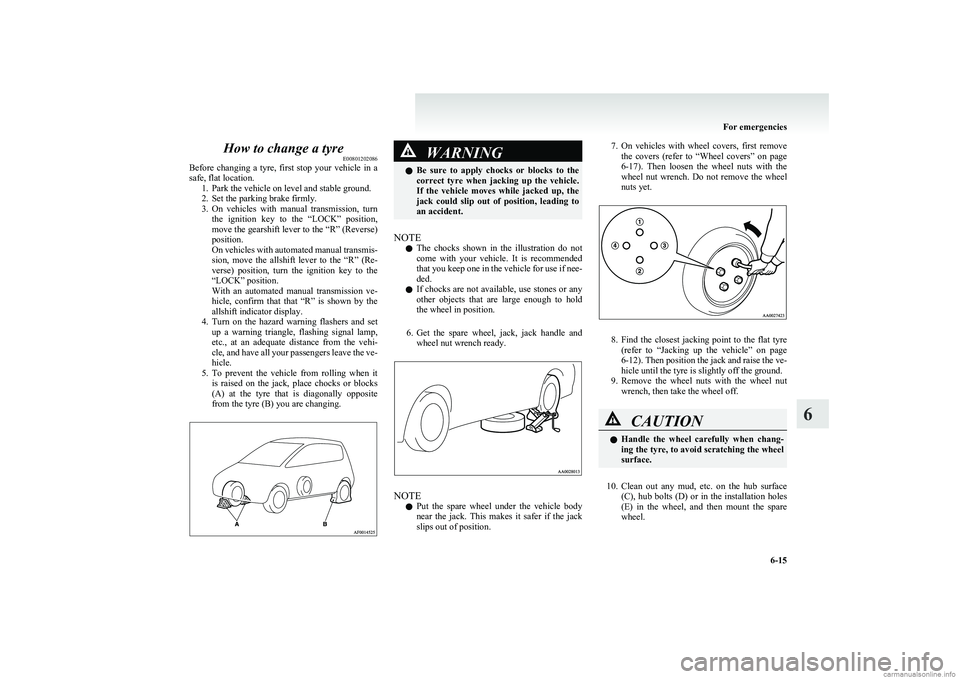
How to change a tyreE00801202086
Before changing a tyre, first stop your vehicle in a
safe, flat location. 1. Park the vehicle on level and stable ground.
2. Set the parking brake firmly.
3. On vehicles with manual transmission, turn
the ignition key to the “LOCK” position,
move the gearshift lever to the “R” (Reverse)
position.
On vehicles with automated manual transmis-
sion, move the allshift lever to the “R” (Re-
verse) position, turn the ignition key to the
“LOCK” position.
With an automated manual transmission ve-
hicle, confirm that that “R” is shown by the
allshift indicator display.
4. Turn on the hazard warning flashers and set
up a warning triangle, flashing signal lamp,
etc., at an adequate distance from the vehi-
cle, and have all your passengers leave the ve-
hicle.
5. To prevent the vehicle from rolling when it
is raised on the jack, place chocks or blocks
(A) at the tyre that is diagonally opposite
from the tyre (B) you are changing.WARNINGl Be sure to apply chocks or blocks to the
correct tyre when jacking up the vehicle.
If the vehicle moves while jacked up, the
jack could slip out of position, leading to
an accident.
NOTE
l The chocks shown in the illustration do not
come with your vehicle. It is recommended
that you keep one in the vehicle for use if nee-
ded.
l If chocks are not available, use stones or any
other objects that are large enough to hold
the wheel in position.
6. Get the spare wheel, jack, jack handle and
wheel nut wrench ready.
NOTE
l Put the spare wheel under the vehicle body
near the jack. This makes it safer if the jack
slips out of position.
7. On vehicles with wheel covers, first remove
the covers (refer to “Wheel covers” on page
6-17 ). Then loosen the wheel nuts with the
wheel nut wrench. Do not remove the wheel
nuts yet.
8. Find the closest jacking point to the flat tyre
(refer to “Jacking up the vehicle” on page
6-12 ). Then position the jack and raise the ve-
hicle until the tyre is slightly off the ground.
9. Remove the wheel nuts with the wheel nut
wrench, then take the wheel off.
CAUTIONl Handle the wheel carefully when chang-
ing the tyre, to avoid scratching the wheel
surface.
10. Clean out any mud, etc. on the hub surface
(C), hub bolts (D) or in the installation holes
(E) in the wheel, and then mount the spare
wheel.
For emergencies
6-15
6
Page 266 of 274
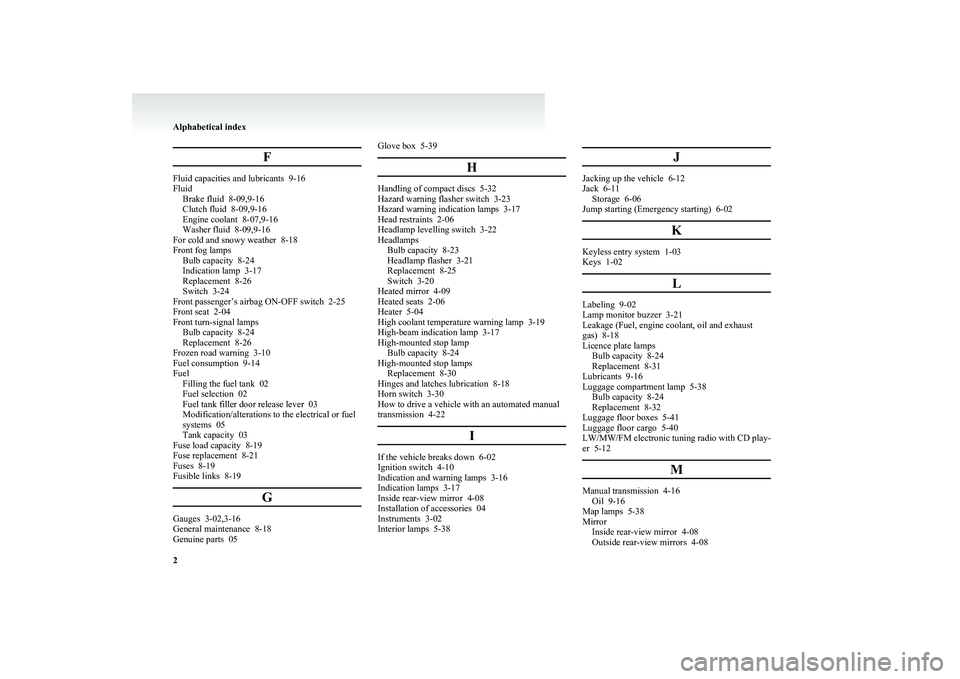
F
Fluid capacities and lubricants 9-16
Fluid Brake fluid 8-09,9-16
Clutch fluid 8-09,9-16
Engine coolant 8-07,9-16
Washer fluid 8-09,9-16
For cold and snowy weather 8-18
Front fog lamps Bulb capacity 8-24
Indication lamp 3-17
Replacement 8-26
Switch 3-24
Front passenger’s airbag ON-OFF switch 2-25
Front seat 2-04
Front turn-signal lamps Bulb capacity 8-24
Replacement 8-26
Frozen road warning 3-10
Fuel consumption 9-14
Fuel Filling the fuel tank 02
Fuel selection 02
Fuel tank filler door release lever 03
Modification/alterations to the electrical or fuel
systems 05
Tank capacity 03
Fuse load capacity 8-19
Fuse replacement 8-21
Fuses 8-19
Fusible links 8-19
G
Gauges 3-02,3-16
General maintenance 8-18
Genuine parts 05
Glove box 5-39
H
Handling of compact discs 5-32
Hazard warning flasher switch 3-23
Hazard warning indication lamps 3-17
Head restraints 2-06
Headlamp levelling switch 3-22
Headlamps Bulb capacity 8-23
Headlamp flasher 3-21
Replacement 8-25
Switch 3-20
Heated mirror 4-09
Heated seats 2-06
Heater 5-04
High coolant temperature warning lamp 3-19
High-beam indication lamp 3-17
High-mounted stop lamp Bulb capacity 8-24
High-mounted stop lamps Replacement 8-30
Hinges and latches lubrication 8-18
Horn switch 3-30
How to drive a vehicle with an automated manual
transmission 4-22
I
If the vehicle breaks down 6-02
Ignition switch 4-10
Indication and warning lamps 3-16
Indication lamps 3-17
Inside rear-view mirror 4-08
Installation of accessories 04
Instruments 3-02
Interior lamps 5-38
J
Jacking up the vehicle 6-12
Jack 6-11 Storage 6-06
Jump starting (Emergency starting) 6-02
K
Keyless entry system 1-03
Keys 1-02
L
Labeling 9-02
Lamp monitor buzzer 3-21
Leakage (Fuel, engine coolant, oil and exhaust
gas) 8-18
Licence plate lamps Bulb capacity 8-24
Replacement 8-31
Lubricants 9-16
Luggage compartment lamp 5-38 Bulb capacity 8-24
Replacement 8-32
Luggage floor boxes 5-41
Luggage floor cargo 5-40
LW/MW/FM electronic tuning radio with CD play-
er 5-12
M
Manual transmission 4-16Oil 9-16
Map lamps 5-38
Mirror Inside rear-view mirror 4-08
Outside rear-view mirrors 4-08
Alphabetical index
2