lights MITSUBISHI ECLIPSE CROSS 2019 (in English) Owner's Guide
[x] Cancel search | Manufacturer: MITSUBISHI, Model Year: 2019, Model line: ECLIPSE CROSS, Model: MITSUBISHI ECLIPSE CROSS 2019Pages: 423, PDF Size: 75.41 MB
Page 111 of 423
Free-hand Advanced Security Transmitter (F.A.S.T.-key) (if so equipped) 5-28 Features and controls
5
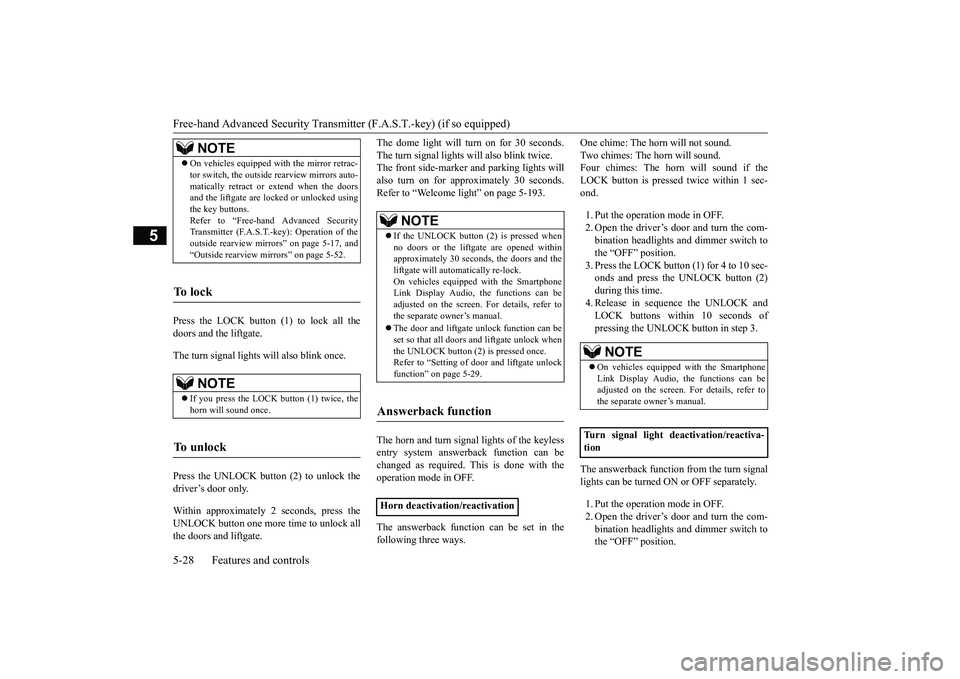
Press the LOCK button (1) to lock all the doors and the liftgate. The turn signal lights will also blink once. Press the UNLOCK button (2) to unlock the driver’s door only. Within approximately 2 seconds, press the UNLOCK button one more time to unlock allthe doors and liftgate.
The dome light will turn on for 30 seconds. The turn signal lights will also blink twice. The front side-marker and parking lights will also turn on for appr
oximately 30 seconds.
Refer to “Welcome light” on page 5-193. The horn and turn signal lights of the keyless entry system answerback function can be changed as required. This is done with theoperation mode in OFF. The answerback function can be set in the following three ways.
One chime: The horn will not sound. Two chimes: The horn will sound. Four chimes: The horn will sound if the LOCK button is presse
d twice within 1 sec-
ond. 1. Put the operation mode in OFF. 2. Open the driver’s door and turn the com- bination headlights and dimmer switch tothe “OFF” position. 3. Press the LOCK button (1) for 4 to 10 sec- onds and press the UNLOCK button (2)during this time.4. Release in sequence the UNLOCK and LOCK buttons within 10 seconds of pressing the UNLOCK button in step 3.
The answerback function from the turn signal lights can be turned ON or OFF separately. 1. Put the operation mode in OFF. 2. Open the driver’s door and turn the com-bination headlights and dimmer switch to the “OFF” position.
NOTE
On vehicles equipped with the mirror retrac- tor switch, the outside rearview mirrors auto- matically retract or extend when the doors and the liftgate are lock
ed or unlocked using
the key buttons.Refer to “Free-hand Advanced Security Transmitter (F.A.S.T.-key): Operation of the outside rearview mirrors” on page 5-17, and“Outside rearview mirrors” on page 5-52.
To l o c k
NOTE
If you press the LOCK button (1) twice, the horn will sound once.
To u n l o c k
NOTE
If the UNLOCK button (2) is pressed when no doors or the liftgate are opened within approximately 30 seconds, the doors and theliftgate will automatically re-lock. On vehicles equipped with the Smartphone Link Display Audio, the functions can beadjusted on the screen. For details, refer to the separate owner’s manual. The door and liftgate unlock function can be set so that all doors and liftgate unlock when the UNLOCK button (2) is pressed once.Refer to “Setting of door and liftgate unlock function” on page 5-29.
Answerback function
Horn deactivation/reactivation
NOTE
On vehicles equipped with the Smartphone Link Display Audio, the functions can beadjusted on the screen. For details, refer to the separate owner’s manual.
Turn signal light deactivation/reactiva- tion
BK0266800US.bo
ok 28 ページ 2018年6月27日 水曜日 午後5時6分
Page 112 of 423
Free-hand Advanced Security Transmit
ter (F.A.S.T.-key) (if so equipped)
Features and controls 5-29
5
3. Press the UNLOCK button (2) for 4 to 10 seconds and press the LOCK button (1) during this time. 4. Release in sequence the UNLOCK andLOCK buttons within 10 seconds of pressing the LOCK button in step 3.
The buzzer answerback function can be turned ON or OFF as required.
N00544601226
The door and liftgate unlock function can be set to the following two conditions. Each time the door and liftgate unlock func- tion is set, a chime will sound to tell you thecondition of the door and liftgate unlock function.
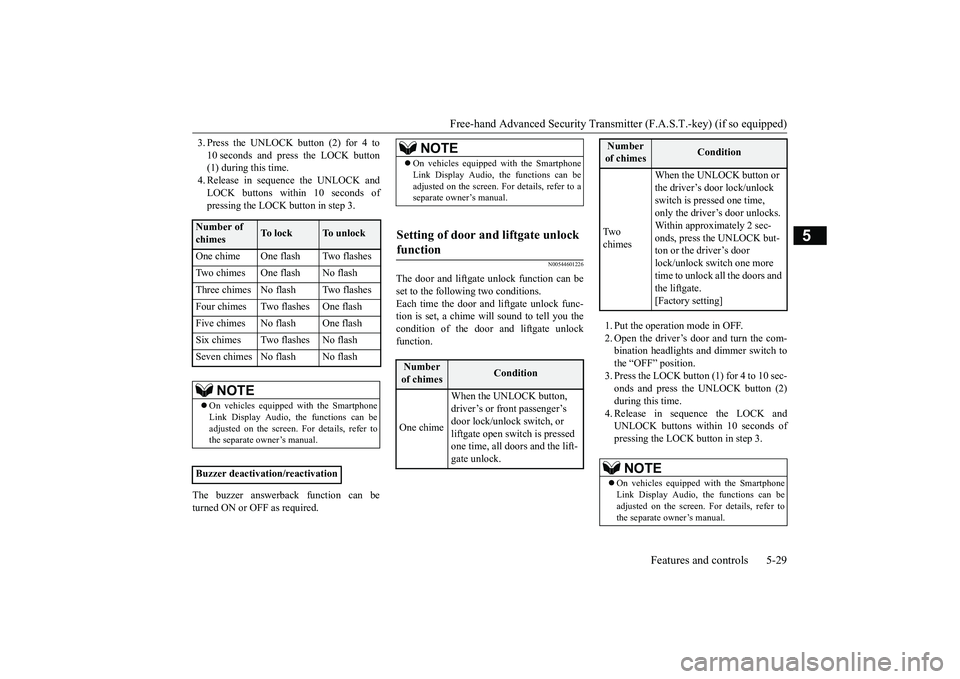
1. Put the operation mode in OFF. 2. Open the driver’s door and turn the com- bination headlights and dimmer switch to the “OFF” position.3. Press the LOCK button (1) for 4 to 10 sec- onds and press the UNLOCK button (2) during this time.4. Release in sequence the LOCK and UNLOCK buttons within 10 seconds of pressing the LOCK button in step 3.
Number of chimes
To l o c k
To unlock
One chime One flash Two flashes Two chimes One flash No flashThree chimes No flash Two flashesFour chimes Two flashes One flashFive chimes No flash One flashSix chimes Two flashes No flashSeven chimes No flash No flash
NOTE
On vehicles equipped with the Smartphone Link Display Audio, the functions can be adjusted on the screen. For details, refer tothe separate owner’s manual.
Buzzer deactivation/reactivation
NOTE
On vehicles equipped with the Smartphone Link Display Audio, the functions can be adjusted on the screen. For details, refer to a separate owner’s manual.
Setting of door and liftgate unlock function
Number of chimes
Condition
One chime
When the UNLOCK button, driver’s or front passenger’s door lock/unlock switch, or liftgate open switch is pressed one time, all doors and the lift-gate unlock.
Tw o chimes
When the UNLOCK button or the driver’s door lock/unlock switch is pressed one time, only the driver’s door unlocks. Within approximately 2 sec-onds, press the UNLOCK but- ton or the driver’s door lock/unlock switch one more time to unlock all the doors and the liftgate. [Factory setting]
NOTE
On vehicles equipped with the Smartphone Link Display Audio, the functions can be adjusted on the screen. For details, refer to the separate owner’s manual.Number of chimes
Condition
BK0266800US.bo
ok 29 ページ 2018年6月27日 水曜日 午後5時6分
Page 113 of 423
Free-hand Advanced Security Transmitter (F.A.S.T.-key) (if so equipped) 5-30 Features and controls
5
N00544701126
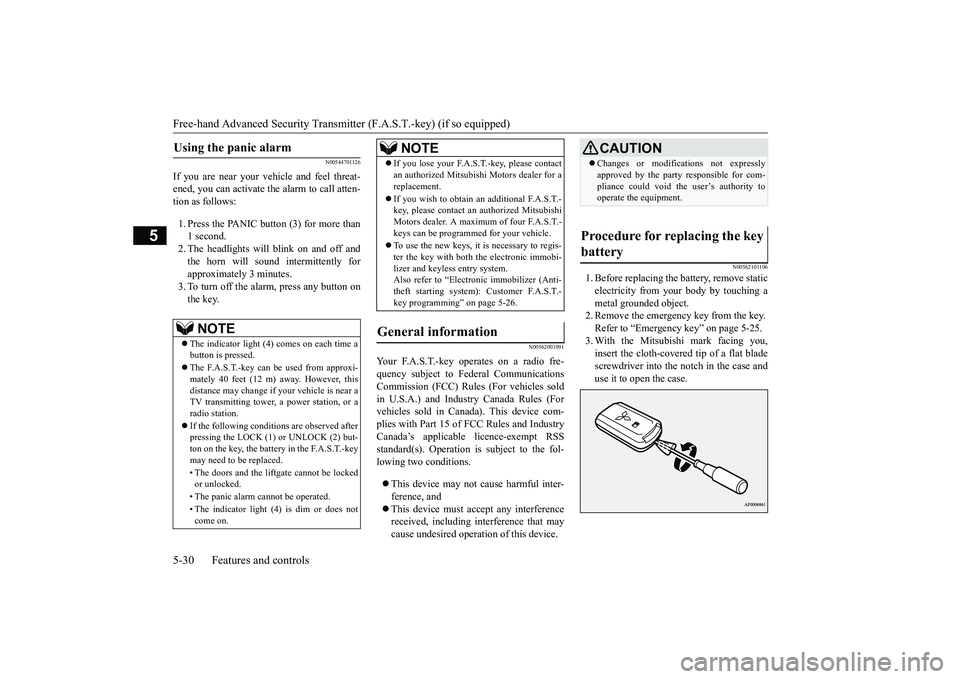
If you are near your vehicle and feel threat- ened, you can activate the alarm to call atten-tion as follows: 1. Press the PANIC button (3) for more than 1 second. 2. The headlights will blink on and off andthe horn will sound intermittently for approximately 3 minutes. 3. To turn off the alarm, press any button onthe key.
N00562001091
Your F.A.S.T.-key operates on a radio fre- quency subject to Federal Communications Commission (FCC) Rules (For vehicles soldin U.S.A.) and Industry Canada Rules (For vehicles sold in Canada). This device com- plies with Part 15 of FCC Rules and IndustryCanada’s applicable licence-exempt RSS standard(s). Operation is subject to the fol- lowing two conditions. This device may not cause harmful inter- ference, and This device must accept any interference received, including interference that maycause undesired operation of this device.
N00562101106
1. Before replacing the battery, remove staticelectricity from your body by touching ametal grounded object. 2. Remove the emergency key from the key. Refer to “Emergency key” on page 5-25.3. With the Mitsubishi mark facing you, insert the cloth-covered tip of a flat blade screwdriver into the notch in the case anduse it to open the case.
Using the panic alarm
NOTE
The indicator light (4) comes on each time a button is pressed. The F.A.S.T.-key can be used from approxi- mately 40 feet (12 m) away. However, this distance may change if your vehicle is near aTV transmitting tower, a power station, or a radio station. If the following conditions are observed after pressing the LOCK (1) or UNLOCK (2) but- ton on the key, the battery in the F.A.S.T.-key may need to be replaced. • The doors and the liftgate cannot be locked or unlocked. • The panic alarm cannot be operated. • The indicator light (4) is dim or does not come on.
If you lose your F.A.S.T.-key, please contact an authorized Mitsubish
i Motors dealer for a
replacement. If you wish to obtain an
additional F.A.S.T.-
key, please contact an authorized Mitsubishi Motors dealer. A maximum of four F.A.S.T.- keys can be programmed for your vehicle. To use the new keys, it is necessary to regis- ter the key with both the electronic immobi-lizer and keyless entry system. Also refer to “Electr
onic immobilizer (Anti-
theft starting system): Customer F.A.S.T.-key programming” on page 5-26.
General information
NOTE
CAUTION Changes or modifications not expressly approved by the party responsible for com- pliance could void the user’s authority to operate the equipment.
Procedure for replacing the key battery
BK0266800US.bo
ok 30 ページ 2018年6月27日 水曜日 午後5時6分
Page 121 of 423
Theft-alarm system 5-38 Features and controls
5
N00510401243
The alarm will be activated if any of the fol- lowing occur while the vehicle is parked and the system is armed.
One of the doors and the liftgate is opened without using the keyless entry system or the F.A.S.T.-key operation. The engine hood is opened.
N00582500053
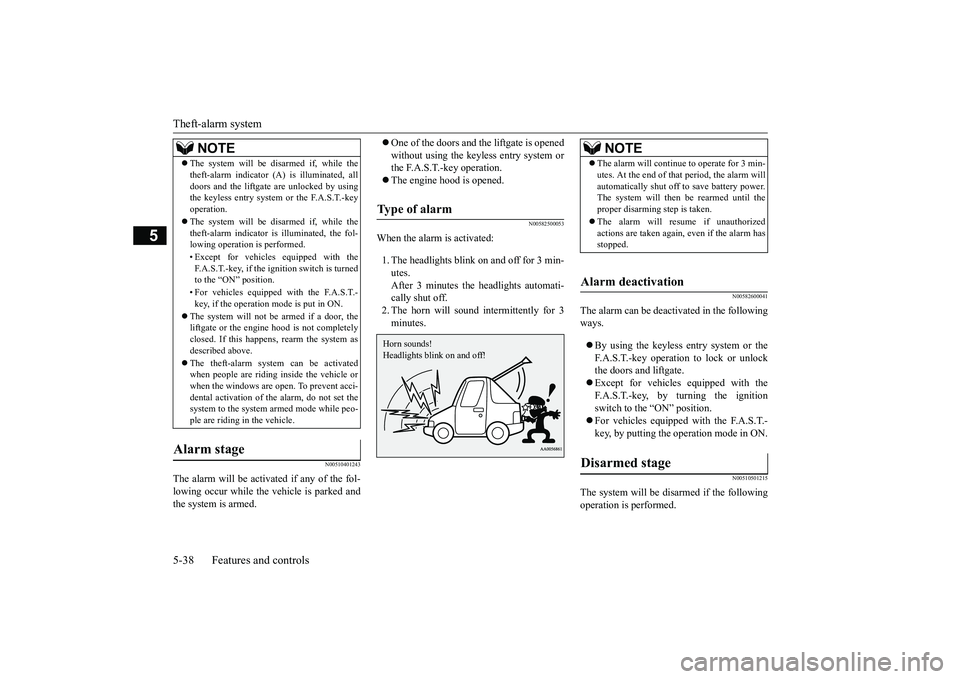
When the alarm is activated: 1. The headlights blink on and off for 3 min- utes.After 3 minutes the headlights automati-cally shut off. 2. The horn will sound intermittently for 3 minutes.
N00582600041
The alarm can be deactivated in the followingways. By using the keyless entry system or the F.A.S.T.-key operation to lock or unlock the doors and liftgate. Except for vehicles equipped with the F.A.S.T.-key, by turning the ignition switch to the “ON” position. For vehicles equipped with the F.A.S.T.- key, by putting the operation mode in ON.
N00510501215
The system will be disarmed if the followingoperation is performed.
The system will be disarmed if, while the theft-alarm indicator (A) is illuminated, all doors and the liftgate are unlocked by using the keyless entry system or the F.A.S.T.-key operation. The system will be disarmed if, while the theft-alarm indicator is illuminated, the fol-lowing operation is performed. • Except for vehicles equipped with the F.A.S.T.-key, if the ignition switch is turned to the “ON” position. • For vehicles equipped with the F.A.S.T.- key, if the operation mode is put in ON.
The system will not be armed if a door, the liftgate or the engine hood is not completely closed. If this happens, rearm the system asdescribed above. The theft-alarm system can be activated when people are riding inside the vehicle or when the windows are open. To prevent acci- dental activation of the alarm, do not set thesystem to the system armed mode while peo- ple are riding in the vehicle.
Alarm stage
NOTE
Type of alarm Horn sounds! Headlights blink on and off!
NOTE
The alarm will continue to operate for 3 min- utes. At the end of that period, the alarm will automatically shut off to save battery power. The system will then
be rearmed until the
proper disarming step is taken. The alarm will resume if unauthorized actions are taken again, even if the alarm hasstopped.
Alarm deactivation Disarmed stage
BK0266800US.bo
ok 38 ページ 2018年6月27日 水曜日 午後5時6分
Page 122 of 423
Power window control
Features and controls 5-39
5
Except for vehicles equipped with the F.A.S.T.-key, if the ignition switch is turned to the “ON” position. For vehicles equipped with the F.A.S.T.- key, if the operation mode is put in ON. All doors and the liftgate are unlocked by using the keyless entry system or theF.A.S.T.-key operation.
N00510601160
Use the following procedure to test the sys- tem: 1. Lower the driver’s window. 2. Arm the system as explained in “Armedstage”. 3. Make sure that the theft-alarm indicator comes on and flashes for approximately20 seconds. 4. Wait a few seconds and then unlock the driver’s side door by using the inside doorlock knob. Open the door. 5. Make sure that the horn sounds intermit- tently and the headlights blink when adoor is opened.
6. Disarm the system by unlocking all doors and the liftgate by using the keyless entry system or the F.A.S.T.-key operation.
N00510801436
NOTE
If the UNLOCK button on the key, or the driver’s or front passenger’s doorlock/unlock switch is pressed when all doors and the liftgate are closed and no door is opened within approximately 30 seconds, re-arming will automatically occur.Disarm...by using the keyless entry system or F.A.S.T.-key operation
The amount of time after unlocking until the vehicle relocks automatically can be adjusted. See an authorized Mitsubishi Motors dealer for details. On vehicles equipped with the SmartphoneLink Display Audio, the functions can be adjusted on the screen. For details, refer to a separate owner’s manual. Once the system has been disarmed, it can- not be rearmed except by repeating the arm-ing procedure.
Testing the theft-alarm system
NOTE
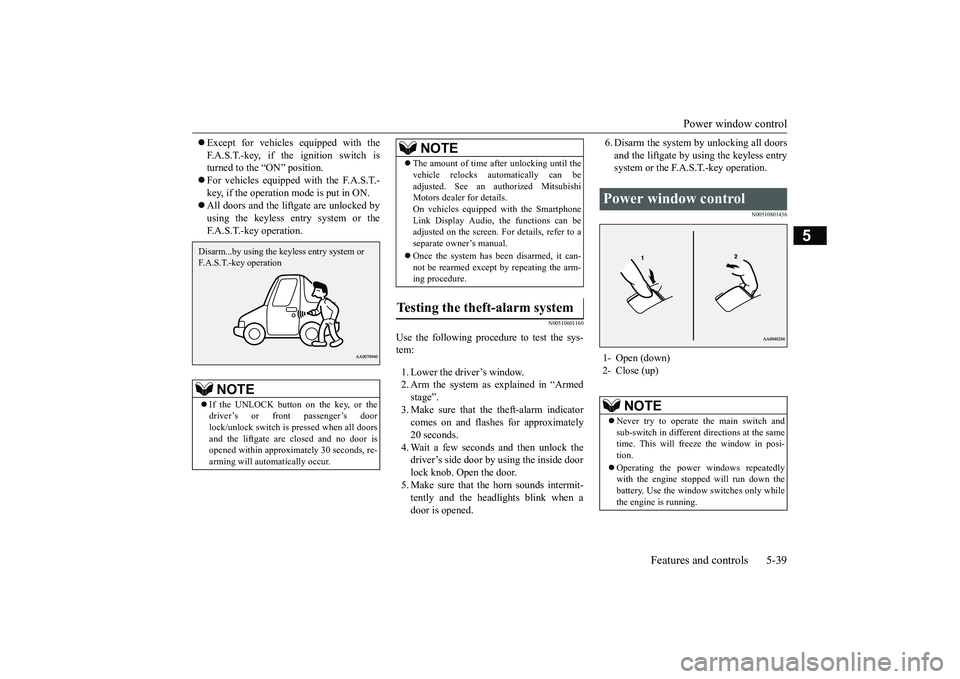
Power window control 1- Open (down) 2- Close (up)
NOTE
Never try to operate the main switch and sub-switch in different directions at the same time. This will freeze the window in posi- tion. Operating the power windows repeatedly with the engine stopped will run down thebattery. Use the window switches only while the engine is running.
BK0266800US.bo
ok 39 ページ 2018年6月27日 水曜日 午後5時6分
Page 131 of 423
Parking brake 5-48 Features and controls
5
When the accelerator pedal is depressed slowly while all of the following conditionsare met, the Electric parking brake is auto- matically released. The engine is running. The selector lever is in the “D” (DRIVE) or the “R” (REVERSE) position. The driver’s seat belt is fastened.
When the Electric parking brake is released, the brake warning light (red) and the indicator light on the Electric parking brake switch go off. Before driving, be sure that the parking brake is released and brake warning light is off.
If the Electric parking brake switch is repeat- edly operated in a short time, the following warning display will appear in the multi- information display and the Electric parking brake will temporarily stop working. In suchcase, wait for approximately 1 minute until the warning display disappears, and operate the Electric parking brake switch again. The brake warning light (red) and the indica- tor light on the Electric parking brake switch may blink. This does not indicate a malfunc-tion, the lights go off when/if the Electric parking brake is released. Depending on the situation, the Electric parking brake may be applied automatically. Refer to “Brake auto hold” on page 5-73.NOTE
To release
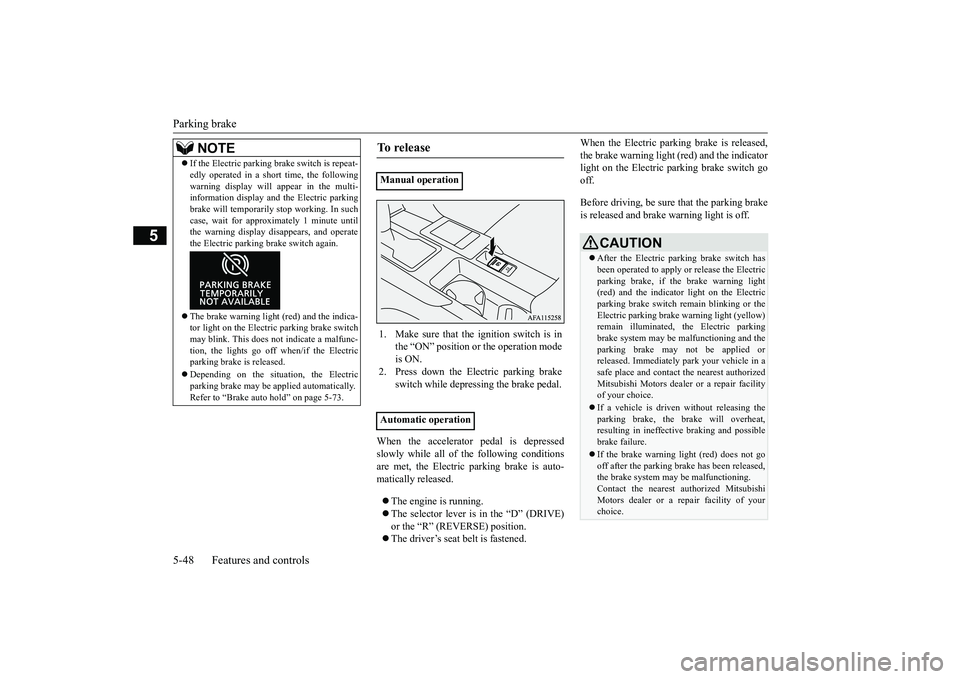
Manual operation 1. Make sure that the ignition switch is in
the “ON” position or the operation mode is ON.
2. Press down the Electric parking brake
switch while depressing the brake pedal.
Automatic operation
CAUTION After the Electric parking brake switch has been operated to apply or release the Electric parking brake, if the brake warning light(red) and the indicator light on the Electric parking brake switch remain blinking or the Electric parking brake warning light (yellow)remain illuminated, the Electric parking brake system may be malfunctioning and the parking brake may not be applied orreleased. Immediately park your vehicle in a safe place and contact the nearest authorized Mitsubishi Motors dealer or a repair facilityof your choice. If a vehicle is driven without releasing the parking brake, the brake will overheat, resulting in ineffective braking and possible brake failure. If the brake warning li
ght (red) does not go
off after the parking brake has been released, the brake system may be malfunctioning. Contact the nearest authorized MitsubishiMotors dealer or a repair facility of your choice.
BK0266800US.bo
ok 48 ページ 2018年6月27日 水曜日 午後5時6分
Page 134 of 423
Inside rearview mirror
Features and controls 5-51
5
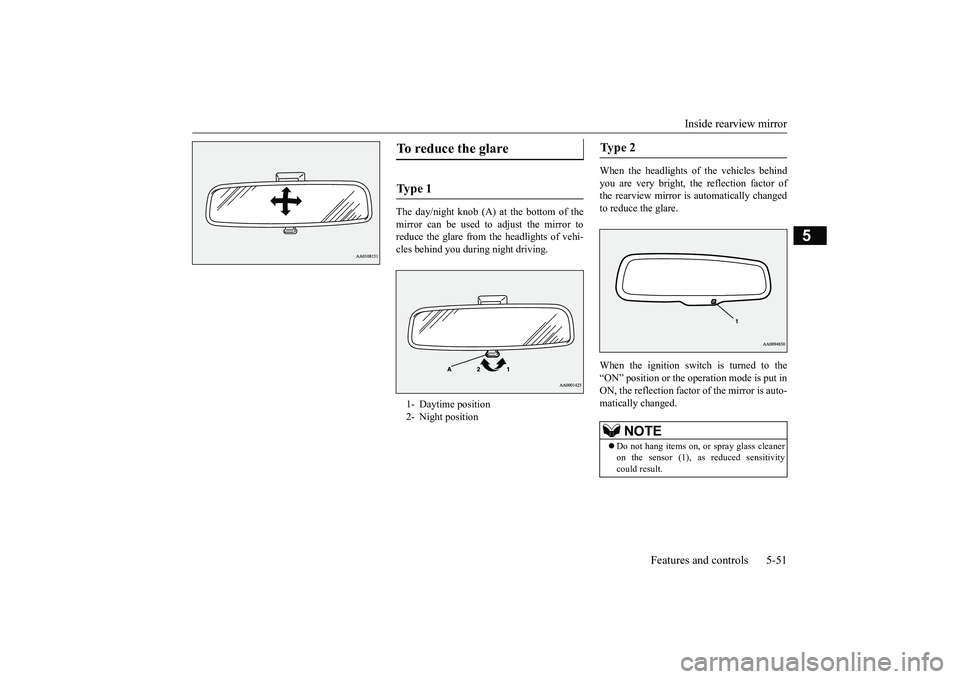
The day/night knob (A) at the bottom of the mirror can be used to adjust the mirror to reduce the glare from the headlights of vehi-cles behind you during night driving.
When the headlights of the vehicles behind you are very bright, the reflection factor of the rearview mirror is automatically changedto reduce the glare. When the ignition switch is turned to the “ON” position or the operation mode is put in ON, the reflection factor of the mirror is auto-matically changed.
To reduce the glare Ty p e 1 1- Daytime position2- Night position
Ty p e 2
NOTE
Do not hang items on, or spray glass cleaner on the sensor (1), as reduced sensitivity could result.
BK0266800US.bo
ok 51 ページ 2018年6月27日 水曜日 午後5時6分
Page 135 of 423
Outside rearview mirrors 5-52 Features and controls
5
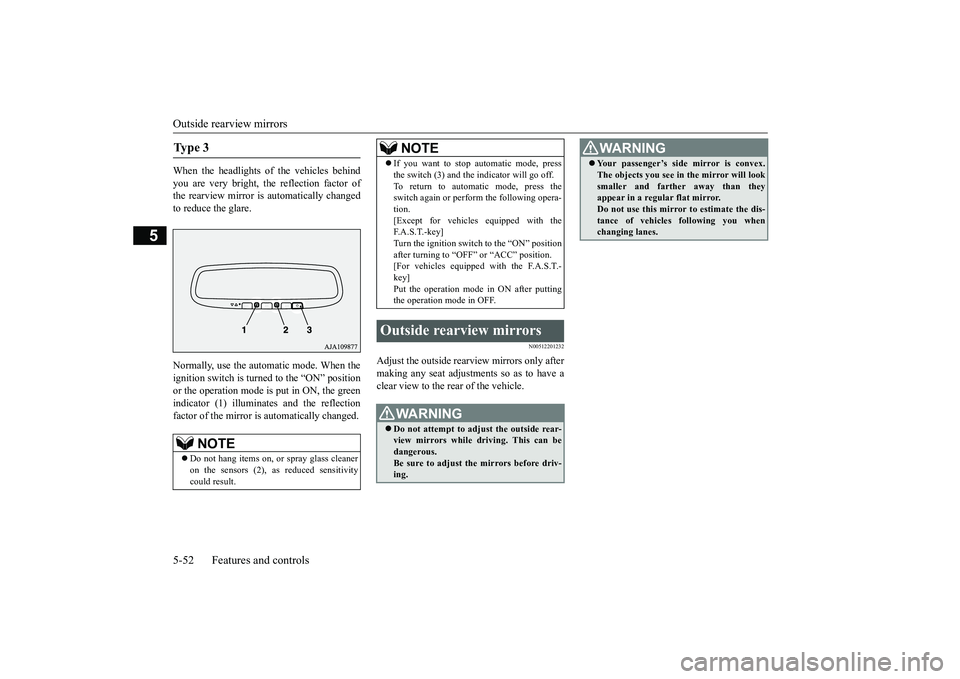
When the headlights of the vehicles behind you are very bright, the reflection factor of the rearview mirror is automatically changedto reduce the glare. Normally, use the automatic mode. When the ignition switch is turned to the “ON” position or the operation mode is put in ON, the greenindicator (1) illuminates and the reflectionfactor of the mirror is automatically changed.
N00512201232
Adjust the outside rearview mirrors only aftermaking any seat adjustments so as to have a clear view to the rear of the vehicle.
Ty p e 3
NOTE
Do not hang items on, or spray glass cleaner on the sensors (2), as reduced sensitivity could result.
If you want to stop automatic mode, press the switch (3) and the indicator will go off. To return to automatic mode, press the switch again or perform the following opera- tion.[Except for vehicles equipped with the F. A . S . T. - k e y ] Turn the ignition switch to the “ON” positionafter turning to “OFF” or “ACC” position. [For vehicles equipped with the F.A.S.T.- key]Put the operation mode in ON after putting the operation mode in OFF.
Outside rearview mirrors
WA R N I N G Do not attempt to adjust the outside rear- view mirrors while driving. This can be dangerous. Be sure to adjust the mirrors before driv-ing.NOTE
Your passenger’s side mirror is convex. The objects you see in the mirror will look smaller and farther away than they appear in a regular flat mirror. Do not use this mirror to estimate the dis-tance of vehicles following you when changing lanes.WA R N I N G
BK0266800US.bo
ok 52 ページ 2018年6月27日 水曜日 午後5時6分
Page 141 of 423
Starting the engine 5-58 Features and controls
5
This model is equipped with an electronically controlled fuel injection system. This is a sys- tem that automatically controls fuel injection.There is usually no need to depress the accel- erator pedal when starting the engine. The starter should not be run for more than15 seconds at a time. To prevent battery drain, wait a few seconds between attempts to restart the engine. 1. Make sure all occupants are properly seated with seat belts fastened.
2. Insert the ignition key. 3. Press and hold the brake pedal down firmly with your right foot. 4. Make sure the selector lever is in the “P”(PARK) position. 5. Turn the ignition switch to the “ON” posi- tion and make certain that all warninglights are functioning properly before starting the engine. 6. Turn the ignition switch to the “START”position without pressing the acceleratorpedal. Release the ignition switch when the engine starts.
After several attempts, you may experience that the engine still does not start. 1. Make sure that all electric devices, such as lights, air conditioning blower and rearwindow defogger, are turned off.
2. While depressing the brake pedal, press the accelerator pedal halfway and hold it there, then crank the engine. Release the accelerator pedal, immediately after theengine starts. 3. If the engine still will not start, the engine could be flooded with too much gasoline.While depressing the brake pedal, push the accelerator pedal all the way down and hold it there, then crank the engine for5 to 6 seconds. Return the ignition switchto the “OFF” and release the accelerator pedal. Wait a few seconds, and then crank the engine again for 5 to 6 seconds whiledepressing the brake pedal, but do not push the accelerator pedal. Release the ignition switch if the engine starts. If theengine fails to start, repeat these proce- dures. If the engine st
ill will not start, con-
tact your local Mitsubishi Motors dealeror a repair facility of your choice for assistance.
When the ambient temperature is -22 °F (-30 °C) or lower, it may not be possible tostart from a standstill even with the selector
WA R N I N G Never run the engine in a closed or poorly ventilated area any longer than is needed to move your vehicle out of the area. Car- bon monoxide gas, which is odorless and extremely poisonous, could build up andcause serious injury or death.CAUTION Do not push-start the vehicle.Do not run the engine at high revolutions or drive at high speeds until the engine has hada chance to warm up. Release the ignition switch as soon as the engine starts. Otherwise, the starter motor will be damaged
Starting the engine
NOTE
Minor noises may be heard on engine start- up. These will disappear as the engine warms up.
When the engine is hard to start
Startability of CVT vehicle with ambient temperature of -22 °F (-30 °C) or lower
BK0266800US.bo
ok 58 ページ 2018年6月27日 水曜日 午後5時6分
Page 148 of 423
Continuously variable transmission (CVT)
Features and controls 5-65
5
To gain extra acceleration in “D” (DRIVE) position (when passing another vehicle) push the accelerator to the floor. The CVT will automatically downshift.
For short waiting periods, such as at traffic lights, the vehicle can be left in selector leverposition and held stationary with the service brake. For longer waiting periods with the enginerunning, place the selector lever in the “N” (NEUTRAL) position and apply the parking brake, while holding the vehicle stationarywith the service brake. Prior to moving off after having stopped the vehicle, make sure that the selector lever is in“D” (DRIVE) position or Sports mode posi- tion.
To park the vehicle, first bring it to a com- plete stop, firmly apply the parking brake,and then move the selector lever to the “P” (PARK) position. If the CVT does not shift while driving, or your vehicle does not pick up enough speedwhen starting on an uphill slope, it may be that there is something unusual happening in the transmission, causing a safety device toactivate. Immediately have your vehicle checked at an authorized Mitsubishi Motors dealer or a repair facility of your choice.
Operating the accelerator pedal while the other foot is resting on the brake pedal will affect braking efficiency and may cause pre- mature wear of brake pads. Use the selector lever in the correct shift position in accordance with driving condi- tions.Never coast downhill backward in the driv- ing shift position {“D” (DRIVE) position or sports mode} or coast forward in the “R”(REVERSE) position. Engine stopping and increased brake pedal and steering effort could lead to an accident. Do not rev the engine with the brake pedal pressed when the vehicle is stationary.This can damage the CVT. Also, when you depress the accelerator pedal while holding down the brake pedal with theselector lever in the “D” (DRIVE) position, the engine revolutions may not rise as high as when performing the same operation withthe selector lever in the “N” (NEUTRAL) position.
Passing acceleration
CAUTION
NOTE
In sports mode, downshifts do not take place when the accelerator is depressed all the way to the floor.
Waiting
CAUTION To avoid transmission overheating, never try to keep your vehicle stationary on a hill by using the accelerator pedal. Always apply the parking brake and/or service brake. Do not rev the engine unnecessarily while the vehicle is stationary. Unexpected acceler-ation may occur if the selector lever is in a position other than “P” (PARK) or “N” (NEUTRAL).
Parking When the CVT makes no speed change
NOTE
When the warning display and “SLOW DOWN” or the warning display and “SERVICE REQUIRED” appear on the information screen in the multi-information display, there could be
a malfunction in the
CVT. Refer to “Continuously variable trans-mission (CVT): Warning display” on page 5-62.
BK0266800US.bo
ok 65 ページ 2018年6月27日 水曜日 午後5時6分