key MITSUBISHI LANCER 2014 8.G Repair Manual
[x] Cancel search | Manufacturer: MITSUBISHI, Model Year: 2014, Model line: LANCER, Model: MITSUBISHI LANCER 2014 8.GPages: 434, PDF Size: 57.5 MB
Page 138 of 434
Twin Clutch SST (Sportronic Shif
t Transmission) (if so equipped) Features and controls 5-71
5
N00515300194
If the CVT does not shift while driving, or your vehicle does not pick up enough speed when starting on an uphill slope, there may be something unusual happening in the transmis-sion, causing a safety device to activate. Have your vehicle checked at an authorized Mit- subishi Motors dealer or a repair facility ofyour choice as soon as possible. 1. If your vehicle has difficulty moving uphill, shift the selector lever into “L” (LOW) position (except for vehicles withsport mode) or 2nd shift range of the sports mode. This method might not work dependingon the type of transmission malfunction.
2. Once the vehicle is moving on a level road, move the selector lever back to “D” (DRIVE) position.
N00539700059
The Twin Clutch SST is a transmission that,through integrated control of the engine and transmission, is able to achieve both thesmooth shifting of an automatic transaxle and the acceleration and fuel economy close to a manual transaxle. In addition, the controlmode can be selected from two types to suit the driving conditions. Together with manual shifting, the transmis-sion is capable of responding to a variety of driving circumstances. Twin Clutch SST control mode
P.5-76
Manual shift
P.5-77
N00539800050
As an additional safe
ty precaution, models
equipped with a Twin Clutch SST have ashift-lock device that holds the gearshift lever in the “P” (PARK) position. To move the gearshift lever from the “P” (PARK) positionto another position, follow the steps below. 1. Press and hold the brake pedal down. 2. Move the gearshift lever to the desired position.
The Twin Clutch SST has 6 forward gears and 1 reverse gear. The individual gears are selected automati-cally, depending on the position of the gear- shift lever, the speed of the vehicle and the position of the accelerator pedal.The gearshift lever (A) has 2 gates; the main shift gate (B) and the manual shift gate (C).
NOTE
On a slope, be sure to apply the parking brake before moving the selector lever to the “P” (PARK) position. If you move the selec- tor lever to the “P” (PARK) position before applying the parking brake, it may be diffi-cult to disengage the selector lever from the “P” (PARK) position when next you drive the vehicle, requiring application of a strongforce to the selector le
ver to move from the
“P” (PARK) position.
When the CVT makes no speed change
NOTE
When the warning display or the warning display appears on the information screen in the multi-information display, therecould be a malfunction in the CVT. Refer to “Continuously variable transmission (CVT): Warning display” on page 5-66.
Twin Clutch SST (Spor- tronic Shift Transmission)
(if
so equipped)
Gearshift lever operation
NOTE
The gearshift lever cannot be moved from “P” (PARK) to another position if the igni-tion switch is at the “LOCK” or “ACC” posi- tion, or the key has been removed, or if the brake pedal is not pressed and held down.
Page 182 of 434
Multi-information display
Features and controls 5-115
5
N00555500039
Shows the distance and number of months until the next periodic inspection. Refer to “Service reminder” on page 5-123.
N00559600155
When there is information to be announced,such as a key reminder, the buzzer sounds and switches to the warning display screen. Refer to the appropriate page and take the necessarymeasures. When the cause of the warning display is eliminated, the warning display goes outautomatically.
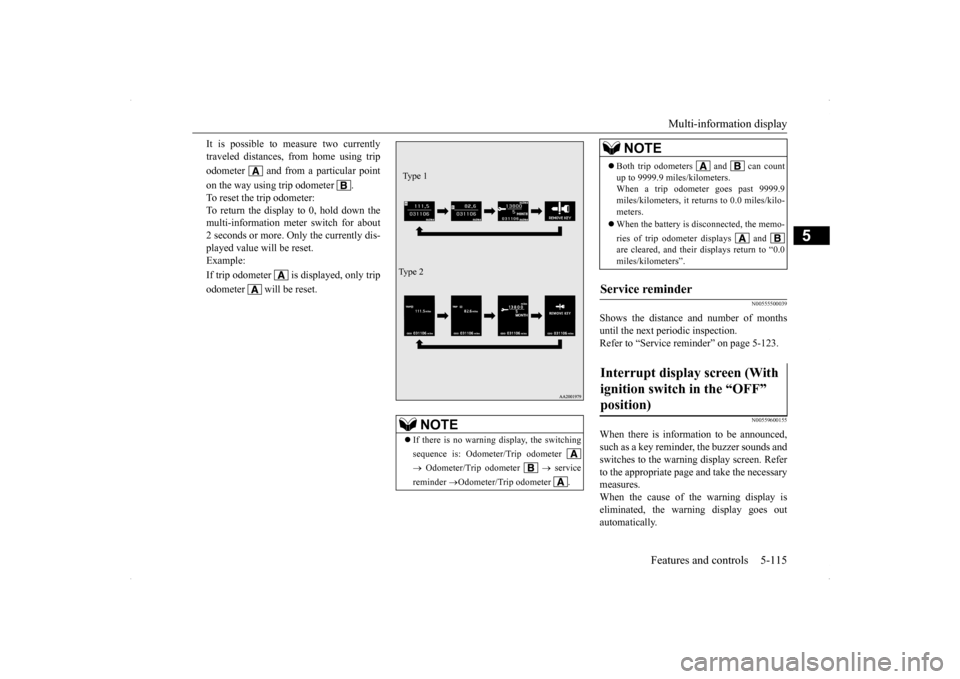
It is possible to measure two currently traveled distances, from home using trip odometer and from a particular pointon the way using trip odometer . To reset the trip odometer: To return the display to 0, hold down the multi-information meter switch for about2 seconds or more. Only the currently dis- played value will be reset. Example: If trip odometer is displayed, only tripodometer will be reset.
NOTE
If there is no warning display, the switching sequence is: Odometer/Trip odometer Odometer/Trip odometer
service
reminder
Odometer/Trip odometer .
Ty p e 1 Ty p e 2
Both trip odometers and can count up to 9999.9 miles/kilometers. When a trip odometer goes past 9999.9 miles/kilometers, it returns to 0.0 miles/kilo-meters. When the battery is disconnected, the memo- ries of trip odometer displays and are cleared, and their displays return to “0.0 miles/kilometers”.
Service reminder Interrupt display screen (With ignition switch in the “OFF” position)
NOTE
Page 201 of 434
Indicator light, warning light, an
d information screen display list
5-134 Features and controls
5
N00557900024
When there is information to be
announced, such as light reminders
, the tone sounds and the screen
switches to the displays sho
wn below. Refer
to the appropriate page and take the necessary measures.When the cause of the warning display is eliminated, the warning display goes out automatically. Refer to “Warning display list (With ignition switch in the “OFF” position)” on page 5-134. Refer to “Warning display list (With ignition
switch in the “ON” position)” on page 5-137.
Refer to “Other interrupt displays (With ignition switch in the “ON” position)” on page 5-143.
N00558000165
Information screen display list
NOTE
In the following cases, a warning may be displayed on the inform
ation screen and the buzzer may
sound for a few seconds, at tim
es.
This is caused by the system picking up interference such as stro
ng electromagnetic waves or nois
e, and is not a functional pro
blem.
• An extremely strong electromagnetic wave is received from a source
such as an illegal radio set,
a spark from a wire, or a rad
ar station.
• Abnormal voltage or a static electricity discharge is generate
d by the operation of installed electronics (including after-mar
ket parts).
If the warning display has occurred a number of times, take your vehicle to an authorized Mitsubishi Motors dealer or a repair
facility of your choice and
have the system checked.
Warning display list (With ignition switch in the “OFF” position)
Screen type 1
Screen type 2
Cause
Do this (Reference)
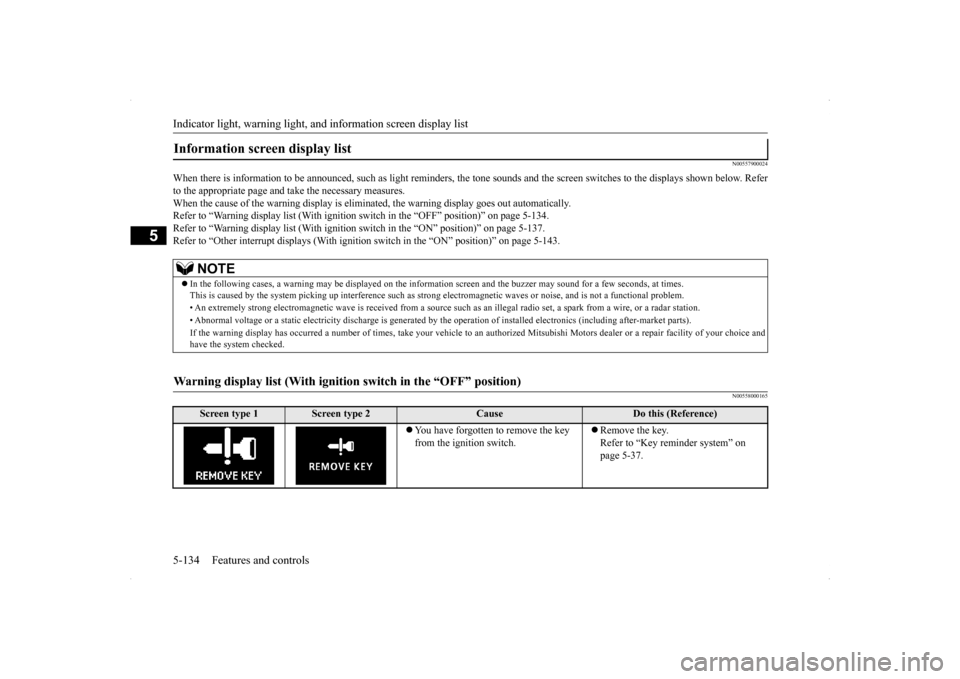
You have forgotten to remove the key from the ignition switch.
Remove the key. Refer to “Key reminder system” on page 5-37.
Page 203 of 434
Indicator light, warning light, an
d information screen display list
5-136 Features and controls
5
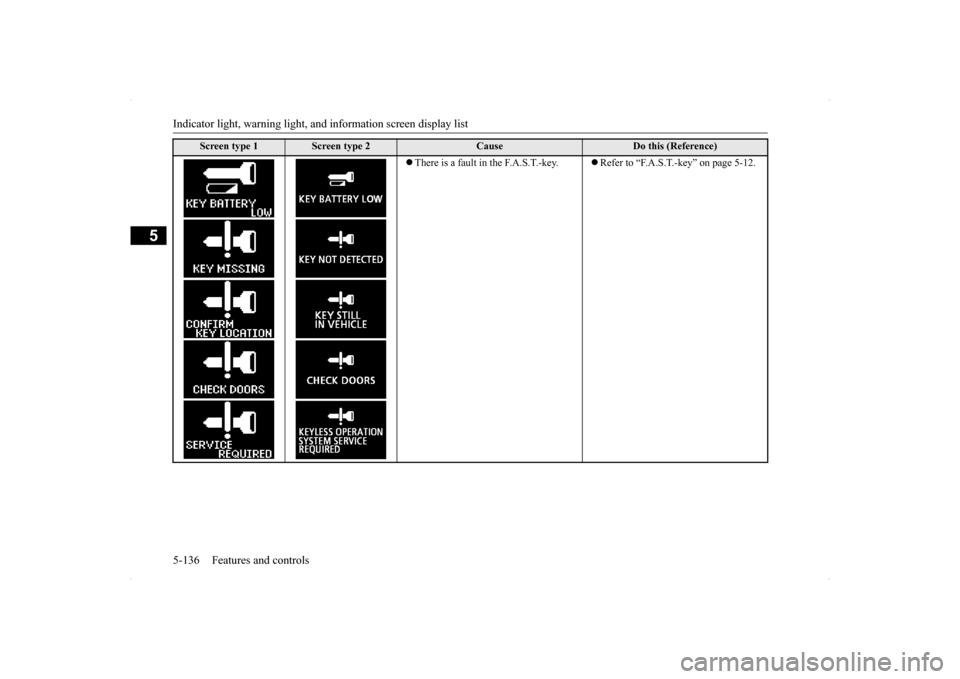
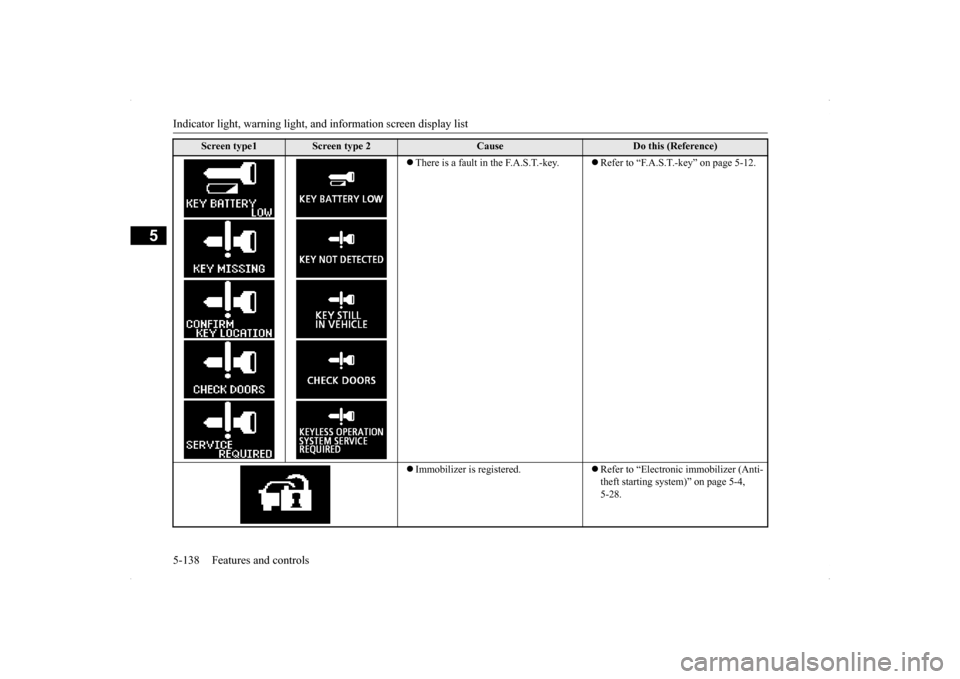
There is a fault in the F.A.S.T.-key.
Refer to “F.A.S.T.-key” on page 5-12.
Screen type 1
Screen type 2
Cause
Do this (Reference)
Page 205 of 434
Indicator light, warning light, an
d information screen display list
5-138 Features and controls
5
There is a fault in the F.A.S.T.-key.
Refer to “F.A.S.T.-key” on page 5-12.
Immobilizer is registered.
Refer to “Electronic immobilizer (Anti- theft starting system)” on page 5-4, 5-28.
Screen type1
Screen type 2
Cause
Do this (Reference)
Page 214 of 434
Information screen display
Features and controls 5-147
5
N00520600296
This light comes on in the event of a malfunc- tion in the charging system or when the igni- tion switch is turned to the “ON” position (engine off). A warning is also displayed inthe multi-information display. When the engine is started,
the light should go out.
Check to make sure that the light has goneout before driving.
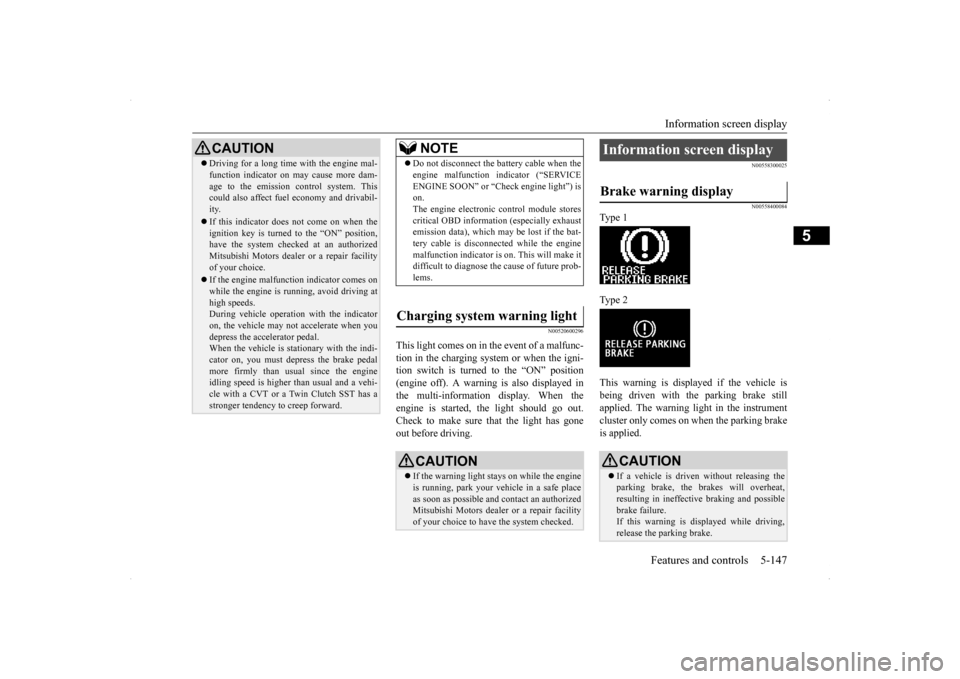
N00558300025 N00558400084
Type 1 Type 2 This warning is displayed if the vehicle is being driven with the parking brake still applied. The warning light in the instrumentcluster only comes on when the parking brake is applied.
CAUTION Driving for a long time with the engine mal- function indicator on may cause more dam- age to the emission control system. This could also affect fuel economy and drivabil- ity. If this indicator does not come on when the ignition key is turned to the “ON” position,have the system checked at an authorized Mitsubishi Motors dealer or a repair facility of your choice. If the engine malfunction indicator comes on while the engine is running, avoid driving athigh speeds. During vehicle operation with the indicator on, the vehicle may not accelerate when youdepress the accelerator pedal. When the vehicle is stationary with the indi- cator on, you must depress the brake pedalmore firmly than usual since the engine idling speed is higher than usual and a vehi- cle with a CVT or a Twin Clutch SST has astronger tendency to creep forward.
NOTE
Do not disconnect the battery cable when the engine malfunction indicator (“SERVICE ENGINE SOON” or “Check engine light”) is on. The engine electronic control module storescritical OBD information (especially exhaust emission data), which may be lost if the bat- tery cable is disconnected while the enginemalfunction indicator is on. This will make it difficult to diagnose the cause of future prob- lems.
Charging system warning light
CAUTION If the warning light stays on while the engine is running, park your vehicle in a safe place as soon as possible and contact an authorizedMitsubishi Motors dealer or a repair facility of your choice to have the system checked.
Information screen display Brake warning display
CAUTION If a vehicle is driven without releasing the parking brake, the brakes will overheat, resulting in ineffective braking and possible brake failure.If this warning is displayed while driving, release the parking brake.
Page 217 of 434
![MITSUBISHI LANCER 2014 8.G Repair Manual Combination headlights and dimmer switch 5-150 Features and controls
5
[When the engine is not running, or when the engine is running but the parking brake is not released] The engine starts when the MITSUBISHI LANCER 2014 8.G Repair Manual Combination headlights and dimmer switch 5-150 Features and controls
5
[When the engine is not running, or when the engine is running but the parking brake is not released] The engine starts when the](/img/19/7460/w960_7460-216.png)
Combination headlights and dimmer switch 5-150 Features and controls
5
[When the engine is not running, or when the engine is running but the parking brake is not released] The engine starts when the lights are off. Rotate the switch to operate the lights.
If your vehicle is equipped with daytime run- ning lights, the combinations of switch opera- tions and illuminated lights differ in accordance with the following conditions. [When the engine is started, and the parking brake is released] The daytime running lights will be illumi- nated:
[When the engine is not running, or when the engine is running but the parking brake is notreleased] The engine starts when the lights are off.
The daytime running lights illumi- nated Parking, tail, front and rear side-marker lights, license plate and instrument panel lights on Headlights and other lights onNOTE
Once the daytime running light come on, they do not go out until the key is turned tothe “LOCK” or “ACC” position.
OFF All lights off
Parking, tail, front and rear side- marker lights, license plate and instrument panel lights on Headlights and other lights on
Ty p e 2
OFF All lights off AUTO
Headlights and other lights turn on and off automatically in accor-dance with outside light level. Parking, tail, front and rear side- marker lights, license plate and instrument panel lights on Headlights and other lights on
OFF
The daytime running lights illumi- nated
AUTO
The daytime running lights illumi- natedHeadlights and other lights turn on and off automatically in accor- dance with outside light level. The daytime running lights illumi- nated Parking, tail, front and rear side- marker lights, license plate and instrument panel lights on Headlights and other lights on
NOTE
Once the daytime running light come on, they do not go out until the key is turned to the “LOCK” or “ACC” position.OFF All lights off AUTO
Headlights and other lights turn on and off automatically in accor-dance with outside light level.
Page 218 of 434
Combination headlights and dimmer switch
Features and controls 5-151
5
N00532601607
If the ignition key is turned to “LOCK” or “ACC” position or removed from the ignition switch and the driver’s door is opened with the combination headlights and dimmer switch in the “ ” or “ ” position, the lights automatically turn off. [When using a key to start the engine] • If the driver’s door is opened after the key is removed from the ignition switch,a high-pitched constant tone will sound to remind you to turn off the lights. • If the driver’s door is opened with thekey in the ignition switch, a low-pitchedtone will sound to remind you to remove the key. [When using the F.A.S.T.-key to start the engine]• If the ignition switch is turned to the “LOCK” position and the driver’s door is opened, a high-pitched constantbuzzer will sound to remind you to turn off the lights. • If the ignition switch is turned to anyposition other than “LOCK” and the driver’s door is opened, a low-pitched constant buzzer will sound to remindyou to return the ignition switch.
If the ignition switch is turned to “LOCK” or “ACC” position with the driver’s door closed and the combination headlights and dimmer switch in the “ ” or “ ” position, the lights will stay on for about 3minutes and then turn off automatically.
If the combination headlights and dimmer switch is turned to the “ ” or “ ” posi- tion again after the engine is turned off, theabout 3 minutes auto-cutout functiondescribed above will not work. The lights (the parking lights, tail lights and license plate lights) will stay on and will not turn off auto-matically.
Parking, tail, front and rear side- marker lights, license plate and instrument panel lights on Headlights and other lights on
NOTE
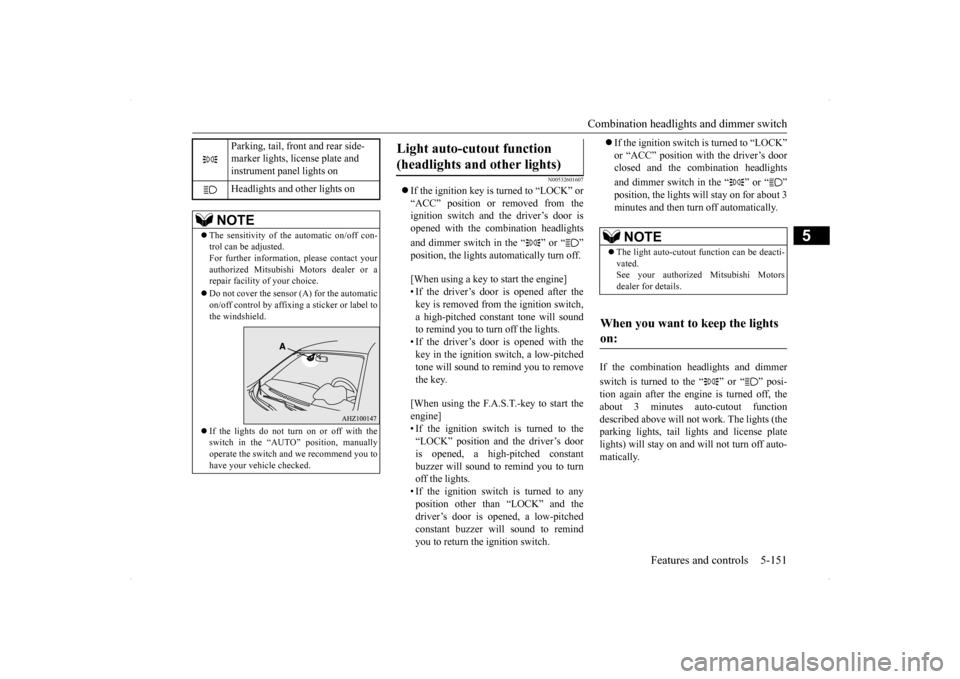
The sensitivity of the automatic on/off con- trol can be adjusted. For further information, please contact yourauthorized Mitsubishi Motors dealer or a repair facility of your choice. Do not cover the sensor (A) for the automatic on/off control by affixing a sticker or label tothe windshield. If the lights do not turn on or off with the switch in the “AUTO” position, manually operate the switch and we recommend you to have your vehicle checked.
Light auto-cutout function (headlights and other lights)
NOTE
The light auto-cutout function can be deacti- vated. See your authorized Mitsubishi Motorsdealer for details.
When you want to keep the lights on:
Page 219 of 434
Combination headlights and dimmer switch 5-152 Features and controls
5
N00549800196
If the driver’s door is opened with the key in the “LOCK” or “ACC” position or removed
from the ignition switch while the lights are on, the buzzer will sound to remind you to turn off the lights. If the driver’s door is opened with the ignition switch in the “LOCK” or “ACC” position, or if the ignition switch is moved to the “LOCK” position while the lights are on, thebuzzer will sound to remind you to turn offthe lights. In either case, the lights and buzzer will turn off automatically. Or you can turn the combination headlightsand dimmer switch to the “OFF” position to stop the buzzer.
N00549900155
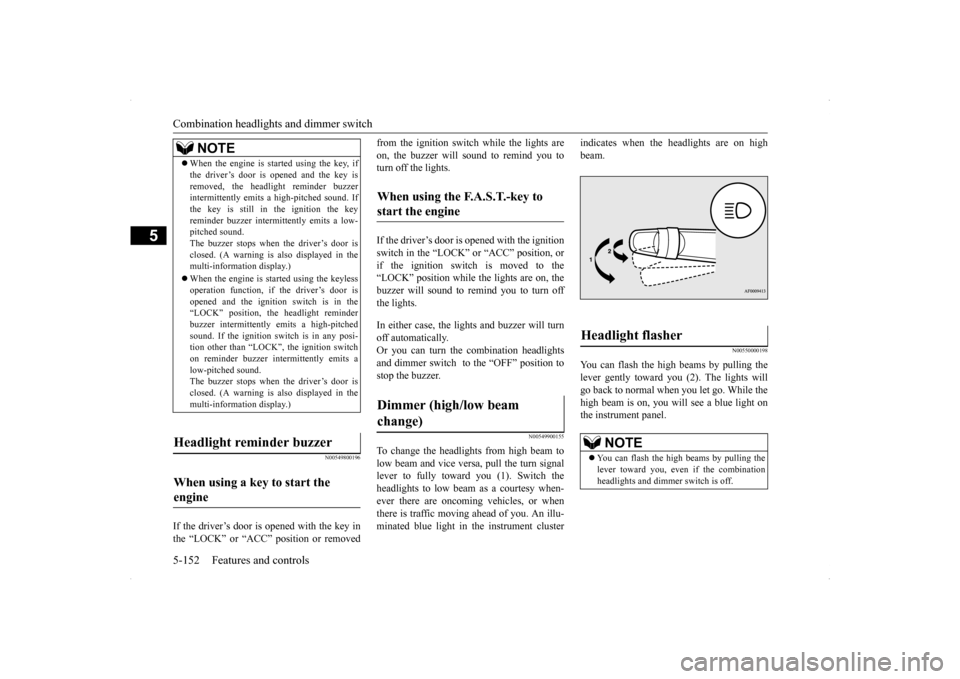
To change the headlights from high beam to low beam and vice versa, pull the turn signallever to fully toward you (1). Switch the headlights to low beam as a courtesy when- ever there are oncoming vehicles, or whenthere is traffic moving ahead of you. An illu- minated blue light in the instrument cluster
indicates when the headlights are on high beam.
N00550000198
You can flash the high beams by pulling thelever gently toward you (2). The lights will go back to normal when you let go. While the high beam is on, you will see a blue light onthe instrument panel.
NOTE
When the engine is started using the key, if the driver’s door is opened and the key is removed, the headlight reminder buzzer intermittently emits a high-pitched sound. If the key is still in the ignition the keyreminder buzzer intermittently emits a low- pitched sound. The buzzer stops when the driver’s door isclosed. (A warning is also displayed in the multi-information display.) When the engine is started using the keyless operation function, if the driver’s door is opened and the ignition switch is in the“LOCK” position, the headlight reminder buzzer intermittently emits a high-pitched sound. If the ignition sw
itch is in any posi-
tion other than “LOCK”, the ignition switch on reminder buzzer intermittently emits a low-pitched sound.The buzzer stops when the driver’s door is closed. (A warning is also displayed in the multi-information display.)
Headlight reminder buzzer When using a key to start the engine
When using the F.A.S.T.-key to start the engine Dimmer (high/low beam change)
Headlight flasher
NOTE
You can flash the high beams by pulling the lever toward you, even if the combination headlights and dimmer switch is off.
Page 220 of 434
Combination headlights and dimmer switch
Features and controls 5-153
5
N00563201133
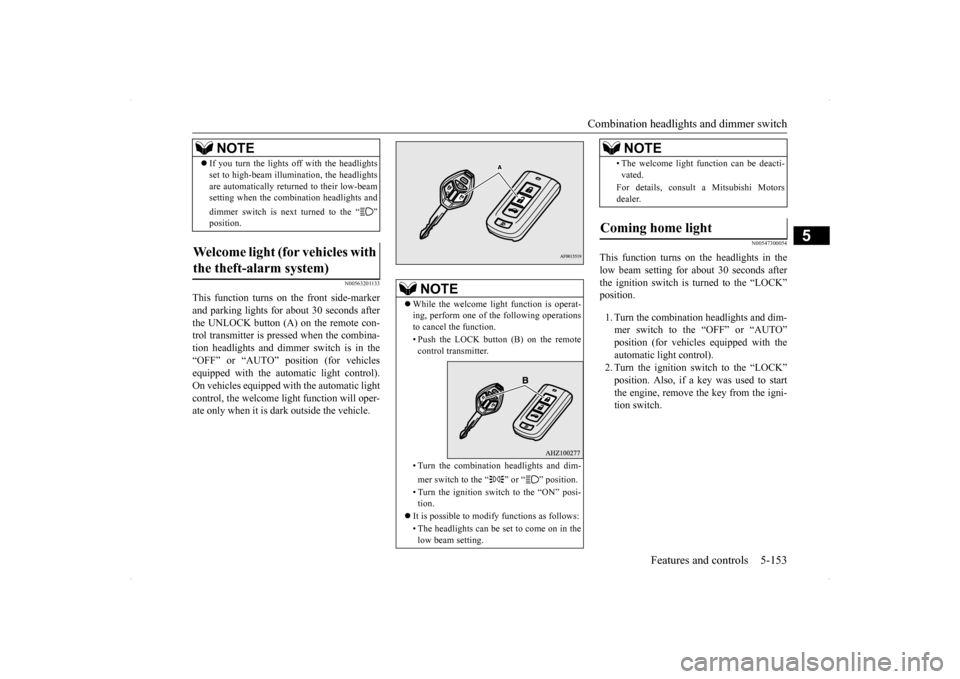
This function turns on the front side-marker and parking lights for about 30 seconds after the UNLOCK button (A) on the remote con-trol transmitter is pressed when the combina- tion headlights and dimmer switch is in the “OFF” or “AUTO” position (for vehiclesequipped with the automatic light control). On vehicles equipped with the automatic light control, the welcome light function will oper-ate only when it is dark outside the vehicle.
N00547300054
This function turns on the headlights in thelow beam setting for about 30 seconds afterthe ignition switch is turned to the “LOCK” position. 1. Turn the combination headlights and dim- mer switch to the “OFF” or “AUTO”position (for vehicles equipped with the automatic light control). 2. Turn the ignition switch to the “LOCK”position. Also, if a key was used to start the engine, remove the key from the igni- tion switch.
If you turn the lights off with the headlights set to high-beam illumination, the headlights are automatically returned to their low-beam setting when the combination headlights and dimmer switch is next turned to the “ ” position.
Welcome light (for vehicles with the theft-alarm system)
NOTE
NOTE
While the welcome light function is operat- ing, perform one of the following operations to cancel the function. • Push the LOCK button (B) on the remote control transmitter. • Turn the combination headlights and dim- mer switch to the “ ” or “ ” position. • Turn the ignition switch to the “ON” posi- tion.
It is possible to modify functions as follows: • The headlights can be set to come on in the low beam setting.
• The welcome light function can be deacti- vated. For details, consult a Mitsubishi Motors dealer.
Coming home light
NOTE