turn signal MITSUBISHI MIRAGE G4 2020 (in English) User Guide
[x] Cancel search | Manufacturer: MITSUBISHI, Model Year: 2020, Model line: MIRAGE G4, Model: MITSUBISHI MIRAGE G4 2020Pages: 253, PDF Size: 36.39 MB
Page 140 of 253
Indicators
Features and controls 5-75
5
N00519900127 N00520000216
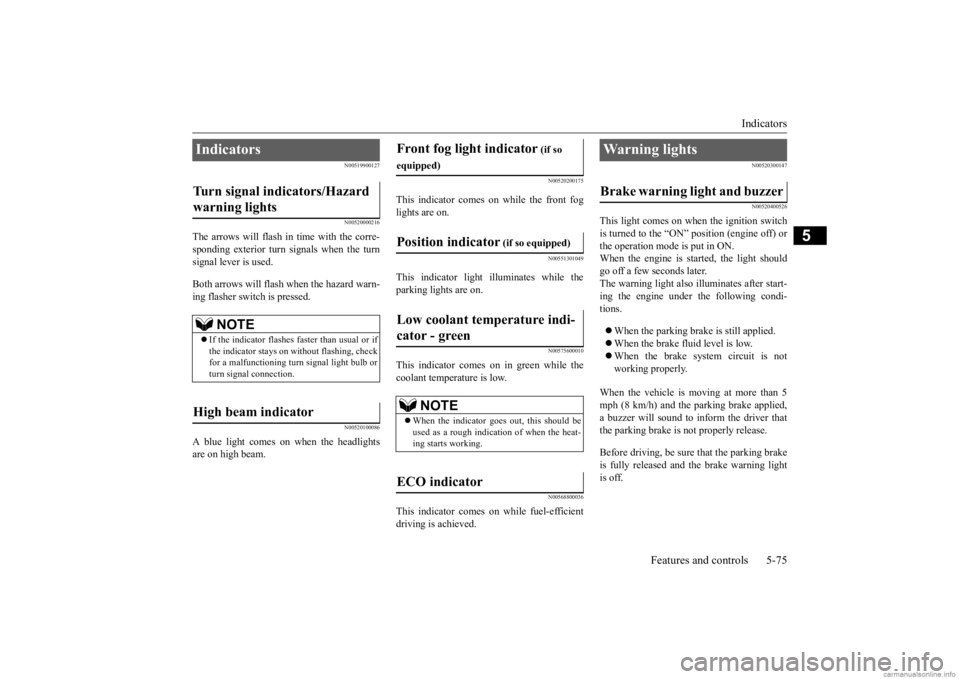
The arrows will flash in time with the corre- sponding exterior turn signals when the turnsignal lever is used. Both arrows will flash when the hazard warn- ing flasher switch is pressed.
N00520100086
A blue light comes on when the headlightsare on high beam.
N00520200175
This indicator comes on while the front foglights are on.
N00551301049
This indicator light illuminates while theparking lights are on.
N00575600010
This indicator comes on in green while thecoolant temperature is low.
N00568800036
This indicator comes on while fuel-efficientdriving is achieved.
N00520300147 N00520400526
This light comes on when the ignition switch is turned to the “ON” position (engine off) or the operation mode is put in ON.When the engine is st
arted, the light should
go off a few seconds later. The warning light also illuminates after start- ing the engine under the following condi- tions. When the parking brake is still applied. When the brake fluid level is low. When the brake system circuit is not working properly.
When the vehicle is moving at more than 5 mph (8 km/h) and the parking brake applied, a buzzer will sound to inform the driver that the parking brake is not properly release. Before driving, be sure that the parking brake is fully released and the brake warning light is off.
Indicators Turn signal indicators/Hazard warning lights
NOTE
If the indicator flashes faster than usual or if the indicator stays on wi
thout flashing, check
for a malfunctioning turn signal light bulb orturn signal connection.
High beam indicator
Front fog light indicator
(if so
equipped)Position indicator
(if so equipped)
Low coolant temperature indi- cator - green
NOTE
When the indicator goes out, this should be used as a rough indication of when the heat- ing starts working.
ECO indicator
Warning lights Brake warning light and buzzer
BK0284300US.book 75 ページ 2019年5月23日 木曜日 午後12時22分
Page 144 of 253
Turn signal lever
Features and controls 5-79
5
If the combination
headlights and dimmer
switch is turned to the “ ” or “ ” posi- tion again after the engine is turned off, the about 3-minute auto
-cutout function
described above will not
work. The lights (the
parking lights, tail lig
hts and license plate
lights) will stay on and will not turn off auto-matically.
N00549800226
[When using a key to start the engine]If the driver’s door is opened with the key in the “OFF” or “ACC” position or removed from the ignition switch while the lights areon, the tone will sound to remind you to turn off the lights. [When using the F.A.S.T.-key to start the engine]If the driver’s door is opened with the opera- tion mode is put in OFF or ACC, or if the operation mode is changed to OFF while thelights are on, the tone will sound to remind you to turn off the lights. In either case, the lights will turn off automat- ically and so will the tone. Or you can turn
the light switch to the “OFF” position to stop the tone.
N00549900142
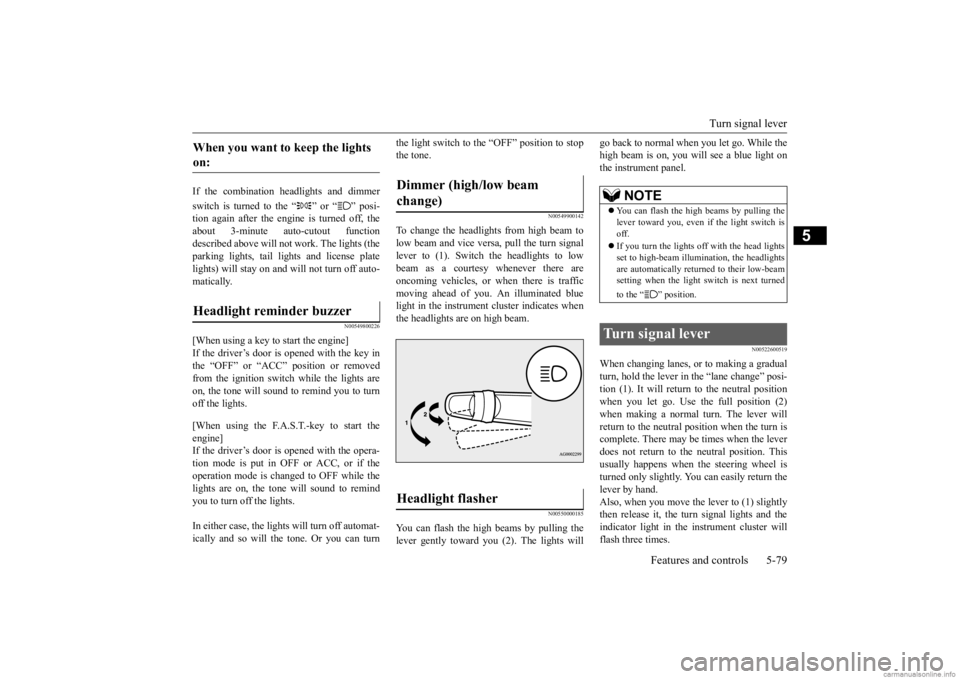
To change the headlights from high beam tolow beam and vice vers
a, pull the turn signal
lever to (1). Switch the headlights to low beam as a courtesy whenever there are oncoming vehicles, or when there is traffic moving ahead of you. An illuminated bluelight in the instrument
cluster indicates when
the headlights are on high beam.
N00550000185
You can flash the high beams by pulling the lever gently toward you (2). The lights will
go back to normal when you let go. While the high beam is on, you will see a blue light onthe instrument panel.
N00522600519
When changing lanes, or to making a gradual turn, hold the lever in the “lane change” posi- tion (1). It will return to the neutral positionwhen you let go. Use the full position (2) when making a normal turn. The lever will return to the neutral position when the turn iscomplete. There may be times when the lever does not return to th
e neutral position. This
usually happens when
the steering wheel is
turned only slightly. You can easily return the lever by hand. Also, when you move the lever to (1) slightlythen release it, the turn signal lights and the indicator light in the instrument cluster will flash three times.
When you want to keep the lights on: Headlight reminder buzzer
Dimmer (high/low beam change) Headlight flasher
NOTE
You can flash the high beams by pulling the lever toward you, even if the light switch isoff. If you turn the lights off with the head lights set to high-beam illumi
nation, the headlights
are automatically returned to their low-beam setting when the light
switch is next turned
to the “ ” position.
Turn signal lever
BK0284300US.book 79 ページ 2019年5月23日 木曜日 午後12時22分
Page 145 of 253
Hazard warning flasher switch 5-80 Features and controls
5
See your authorized Mitsubishi Motors dealer for details.
N00522700318
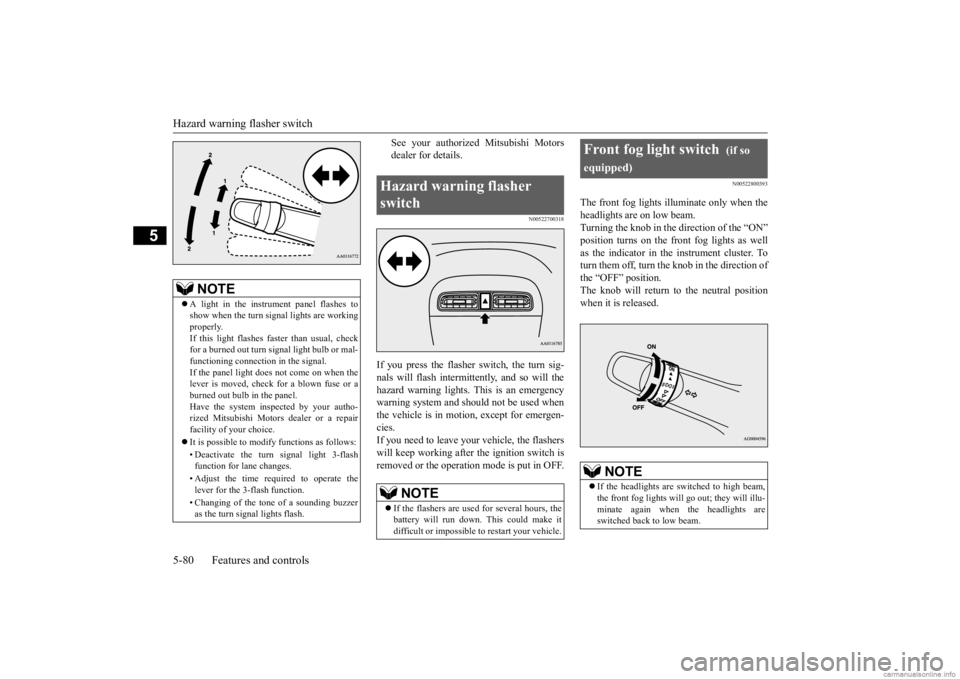
If you press the flasher switch, the turn sig- nals will flash intermittently, and so will the hazard warning lights.
This is an emergency
warning system and should not be used when the vehicle is in motion, except for emergen- cies.If you need to leave your
vehicle, the flashers
will keep working after the ignition switch is removed or the operation mode is put in OFF.
N00522800393
The front fog lights illuminate only when theheadlights are on low beam.Turning the knob in the direction of the “ON” position turns on the front fog lights as well as the indicator in the instrument cluster. Toturn them off, turn the knob in the direction of the “OFF” position. The knob will return to the neutral position when it is released.
NOTE
A light in the instrument panel flashes to show when the turn signal lights are workingproperly. If this light flashes fast
er than usual, check
for a burned out turn
signal light bulb or mal-
functioning connecti
on in the signal.
If the panel light does not come on when the lever is moved, check for a blown fuse or aburned out bulb in the panel. Have the system inspected by your autho- rized Mitsubishi Motors
dealer or a repair
facility of your choice. It is possible to modify functions as follows: • Deactivate the turn signal light 3-flash function for lane changes. • Adjust the time required to operate the lever for the 3-flash function. • Changing of the tone of a sounding buzzer as the turn signal lights flash.
Hazard warning flasher switch
NOTE
If the flashers are used for several hours, the battery will run down.
This could make it
difficult or impossible
to restart your vehicle.
Front fog light switch
(if so
equipped)
NOTE
If the headlights are switched to high beam, the front fog lights will
go out; they will illu-
minate again when the headlights are switched back to low beam.
BK0284300US.book 80 ページ 2019年5月23日 木曜日 午後12時22分
Page 159 of 253
Safe driving techniques 6-4 Driving safety
6
Check all the tires for heavy tread wear or uneven wear patterns.
Look for stones, nails,
glass, or other objects
stuck in the tread. Look
for any tread cuts or sidewall cracks. Check the wheel nuts for tightness, and the tires (including spare tire) for proper pressure.Replace your tires before they are heavily worn out. As your vehicle is equi
pped with a tire pres-
sure monitoring system, there is a risk of damage to the tire inflation pressure sensorswhen the tire is replaced on the rim. Tire replacement should, onl
y be performed by an
authorized Mitsubishi Motors dealer. Have someone watch while you turn all the exterior lights on and off. Also check the turnsignal indicators and hi
gh-beam indicators on
the instrument panel. Check the ground under the vehicle after parking overnight, for
fuel, water, oil, or
other leaks. Make sure
all the fluid levels are
correct. Also, if you
can smell fuel, you need
to find out why imme
diately and have it
fixed.
N00629200137
Even this vehicle’s safety equipment, andyour safest driving, cannot guarantee that youcan avoid an accident or injury. However, if you give extra attention to the following areas, you can better protect yourself and your passengers: Drive defensively. Be aware of traffic, road and weather c
onditions. Leave plenty
of stopping distance
between your vehicle
and the vehicle ahead. Before changing lanes, check your mir- rors, your blind spots, and use your turn- signal light. While driving, watch the behavior of other drivers, bicycl
ists, and pedestrians.
Always obey applicab
le laws and regula-
tions. Be a polite and alert driver. Alwaysleave room for unexpected events, such as sudden braking. If you plan to drive in another country, obey their vehicle re
gistration laws and
make sure you will be able to get the right fuel.
N00629400474
Check the battery. At the same time, check the terminals and wiring. During extremely cold weather, the battery willnot be as strong. Al
so, the battery power
level may drop because more power is used for cold starting and driving.Before driving the vehicle, check to see if the engine runs at the proper speed and if the headlights are as bright as normally. Charge or replace the battery if necessary. During extreme cold weather, it is possi-ble that a very low battery could freeze. Warm the engine sufficiently. After start- ing the engine, allow a short warm-uptime to distribute oil to all cylinders. Then drive your vehicle slowly. Stay at low speeds at first so that the man- ual transaxle oil or the automatic transaxle fluid has time to spread to all the lubrica- tion points.
Tires Lights Fluid leaks
Safe driving techniques
Driving during cold weather
WA R N I N G The battery gives off explosive hydrogen gas. Any spark or flame can cause the bat- tery to explode, which could cause seriousinjury or death. Always wear protecti
ve clothes and a face
mask when working wi
th your battery, or
let a skilled mechanic do it.
BK0284300US.book 4 ページ 2019年5月23日 木曜日 午後12時22分
Page 187 of 253
How to change a tire 8-6 For emergencies
8
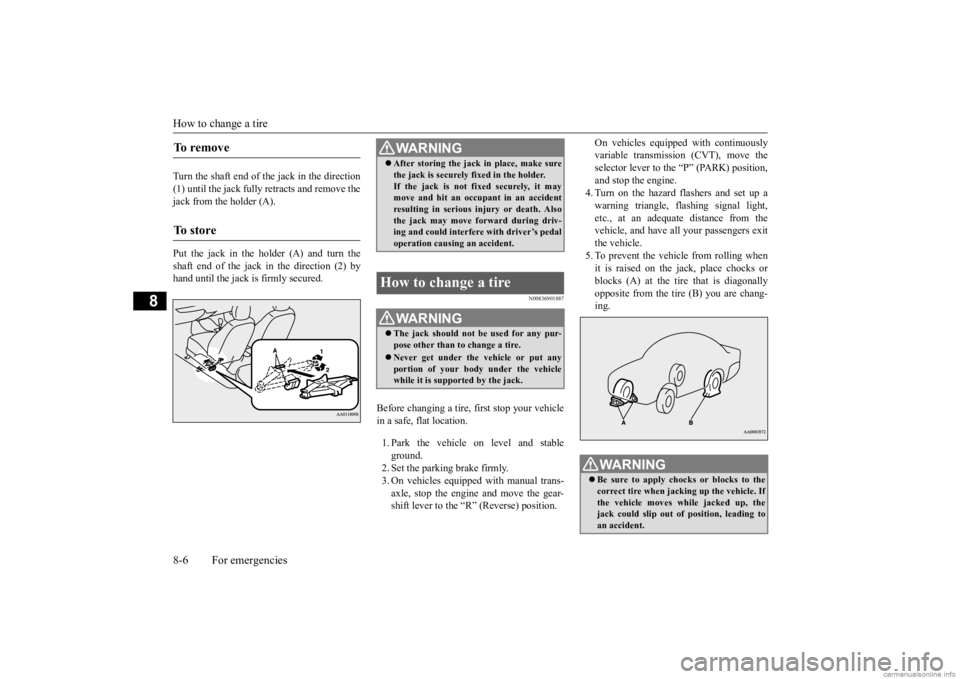
Turn the shaft end of the jack in the direction (1) until the jack fully retracts and remove the jack from the holder (A). Put the jack in the holder (A) and turn the shaft end of the jack in the direction (2) by hand until the jack is firmly secured.
N00836901887
Before changing a tire, first stop your vehiclein a safe, flat location. 1. Park the vehicle on level and stable ground. 2. Set the parking brake firmly.3. On vehicles equipped with manual trans- axle, stop the engine and move the gear- shift lever to the “R” (Reverse) position.
On vehicles equippe
d with continuously
variable transmission (CVT), move theselector lever to the “P” (PARK) position, and stop the engine. 4. Turn on the hazard flashers and set up awarning triangle, flashing signal light, etc., at an adequate distance from the vehicle, and have al
l your passengers exit
the vehicle. 5. To prevent the vehicle from rolling when it is raised on the jack, place chocks or blocks (A) at the ti
re that is diagonally
opposite from the tire (B) you are chang-ing.
To r e m o v e To s t o r e
WA R N I N G After storing the jack in place, make sure the jack is securely fixed in the holder.If the jack is not fixed securely, it maymove and hit an
occupant in an accident
resulting in serious injury or death. Also the jack may move forward during driv-ing and could interfere with driver’s pedal operation causing an accident.
How to change a tire
WA R N I N G The jack should not be used for any pur- pose other than to change a tire. Never get under the
vehicle or put any
portion of your body under the vehiclewhile it is supported by the jack.
WA R N I N G Be sure to apply choc
ks or blocks to the
correct tire when jacking up the vehicle. If the vehicle moves while jacked up, the jack could slip out of
position, leading to
an accident.
BK0284300US.book 6 ページ 2019年5月23日 木曜日 午後12時22分
Page 226 of 253
Replacement of light bulbs
Vehicle care and maintenance 9-29
9
N00943001230
N00950302216
When it rains, or wh
en the vehicle has been
washed, the inside of the lens sometimesbecomes temporarily foggy. This is the samephenomenon as when window glass mists up on a humid day, and does not indicate a func- tional problem.When the light is switched on, the heat will remove the fog. However, if water gathers inside the light, please
have it checked by an
authorized Mitsubishi Motors dealer or a repair facility of your choice.
Bulb location and capacity
CAUTION When replacing a bulb, be sure to use a new bulb of the same type, wattage, and color. If you install a different bulb, the bulb could malfunction or fail to come on and couldlead to a vehicle fire.NOTE
Outside
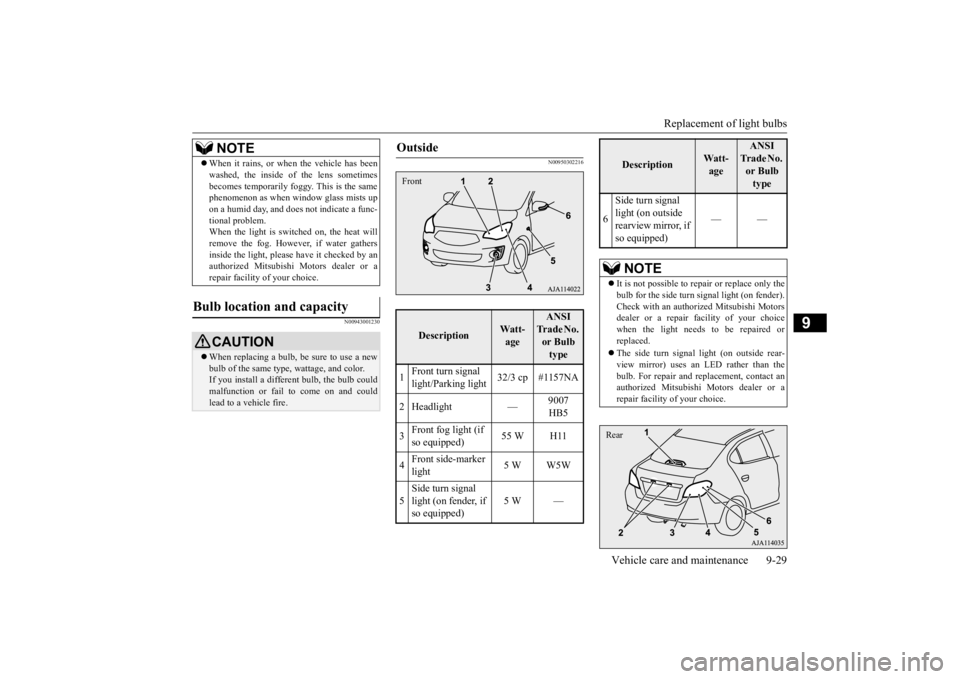
Description
Wa t t- age
ANSI Tr a d e N o . or Bulb type
1
Front turn signal light/Parking light
32/3 cp #1157NA
2 Headlight —
9007 HB5
3
Front fog light (if so equipped)
55 W H11
4
Front side-marker light
5 W W5W
5
Side turn signal light (on fender, if so equipped)
5 W —
Front
6
Side turn signal light (on outside rearview mirror, if so equipped)
——
NOTE
It is not possible to re
pair or replace only the
bulb for the side turn signal light (on fender).Check with an authorized Mitsubishi Motors dealer or a repair fa
cility of your choice
when the light needs to be repaired orreplaced. The side turn signal li
ght (on outside rear-
view mirror) uses an LED rather than the bulb. For repair and re
placement, contact an
authorized Mitsubishi Motors dealer or arepair facility of your choice.Description
Watt- age
ANSI Tr a d e N o . or Bulb type
Rear
BK0284300US.book 29 ページ 2019年5月23日 木曜日 午後12時22分
Page 227 of 253

Replacement of light bulbs 9-30 Vehicle care and maintenance
9
N00950401858
N00901801290
1. While pressing the tab (A), pull out the connector (B). 2. Remove the locking cap (C) by turning it counterclockwise, and then pull the bulb(D).
Item
Wattage
ANSI trade No. or bulb type
1
High-mounted stop light
——
2
License plate light
5 W W5W
3 Back-up light 21 W P21W4
Rear turn signal light
21 W PY21W
5
Tail and stop light
21/5 W P21/5W
6
Rear side-marker light
5 W W5W
NOTE
The high-mounted stop light uses an LED rather than the bulbs. For repair and replace-ment, contact an authorized Mitsubishi Motors dealer or a re
pair facility of your
choice.
Inside
Item
Wattage
1 Dome light 8 W 2 Trunk room light 5 W
Headlights *- Front of the vehicle
BK0284300US.book 30 ページ 2019年5月23日 木曜日 午後12時22分
Page 228 of 253
Replacement of light bulbs
Vehicle care and maintenance 9-31
9
3. To install the bulb, perform the removal steps in reverse.
N00943200352
The alignment of the headlights should bechecked by an authorized Mitsubishi Motorsdealer or a repair fa
cility of your choice.
N00917301681
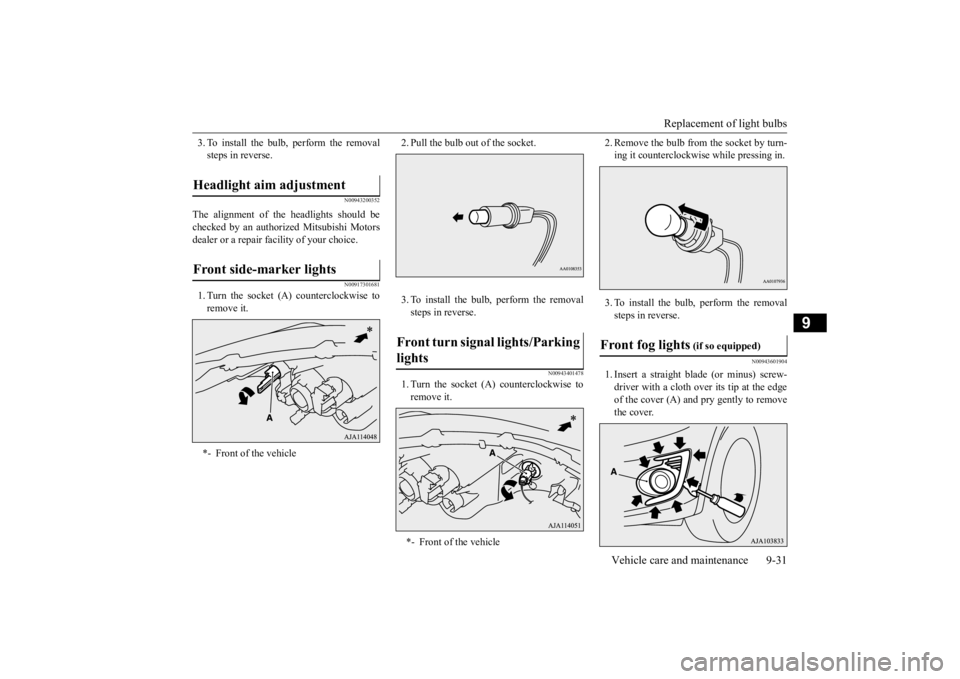
1. Turn the socket (A
) counterclockwise to
remove it.
2. Pull the bulb out of the socket. 3. To install the bulb, perform the removal steps in reverse.
N00943401478
1. Turn the socket (A) counterclockwise to remove it.
2. Remove the bulb from the socket by turn- ing it counterclockwis
e while pressing in.
3. To install the bulb, perform the removal steps in reverse.
N00943601904
1. Insert a straight blade (or minus) screw-driver with a cloth over its tip at the edge of the cover (A) and pry gently to remove the cover.
Headlight aim adjustment Front side-marker lights *- Front of the vehicle
Front turn signal lights/Parking lights *- Front of the vehicle
Front fog lights
(if so equipped)
BK0284300US.book 31 ページ 2019年5月23日 木曜日 午後12時22分
Page 230 of 253
Replacement of light bulbs
Vehicle care and maintenance 9-33
9
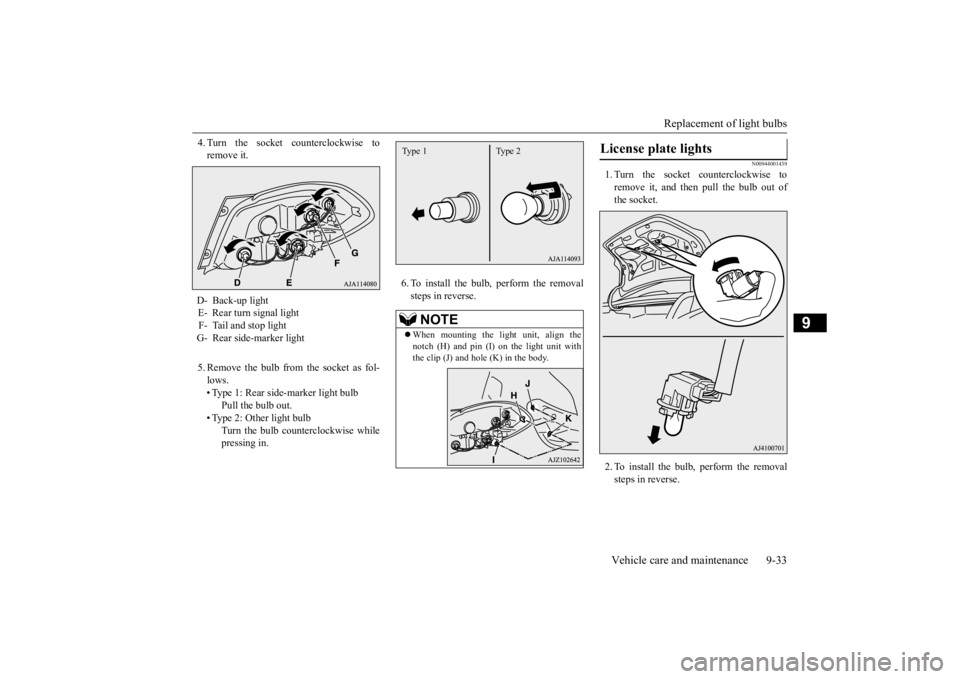
4. Turn the socket counterclockwise to remove it. 5. Remove the bulb from the socket as fol- lows. • Type 1: Rear side-marker light bulb
Pull the bulb out.
• Type 2: Other light bulb
Turn the bulb counterclockwise while pressing in.
6. To install the bulb, perform the removal steps in reverse.
N00944001439
1. Turn the socket counterclockwise to remove it, and then pull the bulb out of the socket. 2. To install the bulb, perform the removal steps in reverse.
D- Back-up light E- Rear turn signal lightF- Tail and stop light G- Rear side-marker light
NOTE
When mounting the light unit, align the notch (H) and pin (I) on the light unit withthe clip (J) and hole (K) in the body.Type 1 Type 2
License plate lights
BK0284300US.book 33 ページ 2019年5月23日 木曜日 午後12時22分
Page 247 of 253
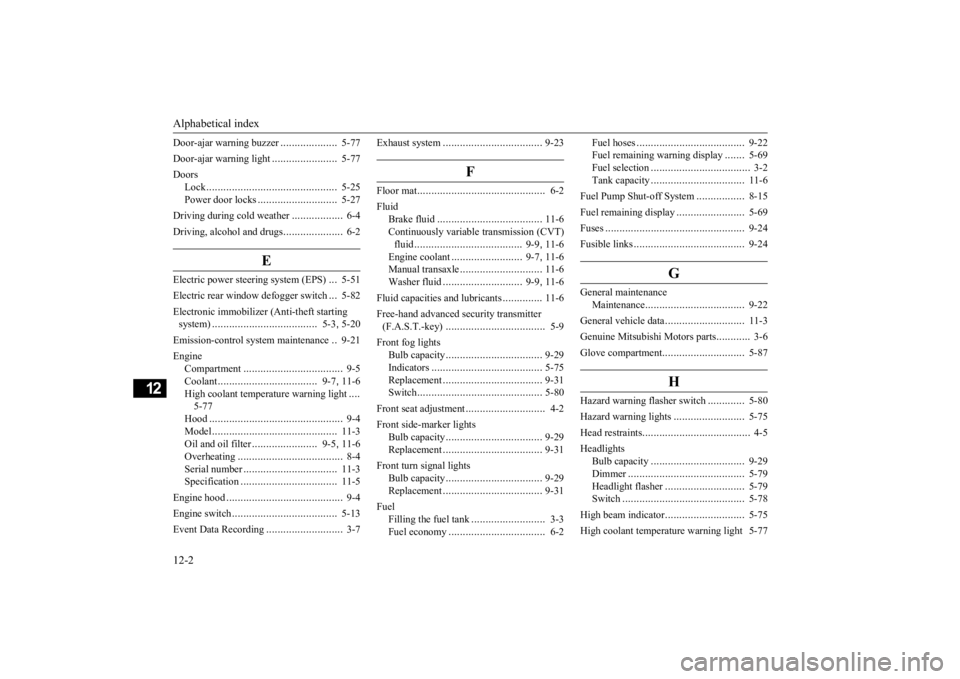
Alphabetical index 12-2
12
Door-ajar warning buzzer
....................
5-77
Door-ajar warning light
.......................
5-77
Doors
Lock
..............................................
5-25
Power door locks
............................
5-27
Driving during cold weather
..................
6-4
Driving, alcohol and drugs
.....................
6-2
E
Electric power steering system (EPS)
...
5-51
Electric rear win
dow defogger switch
...
5-82
Electronic immobilizer (Anti-theft starting system)
.....................................
5-3
, 5-20
Emission-control sy
stem maintenance
..9-21
Engine
Compartment
...................................
9-5
Coolant
...................................
9-7
, 11-6
High coolant temperature warning light
....
5-77 Hood
...............................................
9-4
Model
............................................
11-3
Oil and oil filter
.......................
9-5
, 11-6
Overheating
.....................................
8-4
Serial number
.................................
11-3
Specification
..................................
11-5
Engine hood
.........................................
9-4
Engine switch
.....................................
5-13
Event Data Recording
...........................
3-7
Exhaust system
...................................
9-23
F
Floor mat
.............................................
6-2
Fluid
Brake fluid
.....................................
11-6
Continuously variable
transmission (CVT)
fluid
......................................
9-9
, 11-6
Engine coolant
.........................
9-7
, 11-6
Manual transaxle
.............................
11-6
Washer fluid
............................
9-9
, 11-6
Fluid capacities and lubricants
..............
11-6
Free-hand advanced security transmitter (F.A.S.T.-key)
...................................
5-9
Front fog lights
Bulb capacity
..................................
9-29
Indicators
.......................................
5-75
Replacement
...................................
9-31
Switch
............................................
5-80
Front seat adjustment
............................
4-2
Front side-marker lights
Bulb capacity
..................................
9-29
Replacement
...................................
9-31
Front turn signal lights
Bulb capacity
..................................
9-29
Replacement
...................................
9-31
Fuel
Filling the fuel tank
..........................
3-3
Fuel economy
..................................
6-2
Fuel hoses
......................................
9-22
Fuel remaining warning display
.......
5-69
Fuel selection
...................................
3-2
Tank capacity
.................................
11-6
Fuel Pump Shut-off System
.................
8-15
Fuel remaining display
........................
5-69
Fuses
.................................................
9-24
Fusible links
.......................................
9-24
G
General maintenance
Maintenance
...................................
9-22
General vehicle data
............................
11-3
Genuine Mitsubishi Motors parts
............
3-6
Glove compartment
.............................
5-87
H
Hazard warning flasher switch
.............
5-80
Hazard warning lights
.........................
5-75
Head restraints
......................................
4-5
Headlights
Bulb capacity
.................................
9-29
Dimmer
.........................................
5-79
Headlight flasher
............................
5-79
Switch
...........................................
5-78
High beam indicator
............................
5-75
High coolant temperature warning light 5-77
BK0284300US.book 2 ページ 2019年5月23日 木曜日 午後12時22分