MPG MITSUBISHI OUTLANDER PHEV 2018 Owner's Manual (in English)
[x] Cancel search | Manufacturer: MITSUBISHI, Model Year: 2018, Model line: OUTLANDER PHEV, Model: MITSUBISHI OUTLANDER PHEV 2018Pages: 538, PDF Size: 25.01 MB
Page 157 of 538

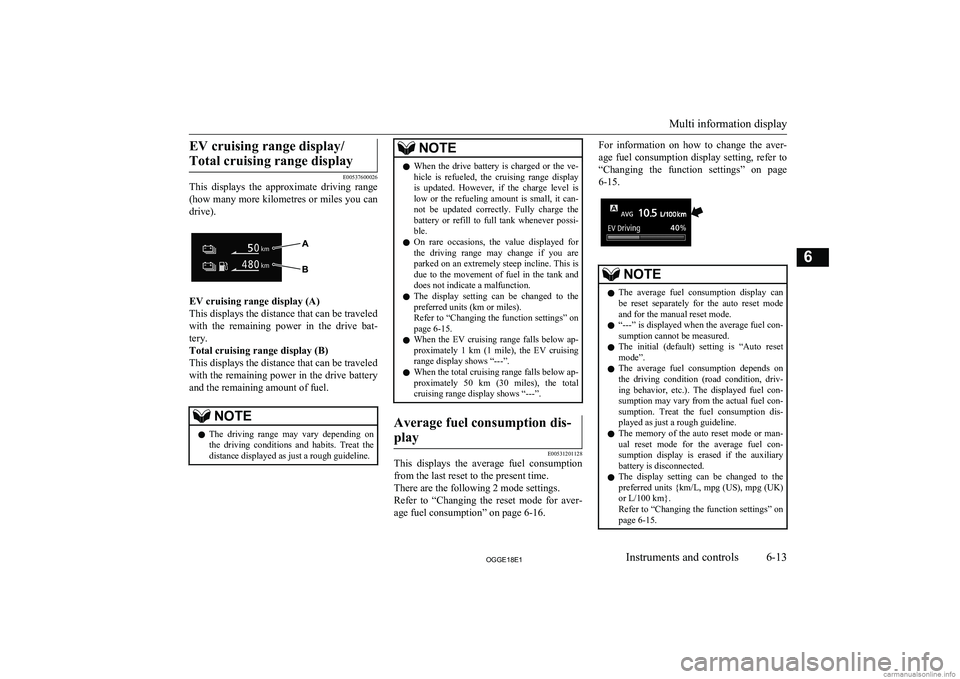
EV cruising range display/Total cruising range display
E00537600026
This displays the approximate driving range
(how many more kilometres or miles you can
drive).
EV cruising range display (A)
This displays the distance that can be traveled
with the remaining power in the drive bat- tery.
Total cruising range display (B)
This displays the distance that can be traveled
with the remaining power in the drive battery and the remaining amount of fuel.
NOTEl The driving range may vary depending on
the driving conditions and habits. Treat the
distance displayed as just a rough guideline.NOTEl When the drive battery is charged or the ve-
hicle is refueled, the cruising range display is updated. However, if the charge level is
low or the refueling amount is small, it can-
not be updated correctly. Fully charge the
battery or refill to full tank whenever possi- ble.
l On rare occasions, the value displayed for
the driving range may change if you are
parked on an extremely steep incline. This is due to the movement of fuel in the tank and
does not indicate a malfunction.
l The display setting can be changed to the
preferred units (km or miles).
Refer to “Changing the function settings” on page 6-15.
l When the EV cruising range falls below ap-
proximately 1 km (1 mile), the EV cruising range display shows “---”.
l When the total cruising range falls below ap-
proximately 50 km (30 miles), the total cruising range display shows “---”.Average fuel consumption dis-
play
E00531201128
This displays the average fuel consumption from the last reset to the present time.
There are the following 2 mode settings.
Refer to “Changing the reset mode for aver-
age fuel consumption” on page 6-16.
For information on how to change the aver-
age fuel consumption display setting, refer to “Changing the function settings” on page 6-15.NOTEl The average fuel consumption display can
be reset separately for the auto reset mode and for the manual reset mode.
l “---” is displayed when the average fuel con-
sumption cannot be measured.
l The initial (default) setting is “Auto reset
mode”.
l The average fuel consumption depends on
the driving condition (road condition, driv- ing behavior, etc.). The displayed fuel con- sumption may vary from the actual fuel con-
sumption. Treat the fuel consumption dis- played as just a rough guideline.
l The memory of the auto reset mode or man-
ual reset mode for the average fuel con-sumption display is erased if the auxiliarybattery is disconnected.
l The display setting can be changed to the
preferred units {km/L, mpg (US), mpg (UK)
or L/100 km}.
Refer to “Changing the function settings” on page 6-15.
Multi information display
6-13OGGE18E1Instruments and controls6
Page 161 of 538

lWhen the operation mode is changed
from ACC or OFF to ON, the mode set- ting is automatically switched from man-
ual to auto.
Switching to auto occurs automatically. If switching to manual mode is done,
however, the data from the last reset is
displayed.
Auto reset mode
l When the average fuel consumption is
being displayed, if you hold down the multi-information meter switch, the average fuel consumption displayed at
that time is reset.
l When the operation mode is in ACC or
OFF for about 4 hours or longer, the
average fuel consumption display is au- tomatically reset.
NOTEl The average fuel consumption display can
be reset separately for the auto reset mode and for the manual reset mode.
l The memory of the auto reset mode or man-
ual reset mode for the average fuel con- sumption display is erased if the auxiliarybattery is disconnected.Changing the fuel consumption
display unit
E00523001778
The display unit for fuel consumption can be
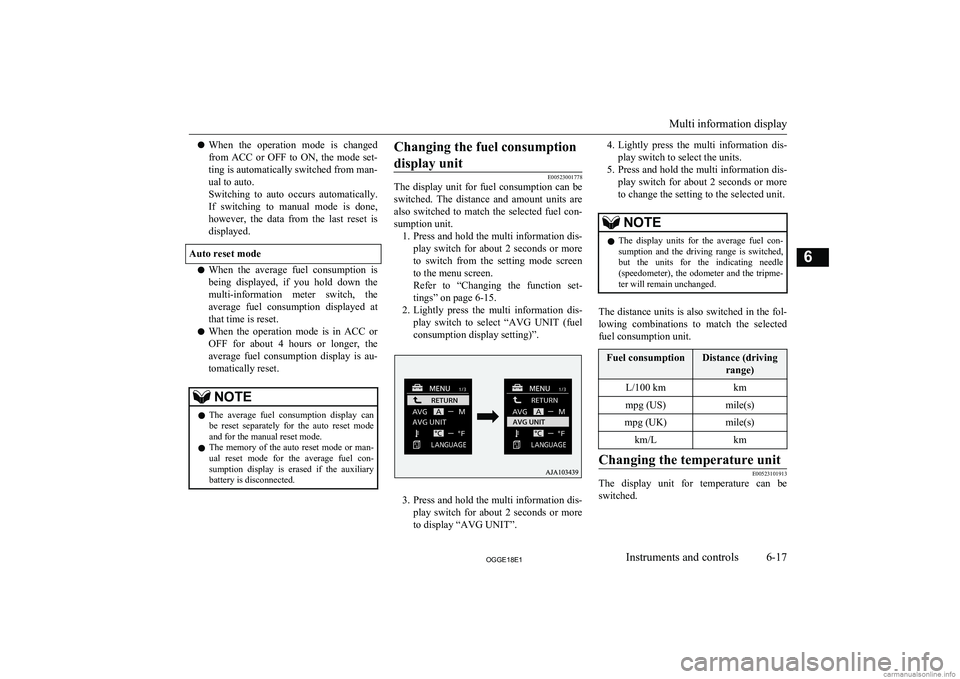
switched. The distance and amount units are also switched to match the selected fuel con- sumption unit. 1. Press and hold the multi information dis-
play switch for about 2 seconds or moreto switch from the setting mode screen
to the menu screen.
Refer to “Changing the function set-
tings” on page 6-15.
2. Lightly press the multi information dis-
play switch to select “AVG UNIT (fuel
consumption display setting)”.
3. Press and hold the multi information dis-
play switch for about 2 seconds or more to display “AVG UNIT”.
4. Lightly press the multi information dis-
play switch to select the units.
5. Press and hold the multi information dis-
play switch for about 2 seconds or more to change the setting to the selected unit.NOTEl The display units for the average fuel con-
sumption and the driving range is switched, but the units for the indicating needle
(speedometer), the odometer and the tripme-
ter will remain unchanged.
The distance units is also switched in the fol-
lowing combinations to match the selected
fuel consumption unit.
Fuel consumptionDistance (driving
range)L/100 kmkmmpg (US)mile(s)mpg (UK)mile(s)km/LkmChanging the temperature unit
E00523101913
The display unit for temperature can beswitched.
Multi information display
6-17OGGE18E1Instruments and controls6
Page 237 of 538

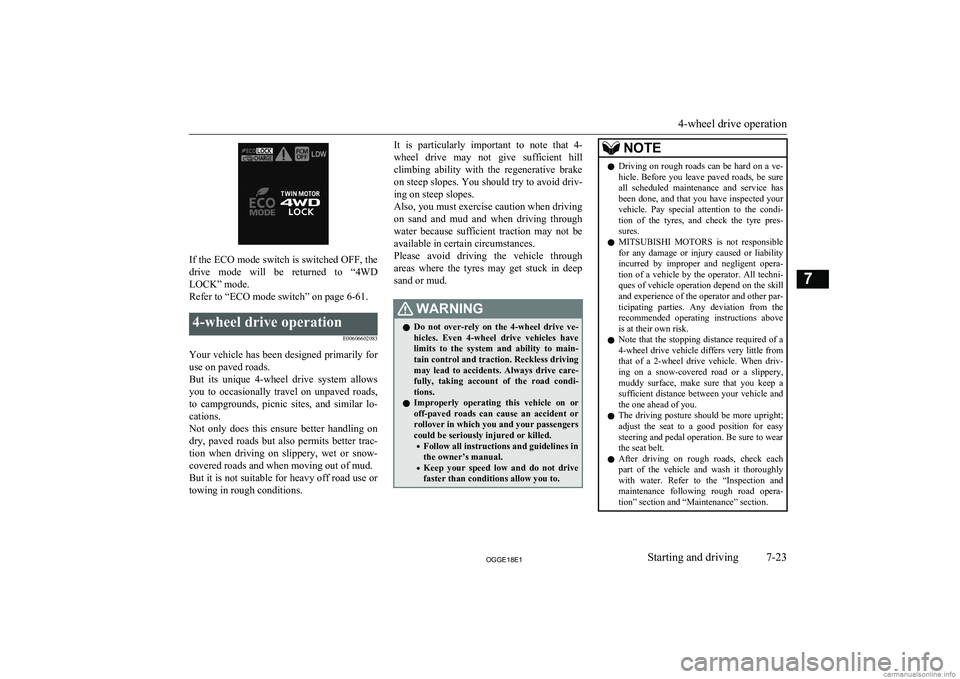
If the ECO mode switch is switched OFF, the
drive mode will be returned to “4WD LOCK” mode.
Refer to “ECO mode switch” on page 6-61.
4-wheel drive operation
E00606602083
Your vehicle has been designed primarily foruse on paved roads.
But its unique 4-wheel drive system allows
you to occasionally travel on unpaved roads, to campgrounds, picnic sites, and similar lo-
cations.
Not only does this ensure better handling on
dry, paved roads but also permits better trac-
tion when driving on slippery, wet or snow- covered roads and when moving out of mud.
But it is not suitable for heavy off road use or
towing in rough conditions.
It is particularly important to note that 4-
wheel drive may not give sufficient hill
climbing ability with the regenerative brake on steep slopes. You should try to avoid driv- ing on steep slopes.
Also, you must exercise caution when driving on sand and mud and when driving through
water because sufficient traction may not be
available in certain circumstances.
Please avoid driving the vehicle through
areas where the tyres may get stuck in deep sand or mud.WARNINGl Do not over-rely on the 4-wheel drive ve-
hicles. Even 4-wheel drive vehicles have
limits to the system and ability to main- tain control and traction. Reckless driving may lead to accidents. Always drive care-
fully, taking account of the road condi-
tions.
l Improperly operating this vehicle on or
off-paved roads can cause an accident or
rollover in which you and your passengers
could be seriously injured or killed.
• Follow all instructions and guidelines in
the owner’s manual.
• Keep your speed low and do not drive
faster than conditions allow you to.NOTEl Driving on rough roads can be hard on a ve-
hicle. Before you leave paved roads, be sure all scheduled maintenance and service has
been done, and that you have inspected your vehicle. Pay special attention to the condi- tion of the tyres, and check the tyre pres-
sures.
l MITSUBISHI
MOTORS is not responsible
for any damage or injury caused or liability
incurred by improper and negligent opera- tion of a vehicle by the operator. All techni-
ques of vehicle operation depend on the skill and experience of the operator and other par- ticipating parties. Any deviation from the
recommended operating instructions above is at their own risk.
l Note that the stopping distance required of a
4-wheel drive vehicle differs very little from
that of a 2-wheel drive vehicle. When driv- ing on a snow-covered road or a slippery,muddy surface, make sure that you keep a
sufficient distance between your vehicle and
the one ahead of you.
l The driving posture should be more upright;
adjust the seat to a good position for easy steering and pedal operation. Be sure to wear
the seat belt.
l After driving on rough roads, check each
part of the vehicle and wash it thoroughlywith water. Refer to the “Inspection andmaintenance following rough road opera-
tion” section and “Maintenance” section.
4-wheel drive operation
7-23OGGE18E1Starting and driving7