center console NISSAN ALTIMA 1997 U13 / 1.G Owners Manual
[x] Cancel search | Manufacturer: NISSAN, Model Year: 1997, Model line: ALTIMA, Model: NISSAN ALTIMA 1997 U13 / 1.GPages: 203, PDF Size: 1.64 MB
Page 118 of 203

Installing wheel
The T-type spare tire is designed for
emergency use. See specific instruc-
tions under the heading ``Wheels and
tires'' in the ``Do-it- yourself operations''
section.
1. Clean any mud or dirt from the surface
between the wheel and hub.
2. Carefully put the wheel on and install the
wheel nuts finger-tight.
3. With the wheel nut wrench, tighten wheel
nuts alternately and evenly until they are
tight.4. Lower the vehicle slowly until the tire
touches the ground. Then, with the wheel
nut wrench, tighten the wheel nuts se-
curely in the sequence as illustrated.
WARNING
cIncorrect wheel nuts or improperly
tightened wheel nuts can cause the
wheel to become loose or come off.
This could cause an accident.
cDo not use oil or grease on the wheel
studs or nuts. This could cause the
nuts to become loose.As soon as possible tighten the wheel
nuts to the specified torque with a torque
wrench.
Wheel nut tightening torque:
72 to 87 ft-lb
(98 to 118 Nzm)
Adjust tire pressure to the COLD pres-
sure.
COLD pressure: After vehicle has been
parked for three hours or more or driven
less than 1 mile (1.6 km).
COLD tire pressures are shown on the tire
placard affixed to the center console lid.
cRetighten the wheel nuts when the
vehicle has been run for 600 miles
(1,000 km).
5. Securely store the spare tire and jacking
equipment in the vehicle.
WARNING
cAlways make sure that the spare tire
and jacking equipment are properly
secured after use. Such items can
become dangerous projectiles in an
accident or sudden stop.
CE1030CE1082
5-6
ZX
Page 159 of 203

If you have a flat tire, see the ``In case of
emergency'' section.
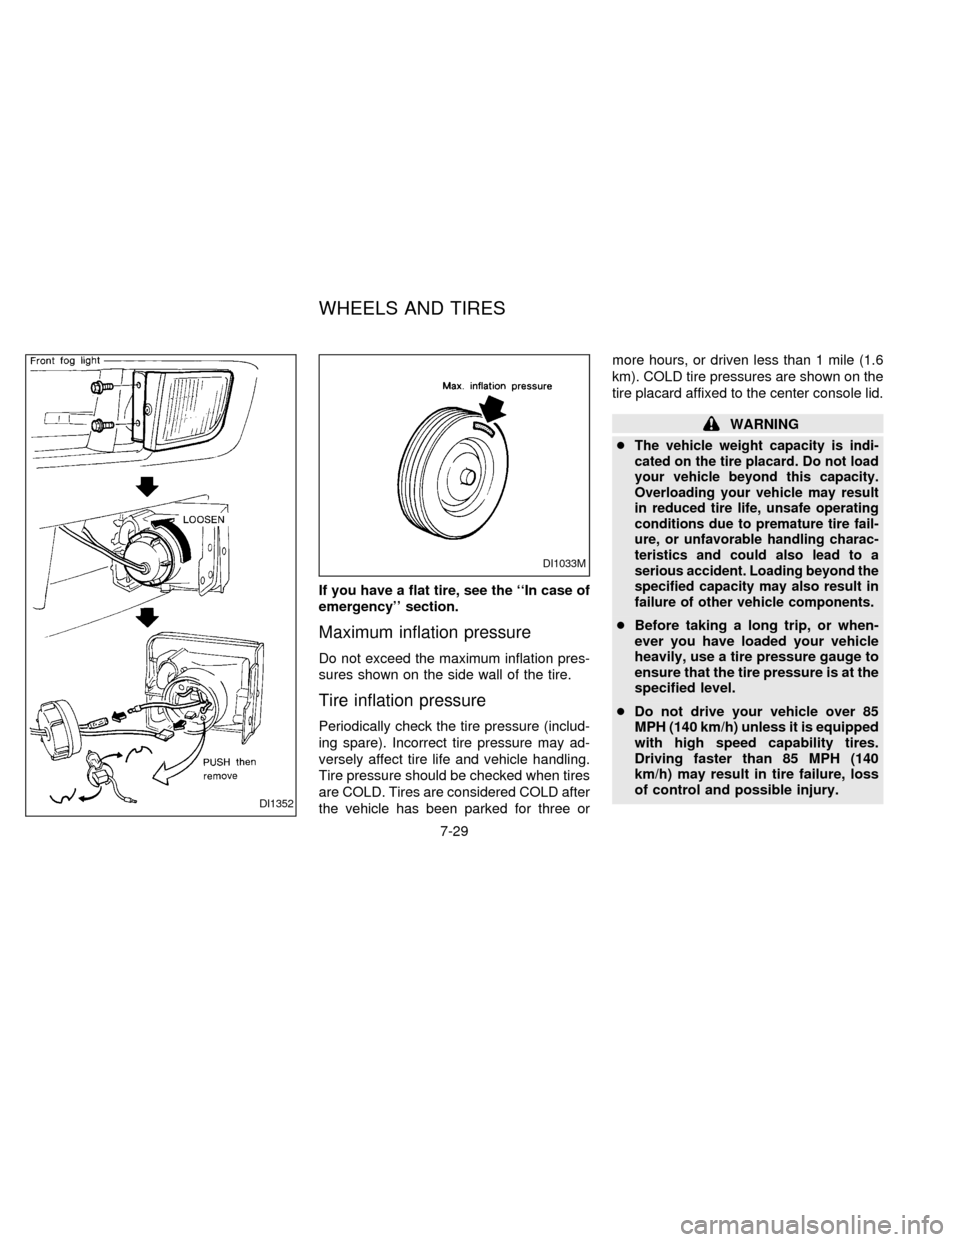
Maximum inflation pressure
Do not exceed the maximum inflation pres-
sures shown on the side wall of the tire.
Tire inflation pressure
Periodically check the tire pressure (includ-
ing spare). Incorrect tire pressure may ad-
versely affect tire life and vehicle handling.
Tire pressure should be checked when tires
are COLD. Tires are considered COLD after
the vehicle has been parked for three ormore hours, or driven less than 1 mile (1.6
km). COLD tire pressures are shown on the
tire placard affixed to the center console lid.
WARNING
c
The vehicle weight capacity is indi-
cated on the tire placard. Do not load
your vehicle beyond this capacity.
Overloading your vehicle may result
in reduced tire life, unsafe operating
conditions due to premature tire fail-
ure, or unfavorable handling charac-
teristics and could also lead to a
serious accident. Loading beyond the
specified capacity may also result in
failure of other vehicle components.
cBefore taking a long trip, or when-
ever you have loaded your vehicle
heavily, use a tire pressure gauge to
ensure that the tire pressure is at the
specified level.
cDo not drive your vehicle over 85
MPH (140 km/h) unless it is equipped
with high speed capability tires.
Driving faster than 85 MPH (140
km/h) may result in tire failure, loss
of control and possible injury.
DI1352
DI1033M
WHEELS AND TIRES
7-29
ZX
Page 187 of 203

EMISSION CONTROL
INFORMATION LABEL
The emission control information label is
attached as shown.
TIRE PLACARD
The cold tire pressure is shown on the tire
placard affixed to the center console lid.
AIR CONDITIONER
SPECIFICATION LABEL
The air conditioner specification label is
affixed as shown.
ATI0502ATI0501ATI0506
9-12
ZX
Page 191 of 203

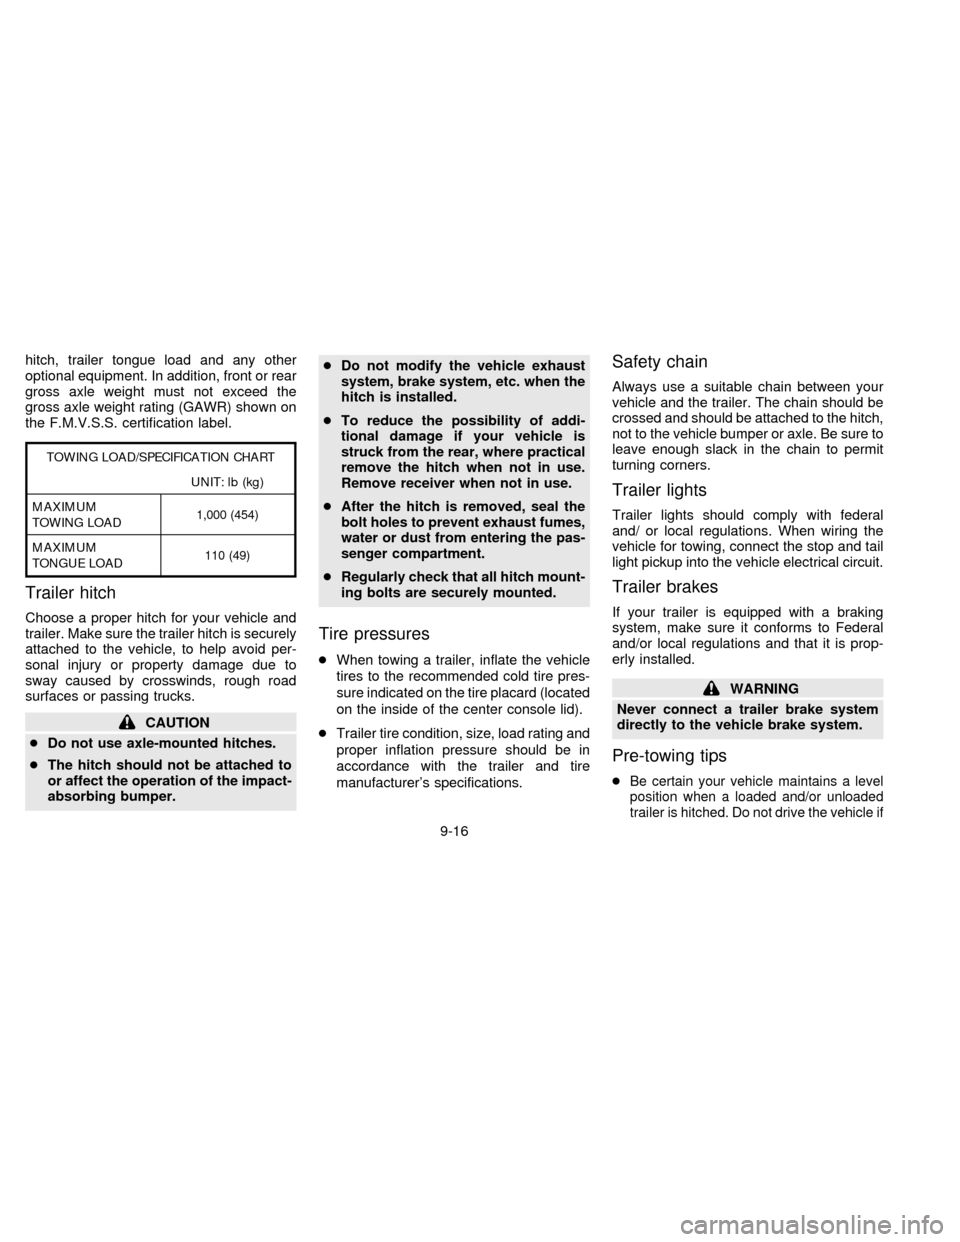
hitch, trailer tongue load and any other
optional equipment. In addition, front or rear
gross axle weight must not exceed the
gross axle weight rating (GAWR) shown on
the F.M.V.S.S. certification label.
TOWING LOAD/SPECIFICATION CHART
UNIT: lb (kg)
MAXIMUM
TOWING LOAD1,000 (454)
MAXIMUM
TONGUE LOAD110 (49)
Trailer hitch
Choose a proper hitch for your vehicle and
trailer. Make sure the trailer hitch is securely
attached to the vehicle, to help avoid per-
sonal injury or property damage due to
sway caused by crosswinds, rough road
surfaces or passing trucks.
CAUTION
cDo not use axle-mounted hitches.
cThe hitch should not be attached to
or affect the operation of the impact-
absorbing bumper.cDo not modify the vehicle exhaust
system, brake system, etc. when the
hitch is installed.
cTo reduce the possibility of addi-
tional damage if your vehicle is
struck from the rear, where practical
remove the hitch when not in use.
Remove receiver when not in use.
cAfter the hitch is removed, seal the
bolt holes to prevent exhaust fumes,
water or dust from entering the pas-
senger compartment.
cRegularly check that all hitch mount-
ing bolts are securely mounted.
Tire pressures
cWhen towing a trailer, inflate the vehicle
tires to the recommended cold tire pres-
sure indicated on the tire placard (located
on the inside of the center console lid).
cTrailer tire condition, size, load rating and
proper inflation pressure should be in
accordance with the trailer and tire
manufacturer's specifications.
Safety chain
Always use a suitable chain between your
vehicle and the trailer. The chain should be
crossed and should be attached to the hitch,
not to the vehicle bumper or axle. Be sure to
leave enough slack in the chain to permit
turning corners.
Trailer lights
Trailer lights should comply with federal
and/ or local regulations. When wiring the
vehicle for towing, connect the stop and tail
light pickup into the vehicle electrical circuit.
Trailer brakes
If your trailer is equipped with a braking
system, make sure it conforms to Federal
and/or local regulations and that it is prop-
erly installed.
WARNING
Never connect a trailer brake system
directly to the vehicle brake system.
Pre-towing tips
cBe certain your vehicle maintains a level
position when a loaded and/or unloaded
trailer is hitched. Do not drive the vehicle if
9-16
ZX