maintenance NISSAN ALTIMA 2000 L30 / 2.G Owners Manual
[x] Cancel search | Manufacturer: NISSAN, Model Year: 2000, Model line: ALTIMA, Model: NISSAN ALTIMA 2000 L30 / 2.GPages: 242, PDF Size: 1.94 MB
Page 1 of 242
Foreword
Welcome to the growing family of new
NISSAN owners. This vehicle is delivered
to you with confidence. It was produced
using the latest techniques and strict quality
control.
This manual was prepared to help you
understand the operation and maintenance
of your vehicle so that you may enjoy many
miles of driving pleasure. Please read
through this manual before operating your
vehicle.
In the U.S., a separate Warranty Informa-
tion and Maintenance Log Booklet and
in Canada, a Warranty and Roadside
Assistance Information Booklet ex-
plains details about the warranties cov-
ering your vehicle and vehicle mainte-
nance schedules. Additionally, a
separate Customer Care/Lemon Law
Booklet (U.S. only) will explain how to
resolve any concerns you may have with
your vehicle, as well as clarify your
rights under your state's lemon law.
Your NISSAN dealership knows your ve-
hicle best. When you require any service or
have any questions, they will be glad to
assist you with the extensive resources
available to them.READ FIRST Ð THEN DRIVE SAFELY
Before driving your vehicle please read this
Owner's Manual carefully. This will ensure
familiarity with controls and maintenance
requirements, assisting you in the safe op-
eration of your vehicle.
WARNING
IMPORTANT SAFETY INFORMATION
REMINDERS FOR SAFETY!
Follow these important rules to help
ensure a safe and comfortable trip for
you and your passengers!
cNEVER drive under the influence of
alcohol or drugs.
cALWAYS observe posted speed lim-
its and never drive too fast for con-
ditions.
c
ALWAYS use your seat belts and
appropriate child restraint systems.
Pre-teen children should be seated
in the rear seat.
cALWAYS provide information about
the proper use of vehicle safety fea-
tures to all occupants of the vehicle.
c
ALWAYS review this owner's manual
for important safety information.
MODIFICATION OF YOUR VEHICLE
This vehicle should not be modified.
Modification could affect its perfor-
mance, safety or durability, and may
even violate governmental regulations.
In addition, damage or performance
problems resulting from modifications
may not be covered under NISSAN
warranties.
WHEN READING THE MANUAL
This manual includes information for all
options available on this model. Therefore,
you may find some information that does
not apply to your vehicle.
All information, specifications and illustra-
tions in this manual are those in effect at the
time of printing. NISSAN reserves the right
to change specifications or design without
notice and without obligation.
The inside pages of this manual contain
a minimum of 50% recycled fibers,
including 10% post-consumer fibers.
ZX
Page 3 of 242

Welcome To The World Of NISSAN
Your new NISSAN is the result of our dedication
to produce the finest in safe, reliable and eco-
nomical transportation. Your vehicle is the prod-
uct of a successful worldwide company that
manufactures cars and trucks in over 17 coun-
tries and distributes them in 170 nations.
NISSAN vehicles are designed and manufac-
tured by Nissan Motor Co., Ltd. which was
founded in Tokyo, Japan in 1933, and NISSAN
affiliates world wide, collectively growing to be-
come the fifth largest automaker in the world. In
addition to cars and trucks, NISSAN also makes
textile machinery, forklift trucks, marine engines,
boats and other products.
NISSAN has made a substantial and growing
investment in North America, starting with the
opening of Nissan Motor Corporation U.S.A. in
1960 and continuing with the production of some
cars and trucks at one of the world's mostmodern manufacturing facilities, Nissan Motor
Manufacturing Corporation U.S.A. in Smyrna,
Tennessee, vehicle styling at Nissan Design
International in San Diego, California, and engi-
neering at Nissan Research and Development in
Farmington Hills, Michigan.
NISSAN and its dealers indirectly employ about
60,000 Americans.
NISSAN is also a substantial contributor to the
Canadian economy. Nissan Canada Inc., its sup-
pliers and over 140 dealers employ approxi-
mately 4,500 people. These include company
employees and the staffs of NISSAN dealers all
across Canada. In addition, many Canadians
work for companies that supply NISSAN and
NISSAN dealers with materials and services
ranging from the operation of port facilities and
transportation services, to the supply of lubri-
cants, parts and accessories.NISSAN pioneered the use of electronics and
computers in automobiles, and has led the indus-
try in improving both performance and fuel effi-
ciency through new engine designs and the use
of synthetic materials to reduce vehicle weight.
The company has also developed ways to build
quality into its vehicles at each stage of the
production process, both through extensive use
of automation and Ð most importantly Ð
through an awareness thatpeopleare the cen-
tral element in quality control.
From the time the parts arrived from our suppli-
ers until you took delivery of your new NISSAN,
dozens of checks were made to ensure that only
the best job was being done in producing and
delivering your vehicle. NISSAN also takes great
care to ensure that when you take your NISSAN
to your dealer for maintenance, the service techni-
cian will perform his work according to the quality
standards that have been established by Nissan.
Safety has also been built into your NISSAN. As
you know, seat belts are an integral part of the
safety systems that will help protect you and your
passengers in the event of a sudden stop or an
accident. We urge you to use the seat belts every
time you drive the vehicle.
The NISSAN story of growth and achievement
reflects our major goal: to provide you, our
customer, with a vehicle that is built with quality
and craftsmanship Ð a product that we can be
proud to build and you can be proud to own.
AFW0001
ZX
Page 6 of 242
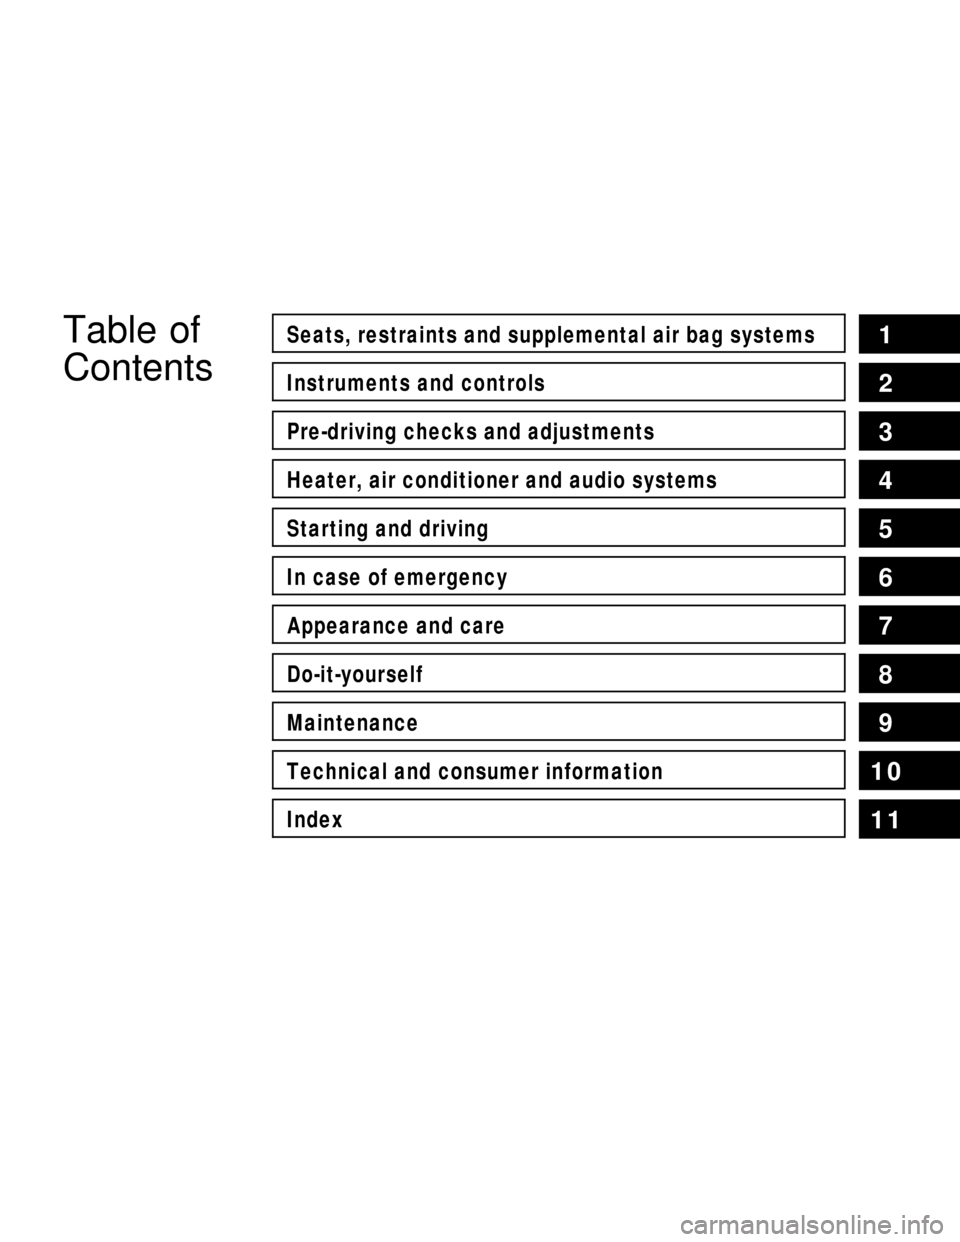
Table of
ContentsSeats, restraints and supplemental air bag systems
Instruments and controls
Pre-driving checks and adjustments
Heater, air conditioner and audio systems
Starting and driving
In case of emergency
Appearance and care
Do-it-yourself
Maintenance
Technical and consumer information
Index
1
2
3
4
5
6
7
8
9
10
11
Page 8 of 242

1 Seats, restraints and supplemental air
bag systems
Seats ......................................................................1-2
Front manual seat adjustment ...............................1-3
Front power seat adjustment (if so equipped) .......1-4
Rear seat adjustment .............................................1-6
Head restraint adjustment ......................................1-8
Supplemental restraint system ...............................1-9
Precautions on supplemental restraint system ......1-9
Supplemental air bag warning labels ...................1-19
Supplemental air bag warning light......................1-19
Seat belts .............................................................1-21
Precautions on seat belt usage ...........................1-21
Child safety...........................................................1-23Pregnant women ..................................................1-23
Injured persons ....................................................1-24
Three-point type seat belt with retractor ..............1-24
Seat belt extenders ..............................................1-28
Seat belt maintenance .........................................1-28
Child restraints .....................................................1-28
Precautions on child restraints .............................1-28
Installation on rear seat center or outboard
positions ...............................................................1-30
Top tether strap child restraint .............................1-35
Installation on front passenger seat .....................1-36
ZX
Page 27 of 242
light illuminates for about 7 seconds and
then turns off. This means the system is
operational.
If any of the following conditions occur, the
supplemental front air bag and supplemen-
tal side air bag needs servicing:
cThe supplemental air bag warning light
remains on after approximately 7 sec-
onds.
cThe supplemental air bag warning light
flashes intermittently.
cThe supplemental air bag warning light
does not come on at all.
Under these conditions, the supplemental
front air bag or supplemental side air bags
may not operate properly. It must be
checked and repaired. Take your vehicle to
the nearest authorized NISSAN dealer.
WARNING
If the supplemental air bag warning
light is on, it could mean that the
supplemental front air bag or supple-
mental side air bag system will not
operate in an accident.
Repair and replacement procedure
The supplemental front air bag modules or
supplemental side air bags are designed to
inflate on a one-time-only basis. As a re-
minder, unless it is damaged, the supple-
mental air bag light remains illuminated
after inflation has occurred. Repair and re-
placement of these supplemental air bag
systems should be done only by an autho-
rized NISSAN dealer.
To ensure long-term functioning, these
supplemental air bag systems must be
inspected 10 years after the date of
manufacture as noted on the certifica-
tion label located on the driver side front
pillar.
When maintenance work is required on the
vehicle, the supplemental front air bags,
supplemental side air bags and related
parts should be pointed out to the person
conducting the maintenance. The ignition
key should always be in the LOCK position
when working under the hood or inside the
vehicle.
WARNING
cOnce the supplemental front air bag
or supplemental side air bag has
inflated, the air bag module will not
function again and must be re-
placed. The air bag module should
be replaced by an authorized
NISSAN dealer. The air bag module
cannot be repaired.
cThe supplemental front air bag and
supplemental side air bag systems
should be inspected by an autho-
rized NISSAN dealer if there is any
damage to the front end or side por-
tion of the vehicle.
cIf you need to dispose of a supple-
mental air bag or scrap the vehicle,
contact an authorized NISSAN
dealer. Correct supplemental air bag
disposal procedures are set forth in
the appropriate NISSAN Service
Manual. Incorrect disposal proce-
dures could cause personal injury.
1-20Seats, restraints and supplemental air bag systems
ZX
Page 35 of 242
SEAT BELT EXTENDERS
If, because of body size or driving position,
it is not possible to properly fit the lap-
shoulder belt and fasten it, an extender is
available which is compatible with the in-
stalled seat belts. The extender adds ap-
proximately 8 inches (200 mm) of length
and may be used for either the driver or front
passenger seating position. See your NIS-
SAN dealer for assistance if an extender is
required.
WARNING
cOnly NISSAN seat belt extenders,
made by the same company which
made the original equipment seat
belts, should be used with NISSAN
seat belts.
cPersons who can use the standard
seat belt should not use an extender.
Such unnecessary use could result
in serious personal injury in the
event of an accident.
SEAT BELT MAINTENANCE
cTo clean the seat belt webbings,apply
a mild soap solution or any solution rec-
ommended for cleaning upholstery or
carpet. Then wipe with a cloth and allow
the seat belts to dry in the shade. Do not
allow the seat belts to retract until they
are completely dry.
cIf dirt builds up on the shoulder belt
guideof the seat belt anchors, the seat
belts may retract slowly. Wipe the shoul-
der belt guide with a clean, dry cloth.
cPeriodically check to see that the seat
belt and the metal components,such
as buckles, tongues, retractors, flexible
wires and anchors, work properly. If
loose parts, deterioration, cuts or other
damage on the webbing is found, the
entire seat belt assembly should be re-
placed.
PRECAUTIONS ON CHILD
RESTRAINTS
WARNING
cInfants and small children should
always be placed in an appropriate
child restraint while riding in the ve-
hicle. Failure to use a child restraint
can result in serious injury or death.
cInfants and small children should
never be carried on your lap. It is not
possible for even the strongest adult
to resist the forces of a severe acci-
dent. The child could be crushed
between the adult and parts of the
vehicle. Also, do not put the same
seat belt around both your child and
yourself.
cNever install a rear-facing child re-
straint in the front seat. An inflating
supplemental front air bag could se-
riously injure or kill your child. A
rear-facing child restraint must only
be used in the rear seat.
cNissan recommends that the child
restraint be installed in the rear seat.
According to accident statistics,
CHILD RESTRAINTS
1-28Seats, restraints and supplemental air bag systems
ZX
Page 125 of 242

START (4)
This position activates the starter motor,
which starts the engine.
NISSAN VEHICLE IMMOBILIZER
SYSTEM (NVIS)
The Nissan Vehicle Immobilizer System
(NVIS) will not allow the engine to run
without the use of the registered NVIS key.
If the engine fails to run using the registered
NVIS key, it may be due to interference
caused by another NVIS key, an automated
toll road device or automated payment de-
vice on the key ring. Restart the engine
using the following procedures:
1. Leave the ignition switch in the ON posi-
tion for approximately 5 seconds.
2. Turn the ignition switch to the OFF or
LOCK position and wait approximately 5
seconds.
3. Repeat step 1 and 2 again.
4. Restart the engine while holding the de-
vice (which may have caused the inter-
ference) separate from the registered
NVIS key.If this procedure allows the engine to run,
NISSAN recommends placing the regis-
tered NVIS key on a separate key ring to
avoid interference from other devices.cMake sure the area around the vehicle is
clear.
cMaintenance items listed here should be
checked periodically, for example, each
time you check engine oil.
cCheck that all windows and lights are
clean.
cVisually inspect tires for their appearance
and condition. Also check tires for proper
inflation.
cLock all doors.
cPosition seat and adjust head restraints.
cAdjust inside and outside mirrors.
cFasten seat belts and ask all passengers
to do likewise.
cCheck the operation of warning lights
when key is turned to the ON (3) position.
See ``Warning/Indicator lights and
chimes'' in the ``Instruments and con-
trols'' section.
BEFORE STARTING THE
ENGINE
5-6Starting and driving
ZX
Page 163 of 242

8 Do-it-yourself
Maintenance precautions .......................................8-2
Engine compartment check locations ....................8-4
Engine cooling system ...........................................8-5
Checking engine coolant level ...............................8-5
Changing engine coolant .......................................8-6
Engine oil ...............................................................8-8
Checking engine oil level .......................................8-8
Changing engine oil ...............................................8-9
Changing engine oil filter .....................................8-10
Automatic transmission fluid ................................8-10
Temperature conditions for checking ...................8-11
Power steering fluid..............................................8-12
Brake fluid ............................................................8-12
Clutch fluid............................................................8-12
Window washer fluid ............................................8-13
Window washer fluid reservoir .............................8-13
Battery ..................................................................8-14
Jump starting ........................................................8-15
Drive belts ............................................................8-15
Spark plugs ..........................................................8-15
Replacing spark plugs ..........................................8-15
Air cleaner ............................................................8-16Windshield wiper blades ......................................8-18
Cleaning ...............................................................8-18
Replacing .............................................................8-18
Parking brake and brake pedal ............................8-19
Checking parking brake .......................................8-19
Checking brake pedal ..........................................8-19
Brake booster .......................................................8-20
Clutch pedal .........................................................8-21
Checking clutch pedal ..........................................8-21
Fuses ....................................................................8-21
Engine compartment ............................................8-21
Passenger compartment ......................................8-22
Multi-remote controller battery replacement ........8-23
Lights ....................................................................8-24
Headlights ............................................................8-24
Front turn signal lamp ..........................................8-27
Front parking and cornering lamp ........................8-27
Front sidemarker lamp .........................................8-28
Fog lights ..............................................................8-29
Exterior and interior lights ....................................8-30
Wheels and tires ..................................................8-34
Tire pressure ........................................................8-34
ZX
Page 165 of 242
When performing any inspection or mainte-
nance work on your vehicle, always take
care to prevent serious accidental injury to
yourself or damage to the vehicle. The
following are general precautions which
should be closely observed.
WARNING
cPark the vehicle on a level surface,
apply the parking brake securely and
block the wheels to prevent the ve-
hicle from moving. For manual trans-
mission models, move the shift lever
to (N) Neutral. For an automatic
transmission models, move the shift
selector lever to P (Park).
cBe sure the ignition key is in the OFF
or LOCK position when performing
any parts replacement or repairs.
cYour vehicle is equipped with an
automatic engine cooling fan. It may
come on at any time without warn-
ing, even if the ignition key is in the
OFF position and the engine is not
running. To avoid injury, always dis-
connect the negative battery cable
before working near the fan.c
If you must work with the engine run-
ning, keep your hands, clothing, hair
and tools away from moving fans,
belts and any other moving parts.
cIt is advisable to secure or remove
any loose clothing and remove any
jewelry, such as rings, watches, etc.
before working on your vehicle.
cAlways wear eye protection when-
ever you work on your vehicle.
cIf you must run the engine in an
enclosed space such as a garage, be
sure there is proper ventilation for
exhaust gases to escape.
cNever get under the vehicle while it
is supported only by a jack. If it is
necessary to work under the vehicle,
support it with safety stands.
c
Keep smoking materials, flame and
sparks away from the fuel tank and
battery.cOn gasoline engine models with the
multiport fuel injection (MFI) system,
the fuel filter or fuel lines should be
serviced by an authorized NISSAN
dealer because the fuel lines are un-
der high pressure even when the en-
gine is off.
CAUTION
cDo not work under the hood while
the engine is hot. Turn off the engine
and wait until it cools down.
cNever connect or disconnect the bat-
tery or any transistorized compo-
nent while the ignition is in the ON
position.
cNever leave the engine or automatic
transmission related component
harnesses disconnected while the
ignition is in the ON position.
c
Avoid contact with used engine oil.
Improperly disposed engine oil
and/or other vehicle fluids can dam-
age the environment. Always con-
form to local regulations for disposal
of vehicle fluid.
MAINTENANCE
PRECAUTIONS
8-2Do-it-yourself
ZX
Page 171 of 242
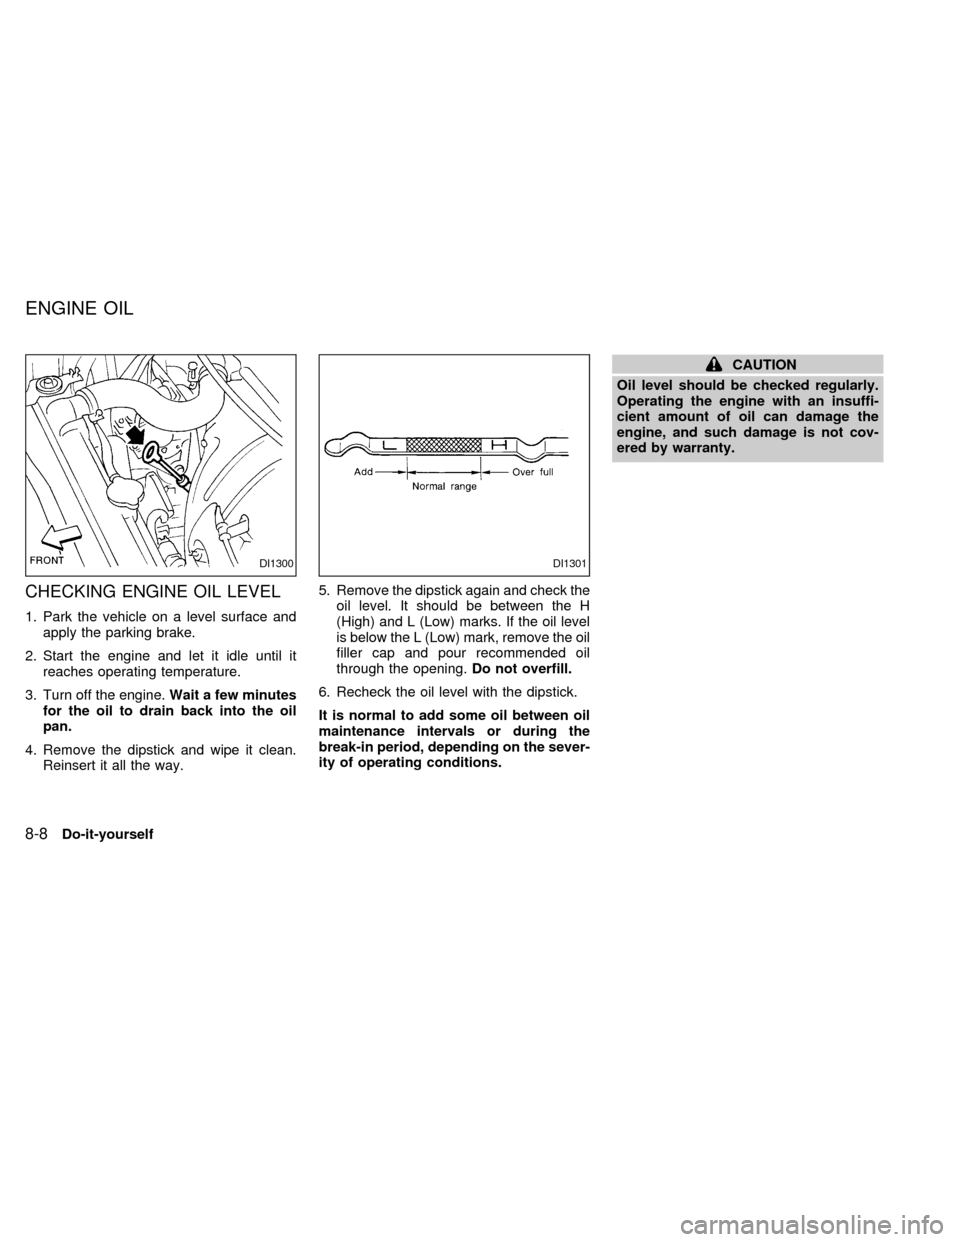
CHECKING ENGINE OIL LEVEL
1. Park the vehicle on a level surface and
apply the parking brake.
2. Start the engine and let it idle until it
reaches operating temperature.
3. Turn off the engine.Wait a few minutes
for the oil to drain back into the oil
pan.
4. Remove the dipstick and wipe it clean.
Reinsert it all the way.5. Remove the dipstick again and check the
oil level. It should be between the H
(High) and L (Low) marks. If the oil level
is below the L (Low) mark, remove the oil
filler cap and pour recommended oil
through the opening.Do not overfill.
6. Recheck the oil level with the dipstick.
It is normal to add some oil between oil
maintenance intervals or during the
break-in period, depending on the sever-
ity of operating conditions.
CAUTION
Oil level should be checked regularly.
Operating the engine with an insuffi-
cient amount of oil can damage the
engine, and such damage is not cov-
ered by warranty.
DI1300DI1301
ENGINE OIL
8-8Do-it-yourself
ZX