coolant level NISSAN ALTIMA 2001 L30 / 2.G Owners Manual
[x] Cancel search | Manufacturer: NISSAN, Model Year: 2001, Model line: ALTIMA, Model: NISSAN ALTIMA 2001 L30 / 2.GPages: 258, PDF Size: 2.09 MB
Page 166 of 258
3. If engine overheating is caused by climb-
ing a long hill on a hot day, run the engine
at a fast idle (approximately 1,500 rpm)
until the temperature gauge indication
returns to normal.
4. Get out of the vehicle. Look and listen for
steam or coolant escaping from the ra-
diator before opening the hood. Wait until
no steam or coolant can be seen before
proceeding.
5. Open the engine hood.
WARNING
If steam or water is coming from the
engine, stand clear to prevent getting
burned.
6. Visually check drive belts for damage or
looseness. Also check if the cooling fan
is running. The radiator hoses and radia-
tor should not leak water. If coolant is
leaking, the water pump belt is missing or
loose, or the cooling fan does not run,
stop the engine.
WARNING
Be careful not to allow your hands, hair,
jewelry or clothing to come into contact
with, or get caught in, engine belts or
the engine cooling fan. The engine
cooling fan motor can start at any time
when the coolant temperature is high.
7. After the engine cools down, check the
coolant level in the reservoir tank with the
engine running. Add coolant to the res-
ervoir tank if necessary. Have your ve-
hicle repaired at an authorized NISSAN
dealer.When towing your vehicle, all State (Provin-
cial in Canada) and local regulations for tow-
ing must be followed. Incorrect towing equip-
ment could damage your vehicle. Towing
instructions are available from an authorized
NISSAN dealer. Local service operators will
generally be familiar with the applicable laws
and procedures for towing. To assure proper
towing and to prevent accidental damage to
your vehicle, NISSAN recommends having a
service operator tow your vehicle. It is advis-
able to have the service operator carefully
read the following precautions:
WARNING
cNever ride in a vehicle that is being
towed.
cNever get under your vehicle after it
has been lifted by a tow truck.
CAUTION
cWhen towing, make sure that the
transmission, axles, steering system
and powertrain are in working con-
dition. If any unit is damaged, dollies
must be used.
cAlways attach safety chains before
towing.
TOWING YOUR VEHICLE
In case of emergency6-11
ZX
Page 177 of 258

8 Do-it-yourself
Maintenance precautions .......................................8-2
Engine compartment check locations ....................8-4
Engine cooling system ...........................................8-5
Checking engine coolant level ..........................8-5
Changing engine coolant ..................................8-6
Engine oil ...............................................................8-8
Checking engine oil level ..................................8-8
Changing engine oil ..........................................8-9
Changing engine oil filter.................................8-10
Automatic transmission fluid ................................8-11
Temperature conditions for checking ..............8-11
Power steering fluid..............................................8-12
Brake and clutch fluid...........................................8-12
Brake fluid........................................................8-12
Clutch fluid .......................................................8-13
Window washer fluid ............................................8-13
Battery ..................................................................8-14
Jump starting ...................................................8-15
Drive belts ............................................................8-15
Spark plugs ..........................................................8-16
Replacing spark plugs .....................................8-16
Air cleaner ............................................................8-17Windshield wiper blades ......................................8-18
Cleaning ..........................................................8-18
Replacing .........................................................8-18
Parking brake and brake pedal ............................8-19
Checking parking brake...................................8-19
Checking brake pedal .....................................8-19
Brake booster ..................................................8-20
Clutch pedal .........................................................8-21
Checking clutch pedal .....................................8-21
Fuses ....................................................................8-21
Engine compartment .......................................8-21
Passenger compartment .................................8-22
Multi-remote controller battery replacement ........8-23
Lights ....................................................................8-24
Headlights ........................................................8-24
Front turn signal lamp .....................................8-28
Front parking and cornering lamp ...................8-28
Front sidemarker lamp ....................................8-29
Fog lights .........................................................8-30
Exterior and interior lights ...............................8-31
Wheels and tires ..................................................8-35
Tire pressure ...................................................8-35
ZX
Page 179 of 258
When performing any inspection or mainte-
nance work on your vehicle, always take
care to prevent serious accidental injury to
yourself or damage to the vehicle. The
following are general precautions which
should be closely observed.
WARNING
cPark the vehicle on a level surface,
apply the parking brake securely and
block the wheels to prevent the ve-
hicle from moving. For manual trans-
mission models, move the shift lever
to (N) Neutral. For an automatic
transmission models, move the shift
selector lever to P (Park).
cBe sure the ignition key is in the OFF
or LOCK position when performing
any parts replacement or repairs.
cYour vehicle is equipped with an
automatic engine cooling fan. It may
come on at any time without warn-
ing, even if the ignition key is in the
OFF position and the engine is not
running. To avoid injury, always dis-
connect the negative battery cable
before working near the fan.c
If you must work with the engine run-
ning, keep your hands, clothing, hair
and tools away from moving fans,
belts and any other moving parts.
cIt is advisable to secure or remove
any loose clothing and remove any
jewelry, such as rings, watches, etc.
before working on your vehicle.
cAlways wear eye protection when-
ever you work on your vehicle.
cIf you must run the engine in an
enclosed space such as a garage, be
sure there is proper ventilation for
exhaust gases to escape.
cNever get under the vehicle while it
is supported only by a jack. If it is
necessary to work under the vehicle,
support it with safety stands.
c
Keep smoking materials, flame and
sparks away from the fuel tank and
battery.cOn gasoline engine models with the
multiport fuel injection (MFI) system,
the fuel filter or fuel lines should be
serviced by an authorized NISSAN
dealer because the fuel lines are un-
der high pressure even when the en-
gine is off.
CAUTION
cDo not work under the hood while
the engine is hot. Turn off the engine
and wait until it cools down.
cNever connect or disconnect the bat-
tery or any transistorized compo-
nent while the ignition is in the ON
position.
cNever leave the engine or automatic
transmission related component
harnesses disconnected while the
ignition is in the ON position.
c
Avoid contact with used engine oil
and coolant. Improperly disposed
engine oil, engine coolant, and/or
other vehicle fluids can damage the
environment. Always conform to lo-
cal regulations for disposal of ve-
hicle fluid.
MAINTENANCE
PRECAUTIONS
8-2Do-it-yourself
ZX
Page 182 of 258
The engine cooling system is filled at the
factory with a high-quality, year-round, anti-
freeze coolant solution. The anti-freeze so-
lution contains rust and corrosion inhibitors,
therefore additional engine cooling system
additives are not necessary.
CAUTION
When adding or replacing coolant, be
sure to use only an ethelene glycol anti-
freeze with the proper mixture ratio of
50% Genuine Nissan Anti-freeze coolant
or equivalent and 50% soft tap water.
The use of other types of coolant solu-
tions may damage the engine cooling
system.
Outside
temperature
down toGenuine
Nissan
Anti-freeze
coolant or
equivalentSoft tap
water
ÉC ÉF
þ35 þ30 50% 50%
WARNING
cNever remove the radiator cap when
the engine is hot. Serious burns
could be caused by high pressure
fluid escaping from the radiator.
c
The radiator is equipped with a pres-
sure type radiator cap. To prevent
engine damage, use only a genuine
NISSAN radiator cap.
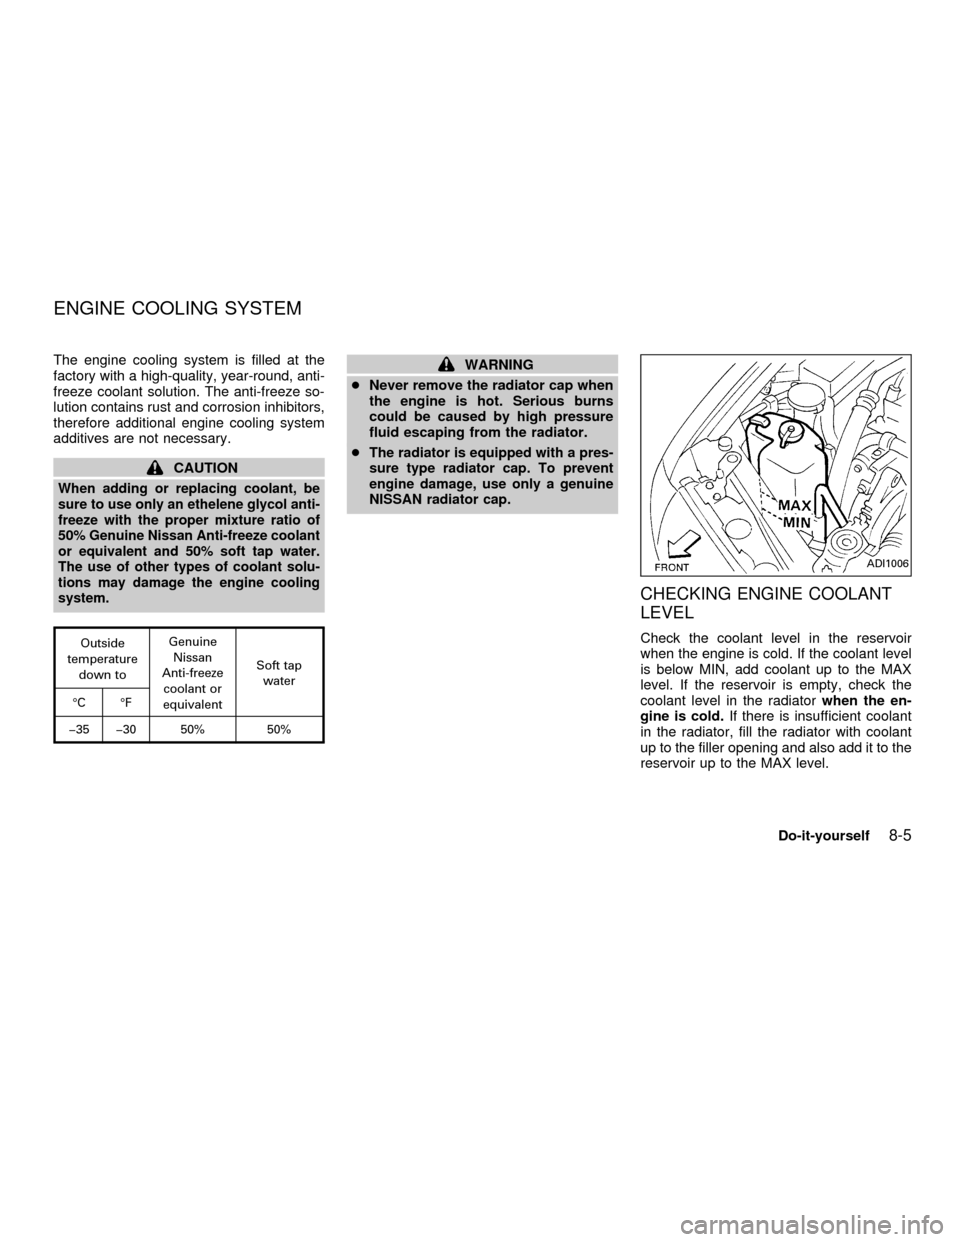
CHECKING ENGINE COOLANT
LEVEL
Check the coolant level in the reservoir
when the engine is cold. If the coolant level
is below MIN, add coolant up to the MAX
level. If the reservoir is empty, check the
coolant level in the radiatorwhen the en-
gine is cold.If there is insufficient coolant
in the radiator, fill the radiator with coolant
up to the filler opening and also add it to the
reservoir up to the MAX level.
ADI1006
ENGINE COOLING SYSTEM
Do-it-yourself8-5
ZX
Page 184 of 258

drain plug on the engine water pipe.
3. Open the radiator cap to drain the cool-
ant.
cWaste coolant must be disposed of
properly.
cCheck your local regulations.
4. Flush the cooling system by running
fresh water through the radiator.
5. Close the radiator drain plug and the
drain plug on the engine water pipe se-
curely.
6. See the ``Technical and consumer infor-
mation'' section for cooling system ca-
pacity. Fill the radiator slowly with the
proper mixture of coolant and water. Fill
the reservoir tank up to the MAX level.
7. Open and close the air release plug to
release air. Then fill the radiator again
and install the radiator cap.
8. Start the engine and let it idle until it
reaches normal operating temperature.
Then race the engine 2 or 3 times under
no load. Watch the engine coolant tem-
perature gauge for signs of overheating.
9. Stop the engine. After it completely coolsdown, refill the radiator up to the filler
opening. Fill the reservoir tank up to the
MAX level.
10. Open and close the air release plug to
release air. Then fill the radiator again
and install the radiator cap.
11. Check the radiator drain plug and the
drain plug on the engine water pipe for
any sign of leakage, tighten if neces-
sary.
AMA098
Do-it-yourself8-7
ZX
Page 202 of 258

3. Remove the three nuts and one bolt
mounting the headlamp assembly (see
above illustration).
4. Pull the headlamp assembly evenly away
from the front of the vehicle to access the
bulb sockets.5. Disconnect the harness connector from
the back side of the bulb socket (see
above illustration).
6. Turn the bulb retaining ring counter-
clockwise until it is free from the head-
lamp assembly and then remove it.
7. Remove the bulb by pulling it straight out
of the lamp assembly. Do not shake the
bulb when removing it.
8. Follow the instructions in reverse order to
install new bulb.
Headlamp mounting nuts and bolt
torque: 36 to 47 in-lb (4.1 to 5.3 Nzm)
Adjusting the headlight aim
Before performing aiming adjustment, make
sure of the following:
a. Use an aiming wall screen.
b. Keep all of the tires inflated to the correct
pressure.
c. Place the vehicle and screen on level
ground.
d. See that the vehicle is unloaded (except
for full levels of coolant, engine oil and
fuel, and that the spare tire, jack, and
tools are stored). Have the driver or an
equivalent weight placed in the driver's
seat.
Low beam
1. Open the hood. Turn headlamp low
beam on.
2. Adjust the vertical aim by turning the
adjusting screw.
cCover the opposite lamp and ensure the
fog lamps (if so equipped) are turned off.
cAdjust beam pattern until cutoff line is
positioned at the same height off ground
as bulb center (on H-line).
LDI0010LDI0011
Do-it-yourself8-25
ZX
Page 221 of 258

Brake pedal and booster* ÐCheck the
pedal for smooth operation and make sure it
has the proper distance under it when de-
pressed fully. Check the brake booster func-
tion. Be certain to keep the floor mat away
from the pedal.
Parking brake* ÐCheck that the lever has
the proper travel and confirm that your
vehicle is held securely on a fairly steep hill
with only the parking brake applied.
Automatic transmission P position
mechanism ÐOn a fairly steep hill check
that your vehicle is held securely with the
shift selector lever in the P (Park) position
without applying any brakes.
Under the hood and vehicle
The maintenance items listed here should
be checked periodically, such as each time
you check the engine oil or refuel.
Additional information on the items
marked with an ª*º can be found in the
ªDo-it-yourself'' section of this manual.
Windshield washer fluid* ÐCheck that
there is adequate fluid in the tank.
Engine oil level* ÐCheck the level after
parking the vehicle on a level surface, withthe engine off. Wait a few minutes for the oil
to drain back into the oil pan.
Brake and (if so equipped) clutch fluid
levels* ÐMake sure that the brake and
clutch fluid level are between the MIN and
MAX lines on each reservoir.
Power steering fluid level* and lines Ð
Check the level when the fluid is cold and
with the engine off. Check the lines for
proper attachment, leaks, cracks, etc.
Automatic transmission fluid level* Ð
Check the level after putting the shift selec-
tor lever in P (Park) with the engine idling at
operating temperature.
Engine coolant level* ÐCheck the cool-
ant level when the engine is cold.
Radiator and hoses ÐCheck the front of
the radiator and clean off any dirt, insects,
leaves, etc., that may have accumulated.
Make sure the hoses have no cracks, de-
formation, rot or loose connections.
Engine drive belts* ÐMake sure the drive
belts are not frayed, worn, cracked or oily.
Battery* ÐCheck the fluid level in each
cell. It should be between the MAX and MIN
lines.Exhaust system ÐMake sure there are no
cracks, holes, loose joints or supports. If the
sound of the exhaust seems unusual or
there is a smell of exhaust fumes, immedi-
ately have the exhaust system inspected by
a qualified individual. (See the carbon mon-
oxide warning in the ``Starting and driving''
section of this manual.)
Underbody ÐThe underbody is frequently
exposed to corrosive substances such as
those used on icy roads or to control dust. It
is very important to remove these sub-
stances from the underbody, otherwise rust
may form on the floor pan, frame, fuel
linesand exhaust system. At the end of
winter, the underbody should be thoroughly
flushed with plain water, especially those
areas where mud and dirt may accumulate.
See the ``Appearance and care'' section for
additional information.
Fluid leaks ÐCheck under the vehicle for
fuel, oil, water or other fluid leaks after the
vehicle has been parked for a while. Water
dripping from the air conditioner after use is
normal. If you should notice any leaks or if
gasoline fumes are evident, check for the
cause and have it corrected immediately by
an authorized NISSAN dealer.
9-4Maintenance
ZX
Page 227 of 258

EXPLANATION OF
MAINTENANCE ITEMS
Additional information on the following
items marked with an ``*'' is found in the
``Do-it- yourself'' section of this manual.
Emission control system
maintenance
Drive belts* ÐCheck drive belts for wear,
fraying or cracking and also for proper ten-
sion. Replace any damaged drive belts.
Air cleaner filter ÐUnder normal driving
conditions, the air cleaner filter should be
replaced in accordance with the mainte-
nance schedule. However, driving the ve-
hicle in dusty areas may cause rapid clog-
ging of the element. Consequently, the
element may have to be replaced more
frequently.
EVAP vapor lines ÐCheck vapor lines
and connections for leaks, looseness or
deterioration. If leaks are found, replace
them.
Fuel lines ÐCheck the fuel hoses, piping
and connections for leaks, looseness or
deterioration. Replace any damaged parts.Fuel filter ÐIf the vehicle is operated
under extremely adverse weather condi-
tions or in areas where ambient tempera-
tures are either extremely low or extremely
high, the filter might become clogged. In
such an event, replace the filter immedi-
ately.
Engine coolant* ÐDrain and flush the
cooling system.
Engine oil & oil filter* ÐUnder normal
driving conditions, the engine oil and oil filter
should be replaced in accordance with the
maintenance schedule. However, under se-
vere driving conditions, they may have to be
replaced more frequently.
Spark plugs* ÐReplace with new plugs
having the correct heat range.
Intake & exhaust valve clearance Ð
Check the valve clearance if valve noise
increases.
Chassis and body maintenance
Brake lines & cables ÐCheck the brake
lines and hoses (including brake booster
vacuum hoses, connections & check valve)
and parking brake cables for proper attach-ment, leaks, cracks, chafing, abrasion, de-
terioration, etc.
Brake pads, rotors, drums & linings Ð
Check these and the other neighboring
brake components for wear, deterioration
and leaks. Under severe driving conditions,
they may have to be inspected more fre-
quently.
Manual & automatic transmission fluid*
ÐCheck the fluid level and visually inspect
for signs of leakage.
Under severe driving conditions, the fluid
should be replaced at the specified interval.
Steering gear & linkage, axle & suspen-
sion parts, and drive shaft boots Ð
Check for damage, looseness and leakage
of oil or grease. Under severe driving con-
ditions, inspection should be performed
more frequently.
Exhaust system ÐVisually check the ex-
haust pipes, muffler, and hangers for proper
attachment, leaks, cracks, chafing, abra-
sion, deterioration, etc. Under severe driv-
ing conditions, inspection should be per-
formed more frequently.
9-10Maintenance
ZX
Page 231 of 258
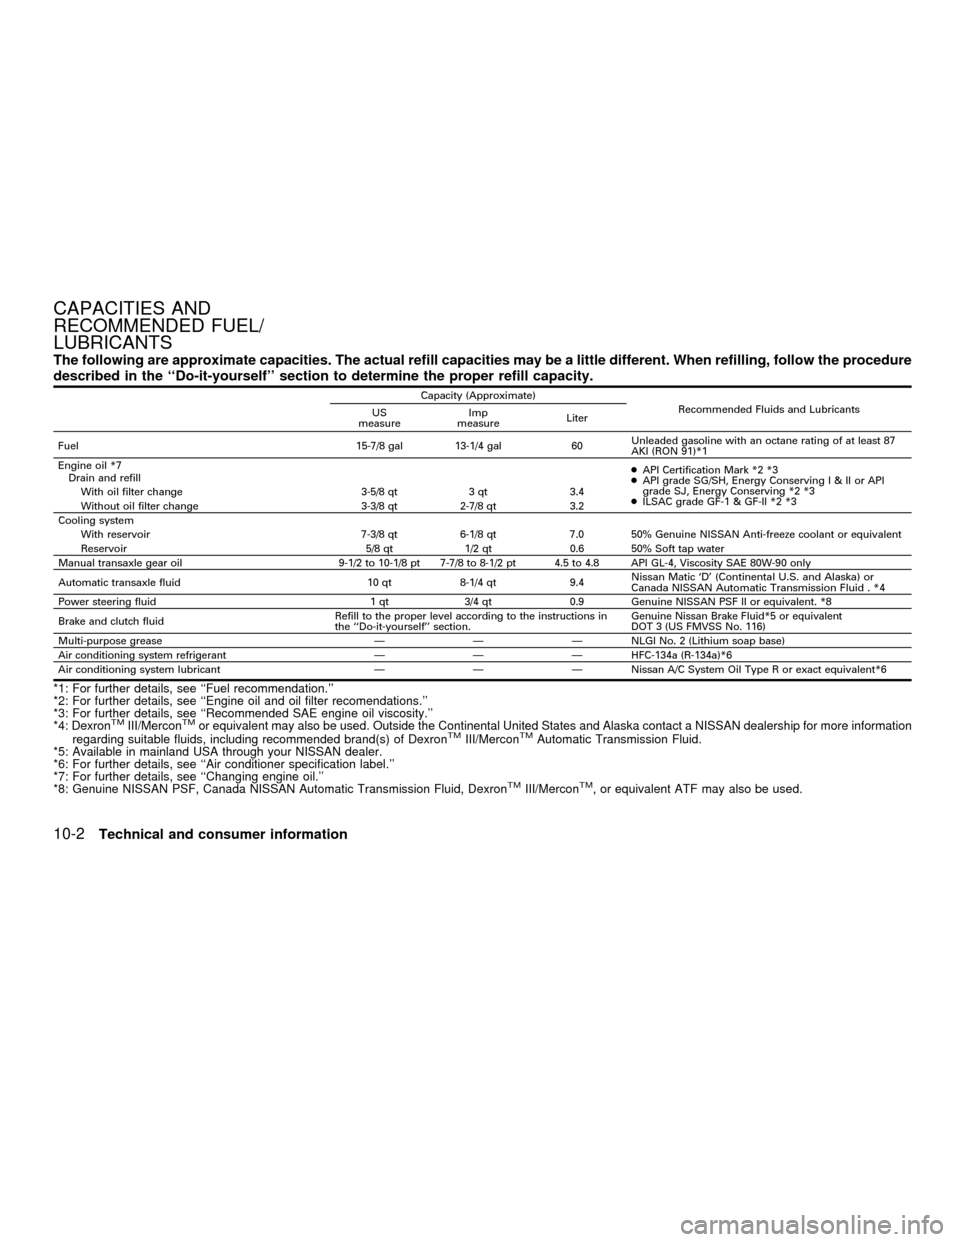
The following are approximate capacities. The actual refill capacities may be a little different. When refilling, follow the procedure
described in the ``Do-it-yourself'' section to determine the proper refill capacity.
Capacity (Approximate)
Recommended Fluids and Lubricants
US
measureImp
measureLiter
Fuel 15-7/8 gal 13-1/4 gal 60Unleaded gasoline with an octane rating of at least 87
AKI (RON 91)*1
Engine oil *7
Drain and refillcAPI Certification Mark *2 *3
cAPI grade SG/SH, Energy ConservingI&IIorAPI
grade SJ, Energy Conserving *2 *3
cILSAC grade GF-1 & GF-II *2 *3 With oil filter change 3-5/8 qt 3 qt 3.4
Without oil filter change 3-3/8 qt 2-7/8 qt 3.2
Cooling system
With reservoir 7-3/8 qt 6-1/8 qt 7.0 50% Genuine NISSAN Anti-freeze coolant or equivalent
Reservoir 5/8 qt 1/2 qt 0.6 50% Soft tap water
Manual transaxle gear oil 9-1/2 to 10-1/8 pt 7-7/8 to 8-1/2 pt 4.5 to 4.8 API GL-4, Viscosity SAE 80W-90 only
Automatic transaxle fluid 10 qt 8-1/4 qt 9.4
Nissan Matic `D' (Continental U.S. and Alaska) or
Canada NISSAN Automatic Transmission Fluid . *4
Power steering fluid 1 qt 3/4 qt 0.9 Genuine NISSAN PSF II or equivalent. *8
Brake and clutch fluidRefill to the proper level according to the instructions in
the ``Do-it-yourself'' section.Genuine Nissan Brake Fluid*5 or equivalent
DOT 3 (US FMVSS No. 116)
Multi-purpose grease Ð Ð Ð NLGI No. 2 (Lithium soap base)Air conditioning system refrigerantÐ Ð Ð HFC-134a (R-134a)*6
Air conditioning system lubricant Ð Ð Ð Nissan A/C System Oil Type R or exact equivalent*6
*1: For further details, see ``Fuel recommendation.''
*2: For further details, see ``Engine oil and oil filter recomendations.''
*3: For further details, see ``Recommended SAE engine oil viscosity.''
*4: Dexron
TMIII/MerconTMor equivalent may also be used. Outside the Continental United States and Alaska contact a NISSAN dealership for more information
regarding suitable fluids, including recommended brand(s) of DexronTMIII/MerconTMAutomatic Transmission Fluid.
*5: Available in mainland USA through your NISSAN dealer.
*6: For further details, see ``Air conditioner specification label.''
*7: For further details, see ``Changing engine oil.''
*8: Genuine NISSAN PSF, Canada NISSAN Automatic Transmission Fluid, Dexron
TMIII/MerconTM, or equivalent ATF may also be used.
CAPACITIES AND
RECOMMENDED FUEL/
LUBRICANTS
10-2Technical and consumer information
ZX
Page 246 of 258
WARNING
Never connect a trailer brake system
directly to the vehicle brake system.
Pre-towing tips
cBe certain your vehicle maintains a level
position when a loaded and/or unloaded
trailer is hitched. Do not drive the vehicle if
it has an abnormal nose-up or nose- down
condition; check for improper tongue load,
overload, worn suspension or other pos-
sible causes of either condition.
cAlways secure items in the trailer to
prevent load shift while driving.
cBe certain your rear view mirrors conform
to all federal, state or local regulations. If
not, install any mirrors required for towing
before driving the vehicle.
Trailer towing tips
In order to gain skill and an understanding
of the vehicle's behavior, you should prac-
tice turning, stopping and backing up in an
area which is free from traffic. Steering
stability and braking performance will be
somewhat different than under normal driv-
ing conditions.cAlways secure items in the trailer to
prevent load shift while driving.
cAvoid abrupt starts, acceleration or
stops.
cAvoid sharp turns or lane changes.
cAlways drive your vehicle at a moderate
speed.
cAlways block the wheels on both vehicle
and trailer when parking. Parking on a
slope is not recommended; however, if
you must do so, and if your vehicle is
equipped with an automatic transmis-
sion, first block the wheels and apply the
parking brake, and then move the shift
lever into the P position. If you move the
shift lever to the P position before block-
ing the wheels and applying the parking
brake, transmission damage could occur.
cWhen going down a hill, shift into a lower
gear and use the engine braking effect.
When ascending a long grade, downshift
the transmission to a lower gear and
reduce speed to reduce chances of en-
gine overloading and/or overheating.
cIf the engine coolant rises to an ex-
tremely high temperature when the airconditioner system is on, turn off the air
conditioner. Coolant heat can be addi-
tionally vented by opening the windows,
switching the fan control to high and
setting the temperature control to the
HOT position.
cTrailer towing requires more fuel than
normal circumstances.
cAvoid towing a trailer for the first 500
miles (800 km).
cHave your vehicle serviced more often
than at intervals specified in the recom-
mended Maintenance Schedule.
cWhen making a turn, your trailer wheels
will be closer to the inside of the turn than
your vehicle wheels. To compensate for
this, make a larger than normal turning
radius during the turn.
cCrosswinds and rough roads will ad-
versely affect vehicle/trailer handling,
possibly causing vehicle sway. When
being passed by larger vehicles, be pre-
pared for possible changes in crosswinds
that could affect vehicle handling. If
swaying does occur, firmly grip the steer-
ing wheel, steer straight ahead, and im-
mediately (but gradually) reduce vehicle
Technical and consumer information
10-17
ZX